Transform Black to Any Color in Photoshop, Including White: Best Method

Transform Black to Any Color in Photoshop, Including White: Best Method

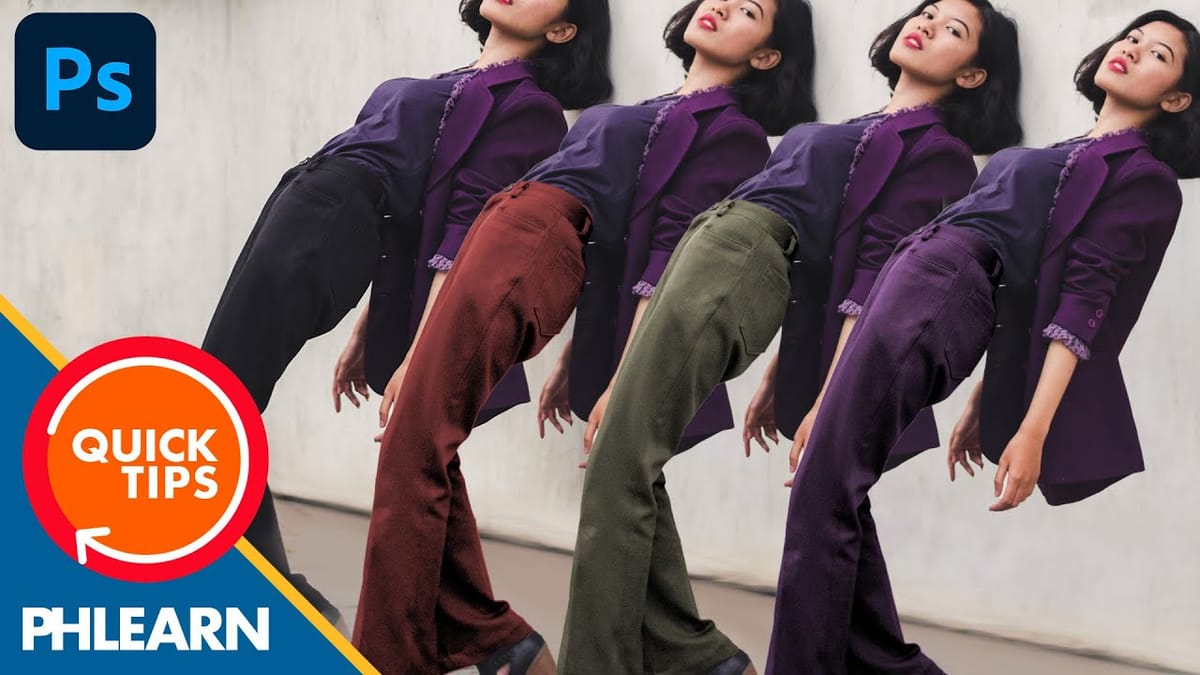
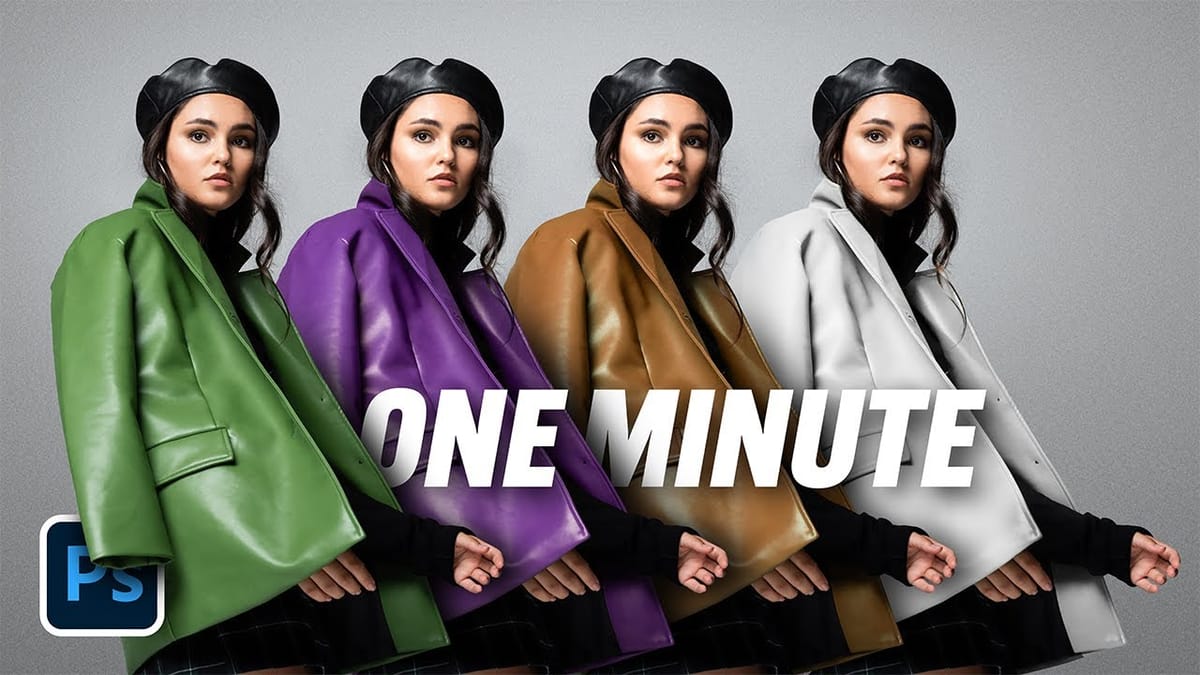
Changing the color of a black object in Photoshop can be a surprisingly frustrating task. Standard color adjustment tools often fail because pure black contains no hue or saturation data to manipulate, leaving designers and retouchers searching for a more effective solution.

This tutorial demonstrates a powerful and flexible method for recoloring black objects, allowing you to turn them into any color you choose—even solid white. By learning this non-destructive technique, you can gain precise control over your edits and integrate a reliable new skill into your creative workflow.

Watch the Tutorial

Any links or downloads mentioned by the creator are available only on YouTube

The Challenge of Recoloring Absolute Black

In digital imaging, color is typically defined by three components: hue, saturation, and brightness (or luminosity). Pure black has a brightness value of zero, meaning it reflects no light. Consequently, it has no hue or saturation information for Photoshop's standard color-shifting tools, like the Hue/Saturation adjustment, to modify. You can't change the color of something that, digitally speaking, has no color to begin with.

The solution, therefore, is not to change the existing color but to add new color and luminosity information on top of the black area. This is why effective techniques rely on layers and blending modes. For instance, a Solid Color fill layer can introduce a new hue, while a blend mode like Screen adds the new color's light values to the underlying layer, making the black area visible as the new color. This approach fundamentally separates the new color from the original pixels, offering a non-destructive way to achieve the effect.

Advanced control can be achieved using tools like the Blend If sliders, which allow you to precisely target which tonal ranges are affected by the new color layer. By telling Photoshop to apply the new color only to the darkest parts of the underlying layer, you can create a clean and seamless color transformation without needing to make complex manual selections. This level of control is key to achieving professional results.

Key Techniques for Recoloring Black

  • Use a Solid Color fill layer for a non-destructive workflow that allows you to change the color easily at any time.
  • Set the fill layer's blend mode to Screen to add both color and brightness, which is essential for making black pixels visible as a new color.
  • Create a precise layer mask to isolate the color change, ensuring it only affects the intended black object.
  • For finer control, use the Blend If sliders in the Layer Style dialog to target only the darkest pixels automatically.

More Tutorials on Color Manipulation in Photoshop

Explore more techniques for precise color adjustments and creative effects in your projects.

How to Change Black into Any Color in Photoshop
Learn how to use Levels and Hue/Saturation Adjustments to turn black into any color in Photoshop. Great for fashion and product photo retouching. Download the Sample Image here… More
The easiest way to change any color in Photoshop
Changing the color of specific elements within an image can often be a frustrating challenge for designers and photographers. Achieving a precise color shift without affecting surrounding areas, or dealing with complex selections, often leads to a time-consuming and imperfect process. This guide introduces a highly efficient method utilizing Photoshop’s
Change white into any color in Photoshop
In this tutorial Aaron Nace from Phlearn, will show you how to make insanely accurate selections and use them to change white clothes and a white background into any color that you want. This incredibly versatile technique will allow you to change any white elements in an image to any

Get tutorials & freebies delivered to you.

Subscribe to the Photoshop Roadmap newsletter, a weekly roundup of new tutorials, insights and quality downloads, trusted by 6500+ readers.

You might also like

How to Remove Skin Blemishes and Fix Skin Tones in Camera Raw

Two recent additions to Camera Raw make skin retouching significantly faster: an automatic blemish removal tool with separate controls for moles and freckles, and a vectorscope-based skin tone indicator for correcting off-color skin. Both features work non-destructively inside a smart object workflow, so no pixel data is...

Portrait Retouching in Photoshop: Smooth Skin While Keeping Natural Texture

Smooth skin and natural texture are not opposites — achieving both at once is the mark of a professional retouch. This workflow covers blemish removal, flyaway hair cleanup, dark under-eye correction, and eye brightening, all while keeping the skin looking like skin. Watch the Video Practical Tips These key points...

How to Use Camera Raw's Blemish Removal Tool in Photoshop

Camera Raw 18.5 introduced an automatic blemish removal tool that does something previous solutions rarely managed: it removes skin imperfections while preserving the underlying skin texture. It also distinguishes between temporary marks and permanent ones like moles, giving you separate controls for each. Watch the Video Practical Tips These...

Portrait Slice Effect in Photoshop Using Step and Repeat

The portrait slice effect splits a single image into offset vertical bars, creating the illusion of a displaced or fragmented face. The entire technique relies on layer masks and a lesser-known Photoshop shortcut called step and repeat — no filters, no AI, no destructive edits required. Watch the Video Practical...

How to Remove Blemishes in Photoshop: Camera Raw vs. Generative AI

Photoshop now offers two distinct approaches to removing skin blemishes automatically. The Camera Raw Filter includes a dedicated Blemishes option that analyzes and cleans skin with a single checkbox, while Generative AI fills a face selection with clean, texture-consistent results using a simple text prompt. Each method has clear...

Common Photoshop Compositing Mistakes and How to Fix Them

Most compositing errors come down to a handful of repeatable problems: mismatched lighting direction, inconsistent white points, misaligned perspective, and atmosphere applied in the wrong layer order. Catching these issues early — ideally before you shoot — saves significant time in post. Watch the Video Practical Tips These corrections apply to nearly...

You’ve successfully subscribed to Photoshop Roadmap
Welcome back! You’ve successfully signed in.
Great! You’ve successfully signed up.
Success! Your email is updated.
Your link has expired
Success! Check your email for magic link to sign-in.