Transform any image into a vintage masterpiece using just three simple Photoshop adjustment layers. This creative approach demonstrates how to achieve rich, emotive color tones through strategic use of levels, photo filters, and black and white adjustments.
Learn how to balance complementary colors, develop your color eye, and create compelling visual stories without complex compositing or major production workflows.
Watch the Video
Video by SandraD Imagery. Any links or downloads mentioned by the creator are available only on YouTube
Practical Tips
These key techniques will help you master color grading with adjustment layers and develop your personal style through experimentation.
- Use levels adjustment first to lift brightness without the harsh contrast that brightness/contrast creates
- Apply photo filters with low density settings (15-20%) to add subtle color washes that affect underlying tones
- Experiment with different photo filter colors like cyan, magenta, or yellow to dramatically shift the mood
- Add a black and white adjustment layer set to "Red Filter" for vintage color grading while maintaining color depth
- Remember that playing with no expectations often leads to the most creative breakthroughs and skill development
Related Articles and Tutorials
Explore these additional resources to expand your color grading and adjustment layer skills.
3 must-try techniques to enhance colors in Photoshop
Many photographers and designers seek to infuse their images with vibrant, true-to-life colors that truly stand out. Achieving this level of color enhancement often requires more than basic adjustments; it demands a nuanced approach that breathes life into every detail.
This tutorial uncovers three powerful, yet often overlooked, Photoshop techniques to elevate your color grading. Discover how to apply subtle, realistic color changes, sculpt specific color moods, and selectively refine tones wi
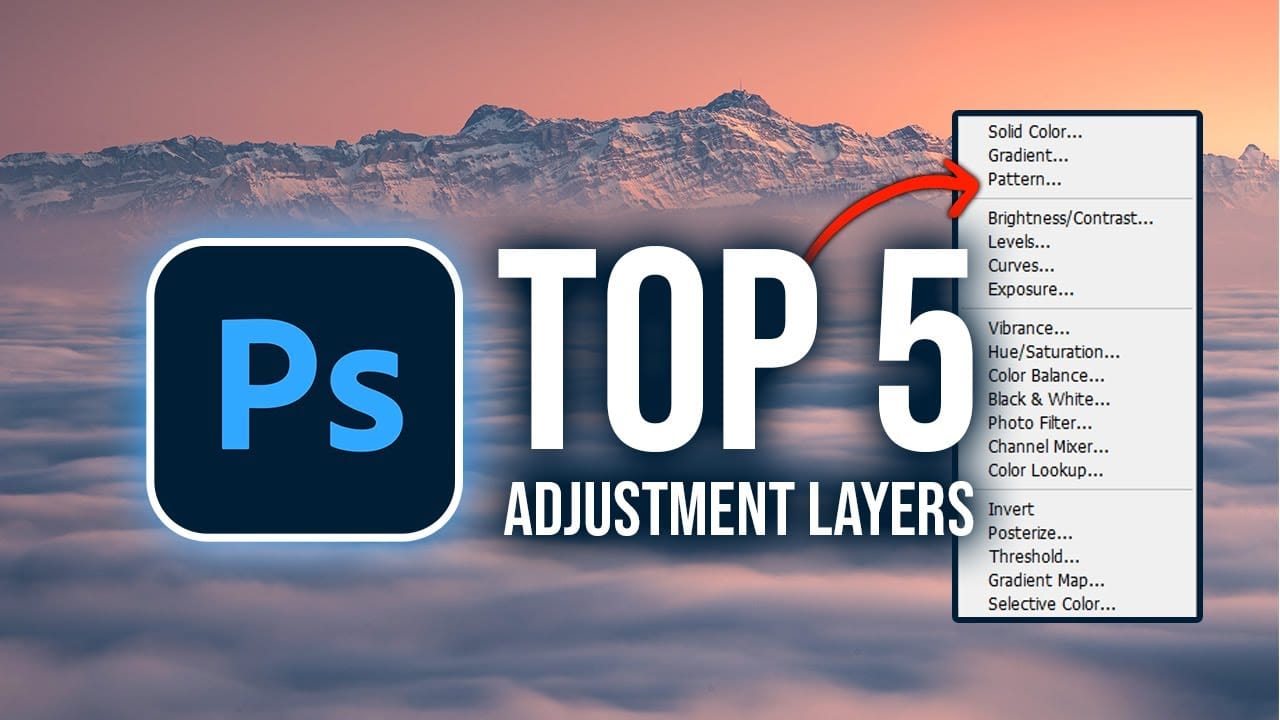
Master Photoshop Adjustment Layers for Non-Destructive Editing
Fine-tuning images without destroying original pixel data transforms ordinary photos into compelling visuals. Adjustment layers provide the flexibility to experiment with colors, contrast, and tones while maintaining complete control over every edit.
This comprehensive guide demonstrates how to harness Photoshop's most powerful adjustment layers for landscape photography, from basic contrast enhancements to sophisticated color grading techniques.
Watch the Tutorial
Understanding Non-Destruc
The Single Best Color Tool in Photoshop
In this tutorial, you will uncover the often-overlooked capabilities of Photoshop's Selective Color Adjustment Layer.
This powerful tool allows you to perform both subtle and dramatic color grading, giving your images a polished look similar to fine art. You'll learn techniques to intensify colors, separate various hues for added depth, and achieve better overall color balance in your work. This ensures that your images maintain their vibrancy without the risk of over-saturation.
The tutorial
The easiest way to change any color in Photoshop
Changing the color of specific elements within an image can often be a frustrating challenge for designers and photographers. Achieving a precise color shift without affecting surrounding areas, or dealing with complex selections, often leads to a time-consuming and imperfect process.
This guide introduces a highly efficient method utilizing Photoshop's latest updates, specifically the "Adjust Colors" feature found in the contextual taskbar. This technique simplifies accurate color manipulation