How to Carve Egyptian Hieroglyphics in Photoshop

How to Carve Egyptian Hieroglyphics in Photoshop

Photoshop's Bevel and Emboss settings can transform flat typography into convincingly carved stone inscriptions when combined with specialized hieroglyphic fonts like Pegypta and Meroitic Hieroglyphics. The key lies in reducing layer fill to zero percent while applying Inner Bevel with Chisel Hard technique, creating the illusion that symbols are physically carved into ancient walls rather than simply placed on top.

This technique opens up creative possibilities for historical designs, movie posters, and archaeological visualizations. The combination of custom lighting effects and careful shadow positioning makes digital hieroglyphics appear authentically weathered and three-dimensional, giving modern designs an ancient authenticity that standard text treatments cannot achieve.

Watch the Video Tutorial

Video by Blue Lightning TV. Any links or downloads mentioned by the creator are available only on YouTube

Understanding Stone Carving Visual Cues

Ancient stone carvings possess distinct visual characteristics that digital recreations must capture to appear authentic. Real hieroglyphics were chiseled into stone surfaces, creating sharp, defined edges with specific shadow patterns that indicate depth and direction of light. The carved areas typically appear darker than the surrounding stone surface, while raised edges catch more light.

Egyptian hieroglyphic arrangements followed strict compositional rules that modern designers can adapt. Symbols were organized in horizontal registers, separated by clear dividing lines, and often filled entire wall surfaces in carefully planned layouts. The stone itself shows natural texture variations, weathering patterns, and subtle color shifts that add to the overall authenticity.

Successful digital stone carving effects rely on three key elements: proper shadow direction that suggests recessed areas, realistic surface textures that mimic aged stone, and lighting that creates the impression of natural illumination falling across an uneven carved surface.

Practical Tips for Stone Text Effects

  • Set layer fill to 0% before applying Bevel and Emboss to make the text transparent while retaining the carved depth effect
  • Use Chisel Hard technique with Inner Bevel for sharp, realistic carved edges that mimic actual stone carving tools
  • Uncheck Global Light for both Bevel and Drop Shadow to control lighting direction independently for each element
  • Copy layer effects by Alt-dragging the fx icon to maintain consistent carving appearance across multiple text layers
  • Adjust drop shadow distance based on text size to maintain proportional depth relationships between different elements

Explore more techniques for creating carved and weathered text effects in Photoshop.
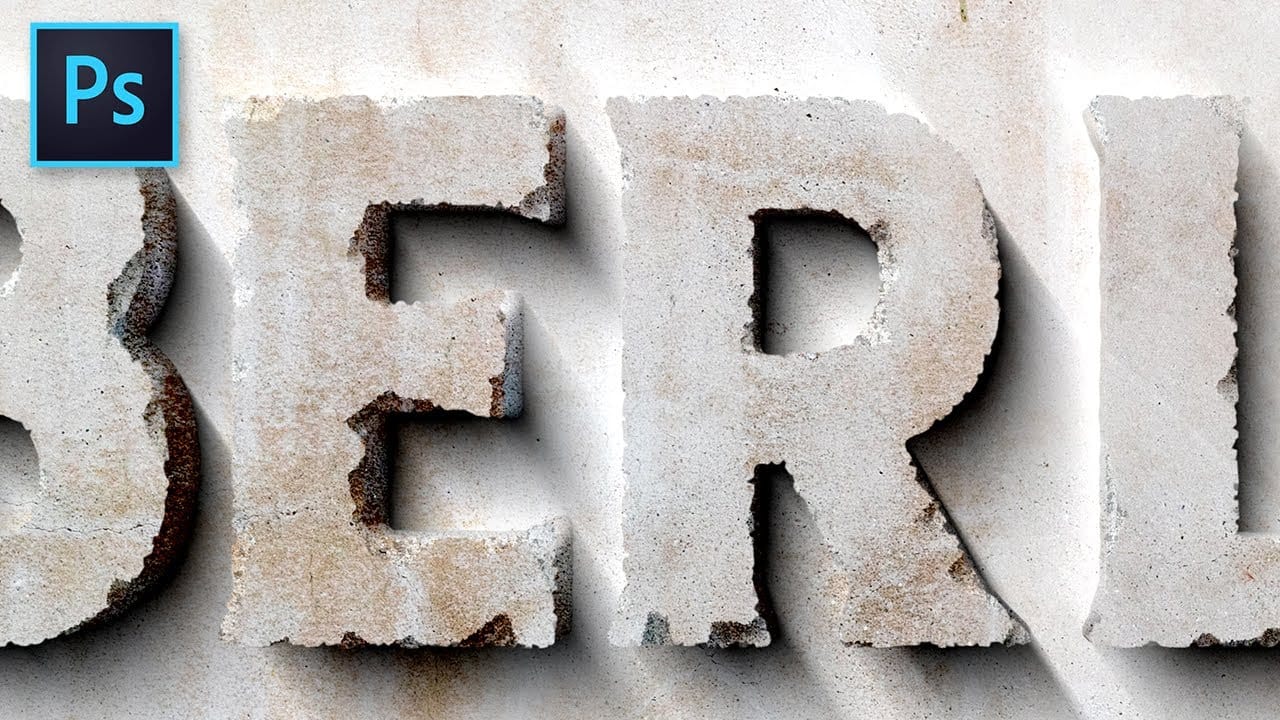
Carved Stone Text Effect in Photoshop
In this tutorial by Texturelabs, you'll learn how to create a realistic carved stone text effect using Adobe Photoshop. Using simple yet versatile techniques, the tutorial guides you through the process of achieving a cracked and weathered concrete stone appearance for text. Additionally, Texturelab provides high-resolution textures of weathered stucco and concrete walls, available for download. This tutorial is ideal for adding a rugged and aged aesthetic to your designs, allowing you to effo
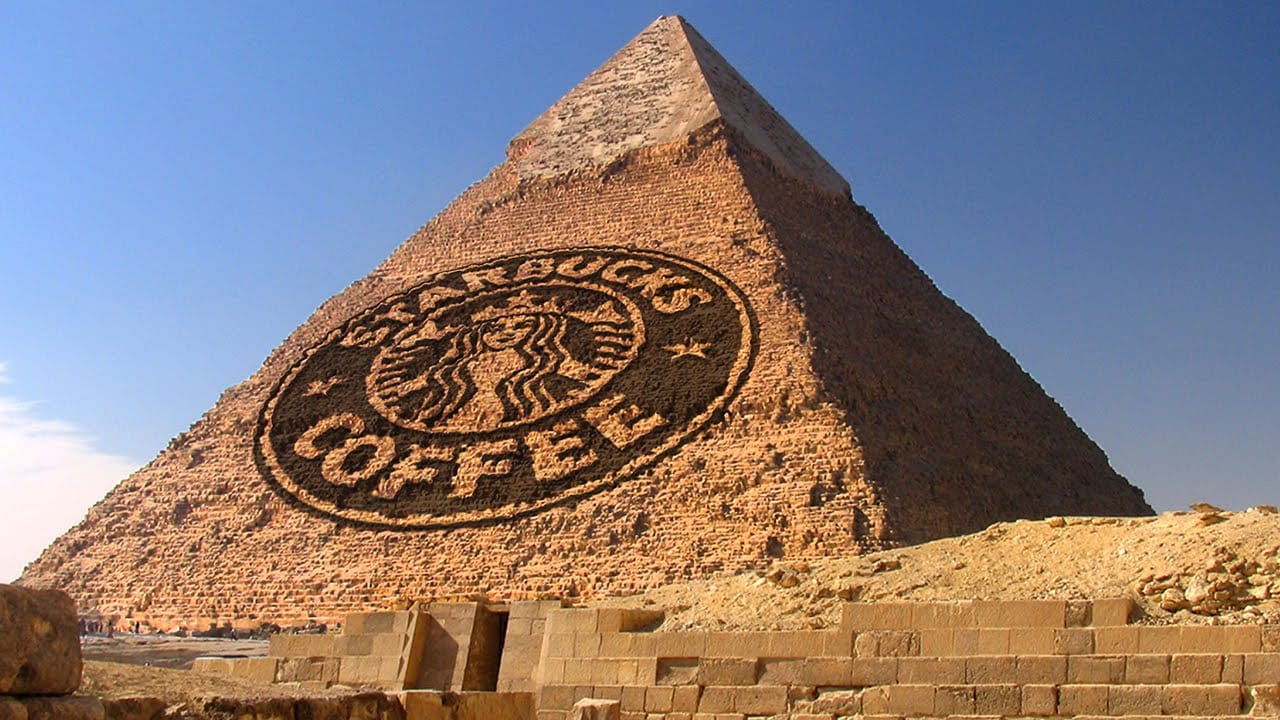
Carve Text and Graphics onto the Side of an Ancient Pyramid
Marty Geller from Blue Lightning TV, guides viewers through the process of carving text and graphics onto the side of an ancient Egyptian pyramid using Photoshop. The tutorial offers a step-by-step approach, allowing users to create a visually striking and impactful design. Marty, demonstrates how to blend the carved elements seamlessly into the pyramid's surface, ensuring a realistic and immersive final result. Throughout the tutorial, Marty provides clear and concise instructions, making the
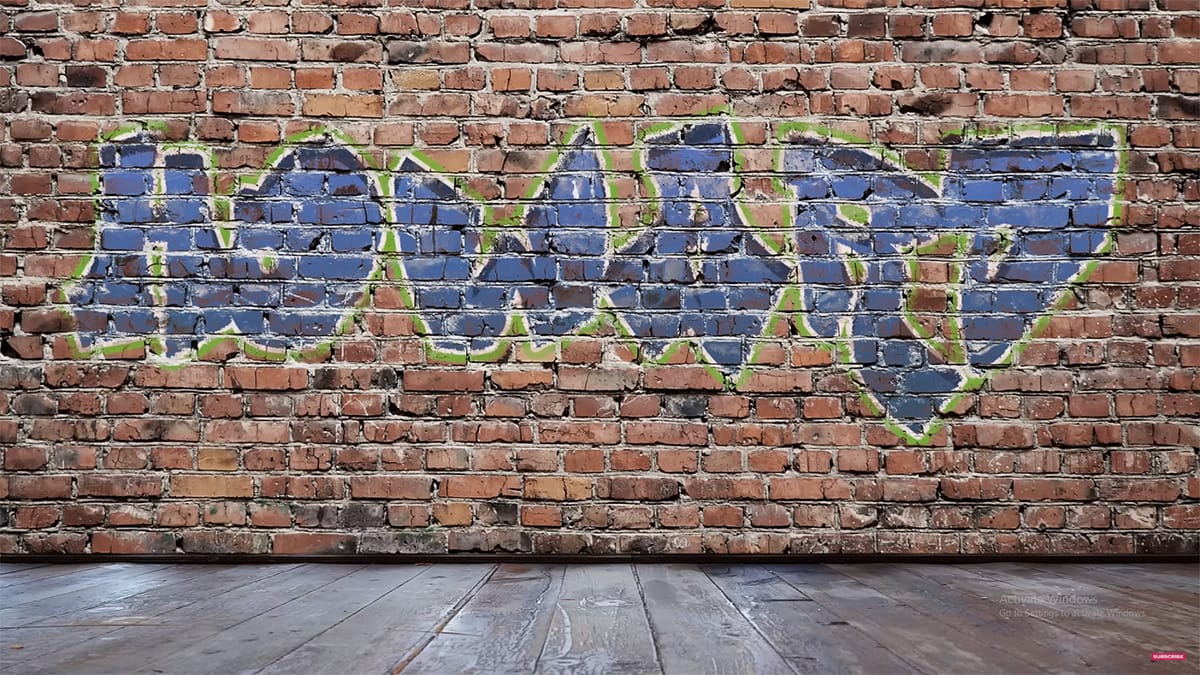
Create a Colorful Graffiti on a Grungy Brick Wall in Photoshop
Graffiti text in Photoshop has been a popular request over the years. In this tutorial, Howard Pinsky demonstrates how to create vibrant graffiti on a grungy brick wall using Layer Styles, a displacement map, and Layer blending modes. This tutorial is designed to show just how simple it is to achieve a striking graffiti effect, making it accessible even for beginners. Follow along to bring your graffiti art to life with vivid colors and realistic textures. Watch tutorial
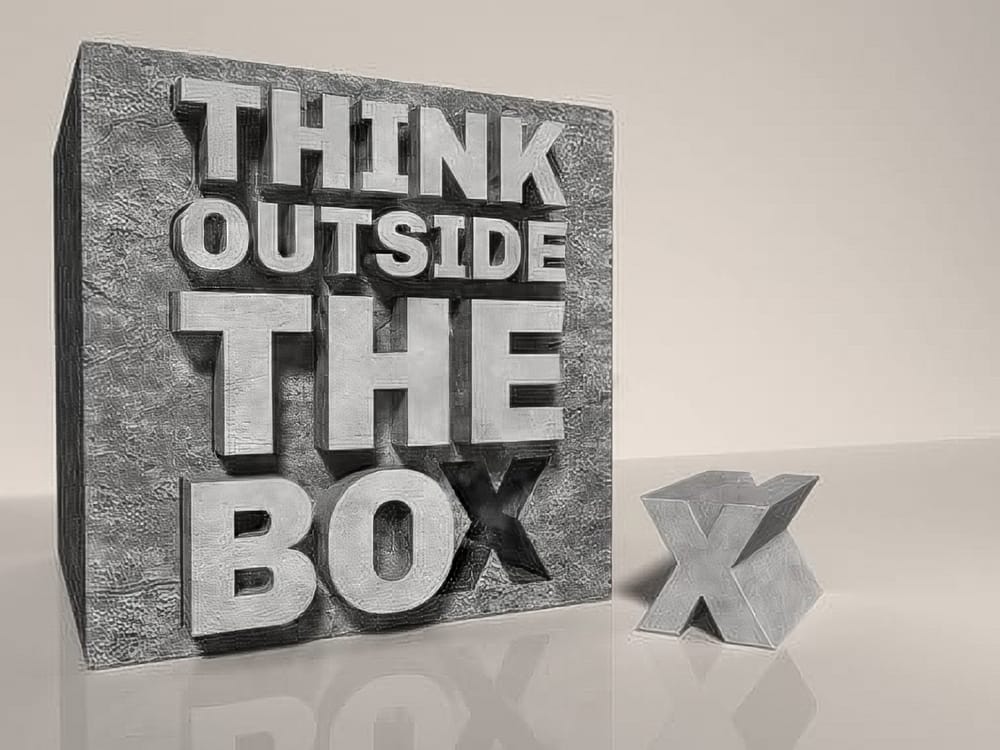
Create a Stone and Concrete 3D Text Effect in Photoshop
This tutorial guides you through the process of creating a striking stone and concrete 3D text effect using Photoshop. By combining Photoshop's 3D tools with Filter Forge, you can achieve a unique and impressive look for your text. You will start by setting up your canvas and entering the text you want to manipulate. Next, you will explore the 3D features in Photoshop to give your text depth and perspective. Afterward, incorporating Filter Forge allows you to apply textures that simulate the ru

Get tutorials & freebies delivered to you.

Subscribe to the Photoshop Roadmap newsletter, a weekly roundup of new tutorials, insights and quality downloads, trusted by 6500+ readers.

You might also like

How to Remove Skin Blemishes and Fix Skin Tones in Camera Raw

Two recent additions to Camera Raw make skin retouching significantly faster: an automatic blemish removal tool with separate controls for moles and freckles, and a vectorscope-based skin tone indicator for correcting off-color skin. Both features work non-destructively inside a smart object workflow, so no pixel data is...

Portrait Retouching in Photoshop: Smooth Skin While Keeping Natural Texture

Smooth skin and natural texture are not opposites — achieving both at once is the mark of a professional retouch. This workflow covers blemish removal, flyaway hair cleanup, dark under-eye correction, and eye brightening, all while keeping the skin looking like skin. Watch the Video Practical Tips These key points...

How to Use Camera Raw's Blemish Removal Tool in Photoshop

Camera Raw 18.5 introduced an automatic blemish removal tool that does something previous solutions rarely managed: it removes skin imperfections while preserving the underlying skin texture. It also distinguishes between temporary marks and permanent ones like moles, giving you separate controls for each. Watch the Video Practical Tips These...

Portrait Slice Effect in Photoshop Using Step and Repeat

The portrait slice effect splits a single image into offset vertical bars, creating the illusion of a displaced or fragmented face. The entire technique relies on layer masks and a lesser-known Photoshop shortcut called step and repeat — no filters, no AI, no destructive edits required. Watch the Video Practical...

How to Remove Blemishes in Photoshop: Camera Raw vs. Generative AI

Photoshop now offers two distinct approaches to removing skin blemishes automatically. The Camera Raw Filter includes a dedicated Blemishes option that analyzes and cleans skin with a single checkbox, while Generative AI fills a face selection with clean, texture-consistent results using a simple text prompt. Each method has clear...

Common Photoshop Compositing Mistakes and How to Fix Them

Most compositing errors come down to a handful of repeatable problems: mismatched lighting direction, inconsistent white points, misaligned perspective, and atmosphere applied in the wrong layer order. Catching these issues early — ideally before you shoot — saves significant time in post. Watch the Video Practical Tips These corrections apply to nearly...

You’ve successfully subscribed to Photoshop Roadmap
Welcome back! You’ve successfully signed in.
Great! You’ve successfully signed up.
Success! Your email is updated.
Your link has expired
Success! Check your email for magic link to sign-in.