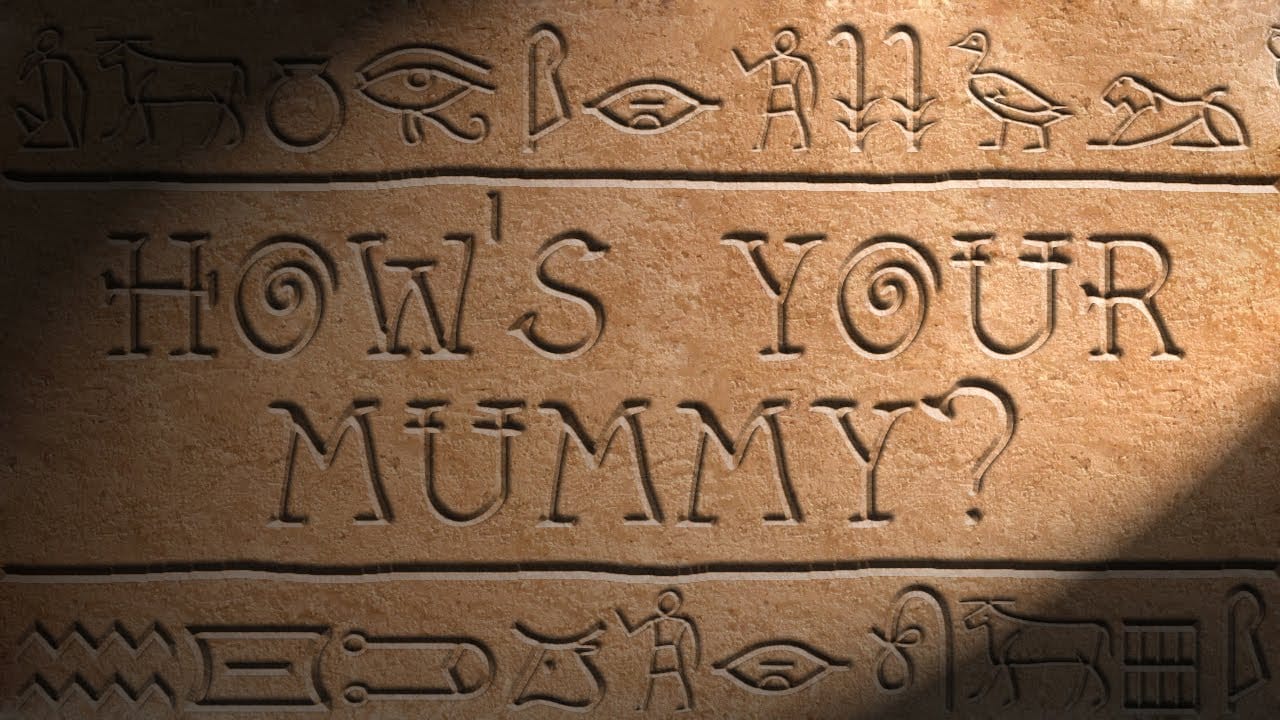
This video demonstrates advanced Photoshop techniques to seamlessly integrate text and graphics into an image, creating the illusion of deeply carved elements. You'll learn essential skills like perspective transformations, using displacement maps for realistic texture, and applying layer styles to simulate depth and shadow, applicable to various design projects.
Watch the Tutorial
Video by Blue Lightning. Any links or downloads mentioned by the creator are available only on YouTube
Practical Tips for Carving Effects
- Prepare a displacement map from your background layer by duplicating and blurring it, then saving it as a .PSD file. This map is crucial for making elements conform to surface contours.
- Use the Transform Tool (Ctrl/Cmd + T) to manually align text and graphics with the perspective of the background image, dragging corners while holding Ctrl/Cmd for precise adjustments.
- Apply the Displace filter with appropriate horizontal and vertical scales (e.g., 7 pixels) to wrap elements around the surface's irregularities after preparing your displacement map.
- Reduce the opacity of the main text/logo layer to around 60% and duplicate it, setting the duplicate's fill to 0% to prepare for layer styles.
- Add an Inner Shadow layer style to the duplicate layer (with 0% fill) to create the recessed look, adjusting Distance and Size to control the depth and softness of the carving.
- For logos with open areas, create a selection of the open space, make a new layer, and fill it with a light, sandy color (e.g.,
DEAC89) with a Blend Mode of Overlay and reduced opacity (e.g., 40%) to brighten those areas.
More Tutorials about Carving and Text Effects in Photoshop
Explore further techniques and creative applications for text and graphic manipulations in Photoshop with these related tutorials.
How to Carve Egyptian Hieroglyphics in Photoshop
This Photoshop tutorial by Marty Geller from BlueLightning TV teaches you how to create stunning visuals by carving Egyptian hieroglyphics and custom text into a stone wall. You’ll learn step-by-step techniques to achieve a realistic look that mimics ancient carvings.
The tutorial starts with the essentials, guiding you through selecting the right tools and adjusting settings to get the desired effect. You'll find clear explanations and visual aids that make it easy to follow along, even if you
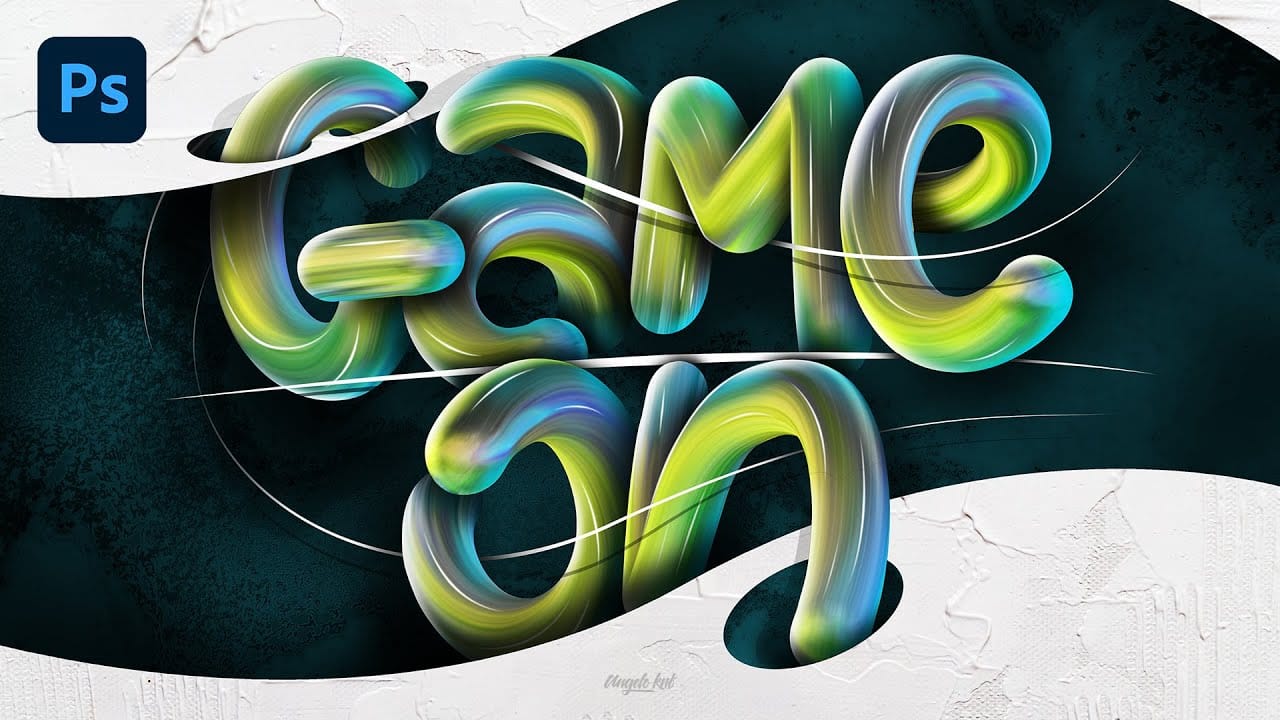
Colorful Painted 3D Text Effect Tutorial in Photoshop
In this tutorial by Angelo Konofaos, you'll explore how to create a 3D-style text effect in Photoshop, alongside techniques like adding shadows, highlights, shines, and colors.
Utilizing a variety of Photoshop tools such as the Mixer Brush, Pen Tool, clipping masks, and adjustment layers, the tutorial demonstrates the process of refining text to achieve a polished and dimensional look.
For optimal results, Konofaos recommends using a pen tablet like the Wacom Intuos to enhance precision and fl
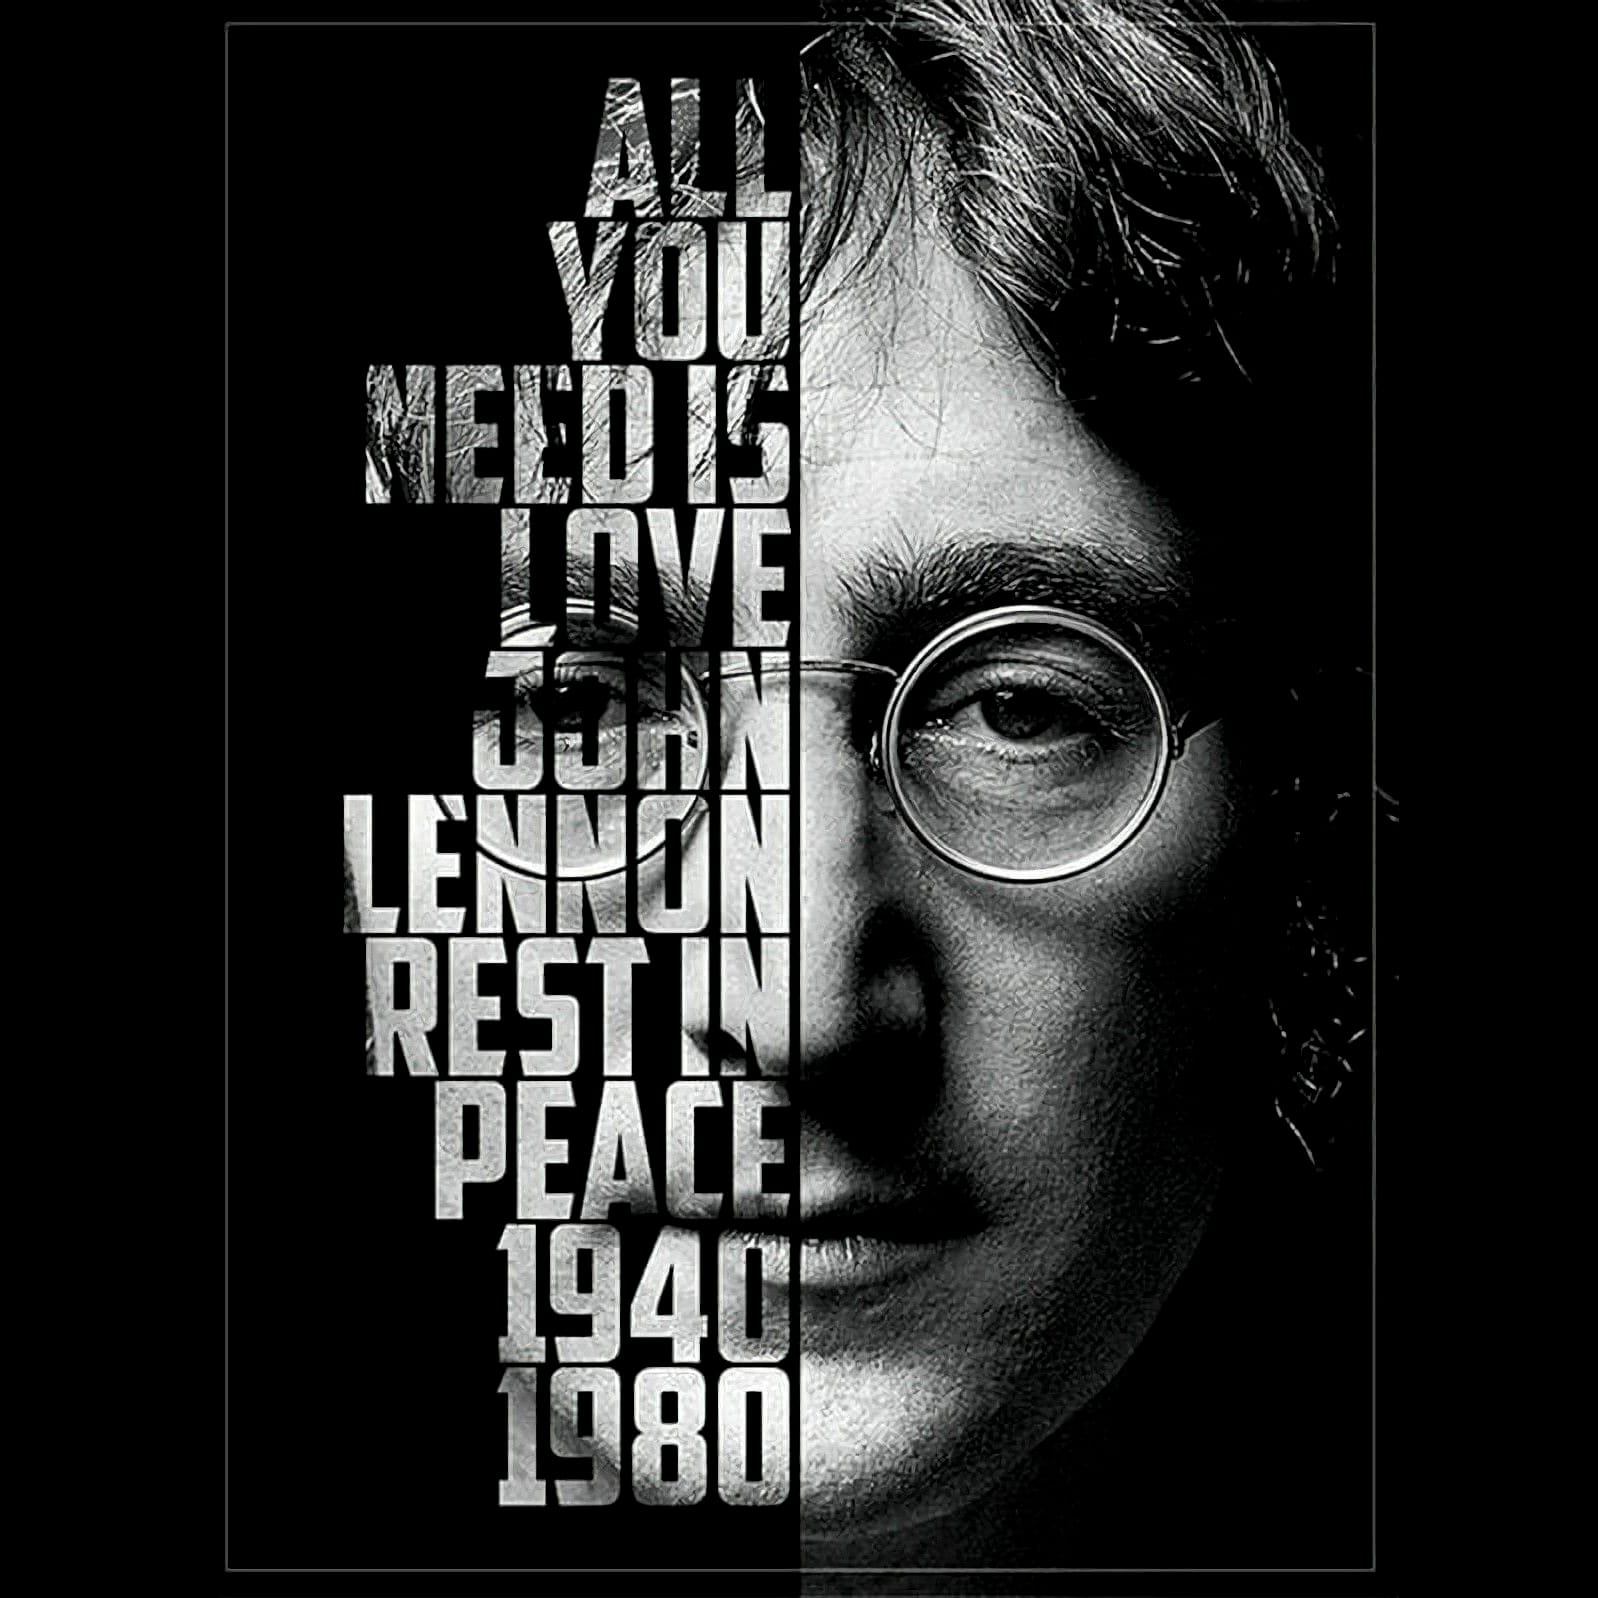
Create a cool text portrait in Photoshop
Creating a text portrait in Photoshop is a sophisticated blend of photography and typography. In this tutorial by Marty from Blue Lightning TV, you'll learn how to transform a standard photo into a powerful typographic portrait. Starting with an optimal photo choice, Marty guides you through desaturating the image, refining the subject's edges, and setting up a new document.
The tutorial then delves into the core process of integrating text, adjusting brightness and contrast for maximum impact,
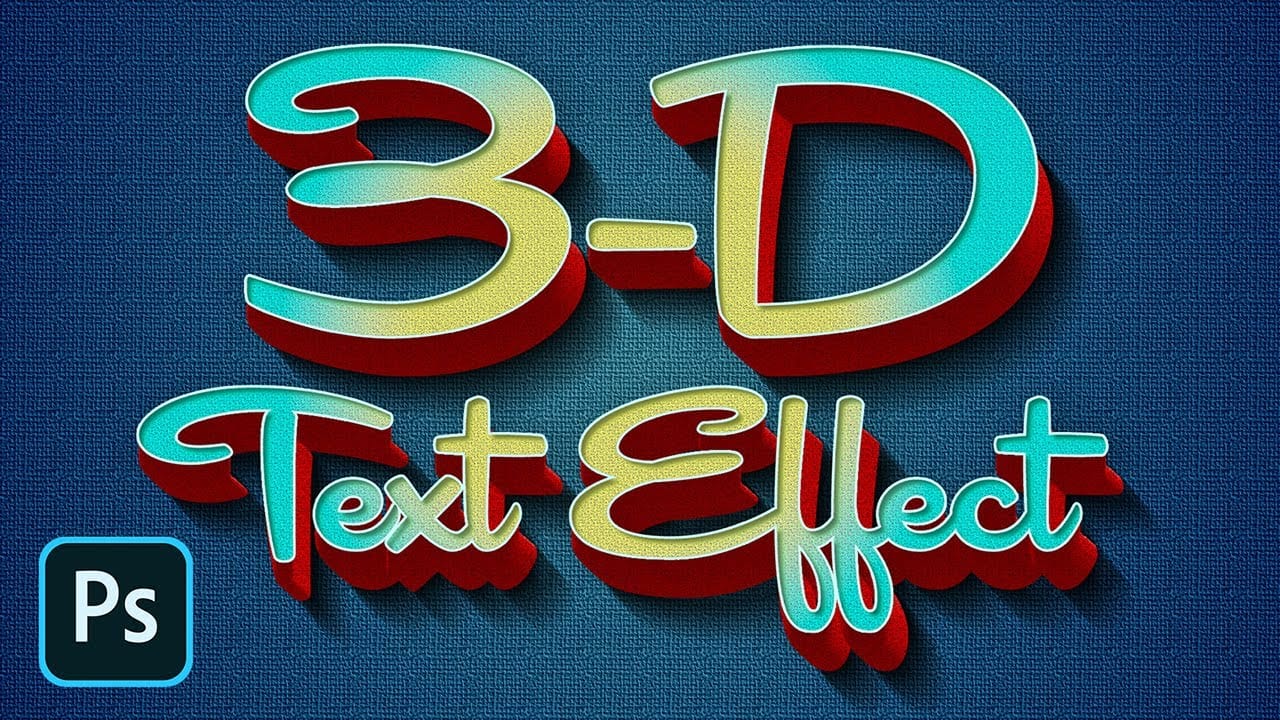
How to Create a Retro 3D Text Design in Photoshop
In this Photoshop tutorial, Marty Geller from Blue Lightning TV guides you through the process of creating a retro, 3D text design.
The tutorial is easy to follow and provides clear instructions suitable for users of various skill levels. You will start by learning how to set up your document and choose the right fonts that enhance the retro aesthetic. As you progress through the steps, you'll discover various techniques for adding depth and dimension to your text, achieving that authentic 3D l