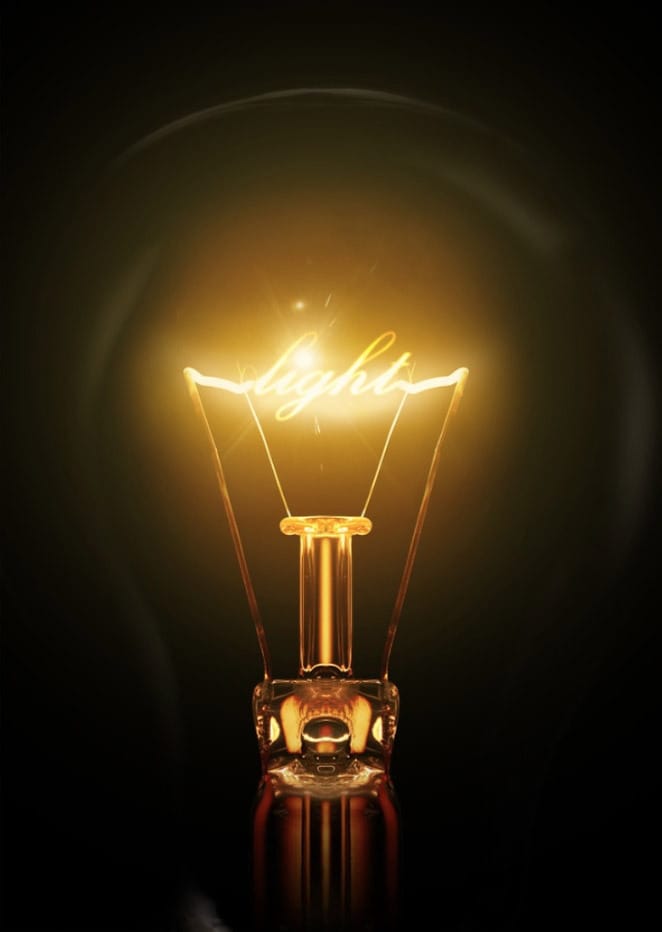
Add a touch of vintage Broadway style to your designs by creating a stunning marquee bulb sign effect in Adobe Photoshop. This tutorial guides you through using Photoshop's 3D features, real textures, and bulb photographs to achieve realistic depth and illumination.
Watch the Full Tutorial
Practical Tips for Creating Your Marquee Sign
Achieve a professional-looking vintage marquee sign by following these key steps:
- Process each letter individually in 3D to simplify bulb placement, avoiding perspective distortions that complicate later steps.
- Configure the 3D extrusion with a zero depth, a 10% bevel width, and an 85-degree cap angle for the characteristic sign shape.
- Resolve rendering glitches by slightly increasing the 3D extrusion depth, then resetting the cap angle to 85 degrees, and re-rendering.
- Use the ALT key to quickly duplicate bulb layers, and Shift for linear alignment, then apply the Distribute Vertical Centres tool for even spacing.
- Add a warm illuminating glow by creating a new layer, dabbing an orangy-yellow color over each bulb with a soft brush, and setting the blend mode to Overlay.
More Tutorials about Photoshop Effects
Explore other creative Photoshop effects with these related tutorials and resources.
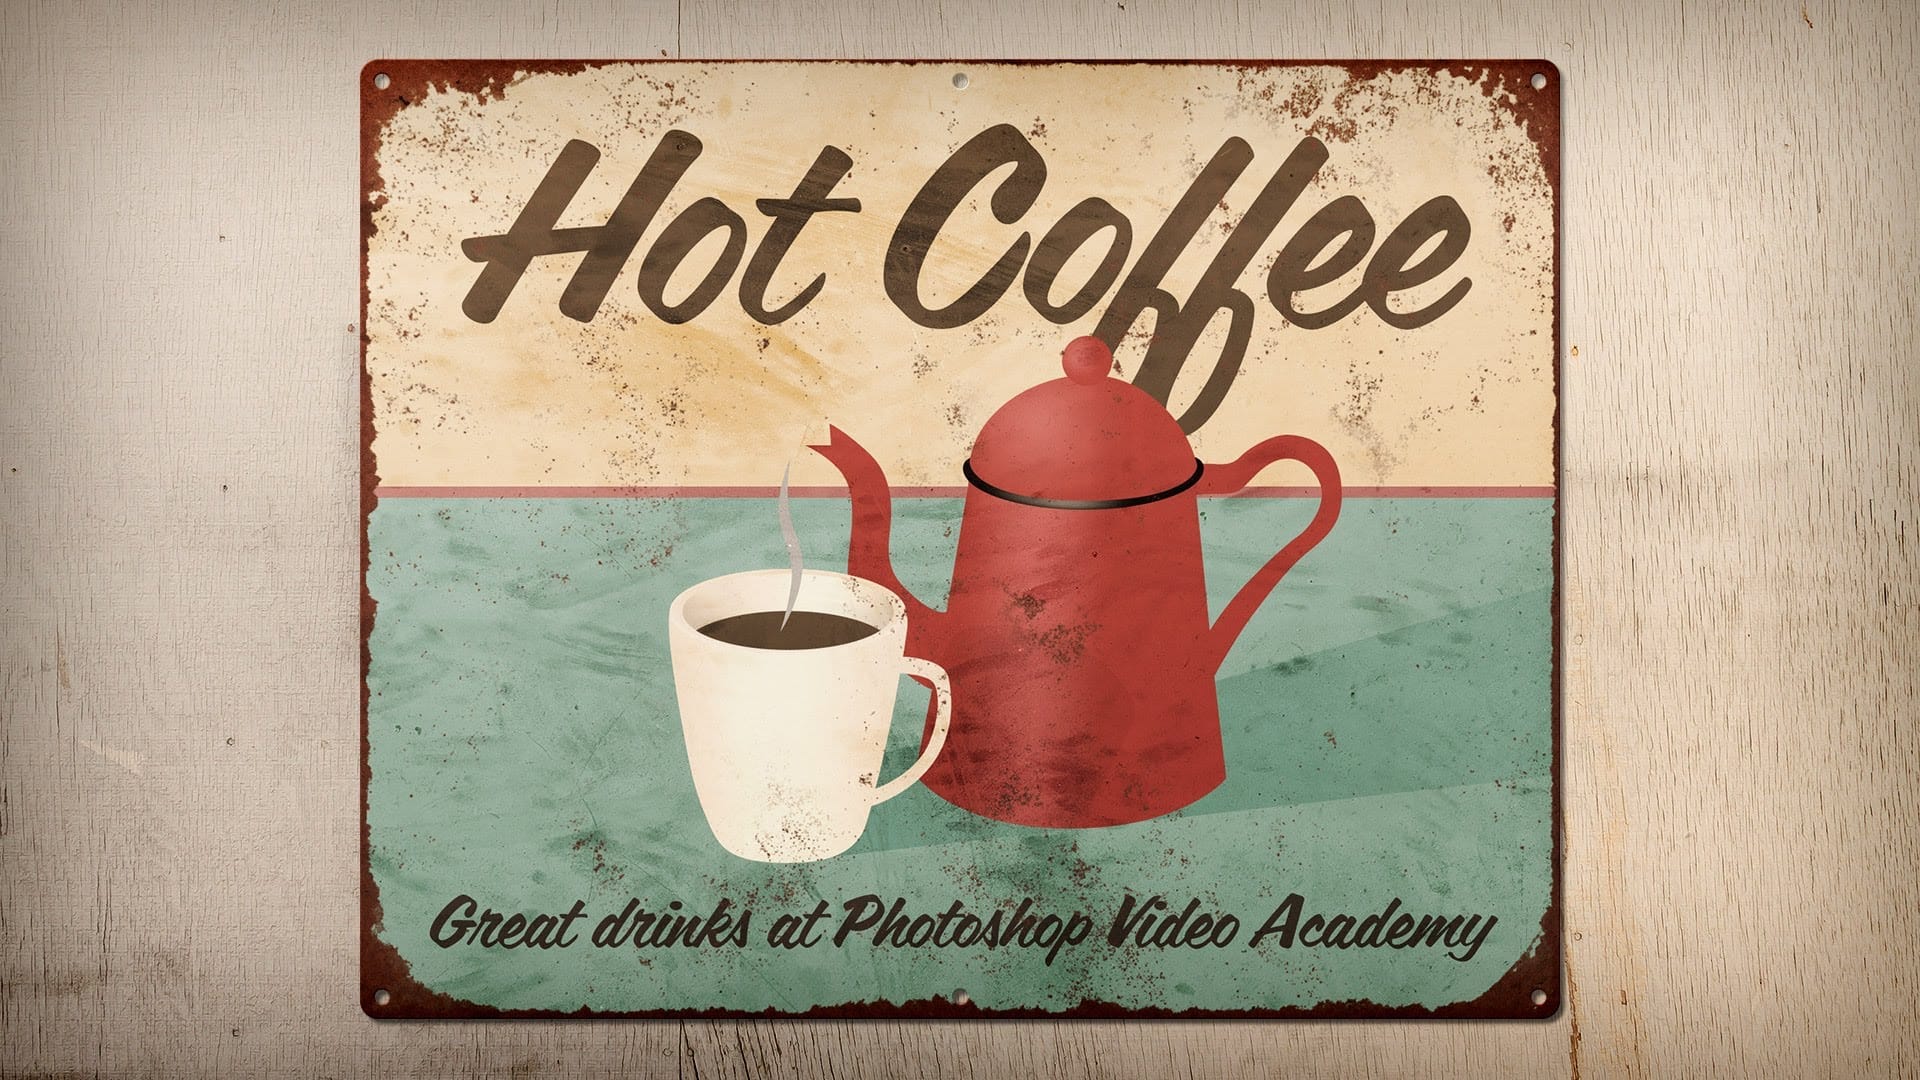
How to Create a Rusty, Vintage Tin Sign in Photoshop
This video will teach you how to create a rusty, vintage tin sign in Photoshop where you can swap out the artwork at any time without destroying any of the effects.
Create a light bulb text effect in Photoshop
In this tutorial by Abduzeedo, you will learn how to create a light bulb text effect in Photoshop, where the text resembles the filament of a light bulb. This process focuses on blending text with photos to achieve a realistic look.
You will experience a straightforward approach, making it accessible for beginners and skilled users alike. The steps outlined in the tutorial guide you through each phase, ensuring clarity and ease of understanding.
The final result is a visually striking text eff
Create a Realistic Neon Sign Text Effect in Photoshop
In this Photoshop tutorial by Pixivu, you'll learn how to create a realistic neon text effect, complete with a neon sign and light hanging on a weathered brick wall using only Smart Objects.
By the end of the tutorial, you'll be able to create a vibrant and lifelike neon text effect mockup that can be reused and re-applied with a single click. This tutorial offers a practical and efficient method for achieving stunning neon designs.
Watch tutorial

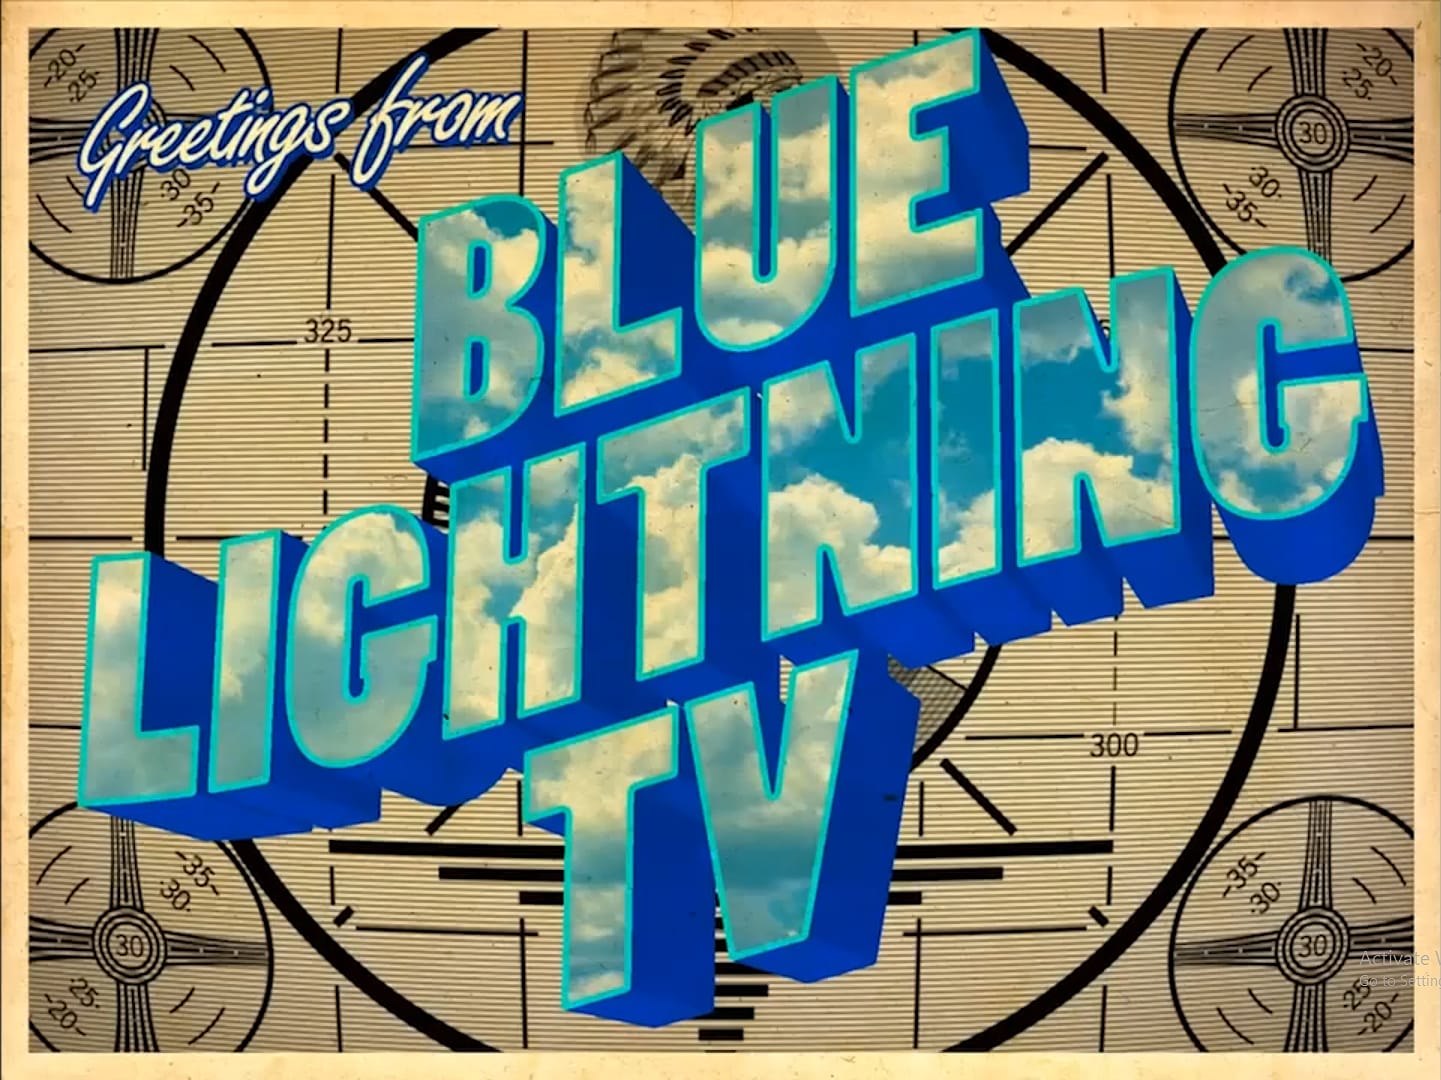
How to Create a Vintage Postcard in Photoshop
Vintage postcards evoke a sense of nostalgia, transporting us to simpler times and scenic destinations. These timeless keepsakes, with their distinctive textures and faded colors, carry a unique charm that digital photography often struggles to replicate. Learning to recreate this aesthetic can add a touch of history and warmth to your modern photos.
In this tutorial, you’ll learn how to transform ordinary digital images into stunning vintage tourism postcards using Adobe Photoshop. The video g