Photoshop's Generative Fill transforms photo editing by letting you add realistic objects using simple text descriptions. This AI-powered feature creates seamless additions that match your image's lighting, perspective, and style.
The process requires just a basic selection and a descriptive prompt to generate professional-looking results in seconds.
Watch the Tutorial
Video by Adobe Photoshop. Any links or downloads mentioned by the creator are available only on YouTube
Essential Tips for Generative Fill Success
- Make your selection slightly larger than the object you want to generate — this gives Photoshop room to blend the new content naturally with surrounding areas
- Use specific, descriptive prompts that include details about style, materials, colors, and actions rather than generic descriptions
- Create precise selections when you need specific shapes or orientations — draw the approximate outline of complex objects like teapots or furniture
- Start with simpler prompts and regenerate with more descriptive words if the first results don't match your vision
- Position your selection carefully from the start since moving generated content later is more difficult than getting the location right initially
More Tutorials About Generative Fill
Explore advanced techniques and creative applications for AI-powered photo editing.
How Generative Fill in Photoshop is Transforming Photo Editing
In the ever-evolving realm of photo editing, a game-changing feature has emerged that promises to revolutionize the way we approach image enhancement. Enter Generative Fill, an innovative tool introduced in the Photoshop Beta, and it's already making waves. Spearheaded by the renowned creative mind Aaron Nace from PHLEARN, this tool is poised to reshape the landscape of digital editing.
Generative Fill isn't your typical editing tool that relies on traditional methods. Instead, it leverages the
Complete Guide to AI Photo Editing with Photoshop's Generative Fill
Modern photo editing has entered a new era where artificial intelligence can solve complex visual problems in seconds. Tasks that once required hours of manual work—removing unwanted objects, changing skies, adding realistic elements—can now be accomplished with simple selections and text prompts.
This comprehensive tutorial demonstrates 37 practical applications of Photoshop's AI-powered generative fill feature. From basic sky replacements to advanced portrait retouching, these techniques show
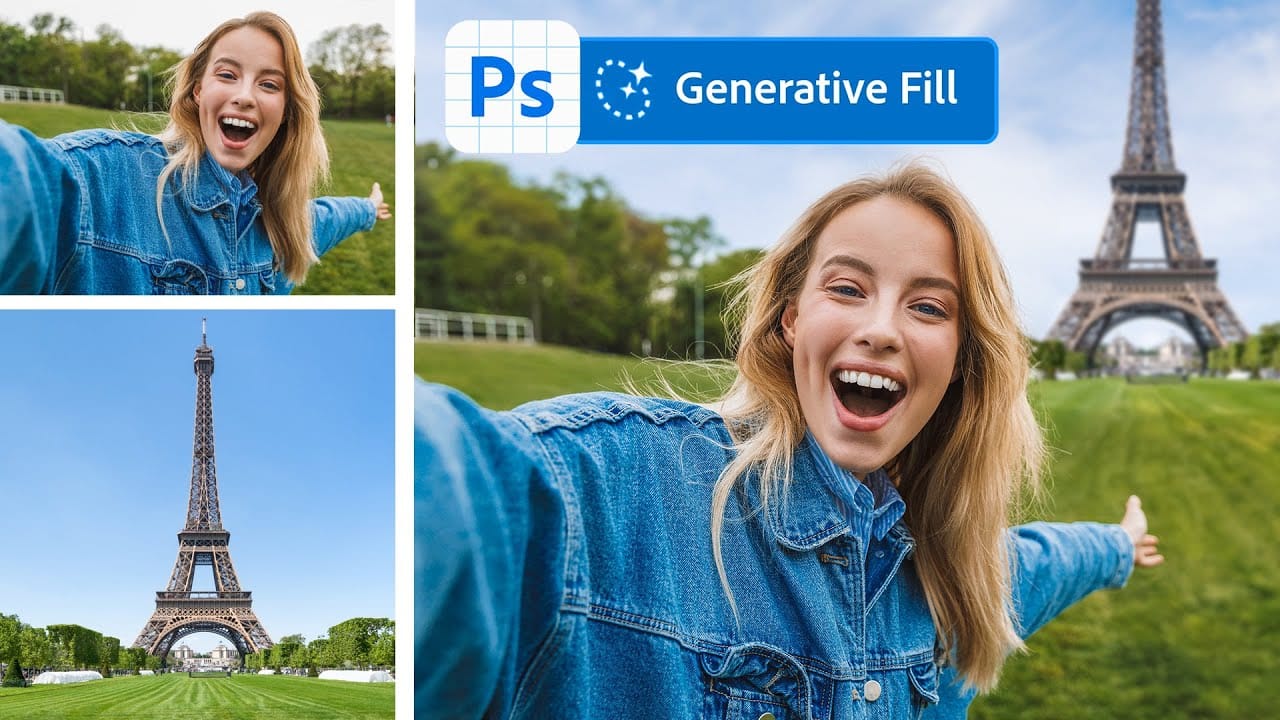
Merge two photos in just a few clicks using Photoshop's Generative Fill
Photoshop Training Channel presents a helpful guide for blending multiple images together with ease. Generative Fill is one of Photoshop's most powerful but underutilized tools, and in this video PTC shows users how they can take advantage of its full capabilities. Through a simple step-by-step process, viewers will learn how to use Generative Fill to automatically composite numerous photos into a single cohesive image.
Presented in PTC's clear training style, photographers and image editors of
How to Get Higher Quality Results from Photoshop's Generative Fill Tool
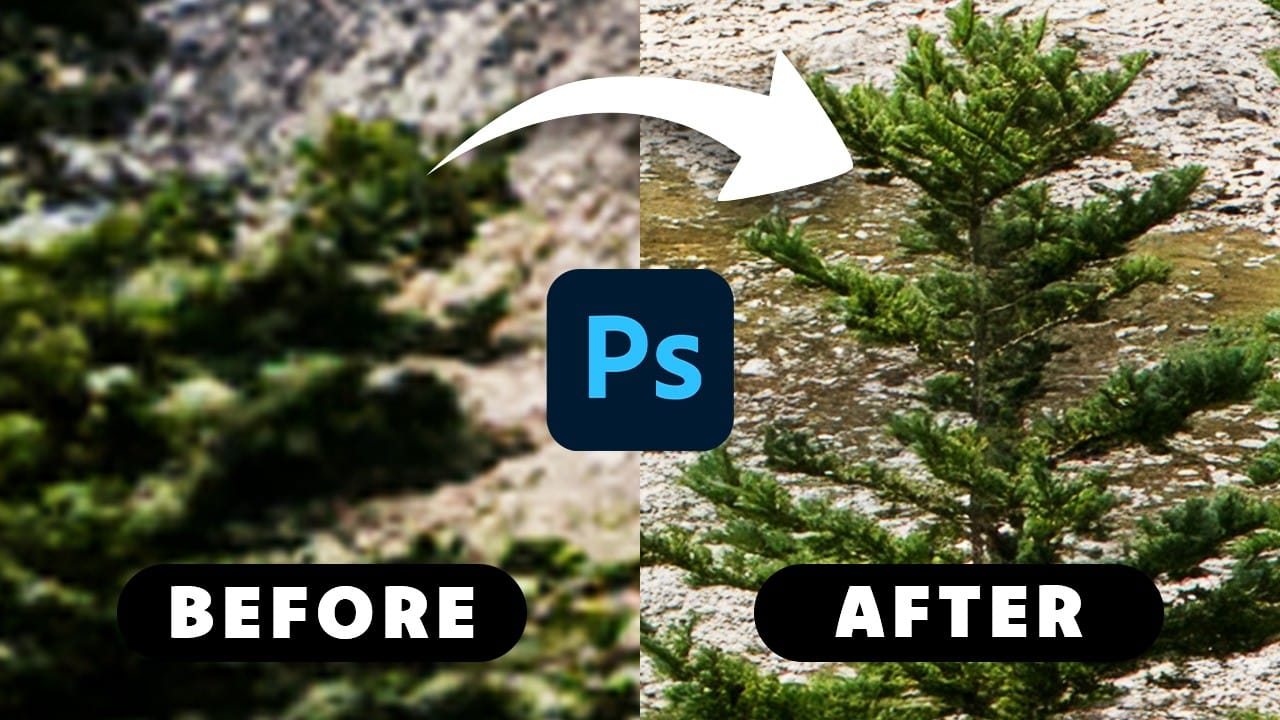
Photoshop's Generative Fill creates impressive AI extensions, but the results often look blurry and pixelated when viewed at full size. This quality limitation makes many AI-generated areas unusable for printing or large displays.
This technique shows how to work around the 1024x1024 pixel quality limit to create much sharper, more professional-looking generative fill results.
Watch the Tutorial
Essential Tips for Better Generative Fill Quality
* Keep selections under 1024x1024 pixels — G