Generative Fill represents the most significant advancement in photo editing technology in decades. Using artificial intelligence, this tool can remove objects, change backgrounds, extend images, and add new elements with simple selections and text prompts.
The feature analyzes your image's lighting, perspective, and depth of field to create seamless, photorealistic results that would previously require hours of manual work and advanced compositing skills.
Watch the Video
Practical Tips
Here are the essential techniques for getting the best results from Generative Fill:
- Use Select Subject first, then inverse the selection to replace backgrounds quickly
- Leave the prompt field blank for automatic content-aware filling when removing objects
- Make multiple selections at once for cohesive fills that share the same lighting and style
- Overlap existing image areas when extending photos to provide context for the AI
- Generate multiple variations by clicking the generate button repeatedly until you find the perfect result
Related Articles and Tutorials
Explore more AI-powered editing techniques and advanced applications:
How to Add Objects to Photos Using Photoshop's Generative Fill
Photoshop's Generative Fill transforms photo editing by letting you add realistic objects using simple text descriptions. This AI-powered feature creates seamless additions that match your image's lighting, perspective, and style.
The process requires just a basic selection and a descriptive prompt to generate professional-looking results in seconds.
Watch the Tutorial
Essential Tips for Generative Fill Success
* Make your selection slightly larger than the object you want to generate — t

Complete Guide to AI Photo Editing with Photoshop's Generative Fill
Modern photo editing has entered a new era where artificial intelligence can solve complex visual problems in seconds. Tasks that once required hours of manual work—removing unwanted objects, changing skies, adding realistic elements—can now be accomplished with simple selections and text prompts.
This comprehensive tutorial demonstrates 37 practical applications of Photoshop's AI-powered generative fill feature. From basic sky replacements to advanced portrait retouching, these techniques show
Essential Guide to Generative Fill: Remove, Add, and Replace Objects in Photos
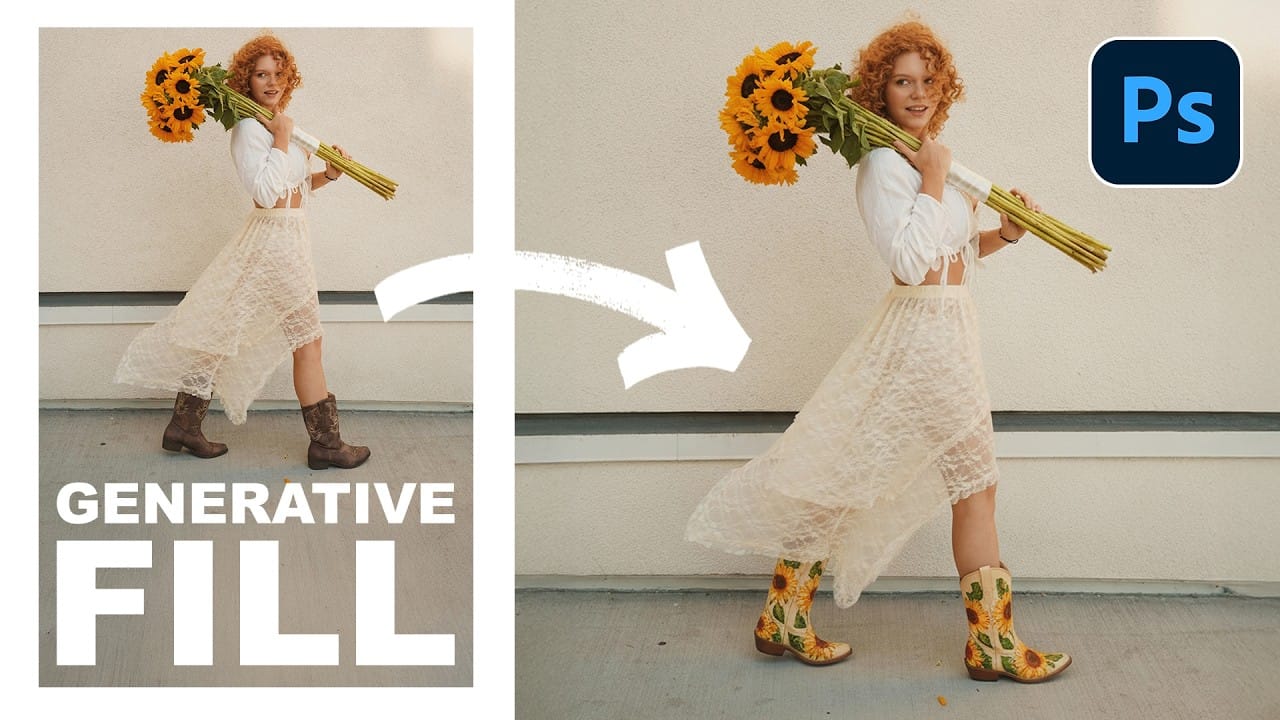
Generative Fill has transformed how photographers handle object removal, additions, and replacements in their images. This comprehensive tutorial demonstrates four practical applications using real examples—from cleaning up unwanted graffiti to adding garden gnomes and creating custom sunflower boots.
You'll learn to work with both Adobe's Firefly Image 3 and Google's Gemini 2.5 models, understanding when to use each approach for optimal results.
Watch the Video
Practical Tips
Here are the
Generative AI: A new era of Photoshop begins
Generative AI has made its way into the world of Photoshop, and in this fascinating video, Colin Smith from Photoshop Cafe explores its transformative capabilities.
Generative AI is an incredible technology that's transforming the world of artificial intelligence. It's like having a creative companion that can generate all sorts of new content, from stunning images to captivating music and even imaginative stories. With its advanced algorithms and neural networks, generative AI brings a touch o
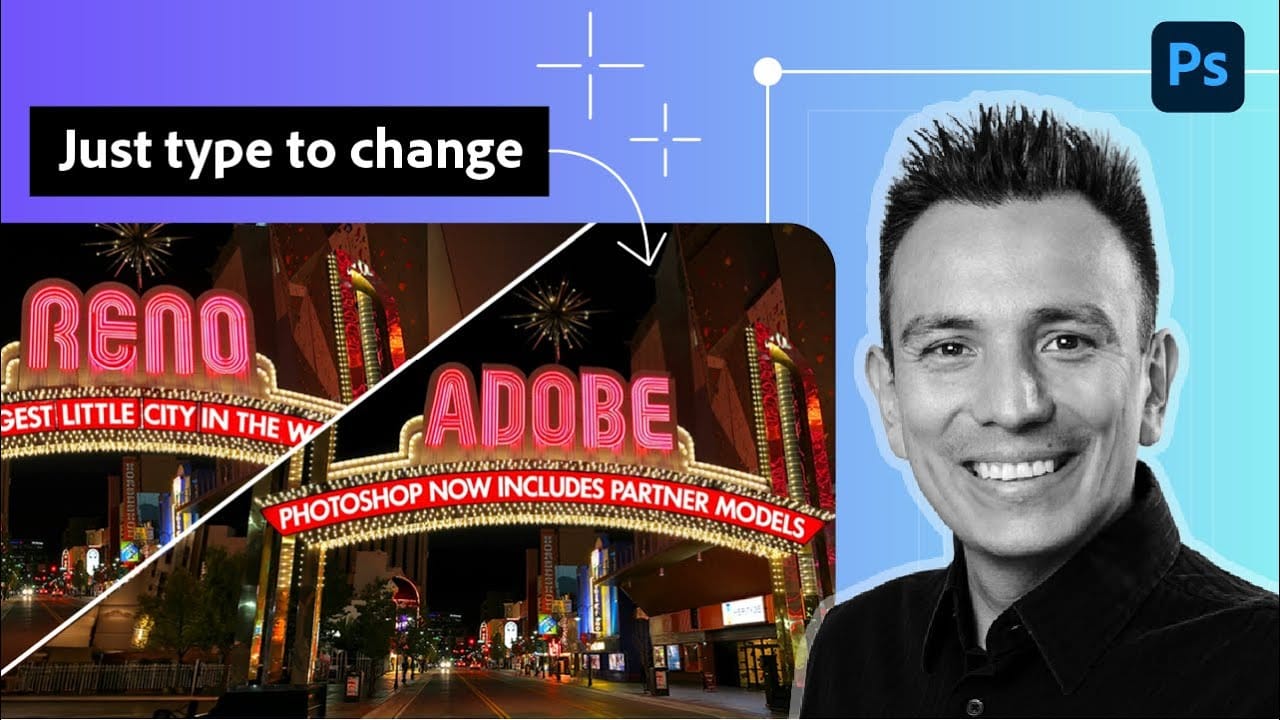
How to Edit Text in Images Using Generative Fill
Changing text within existing images has traditionally required complex masking and reconstruction techniques. Modern AI-powered tools now make it possible to seamlessly replace words and phrases in photographs while maintaining realistic typography, lighting, and perspective that matches the original scene.
This technique works particularly well for signs, storefronts, billboards, and other text elements embedded in photographic content, offering designers a powerful way to customize images wi
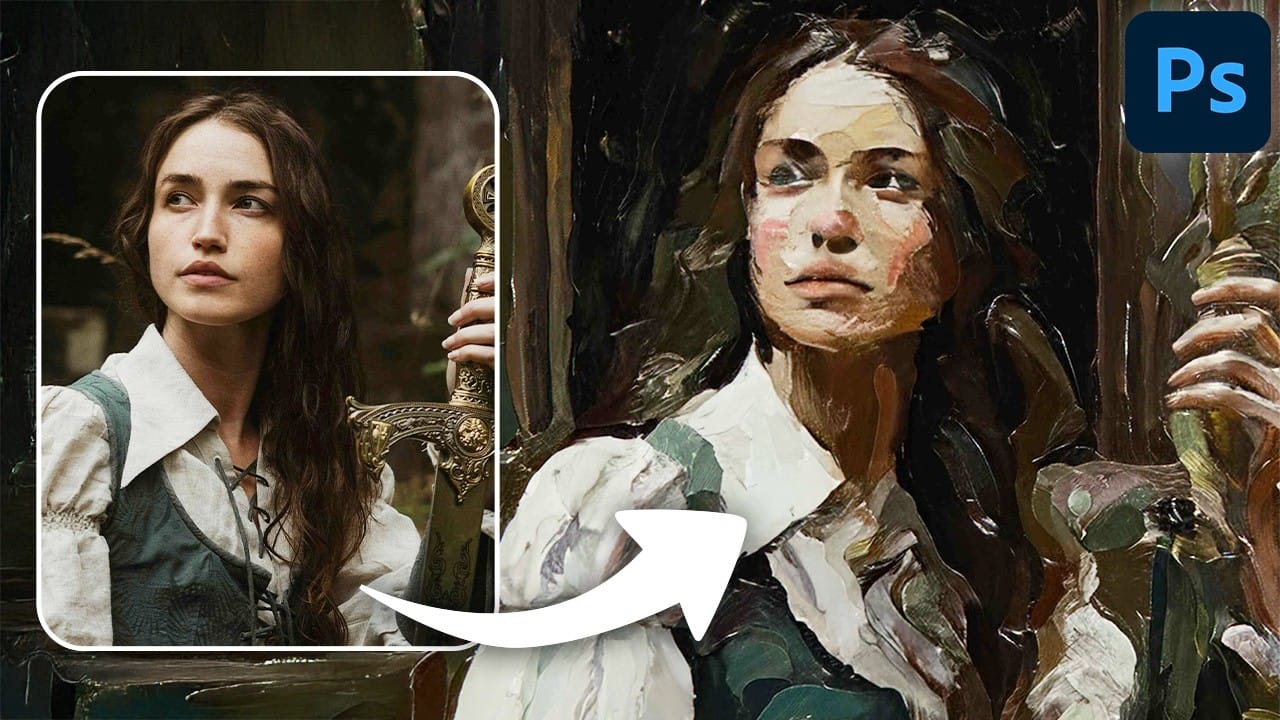
Turn Pictures Into Paintings Using Generative Fill In Photoshop
Converting photographs into artistic paintings has traditionally required advanced Photoshop skills, complex layer blending techniques, or expensive third-party plugins. Many photographers and designers struggle with creating convincing painted effects that maintain the original image's character while adding genuine artistic style.
This tutorial demonstrates how to transform photos into paintings using Photoshop's generative fill feature combined with channel-based selections. The technique cr
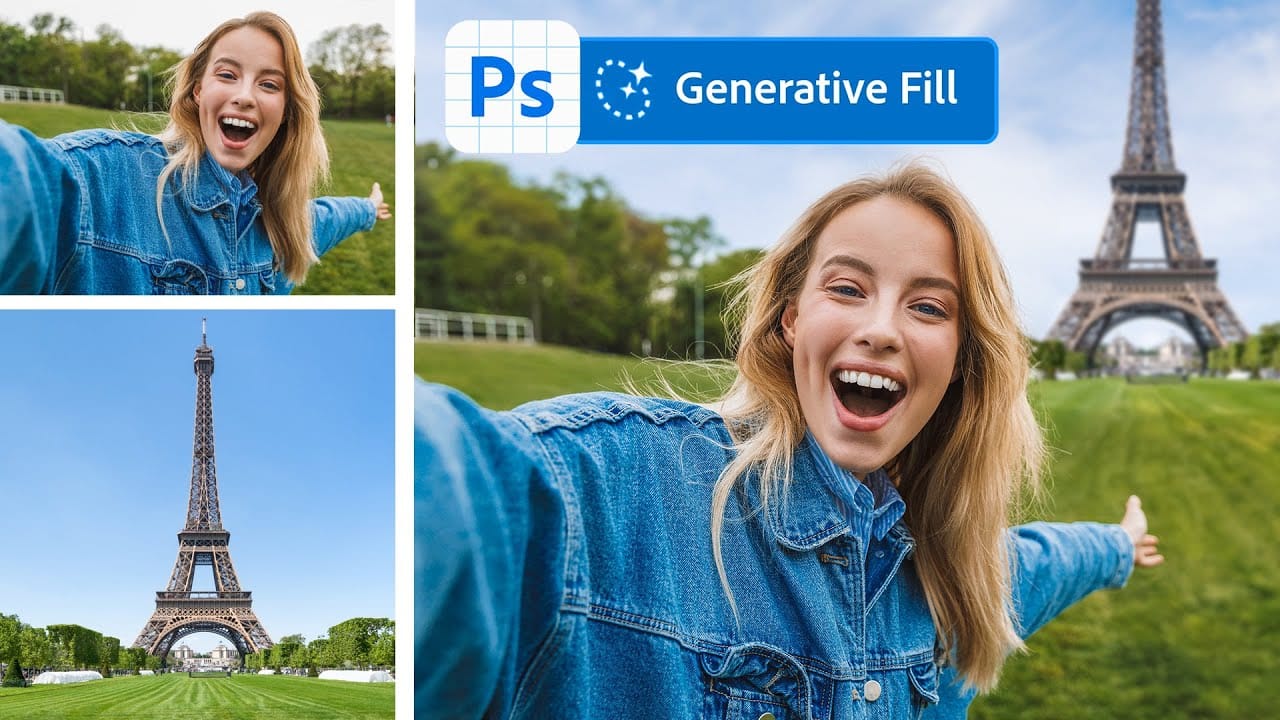
Merge two photos in just a few clicks using Photoshop's Generative Fill
Photoshop Training Channel presents a helpful guide for blending multiple images together with ease. Generative Fill is one of Photoshop's most powerful but underutilized tools, and in this video PTC shows users how they can take advantage of its full capabilities. Through a simple step-by-step process, viewers will learn how to use Generative Fill to automatically composite numerous photos into a single cohesive image.
Presented in PTC's clear training style, photographers and image editors of
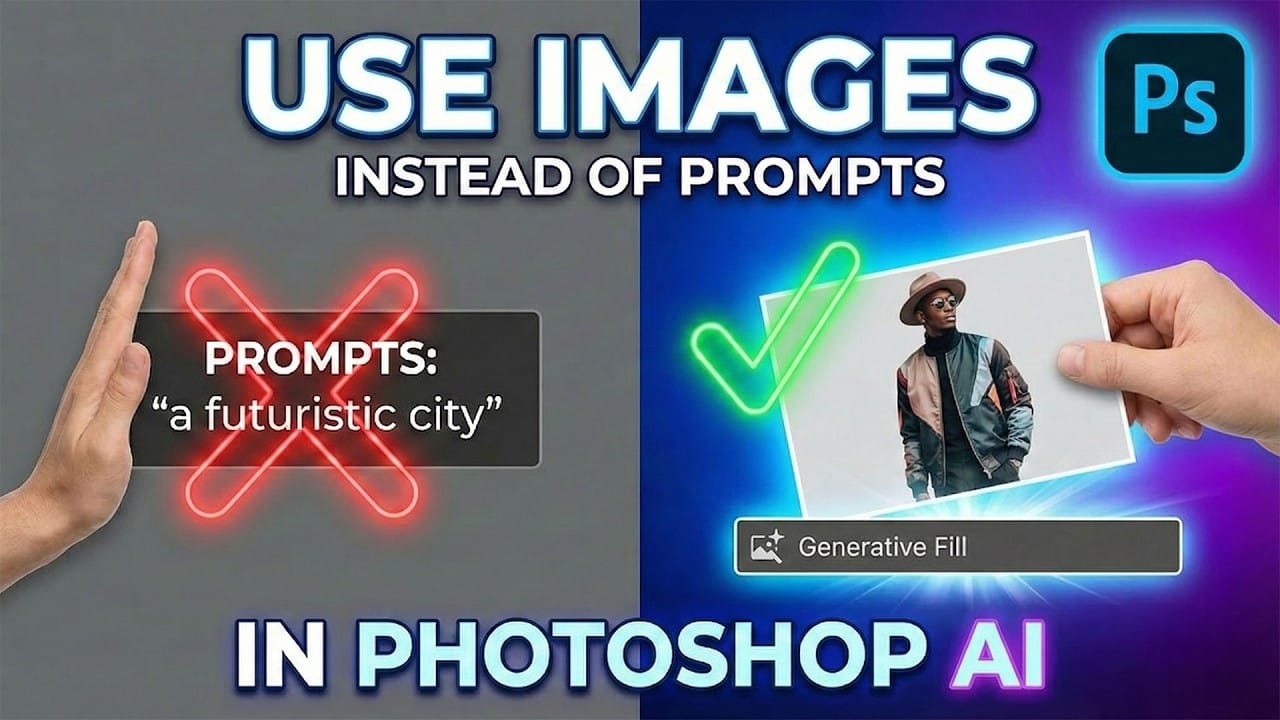
How to Use Reference Images with Generative Fill in Photoshop
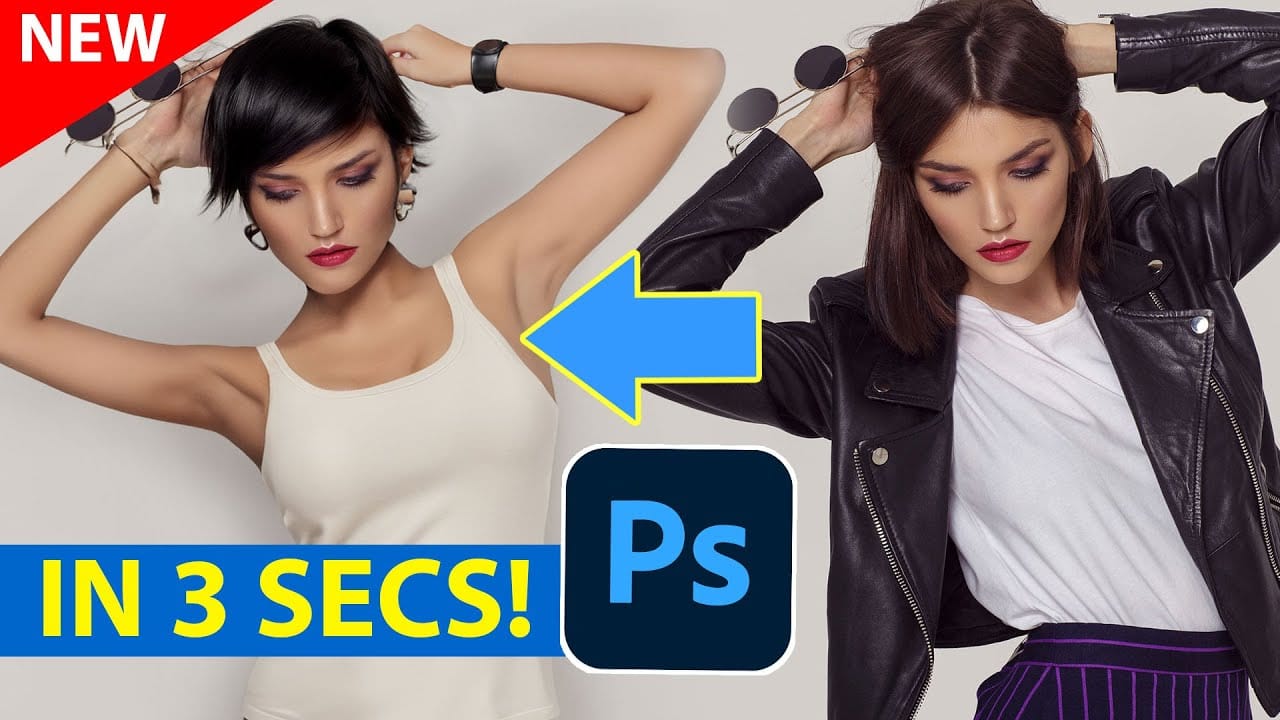
Reference images revolutionize how Generative Fill works, letting you guide AI with actual photos instead of text prompts. This feature enables precise clothing swaps, object replacements, and realistic additions by showing the AI exactly what you want rather than describing it.
The technique works with everything from custom t-shirts and branded merchandise to complex items like leather jackets, automatically handling wrapping, shadows, and perspective to create convincing results.
Watch the
How to Get Higher Quality Results from Photoshop's Generative Fill Tool
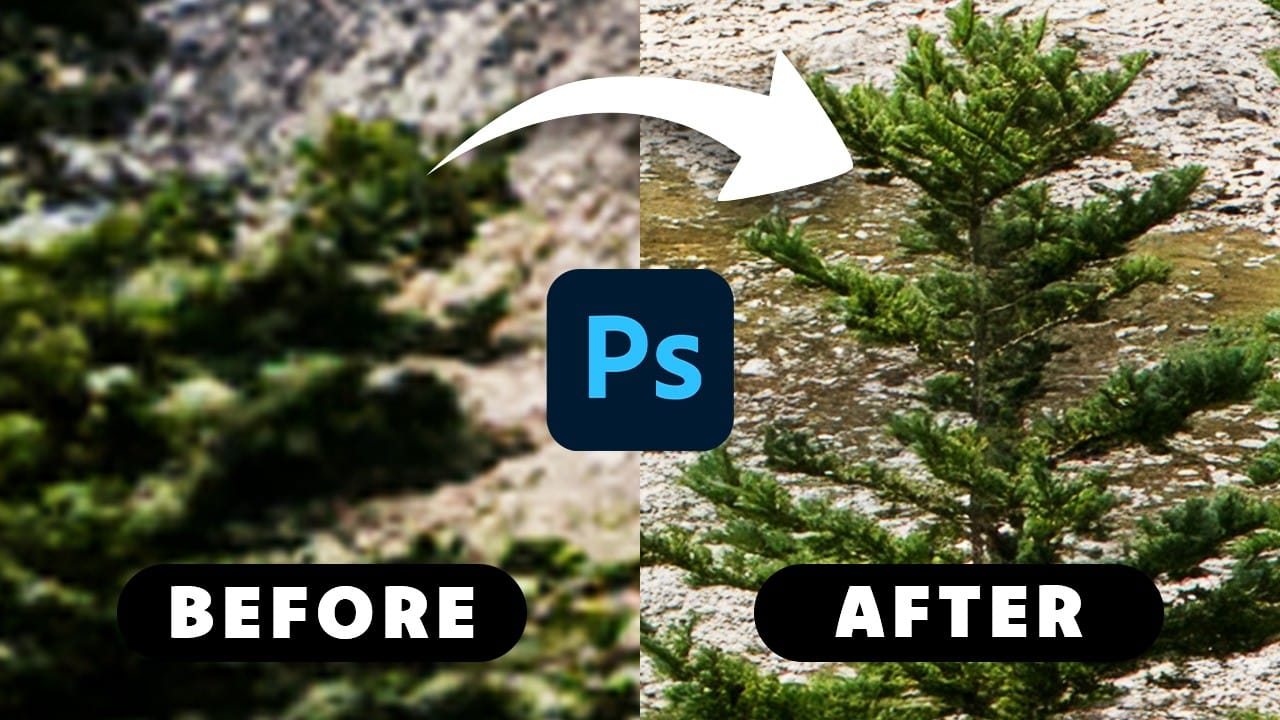
Photoshop's Generative Fill creates impressive AI extensions, but the results often look blurry and pixelated when viewed at full size. This quality limitation makes many AI-generated areas unusable for printing or large displays.
This technique shows how to work around the 1024x1024 pixel quality limit to create much sharper, more professional-looking generative fill results.
Watch the Tutorial
Essential Tips for Better Generative Fill Quality
* Keep selections under 1024x1024 pixels — G