Texture overlays transform ordinary photos into compelling artistic images with depth and visual interest. The right texture can add warmth, grunge, or subtle mood changes that elevate your creative work.
This tutorial demonstrates two reliable methods for applying texture overlays, showing you when and how to use each technique in your editing workflow.
Watch the Tutorial
Video by SandraD Imagery. Any links or downloads mentioned by the creator are available only on YouTube
Essential Tips for Texture Overlays
These techniques work best when you understand the fundamentals of texture placement and blending:
- Use Place Embedded for more control — it automatically opens textures in transform mode for precise positioning
- Experiment with Color Burn and Multiply blend modes for rich, dramatic effects on warm-toned images
- Try Overlay and Soft Light modes for subtle texture integration that preserves original colors
- Grab corner handles when transforming textures to maintain proper proportions and avoid distortion
- Lower opacity when blend modes create overly intense effects — this preserves texture while balancing the overall look
More Tutorials About Texture Effects
Explore these guides for advanced texture techniques and creative applications.
Add a texture to a photo in Photoshop
In this tutorial, you'll discover a straightforward method for incorporating textures into your images. The approach involves combining multiple textures to achieve the desired effect.
The tutorial is presented by Aaron Nace from Phlearn, a renowned expert in the field of photo editing and enhancement. By following along, you'll gain the skills to transform your images and add unique, textured elements that can elevate your visual storytelling.
The step-by-step instructions provided in the tut
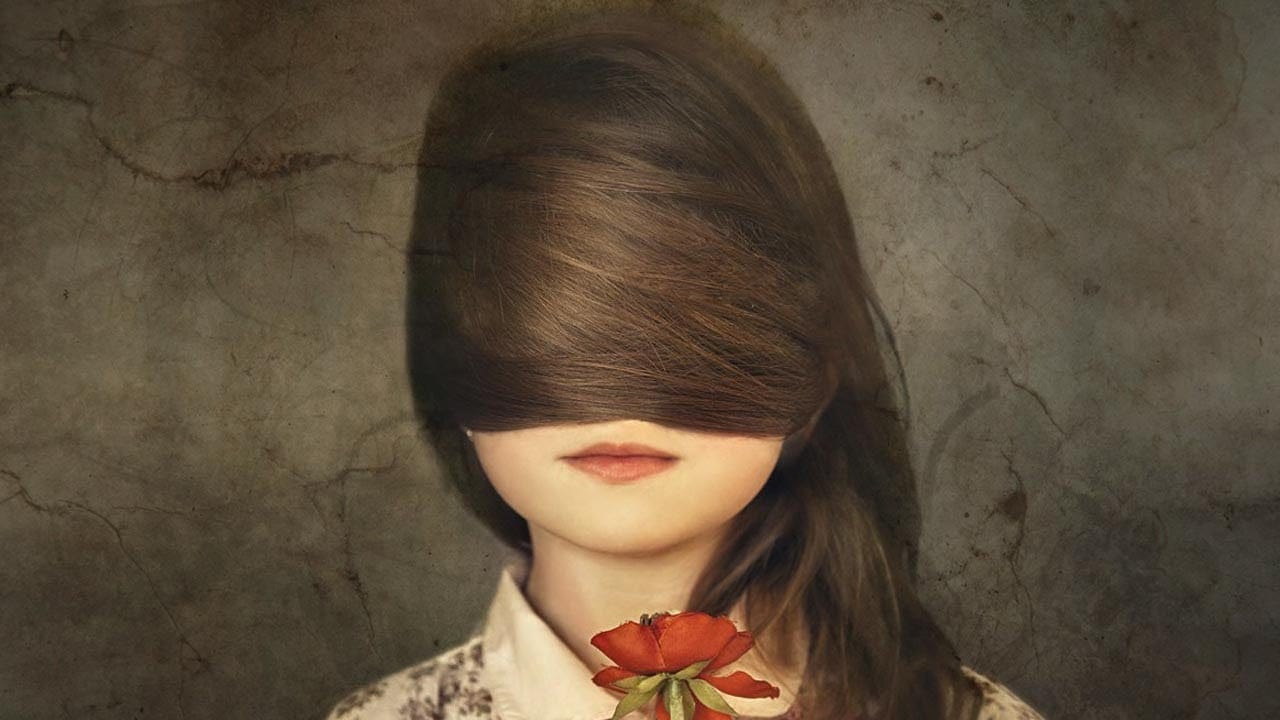
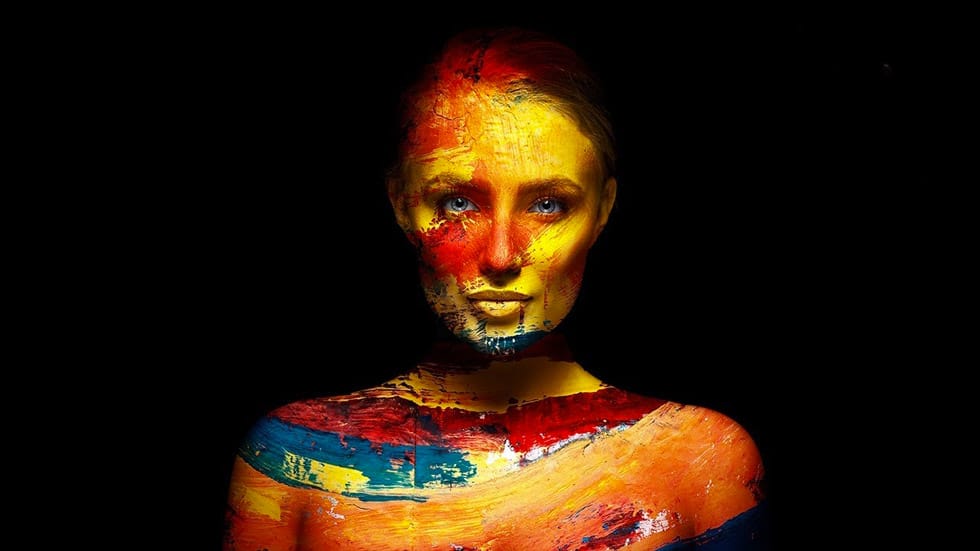
Add Creative Color and Texture to Portraits in Photoshop
In this tutorial by PiXimperfect you will learn how to apply highly realistic paints and textures to portraits in Photoshop. Learn how to manually mold the texture according to the shape of the portrait and use advanced blend modes and blend-if to blend in the colors in the most natural fashion.
In this tutorial, we will also learn how to dodge and burn to add more dimension and make your creative portrait really pop.
Watch tutorial
How to Blend Two Photos in Photoshop
In this Photoshop tutorial, the author Arunz Creations shows how to blend two photos together. The process involves merging a photo of clouds with a portrait using blending modes.
The instructions are straightforward and easy to follow. First, the user opens both photos in Photoshop. Then, they select the cloud photo and copy it to the same layer as the portrait. Next, they adjust the blending mode to achieve the desired effect, experimenting with different options until they find the perfect b

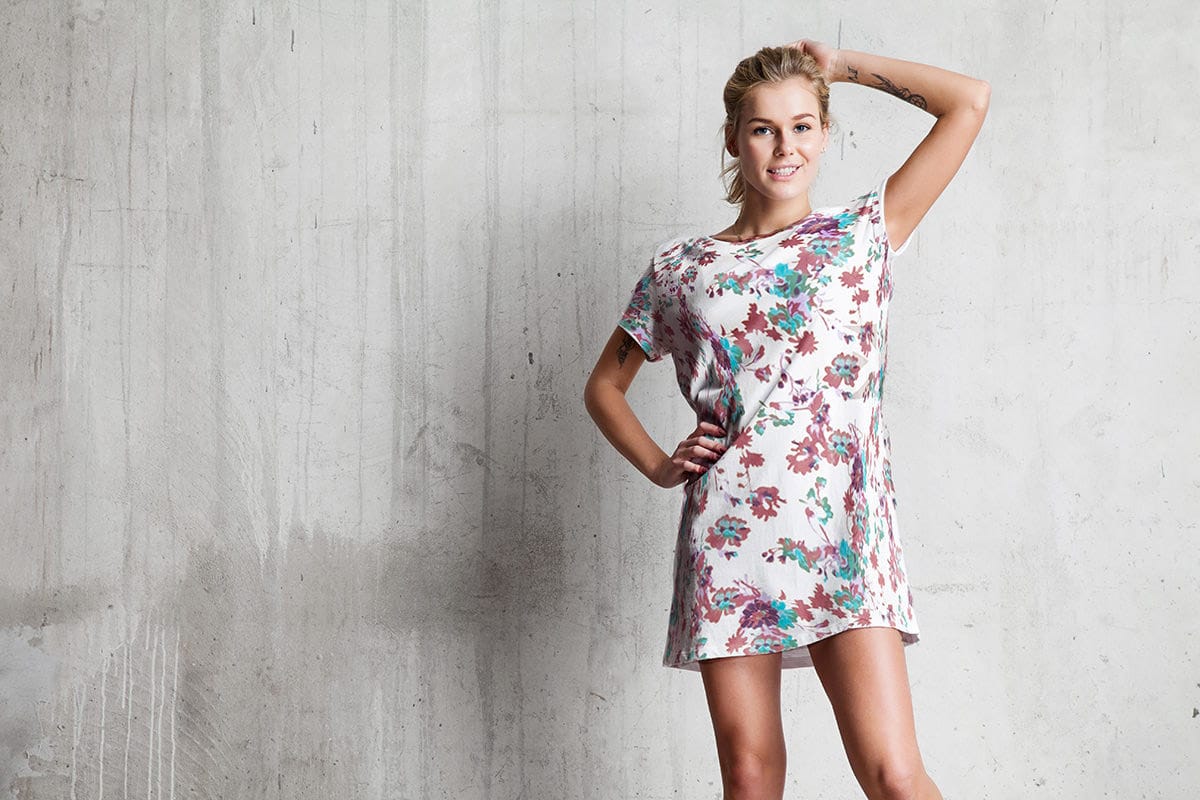
How to Add Patterns to Clothing in Photoshop
In this comprehensive tutorial, author Aaron Nace from Phlearn guides readers through the process of adding a pattern to clothing in Photoshop. The step-by-step approach ensures that even novice users can easily follow along and achieve professional-looking results.
The tutorial begins by explaining how to scale and rotate the pattern, positioning it with precision to create a seamless and visually appealing design. From there, the author demonstrates the use of the Liquify tool, a powerful fea