New Photoshop Feature for Changing Colors

New Photoshop Feature for Changing Colors

Working on the color palette of an image is a fundamental task in photo editing, enabling designers and photographers to evoke different moods, correct imbalances, or simply reimagine visual elements. While Photoshop has long offered robust tools for color manipulation, achieving precise and natural-looking changes often required a multi-step workflow and a deep understanding of complex adjustments.

This video introduces a groundbreaking new feature in Photoshop's beta version, designed to streamline and simplify the process of altering colors. Viewers will discover how the intuitive "Adjust Colors" tool, integrated directly into the contextual taskbar, allows for quick identification and modification of dominant hues, significantly enhancing efficiency in color-centric projects.

Watch the Video

Any links or downloads mentioned by the creator are available only on YouTube

Understanding Color Adjustment Workflows in Photoshop

For decades, Photoshop users have relied on the Hue/Saturation adjustment layer as a cornerstone for altering colors. This powerful tool operates on the HSL color model, which breaks down color into three distinct components, offering granular control. The new "Adjust Colors" feature builds upon this foundation, enhancing its accessibility and intelligence by automatically identifying key colors within an image.

Traditionally, isolating specific colors for adjustment involved manual selections or precise eyedropper use to define color ranges. While effective, this could be time-consuming. The updated functionality, particularly the "prominent colors" preset, represents a significant leap forward, allowing users to target the most visually significant hues with unprecedented speed. This intelligent detection often reduces the need for extensive manual refinement, making complex color shifts more approachable.

The three fundamental aspects of color manipulation within the HSL model are:

  • Hue: This refers to the pure color itself, such as red, blue, or green. Adjusting the hue shifts a color along the color wheel.
  • Saturation: This dictates the intensity or purity of a color. Increasing saturation makes a color more vivid, while decreasing it moves it towards grayscale.
  • Lightness: This controls the brightness or darkness of a color. Adjusting lightness can transform a color to white or black, and is crucial for integrating new colors into areas that might lack inherent color information, like pure whites or deep shadows.

Practical Tips for Adjusting Colors

  • Access the new "Adjust Colors" feature through the contextual taskbar in the beta version of Photoshop, which can run side-by-side with your installed version.
  • Utilize the "Adjust Colors" button to automatically create a Hue/Saturation adjustment layer and populate the properties panel with prominent colors in your image.
  • Click on a dominant color identified by the tool to access its Hue, Saturation, and Lightness sliders for targeted adjustments.
  • Refine color selections using the range slider and the plus/minus eyedroppers in the Properties panel to precisely include or exclude specific tones.
  • Employ layer masks to fine-tune areas that were inadvertently affected by the global color change, painting with black to hide the adjustment and reveal original colors.

Explore more resources to enhance your color editing skills and discover various techniques for transforming image hues.

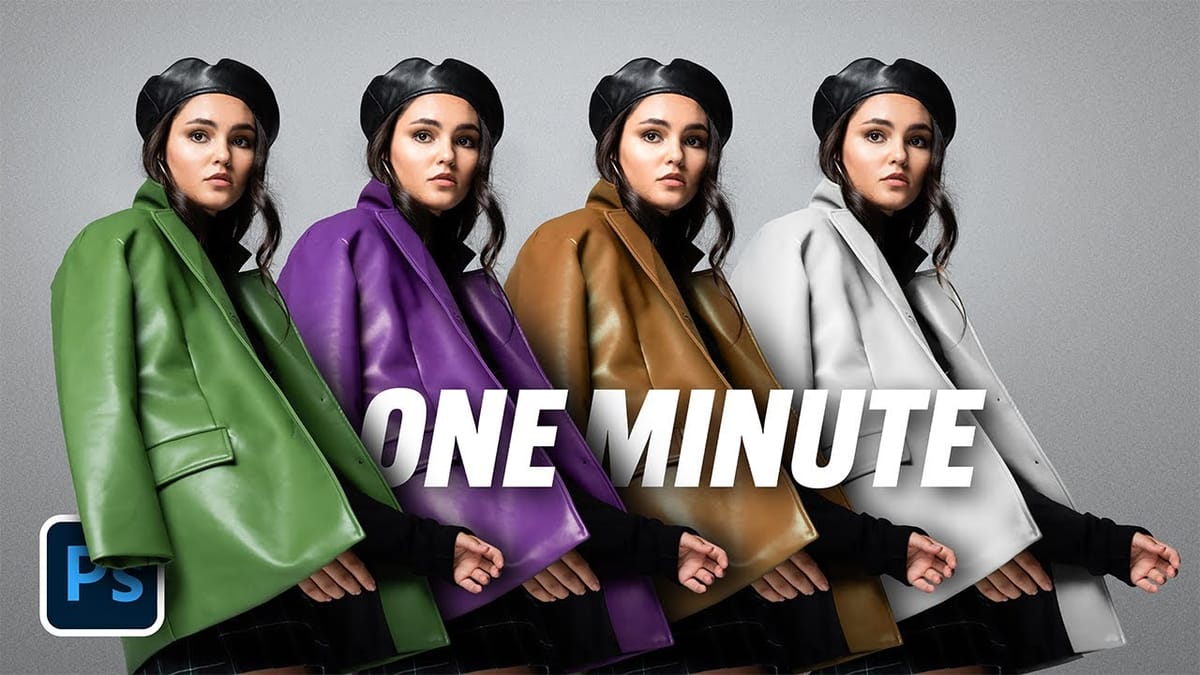
The easiest way to change any color in Photoshop
Changing the color of specific elements within an image can often be a frustrating challenge for designers and photographers. Achieving a precise color shift without affecting surrounding areas, or dealing with complex selections, often leads to a time-consuming and imperfect process. This guide introduces a highly efficient method utilizing Photoshop’s
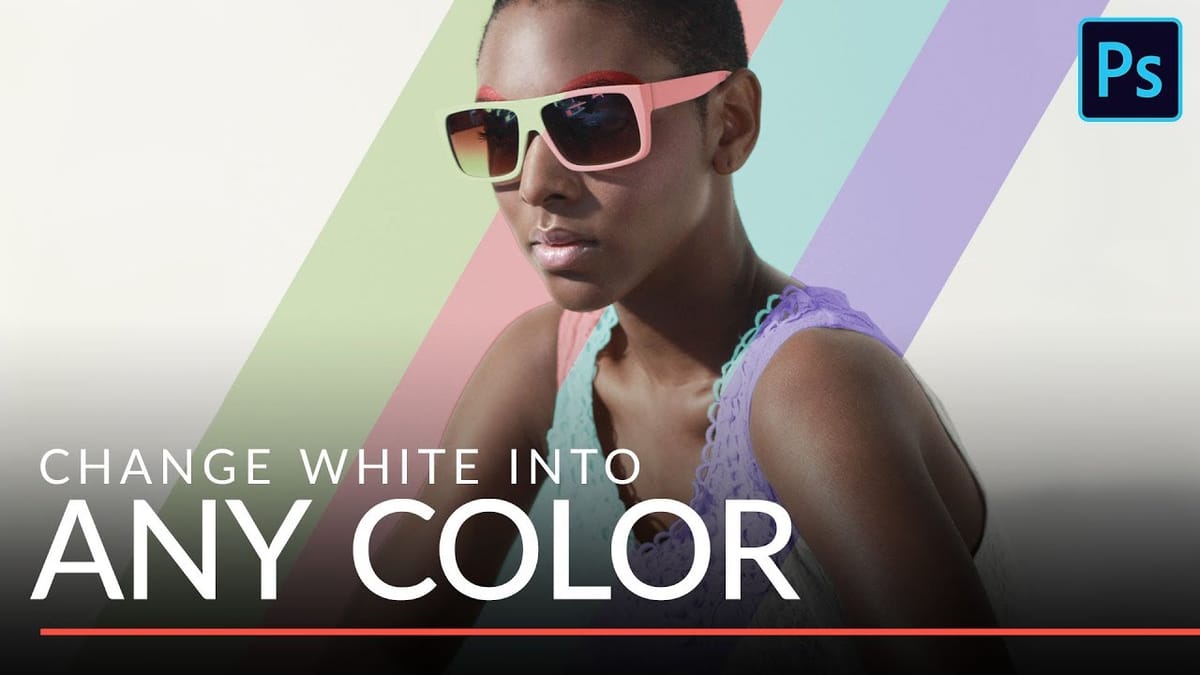
Change white into any color in Photoshop
In this tutorial Aaron Nace from Phlearn, will show you how to make insanely accurate selections and use them to change white clothes and a white background into any color that you want. This incredibly versatile technique will allow you to change any white elements in an image to any
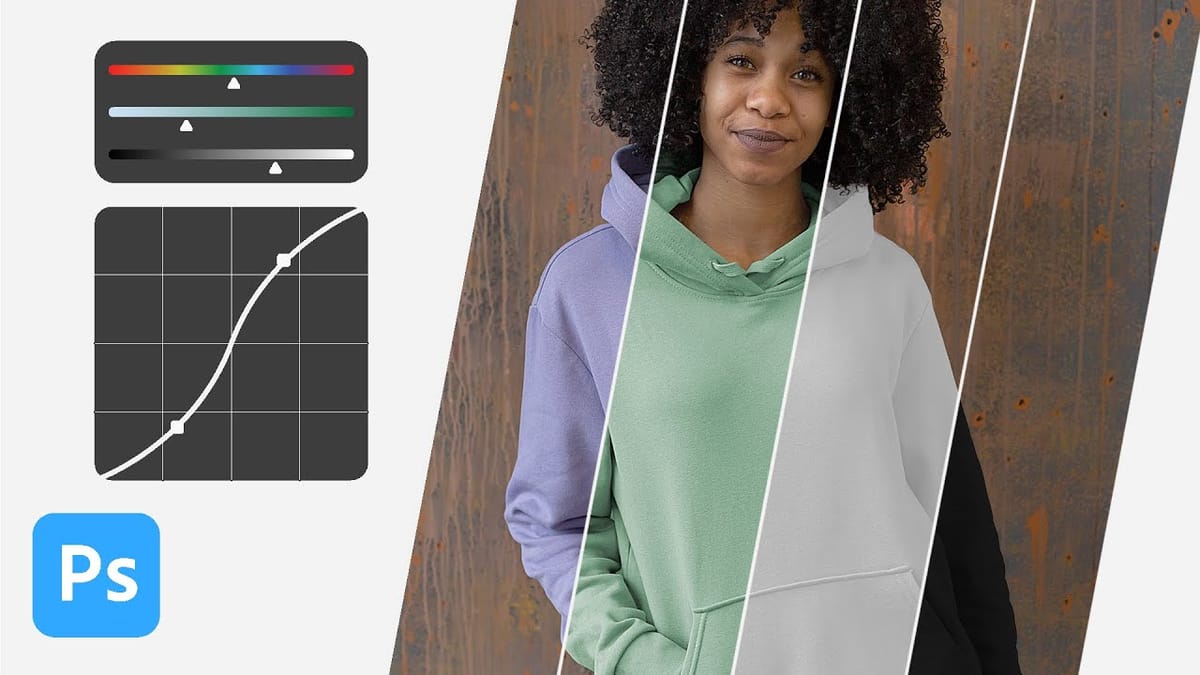
How to change the color of clothing in Photoshop
Change clothing to any color in Photoshop—even black or white! Learn how to use Layer Masks, Curves Adjustment Layers, and Hue/Saturation Adjustment Layers to change the color of anything, all while maintaining perfect detail and realistic highlights and shadows. Download the Sample Image & PSD here… More
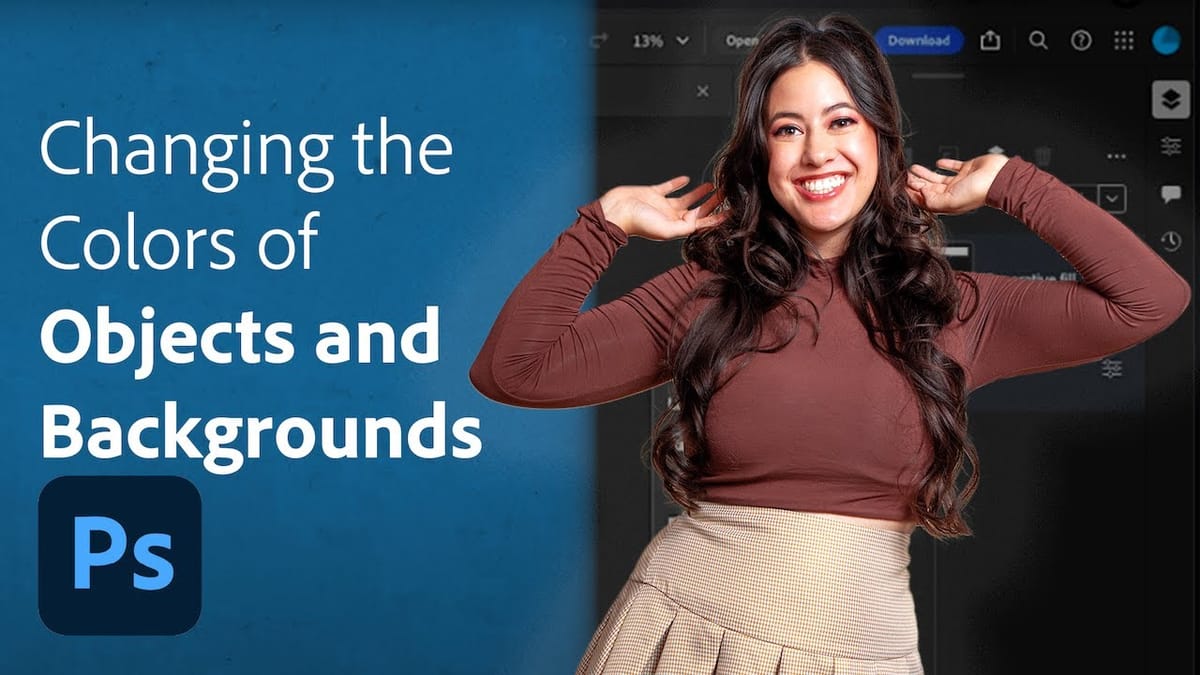
Change the Colors of Objects and Backgrounds with Photoshop on the Web
Transforming basic paper backdrops into limitless creative opportunities is more achievable than you might think. With @ruthiesmagicalcamera, this tutorial guides you through the process using Photoshop on the web, ensuring that you can follow along seamlessly. In this lesson, you will explore various techniques to enhance your images. Gain a

Get tutorials & freebies delivered to you.

Subscribe to the Photoshop Roadmap newsletter, a weekly roundup of new tutorials, insights and quality downloads, trusted by 6500+ readers.

You might also like

9 Photoshop Tools That Still Outperform AI for Precision and Control

AI generates images from descriptions, but it cannot hand you the brush. When a project demands exact colors, editable text, precise retouching, or seamless mockups, Photoshop's native tools remain the more reliable choice — not because AI is weak, but because these workflows require control that generative tools simply...

How to Create a Vintage Film Look in Photoshop Using Adjustment Layers

Aging a photo convincingly takes more than a preset — it requires control over highlights, color channels, and grain working together. This walkthrough covers a fully manual, non-destructive workflow for building a vintage film effect in Photoshop, using Color Range selections, Smart Filters, a Grain adjustment layer, and per-channel...

How to Use the Object Selection Tool in Photoshop for Faster Edits

The Object Selection tool lets you isolate parts of an image with a simple drag, and it becomes even more useful when paired with adjustment layers and layer masks. These techniques are practical for targeted color edits, texture work, and building selections that cover multiple elements like a flower, stem,...

How to Set Up Bleed and Crop Marks for Print in Photoshop

Sending a print file without proper bleed is one of the most common mistakes in print production. A bleed — typically 1/8 inch of extra canvas on all sides — prevents white slivers from appearing when a printer trims the finished piece. Photoshop's Canvas Size tool and AI-powered...

How to Use Camera Raw's Feathered Sky Mask to Create a Natural Glow Effect

Camera Raw now lets you feather and expand AI-generated masks directly in the masking panel — a feature that makes it possible to create a convincing light bloom effect without any manual brush work. This tutorial covers the full editing process for a dark, underexposed landscape shot, with the feathered...

How to Build a Photo Manipulation in Photoshop: A 4-Step Compositing Workflow

Building a convincing photo manipulation from scratch requires more than creativity — it demands a repeatable process. This breakdown covers the four core steps used to composite multiple images into a single cohesive scene, from rough layout through exposure matching, color balancing, and shadow painting. Watch the Video Practical Tips These...

You’ve successfully subscribed to Photoshop Roadmap
Welcome back! You’ve successfully signed in.
Great! You’ve successfully signed up.
Success! Your email is updated.
Your link has expired
Success! Check your email for magic link to sign-in.