Learn to transform ordinary text into a striking smashed rock effect in Photoshop. This tutorial guides you through creating a stylized, textured text design that appears to jump off the page, perfect for impactful headlines or logos.
Watch the Video
Practical Tips for a Smashed Rock Text Effect
To achieve a convincing smashed rock text effect, follow these key steps:
- Prepare your background by creating a radial gradient from mid-gray to near-black, then overlay a scaled and tiled rock texture using the Overlay blend mode for added depth.
- Break apart the text: Rasterize your text layer, then use the Polygonal Lasso Tool to select sections. Right-click > Layer Via Cut, then use Ctrl+T to slightly rotate and position pieces, merging them back with Ctrl+E to create cracks.
- Chip away pieces: Employ the Polygonal Lasso Tool to select triangular portions of the text. Right-click > Layer Via Cut, then use arrow keys to move these pieces outward, merging with Ctrl+E for a chipped appearance.
- Apply a layered texture mask: Perform a Ctrl+click on the text layer thumbnail to make a selection. Select your prepared rock texture layer and apply a layer mask to confine the texture precisely to the text shape.
- Refine with Bevel & Emboss: Apply multiple Bevel & Emboss layer styles (on duplicate texture masked layers with fill 0%) to create varied hard and soft edges, giving the rock text a realistic, multi-dimensional feel.
Related Articles and Tutorials about Text Effects
Explore more tutorials to enhance your text effects and design projects.
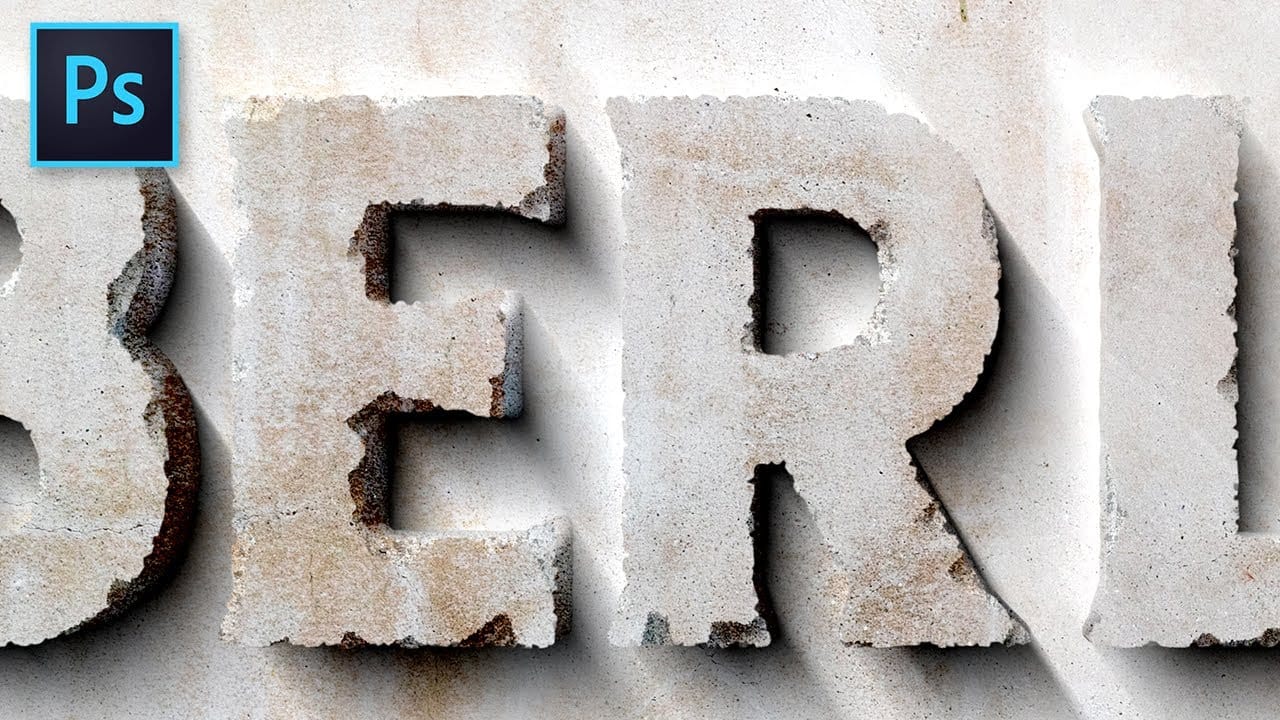
Carved Stone Text Effect in Photoshop
In this tutorial by Texturelabs, you'll learn how to create a realistic carved stone text effect using Adobe Photoshop.
Using simple yet versatile techniques, the tutorial guides you through the process of achieving a cracked and weathered concrete stone appearance for text. Additionally, Texturelab provides high-resolution textures of weathered stucco and concrete walls, available for download.
This tutorial is ideal for adding a rugged and aged aesthetic to your designs, allowing you to effo
How to Create a Grungy Splatter Text Effect in Photoshop
Grungy text effects capture the raw energy of street art and underground design movements. The weathered, distressed look adds character and rebellion to typography, making it perfect for band posters, urban branding, and edgy graphic projects.
This video demonstrates how to combine custom splatter brushes, texture overlays, and adjustment layers to transform clean text into a convincing grunge effect that feels authentic and impactful.
Watch the Video
Building Authentic Grunge Effects
Suc

Creating a Wet and Muddy Rocks Texture with Filter Forge Photoshop plugin
Filter Forge is an incredibly powerful Photoshop Plugin. It’s simply amazing. It gives you the power to create your own filters (you must run them from inside Filter Forge though) without any programming knowledge at all. Some technical knowledge about procedural textures and image processing helps a lot but it is not indispensable.
Just go to FilterForge web site and download the latest demo version. It will be fully functional for 30 days.
Just a quick note about Filter Forge: It is an educa
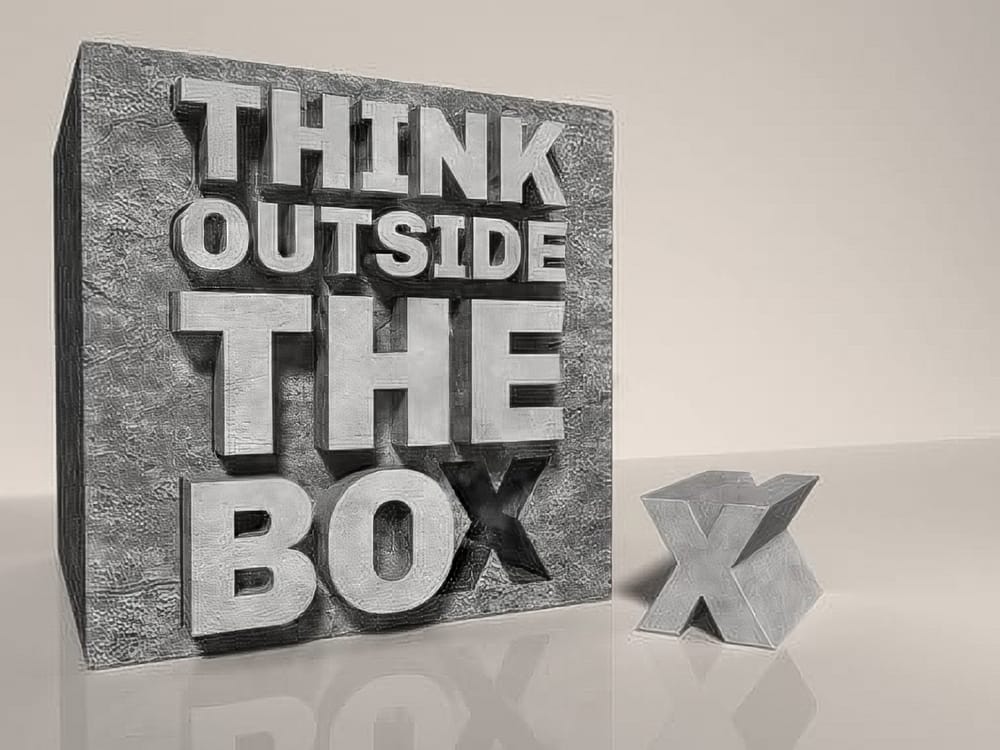
Create a Stone and Concrete 3D Text Effect in Photoshop
This tutorial guides you through the process of creating a striking stone and concrete 3D text effect using Photoshop. By combining Photoshop’s 3D tools with Filter Forge, you can achieve a unique and impressive look for your text.
You will start by setting up your canvas and entering the text you want to manipulate. Next, you will explore the 3D features in Photoshop to give your text depth and perspective. Afterward, incorporating Filter Forge allows you to apply textures that simulate the ru