How to Create a Grungy Splatter Text Effect in Photoshop

How to Create a Grungy Splatter Text Effect in Photoshop

Grungy text effects capture the raw energy of street art and underground design movements. The weathered, distressed look adds character and rebellion to typography, making it perfect for band posters, urban branding, and edgy graphic projects.

This video demonstrates how to combine custom splatter brushes, texture overlays, and adjustment layers to transform clean text into a convincing grunge effect that feels authentic and impactful.

Watch the Video

Video by P A N T E R. Any links or downloads mentioned by the creator are available only on YouTube

Building Authentic Grunge Effects

Successful grunge typography relies on layered imperfections rather than single distortion effects. The technique combines multiple texture sources to create depth and visual complexity that mimics real-world wear patterns.

Smart objects play a crucial role in this workflow, allowing non-destructive editing while maintaining crisp text edges. The combination of custom brushes and photographic textures creates more convincing results than filter-based distortion alone.

  • Custom splatter brushes create organic, hand-painted details
  • Photographic textures add realistic surface imperfections
  • Blend modes integrate elements naturally with the typography
  • Adjustment layers unify colors and enhance the gritty aesthetic
  • Layer masks control texture placement and intensity

Practical Tips for Grunge Text Effects

  • Convert text to smart objects before applying effects to maintain editability
  • Use the Alt + right-click drag method to quickly resize brushes while painting
  • Press X to swap between foreground and background colors efficiently
  • Apply multiple splatter brush strokes to build up organic texture variation
  • Use Darker Color blend mode to integrate textures without losing detail

More Tutorials about Grunge Text Effects

Explore additional techniques for creating distressed and weathered typography effects.
Advanced Grunge Text Effect in Photoshop
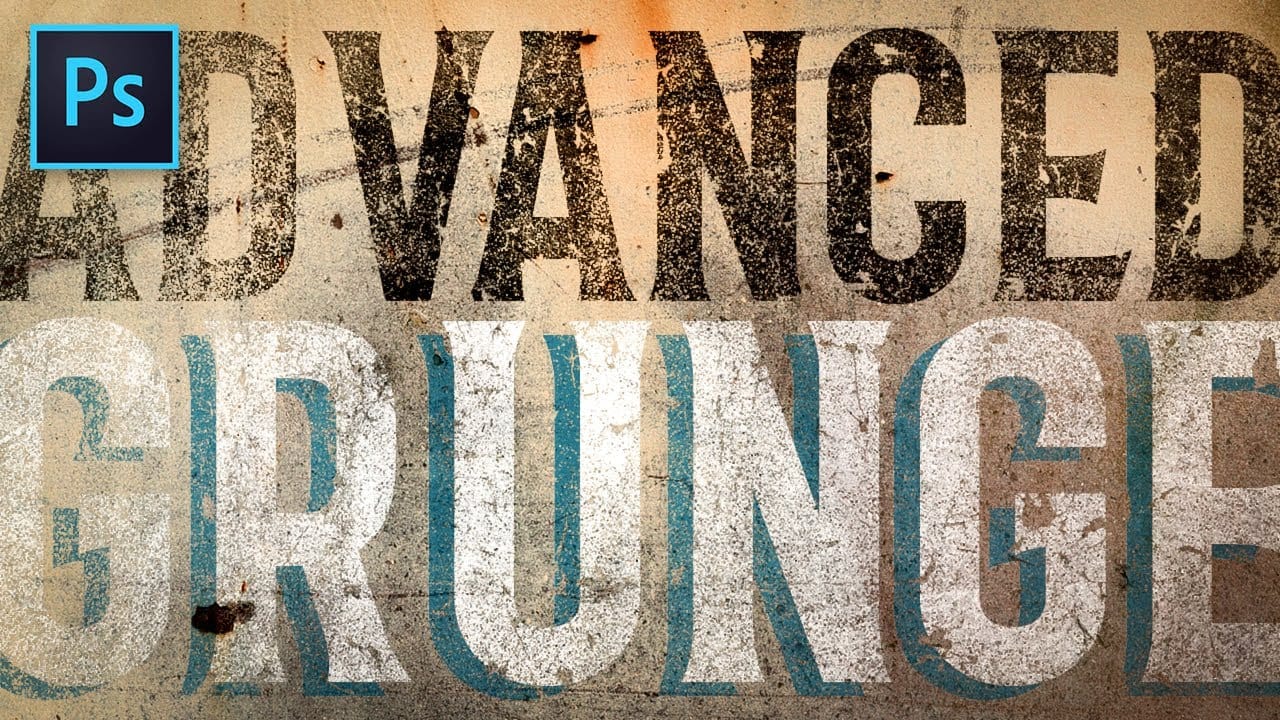
In this advanced tutorial from Texturelabs, you'll learn innovative grunge techniques for distressing text and logos in Photoshop. Going beyond traditional layer masks, this tutorial introduces a novel approach to incorporating grunge and texture elements seamlessly. Notably, the tutorial avoids using layer masks, offering a fresh perspective on achieving distressed effects. Texturelabs also provides downloadable grunge textures including Light distress, Heavy cracks, and Weathered painted met
How to Create a Grungy Screen Print Text Effect in Photoshop
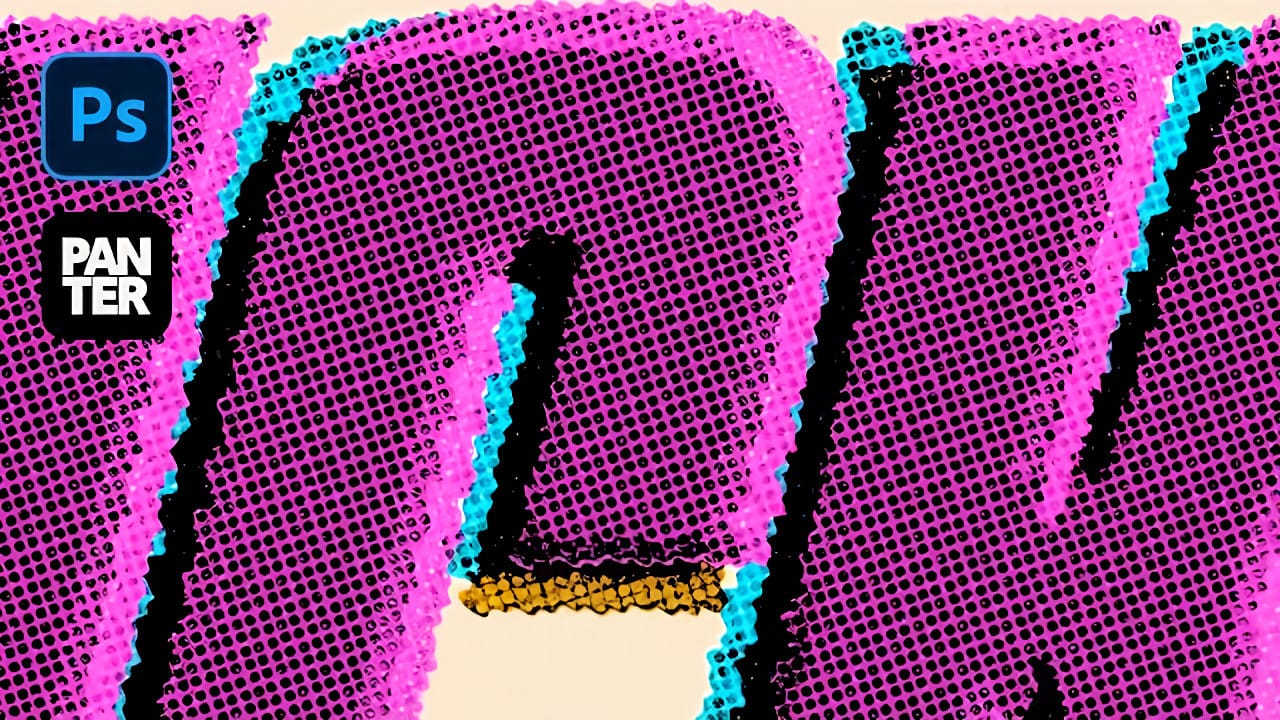
Screen printing creates distinctive textures that digital typography often lacks—rough edges, halftone dots, and color bleeding that gives text authentic character. These imperfections make designs feel handcrafted and rebellious, perfect for band merchandise, vintage posters, and streetwear graphics. This tutorial demonstrates how to recreate that gritty screen print aesthetic using Photoshop's blur, distortion, and halftone effects. You'll transform clean digital text into something that look
Apply a painterly splatter effect to a photo in Photoshop
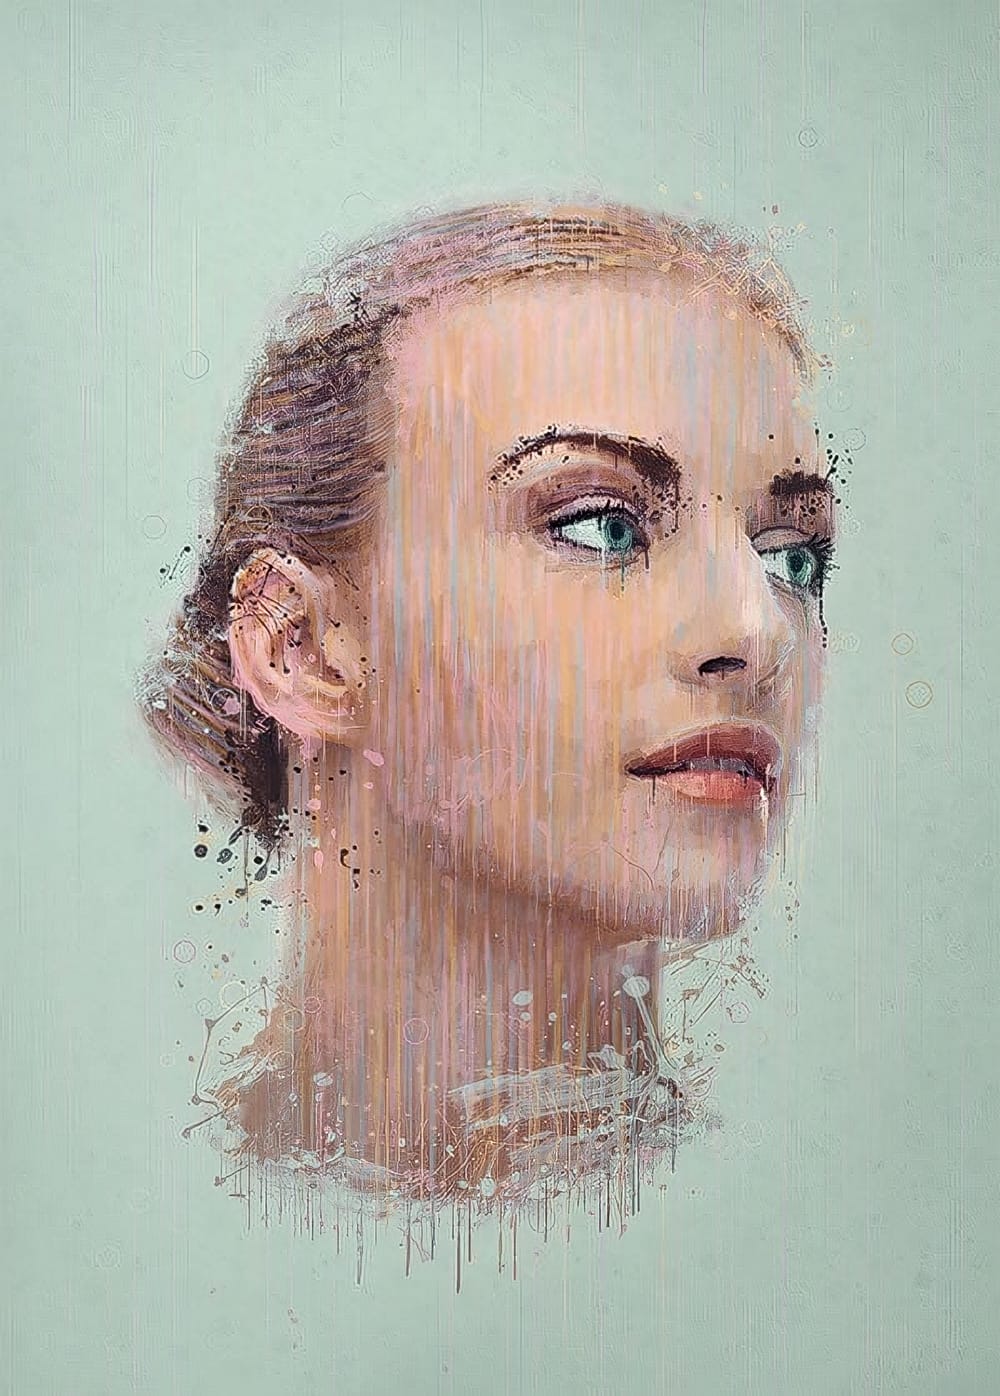
In this tutorial, you will learn how to create a unique and visually striking portrait photo with a splatter paint and drip effect in Photoshop. The techniques covered include overlay painting, blending, and coloring methods. You'll start by working with your portrait image, experimenting with different overlay modes and blending options to achieve the desired paint-like effect. Then, you'll explore adding drips and splatters to the image, using various brushes and techniques to ensure a natura
Create a Powerful Dispersion, Splatter Effect from a Photo in Photoshop
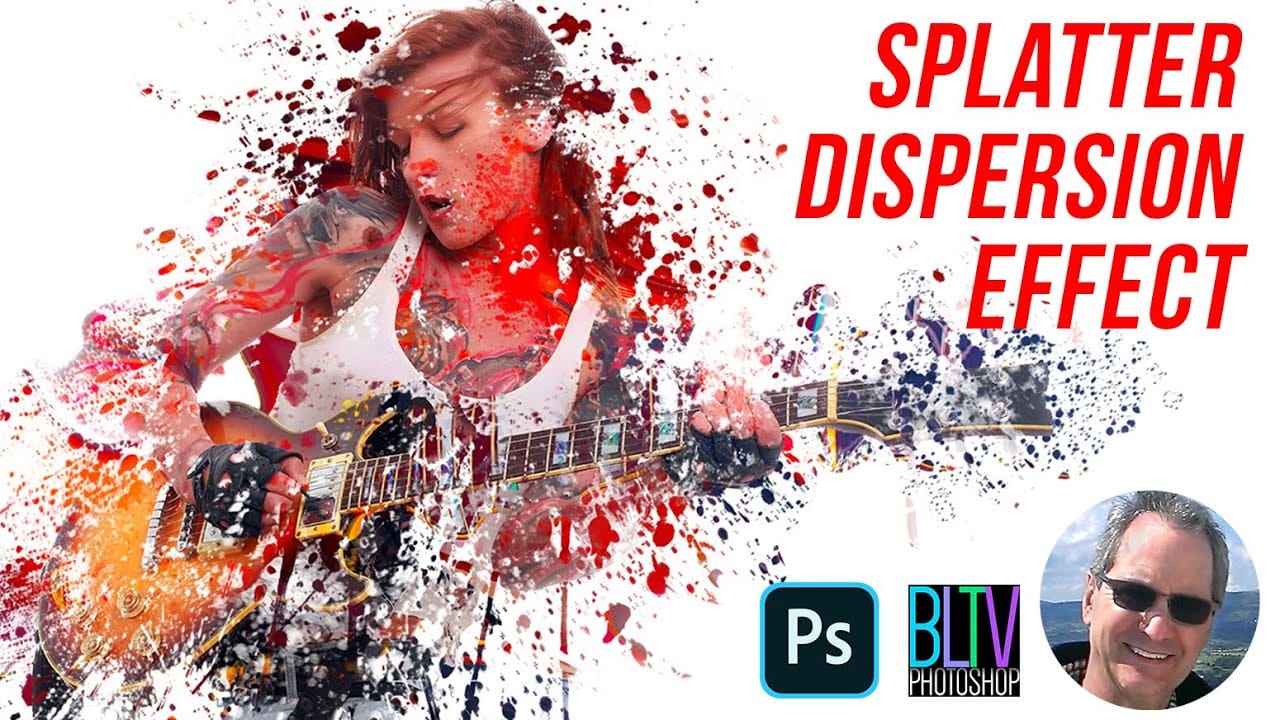
This tutorial explores how to create a striking dispersion and splatter effect in Adobe Photoshop, transforming ordinary photos into dynamic works of art. This technique gives the illusion that parts of your subject are breaking apart and scattering into particles, adding movement and drama to static images. Viewers will learn the essential steps to achieve this popular effect, from preparing your subject and background to utilizing smart objects, layer masks, and custom splatter brushes. The v

Get tutorials & freebies delivered to you.

Subscribe to the Photoshop Roadmap newsletter, a weekly roundup of new tutorials, insights and quality downloads, trusted by 6500+ readers.

You might also like

9 Lazy Photoshop Habits You Need to Break Right Now

Photoshop has added incredible AI features and smarter workflows over the last few years to save you time. Yet, you might still be stuck using clunky, manual workarounds you learned years ago. If you are constantly repeating tedious tasks, you are losing time and actively limiting the quality of your...

Professional Portrait Retouching with the B.S.T. Method in Photoshop

Professional portrait retouching requires artistic choices that automated tools can't make. The B.S.T. method breaks retouching into three focused steps: removing blemishes with precision, smoothing skin while preserving natural texture, and equalizing skin tones throughout the image. This systematic approach gives you complete control over every...

Create Motion Blur Light Effects in Photoshop

Transform ordinary portraits into dynamic, cinematic images by combining path blur effects with creative background textures. This technique creates the illusion of camera movement while maintaining focus on key elements like the subject's eyes, resulting in professional-looking motion blur effects that add energy and visual interest to static...

How to Paint Realistic Jewelry on Portraits in Photoshop

Adding painted jewelry to portraits transforms ordinary photos into fantasy portraits with ornate accessories that never existed. This digital painting technique uses careful layering, proper lighting, and realistic shadows to create convincing rings, earrings, and decorative headpieces. The method combines basic brush work with advanced blending techniques to build up...

How to Sharpen Images Using the High Pass Filter in Photoshop

The High Pass filter method remains one of the most versatile sharpening techniques in Photoshop, offering precise control over which image areas receive enhancement. This non-destructive approach works by identifying edge details and allowing you to selectively apply sharpening exactly where it's needed most. Unlike automated sharpening tools,...

How to Find Missing Actions in the New Photoshop Actions Panel

The redesigned Actions panel in Photoshop can catch users off guard when their custom actions seem to disappear. With the new tabbed interface, your previously created actions are still there—they're just located in a different tab than before. Understanding the new layout will help you quickly access...

You’ve successfully subscribed to Photoshop Roadmap
Welcome back! You’ve successfully signed in.
Great! You’ve successfully signed up.
Success! Your email is updated.
Your link has expired
Success! Check your email for magic link to sign-in.