Advanced Grunge Text Effect in Photoshop

Advanced Grunge Text Effect in Photoshop

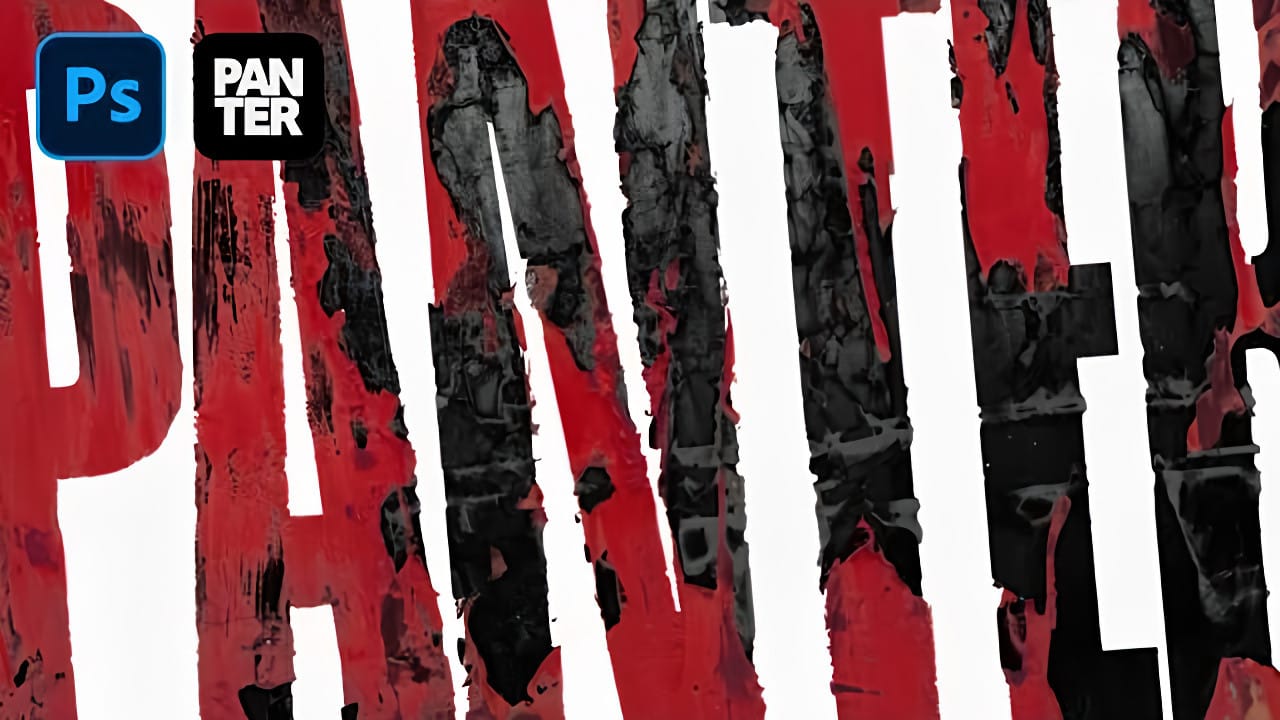
Achieving authentic, deeply distressed grunge effects for typography and logos requires precision and artistry. Designers often struggle to create these visuals while retaining editable elements.

This video presents a revolutionary, non-destructive workflow for applying intricate textures, ensuring your text and logos remain fully adjustable with unparalleled flexibility.

Watch the Video

Video by Texturelabs. Any links or downloads mentioned by the creator are available only on YouTube

Beyond Traditional Layer Masks: A Non-Destructive Approach

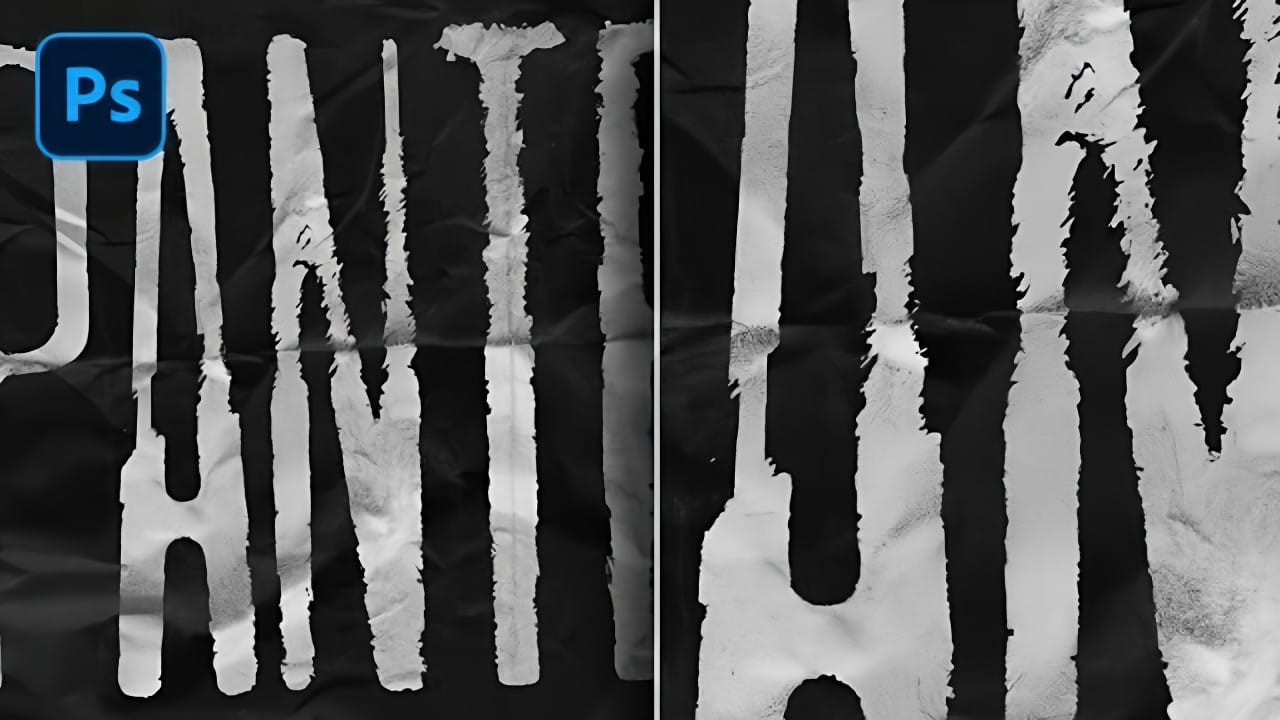
Traditional Photoshop masking often involves merging layers or destructive edits, limiting flexibility once applied. This tutorial unveils a powerful, non-destructive system that leverages group folders and Blend If sliders in innovative ways. By treating a group of type layers as a single object, you can apply a unified grunge effect, while separating the control of shape, transparency, and color into distinct, editable components.

This layered approach to "masking" retains all original texture information and allows for dynamic adjustments with levels or other effects at any stage. It provides an expansive canvas for crafting intricate, weathered aesthetics with unmatched control and revisability.

  • Non-destructive workflow for grunge effects
  • Utilizing group folders for unified element control
  • Employing the Blend If slider for dynamic transparency
  • Layering textures and adjustment layers within clipping masks
  • Distinguishing control over shape, transparency, and color

Practical Tips for Advanced Grunge Effects

  • Group type layers for unified effects: Combine multiple text layers into a single group to apply a consistent grunge look across all elements simultaneously.
  • Utilize Blend If for transparency: Employ the Blend If sliders in blending options (specifically the 'This Layer' black slider with Option/Alt-drag) to create transparency correlated with dark areas of a texture.
  • Create a layered mask system: Nest your Blend If group within another group and use a white fill layer with a clipping mask above your texture to build complex, adjustable masks.
  • Incorporate adjustment layers on textures: Add adjustment layers (like Levels) as clipping masks above your texture within the mask system for non-destructive and continuously editable texture adjustments.
  • Separate color and shape elements: Maintain distinct control over the base shape and its final color by layering elements, allowing specific colors to be applied precisely where desired.

Delve deeper into the world of distressed aesthetics and learn more about creating compelling visual styles.

Understanding Grunge Design: Typography, Textures, and Visual Style
Grunge design refuses to play by conventional rules. Born from underground zines and music culture in the late '80s, this aesthetic embraces chaos, imperfection, and raw authenticity over polished perfection. The style thrives on distressed typography, layered textures, and intentional disorder. As digital design becomes increasingly automated and clean, grunge offers a refreshing counterpoint that celebrates the handmade and imperfect. Watch the Video The Evolution of Grunge Aesthetics Gr
Create a Quick Grunge Photo Border in Photoshop
In this Photoshop tutorial, Gavin Hoey demonstrates how to achieve a grungy effect on an image. Starting with duplicating the background layer and expanding the canvas, Gavin adds a clouds filter and adjusts blending modes to enhance the image's texture and depth. Using techniques like applying fibers filters and Gaussian blur, he further intensifies the grungy appearance, complemented by strategic strokes and brushwork to emphasize contrast and detail. Gavin's tutorial offers practical insigh
Creating a Grunge Text Effect in Photoshop Using Displacement Maps
Grunge typography transforms clean, modern fonts into weathered, distressed masterpieces that feel authentic and rebellious. This aesthetic captures the raw energy of underground culture, where imperfection becomes a powerful design statement. This video tutorial demonstrates how to create convincing grunge text effects using Photoshop's displacement mapping technique. You'll learn to blend typography seamlessly with textured backgrounds for professional-quality results. Watch the Video Tutor
Grungy Ink Bleed Text Effect Tutorial in Photoshop
Street art and underground design capture attention through their raw, imperfect textures that feel authentic and rebellious. The ink bleed effect transforms clean typography into something that appears weathered and organic, as if ink has spread naturally on wet paper. This technique combines blur effects with texture overlays to create text that looks genuinely distressed and handcrafted, perfect for urban-themed designs, band merchandise, or any project needing gritty character. Watch the

Get tutorials & freebies delivered to you.

Subscribe to the Photoshop Roadmap newsletter, a weekly roundup of new tutorials, insights and quality downloads, trusted by 6500+ readers.

You might also like

How to Create a 1-Bit Bitmap Effect in Photoshop

The 1-bit bitmap effect transforms modern digital images into stark black-and-white graphics reminiscent of early computer displays and vintage print materials. A bitmap uses exactly one bit of data per pixel, allowing only pure black or white with no gray values in between. This technique works equally well on photographs...

14 New Features in Photoshop 27.6 You Need to Know

Photoshop 27.6 brings significant updates that enhance workflow efficiency and creative possibilities. From improved reflection removal tools to smarter AI models, these features address real challenges photographers and designers face daily. This comprehensive overview covers 14 key additions, including enhanced distraction detection, new AI capabilities, and improved workspace organization...

Create Film Looks with Custom LUTs and Profiles for Any Photo Editor

Film photography's nostalgic warmth and character continue to captivate photographers working in the digital realm. Creating authentic film looks requires understanding how vintage stocks like Kodak Kodacolor and Fujifilm Superia handled color, contrast, and tone. This comprehensive workflow shows you how to build these looks from scratch using...

Create Pixelated Liquid Typography with Chromatic Distortion in Photoshop

Liquid typography combines flowing, organic distortions with digital glitch aesthetics to create text that appears to melt and separate into colorful chromatic components. This technique transforms static letters into dynamic, pixelated designs that suggest movement and technological breakdown. The method uses the Liquify filter to create fluid distortions, then separates...

How to Create Cinematic Color Grading Using Camera Raw Filter in Photoshop

Color grading transforms ordinary photos into cinematic masterpieces by adding mood and visual depth. The Camera Raw filter built into Photoshop provides professional-level color grading tools that rival dedicated editing software, allowing you to adjust shadows, midtones, and highlights with precision. This technique uses smart filters to ensure non-destructive editing,...

You’ve successfully subscribed to Photoshop Roadmap
Welcome back! You’ve successfully signed in.
Great! You’ve successfully signed up.
Success! Your email is updated.
Your link has expired
Success! Check your email for magic link to sign-in.