Photoshop's extensive toolkit means there's always something new to learn or a more efficient way to approach a task, whether you are just starting or have years of experience. Mastering its nuances can significantly enhance both your creative output and workflow efficiency.
This video offers a comprehensive collection of 21 tips, guiding viewers from foundational techniques to more sophisticated methods for image manipulation, compositing, and graphic design. Each tip is designed to provide practical value and expand your creative potential within the software.
Watch the Tutorial
Unlocking Advanced Photoshop Capabilities
Photoshop continuously evolves, introducing features that can streamline complex processes and offer new creative avenues. Beyond the commonly used tools, the program houses powerful functionalities that, once understood, can profoundly transform a user's approach to image editing and graphic creation. Integrating these capabilities often means moving past conventional methods towards more non-destructive and adaptable workflows.
Understanding concepts like Knockout Blending or the subtle power of advanced filters can provide unprecedented control over your designs. For instance, the strategic use of adjustment layers with specific blending modes, or even manipulating a layer's fill opacity, can create effects that are difficult to achieve through traditional means. Such techniques allow for greater flexibility, enabling adjustments and refinements without permanently altering original pixel data.
The progression from basic image adjustments to intricate compositing and stylized effects often hinges on discovering these less-obvious features. They not only save time but also foster a deeper appreciation for Photoshop's underlying logic, turning what might seem like technical challenges into creative opportunities.
Practical Photoshop Workflow Tips
- Enable
Detailed Resultsin Photoshop preferences for more accurate automatic subject selection and background removal. - Convert your document to a single
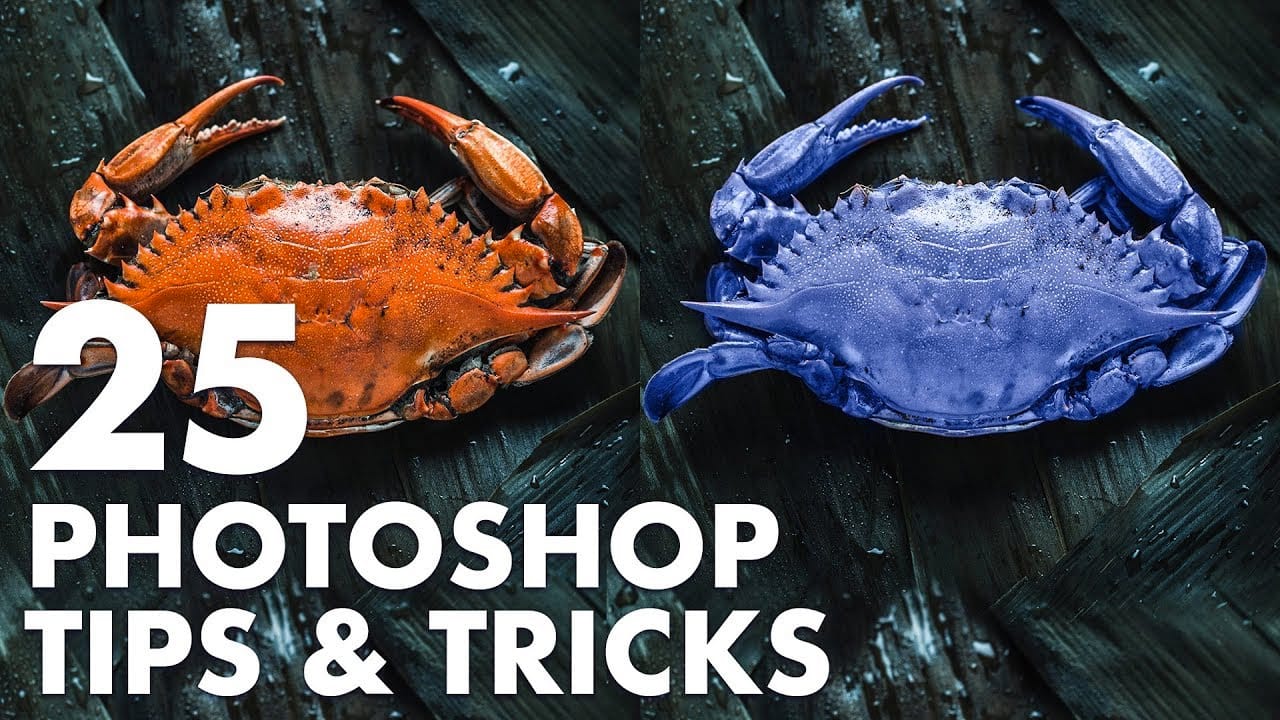
Artboardto utilize the gray off-canvas area for storing reference material or temporary layers. - Achieve authentic black and white halftones by converting the image to black and white, then using the
Color Halftonefilter with all four values set to the same number. - When using the
Liquifyfilter, set the target layer's opacity to zero temporarily to accurately preview the liquefaction against the complete background. - Employ
Knockout Shallowon adjustment layers within a group to create flexible, non-destructive masks, allowing layers above to 'punch through' to underlying content.
More Tutorials about Photoshop Techniques
Explore additional resources to further develop your skills and discover new creative possibilities in Photoshop.