Create a Classic Retro CRT Monitor Effect in Photoshop

Create a Classic Retro CRT Monitor Effect in Photoshop

In an age dominated by high-definition displays and vibrant color palettes, the distinctive aesthetic of vintage CRT monitors continues to hold a unique appeal. Their characteristic glow, scanlines, and limited color range evoke a sense of nostalgia, making them a popular choice for artists and designers aiming to infuse their work with a retro or futuristic vibe.

This tutorial will guide you through the process of recreating the iconic look of graphics displayed on a classic green phosphor monochrome CRT computer monitor using Adobe Photoshop. You will learn how to transform any high-contrast image or text into this specific vintage style, complete with authentic visual artifacts.

Watch the Full Tutorial

Video by Blue Lightning. Any links or downloads mentioned by the creator are available only on YouTube

Understanding the Visuals of Vintage CRT Displays

The allure of CRT monitor aesthetics goes beyond simple nostalgia; it stems from the unique optical properties inherent to cathode ray tube technology. Unlike modern LCDs or OLEDs that display pixels directly, CRTs generate images by firing electron beams at a phosphor-coated screen. This process results in several key visual characteristics that are challenging to replicate accurately without understanding their origins.

Key elements contributing to the classic CRT look include:

  • Scanlines: The visible lines created by the electron beam scanning across the screen.
  • Phosphor Glow: The characteristic luminescence of the screen, often with a slight blur or halo around bright elements, and a specific color tint (like green or amber).
  • Limited Resolution and Aspect Ratio: Older monitors typically had lower resolutions and a 4:3 aspect ratio, which influenced how graphics appeared.

These combined elements create a distinct visual texture and depth that digital displays often lack, making the recreation of this effect a popular artistic endeavor for a retro-futuristic or lo-fi aesthetic.

Practical Tips for Crafting CRT Effects

  • Begin with a high-contrast black and white graphic or text for optimal results.
  • Crop your image to a 4:3 aspect ratio to accurately mimic vintage screen dimensions.
  • Convert your graphic or text layer to a Smart Object to allow for non-destructive edits and easy replacement.
  • Apply multiple layers of Gaussian Blur with varying radii to simulate the distinct phosphor glow.
  • Utilize the Halftone Pattern filter with a 'Line' pattern type to create authentic scanlines.
  • Employ a layer mask on the top scanline layer, selecting the graphic's shape, to enhance its contrast and definition against the background.

Explore more effects and techniques to give your digital creations a timeless, classic feel.
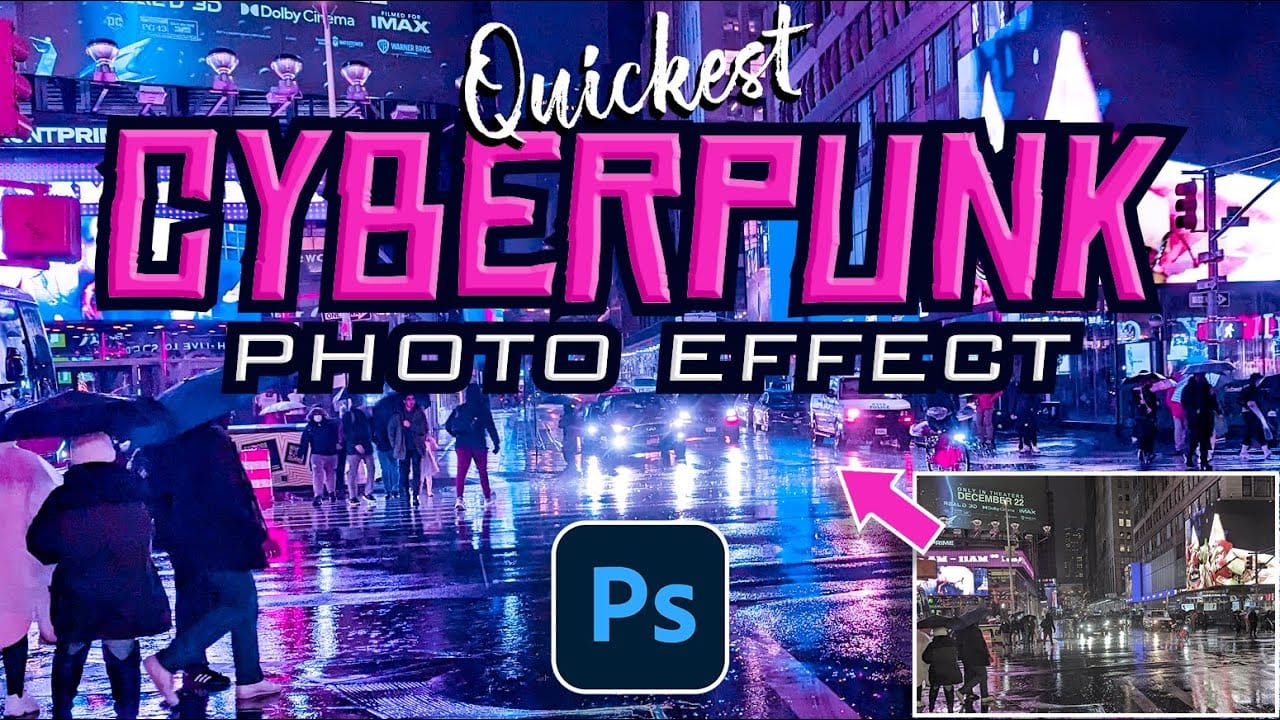
Create a Retro Cyberpunk Photo Effect in Photoshop
In this tutorial by Marty Geller from Blue Lightning TV, you will learn how to create a striking retro cyberpunk photo effect using Photoshop. The process outlined is straightforward and designed to yield impressive results in a short amount of time. Geller walks you through each step, breaking down the techniques and tools needed to achieve that iconic cyberpunk aesthetic. You will discover how to manipulate colors, apply filters, and use various effects to transform ordinary photos into vibra
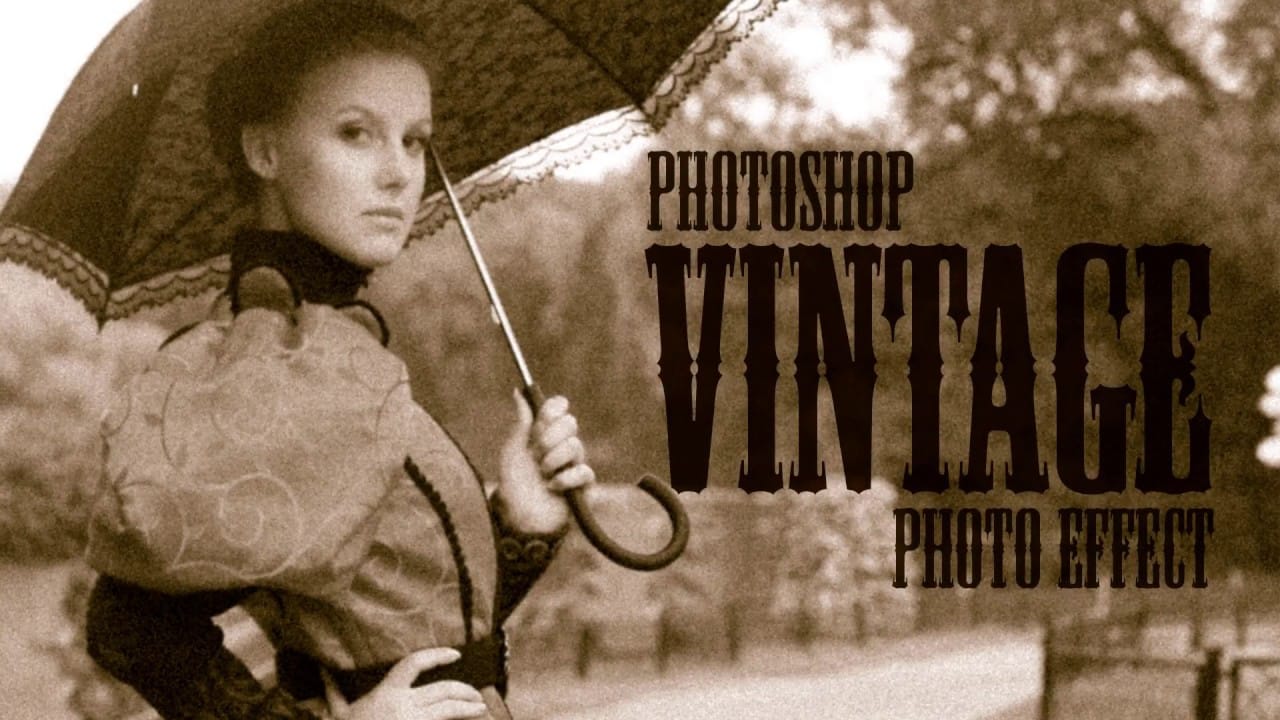
Create a realistic old vintage photo effect in Photoshop
Photographs are timeless. In fact, it’s often our old, weathered and faded photographs that we treasure the most. Snapshots from a bygone era fill our hearts with nostalgia and romantic notions of how much simpler life must have been. While today’s digital cameras continue to amaze us with their technology, there’s still something magical and irreplaceable about old, vintage photographs. And not only do we love to look at them, but we also love to recreate the look of them in programs like Phot
Create a 50s Retro TV Show Text Effect in Photoshop
In this Photoshop tutorial by Marty Geller from Blue Lightning TV, you will learn how to create a striking black and white 50s retro TV show text effect. This guide is designed for users at any skill level, making it accessible and easy to follow. You'll start by adding vintage-style text, setting the stage for a nostalgic look. The tutorial walks you through incorporating scan lines and signal interference, elements that will enhance the retro feel. Each step is demonstrated clearly, ensuring
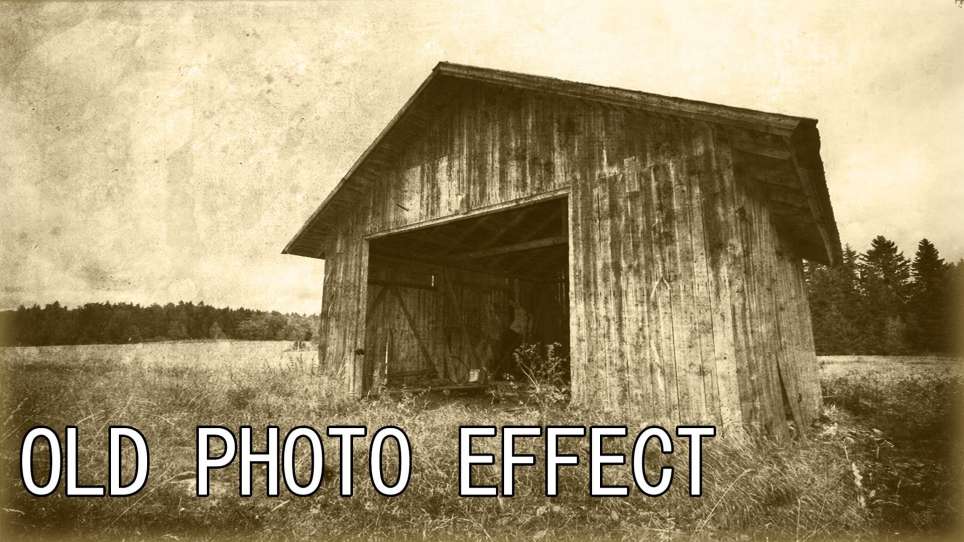
Create an Old Photo Effect in Photoshop
The author, Photoshop Pro Help, provides a tutorial on how to create an old photo effect in Photoshop. They explain that if you have ever admired the style of vintage photos and wanted to give your modern photos a similar look, this tutorial will show you how to apply an old photo style with a torn and damaged brown vintage effect. This can transform your photos to look as if they were taken straight from a history book. The tutorial guides the user through the process of achieving this retro a

Get tutorials & freebies delivered to you.

Subscribe to the Photoshop Roadmap newsletter, a weekly roundup of new tutorials, insights and quality downloads, trusted by 6500+ readers.

You might also like

How to Remove Skin Blemishes and Fix Skin Tones in Camera Raw

Two recent additions to Camera Raw make skin retouching significantly faster: an automatic blemish removal tool with separate controls for moles and freckles, and a vectorscope-based skin tone indicator for correcting off-color skin. Both features work non-destructively inside a smart object workflow, so no pixel data is...

Portrait Retouching in Photoshop: Smooth Skin While Keeping Natural Texture

Smooth skin and natural texture are not opposites — achieving both at once is the mark of a professional retouch. This workflow covers blemish removal, flyaway hair cleanup, dark under-eye correction, and eye brightening, all while keeping the skin looking like skin. Watch the Video Practical Tips These key points...

How to Use Camera Raw's Blemish Removal Tool in Photoshop

Camera Raw 18.5 introduced an automatic blemish removal tool that does something previous solutions rarely managed: it removes skin imperfections while preserving the underlying skin texture. It also distinguishes between temporary marks and permanent ones like moles, giving you separate controls for each. Watch the Video Practical Tips These...

Portrait Slice Effect in Photoshop Using Step and Repeat

The portrait slice effect splits a single image into offset vertical bars, creating the illusion of a displaced or fragmented face. The entire technique relies on layer masks and a lesser-known Photoshop shortcut called step and repeat — no filters, no AI, no destructive edits required. Watch the Video Practical...

How to Remove Blemishes in Photoshop: Camera Raw vs. Generative AI

Photoshop now offers two distinct approaches to removing skin blemishes automatically. The Camera Raw Filter includes a dedicated Blemishes option that analyzes and cleans skin with a single checkbox, while Generative AI fills a face selection with clean, texture-consistent results using a simple text prompt. Each method has clear...

Common Photoshop Compositing Mistakes and How to Fix Them

Most compositing errors come down to a handful of repeatable problems: mismatched lighting direction, inconsistent white points, misaligned perspective, and atmosphere applied in the wrong layer order. Catching these issues early — ideally before you shoot — saves significant time in post. Watch the Video Practical Tips These corrections apply to nearly...

You’ve successfully subscribed to Photoshop Roadmap
Welcome back! You’ve successfully signed in.
Great! You’ve successfully signed up.
Success! Your email is updated.
Your link has expired
Success! Check your email for magic link to sign-in.