Create a Creative Text Portrait Poster in Photoshop

Create a Creative Text Portrait Poster in Photoshop

Creating unique visual art often involves blending unexpected elements. This tutorial explores a fascinating technique where a portrait is seamlessly integrated with text, transforming a simple image into a compelling artistic statement. The method specifically focuses on using song lyrics to add a personal and thematic depth to the artwork.

In this guide, you will learn how to prepare a subject's portrait, incorporate song lyrics to form the contours of the face, and apply various Photoshop adjustments to achieve a powerful, custom poster. Discover practical steps for combining photography and typography to create striking visual tributes to your favorite artists.

Watch the Text Portrait Poster Tutorial

Video by Blue Lightning. Any links or downloads mentioned by the creator are available only on YouTube

Integrating Text and Imagery in Digital Art

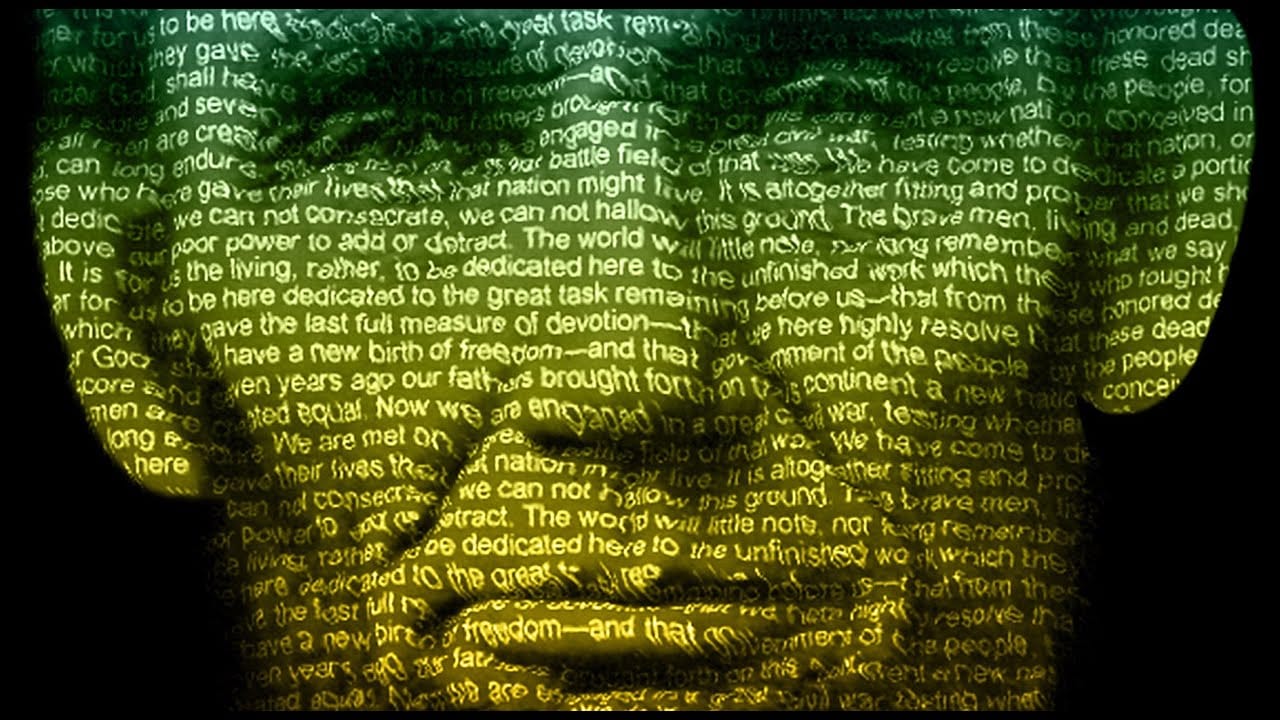
Typographic portraiture transcends traditional image manipulation by using text not just as an informational overlay, but as a fundamental visual component that defines form and texture. This artistic approach allows words to become lines, shadows, and highlights, shaping the contours of a face or figure. The deliberate placement and styling of text can convey a subject's character, narrative, or emotional depth in a way that flat imagery alone cannot.

When lyrics or prose are employed, the artwork gains an additional layer of meaning. The chosen text can directly relate to the subject, enhancing the viewer's connection to the piece by adding a narrative dimension. This technique transforms a static portrait into a dynamic visual story, where the textual content is as integral to the aesthetic as the photographic elements.

The success of such a design often lies in the careful interplay between legibility and visual integration. Elements like text size, font choice, and strategic masking are crucial for ensuring that the text both contributes to the portrait's form and remains readable enough to convey its message, creating a cohesive and impactful final composition.

Practical Tips for Creating Text Portrait Posters

  • Prepare your portrait by desaturating it and adjusting brightness/contrast to create a high-contrast foundation for text integration.
  • Utilize the Refine Edge feature when selecting your subject's head to ensure clean cutouts, especially for intricate details like hair.
  • Apply a Threshold adjustment to your portrait to convert it into a stark black and white image, ideal for subsequent text overlay and masking.
  • Streamline the placement of multiple song lyric blocks by enabling Auto Select in the Move Tool, allowing instant layer activation and repositioning.
  • Employ Color Range to select shadows from your portrait and then apply a Layer Mask to your text layers, making the text conform to the subject's contours.

More Tutorials about Text Portrait Design

Explore additional resources to deepen your understanding of typographic art and portrait manipulation in Photoshop.
How to make a text poster of a portrait in Photoshop
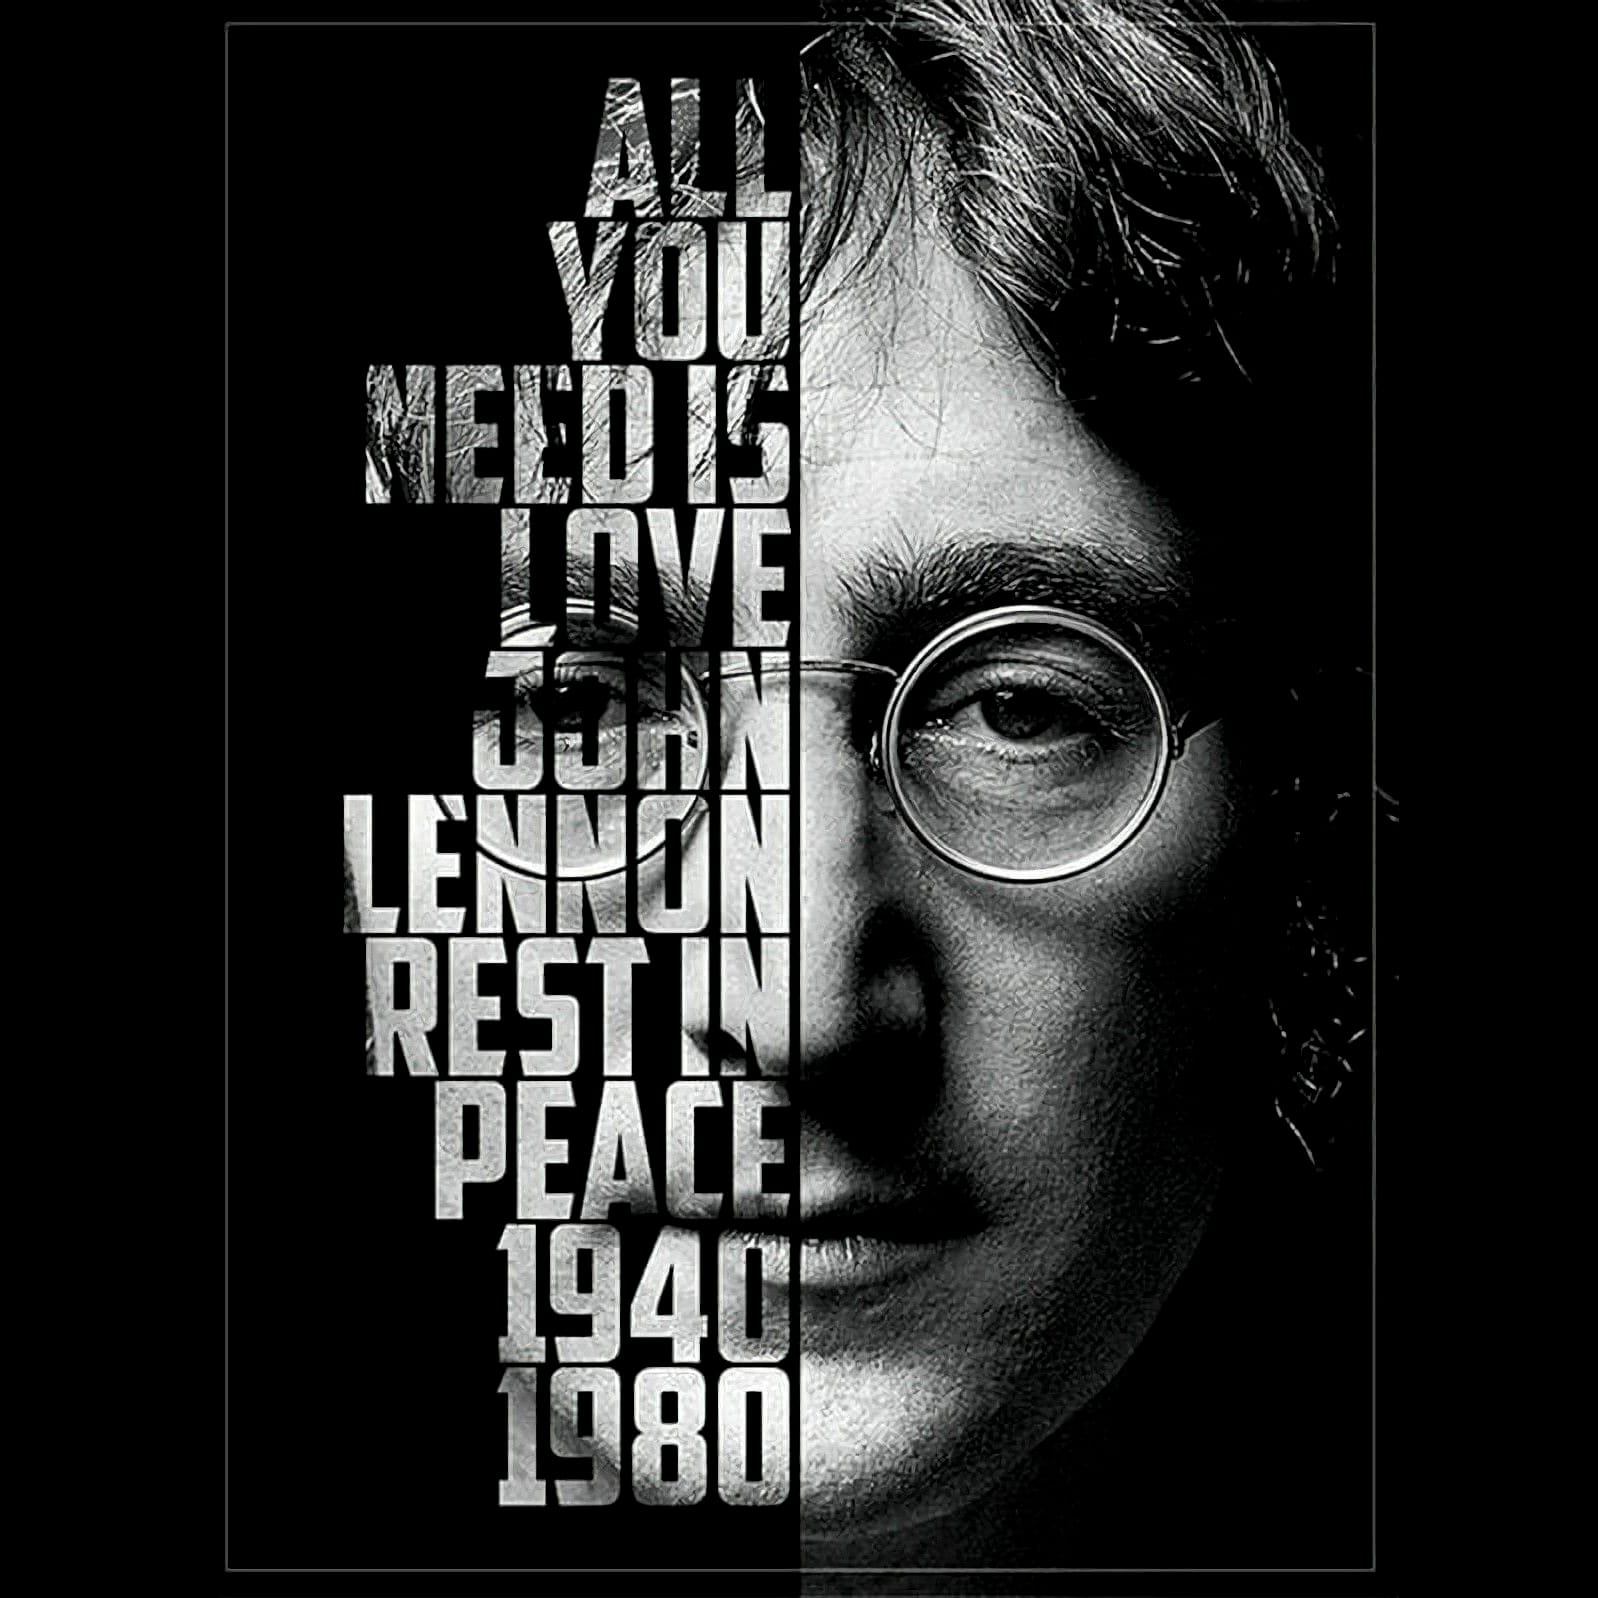
Discover the artistry of text-driven graphic posters with BlueLightningTV's latest Photoshop tutorial. This engaging guide teaches you how to craft a stunning visual tribute to your favorite celebrity, musician, poet, writer, or leader by seamlessly blending their iconic lyrics, prose, poetry, or speech with their portrait. The tutorial walks you through each step, from selecting and preparing the perfect image to intricately wrapping text around the contours of their face. Watch tutorial
Create a Striking Text Portrait Poster in Photoshop
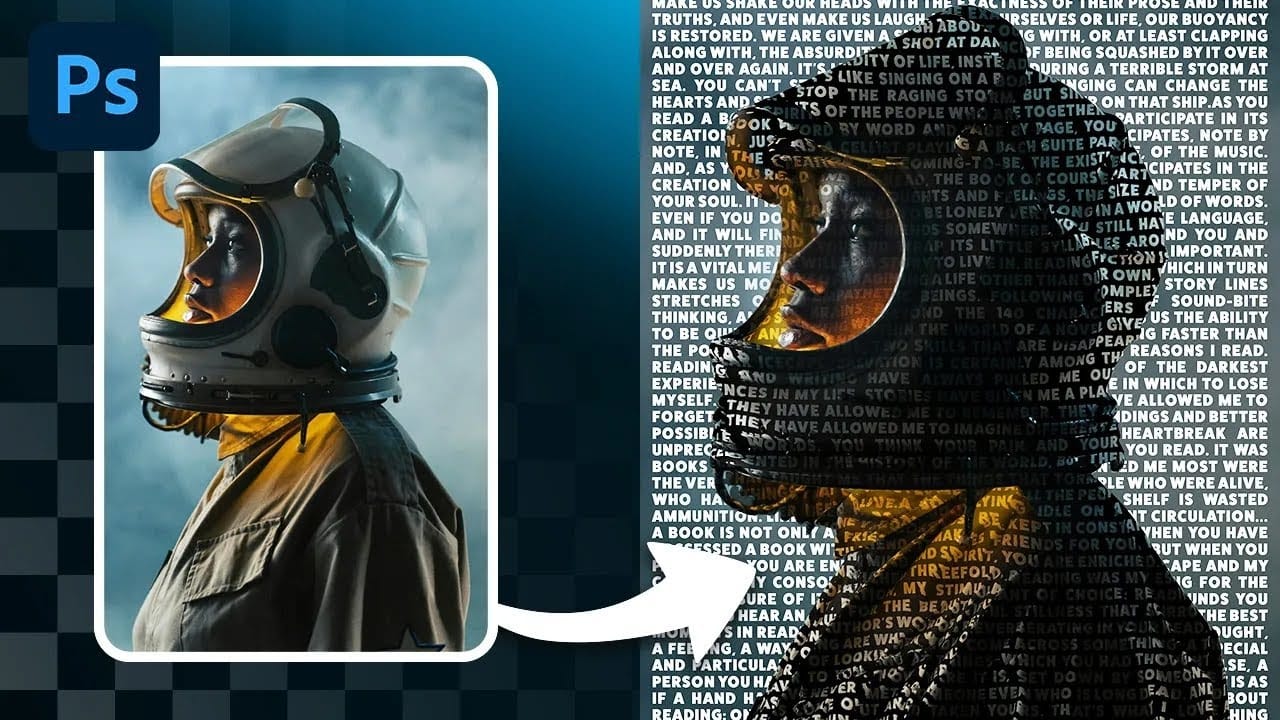
Transforming an ordinary portrait into a captivating text-based artwork presents a unique creative challenge in Photoshop. Often, the frustration lies in making text appear to organically wrap around a subject’s contours rather than just sitting flat over the image. Achieving this seamless integration, especially when dealing with complex shapes, can feel like navigating an intricate technical puzzle. This tutorial offers a clear pathway to mastering text portrait effects using advanced masking
Crafting a Typographic Poster in Adobe Photoshop
Join Adobe’s UX Growth Designer, Curtis Ying, as he transforms a Swiss Typographic poster through an engaging design process. With the input from the Instagram community, this presentation showcases how he carefully selects a bold red background that sets the tone for the entire piece. Throughout the process, Curtis shares his techniques for integrating organic shapes and text that harmoniously flow within the design. Utilizing various Photoshop tools, he guides you step-by-step, making it easy
Create a cool text portrait in Photoshop
Creating a text portrait in Photoshop is a sophisticated blend of photography and typography. In this tutorial by Marty from Blue Lightning TV, you'll learn how to transform a standard photo into a powerful typographic portrait. Starting with an optimal photo choice, Marty guides you through desaturating the image, refining the subject's edges, and setting up a new document. The tutorial then delves into the core process of integrating text, adjusting brightness and contrast for maximum impact,

Get tutorials & freebies delivered to you.

Subscribe to the Photoshop Roadmap newsletter, a weekly roundup of new tutorials, insights and quality downloads, trusted by 6500+ readers.

You might also like

How to Use the Automatic Blemish Removal Tool in Adobe Camera Raw

Adobe Camera Raw's blemish removal tool scans a portrait and cleans skin imperfections in seconds, without any manual selection. The workflow stays entirely non-destructive when the layer is converted to a smart object first, and a fade slider lets you control how much retouching is actually applied...

How to Use a Grey Layer to Spot and Fix Mask Edges in Photoshop

Edge halos and stray artifacts are easy to miss when masking a subject, especially with AI-generated selections. Placing a neutral grey layer beneath your masked subject forces those problem areas into plain view, making cleanup faster and more precise. Practical Tips These steps cover the core workflow shown in...

How to Use the Light Adjustment Layer in Photoshop Effectively

Photoshop's Light adjustment layer brings Camera Raw-style tonal controls — exposure, contrast, highlights, shadows, whites, and blacks — directly into a non-destructive layer workflow. The real value isn't in what the sliders do individually, but in how you sequence them to expand dynamic range and reveal...

Photoshop’s Big 5: The Features That Actually Mattered This Year So Far

Photoshop updates land continuously throughout the year, but not every new addition reshapes how we actually work. While some releases bring minor UI polish or experimental tools, a handful of recent additions stand out as genuine upgrades to daily creative production. Rather than sifting through endless release notes, here is...

How to Use the Vectorscope in Camera Raw to Correct Skin Tones

Monitors vary, room lighting shifts, and your eyes adapt — none of which makes for reliable skin tone judgments. Camera Raw's vectorscope gives you a measurement-based alternative, displaying hue and saturation data visually so you can align skin tones to a scientifically accurate target line, regardless of your...

You’ve successfully subscribed to Photoshop Roadmap
Welcome back! You’ve successfully signed in.
Great! You’ve successfully signed up.
Success! Your email is updated.
Your link has expired
Success! Check your email for magic link to sign-in.