Transform ordinary photos into striking digital artwork using Photoshop's pixel manipulation techniques. This tutorial reveals how to deconstruct images into bold, geometric designs that capture the essence of digital pop art and retro gaming aesthetics.
Watch the Video
Video by Photoshop Tutorials. Any links or downloads mentioned by the creator are available only on YouTube
Practical Tips for Pixel Art Effects
Master the art of digital pixel transformations with these key techniques:
- Create custom pixel brushes to control size, spacing, and randomness of pixel elements
- Use Liquify filter to subtly distort and reshape image regions before pixelating
- Experiment with layer blending modes like Color Dodge to add depth and color variation
- Apply Gaussian Blur and Sharpen filters to refine pixel texture and visual impact
- Layer multiple pixel effects with different sizes and colors for complex compositions
Related Articles and Tutorials about Dispersion Digital Photo Effects
Explore more creative photo transformation techniques in digital design.
Create a Dispersion Effect in Photoshop
The dispersion effect transforms ordinary photographs into dynamic artwork, creating the illusion that parts of the subject are breaking apart and scattering into particles. This popular technique adds movement and a surreal quality to static images, making them ideal for creative projects and eye-catching digital content. This tutorial provides a
 WeJustClickMe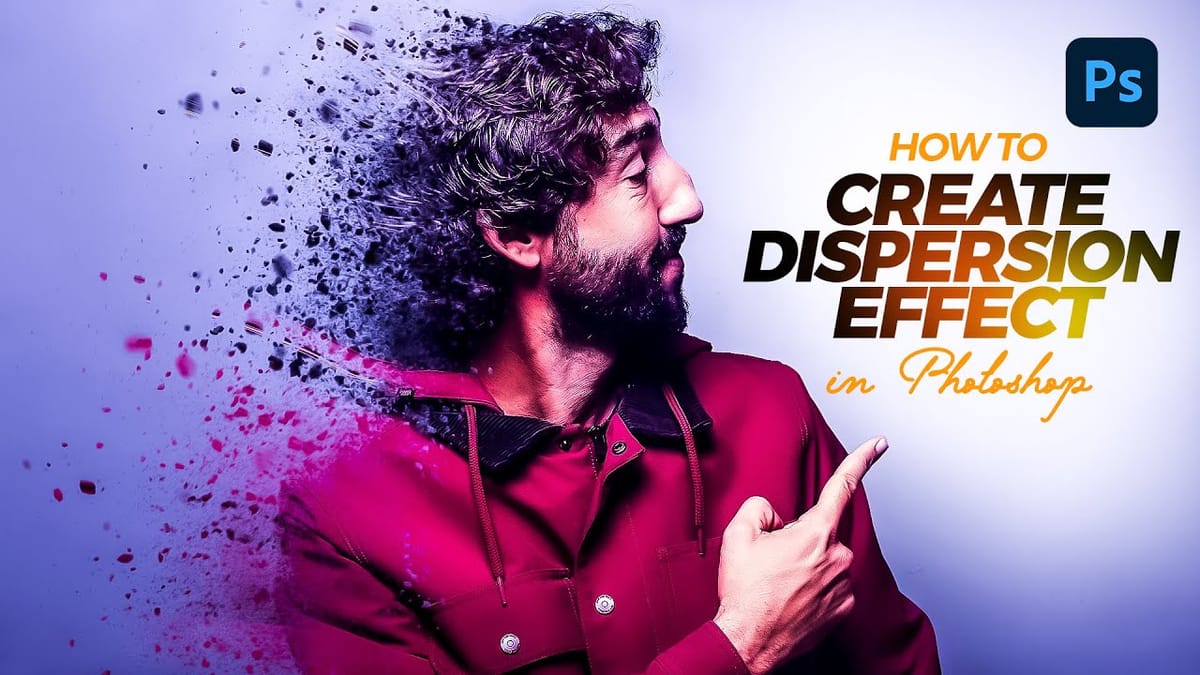
Creating a Dispersion Effect in Photoshop
The dispersion effect transforms ordinary portraits into dynamic artwork by creating the illusion that parts of the subject are breaking apart and scattering into particles. This popular technique adds movement and drama to static images, making them perfect for creative projects, album covers, or eye-catching social media content. This tutorial
 Blue Lightning TV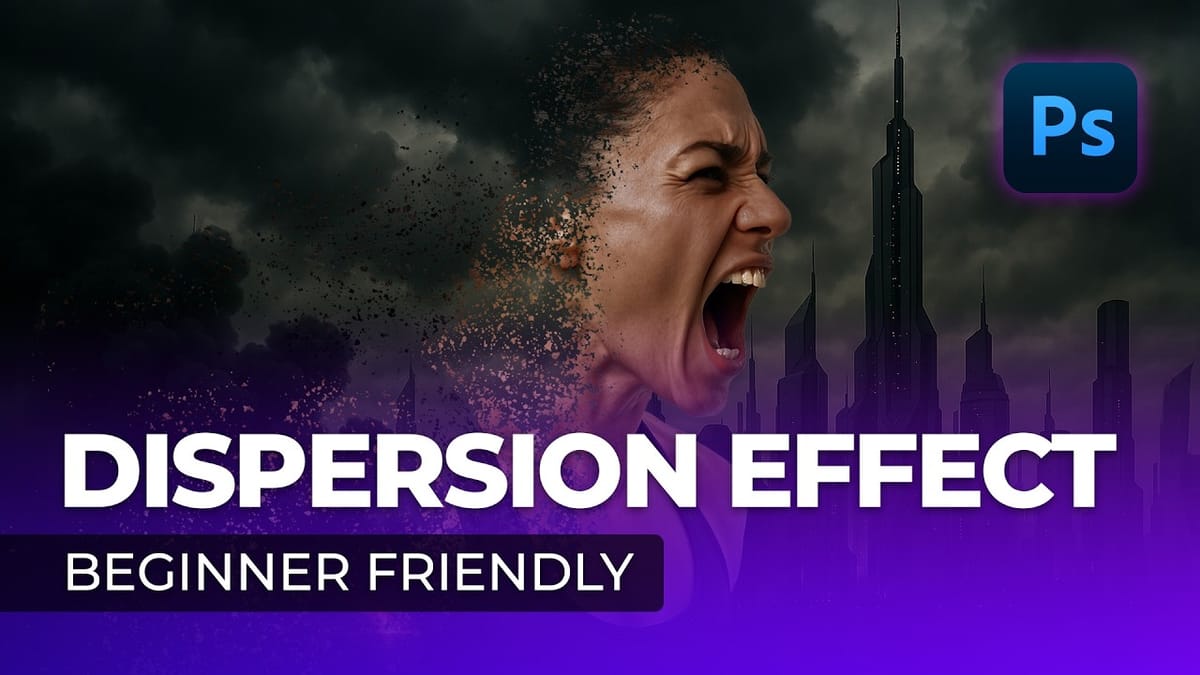
Easy Smoke Dispersion Effect in Photoshop – Photoshop Roadmap
This Photoshop tutorial from Visual-Pixels will show you how to create the dispersion effect in just five minutes. Begin by isolating the model from the background in your image. Duplicate the model onto a new layer and apply the Liquify filter to distort its shape. Conceal this layer and add
 Visual-Pixels Photoshop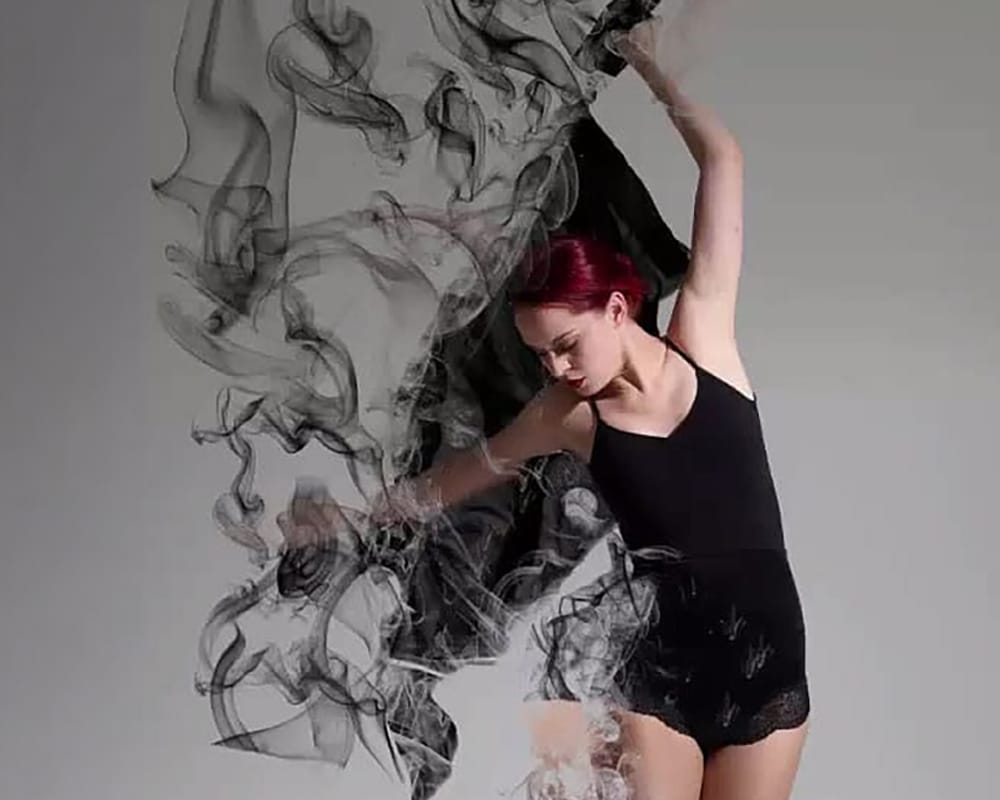
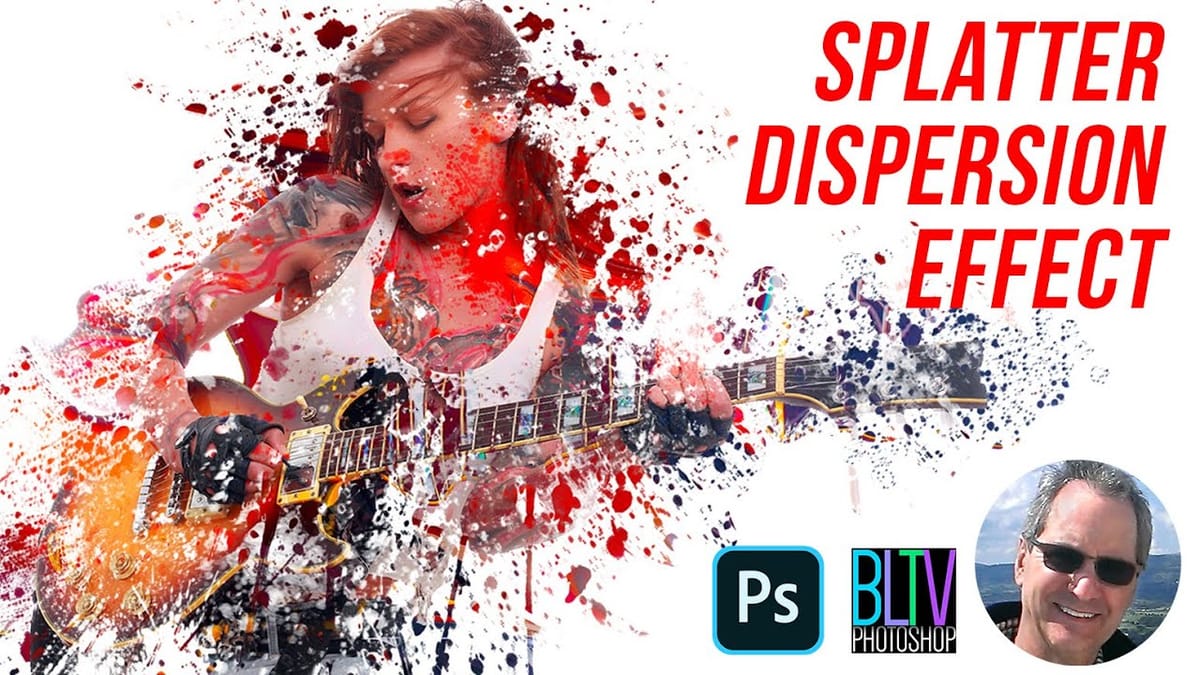
Create a Powerful Dispersion, Splatter Effect from a Photo in Photoshop – Photoshop Roadmap
This tutorial explores how to create a striking dispersion and splatter effect in Adobe Photoshop, transforming ordinary photos into dynamic works of art. This technique gives the illusion that parts of your subject are breaking apart and scattering into particles, adding movement and drama to static images. Viewers will learn
 Blue Lightning TV