/* ####### UMAMI TRACKING CODE /* ####### CLARITY TRACKING CODE

Create a Powerful Ring of Fire in Adobe Photoshop

Create a Powerful Ring of Fire in Adobe Photoshop

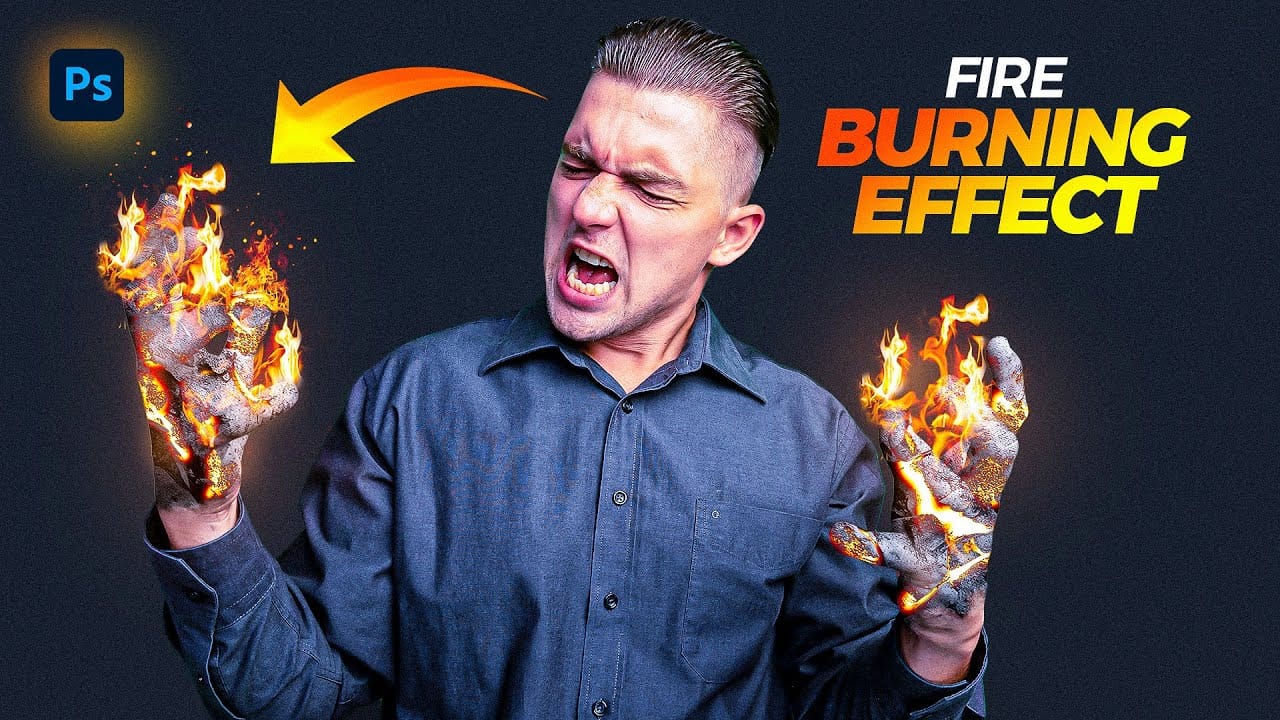
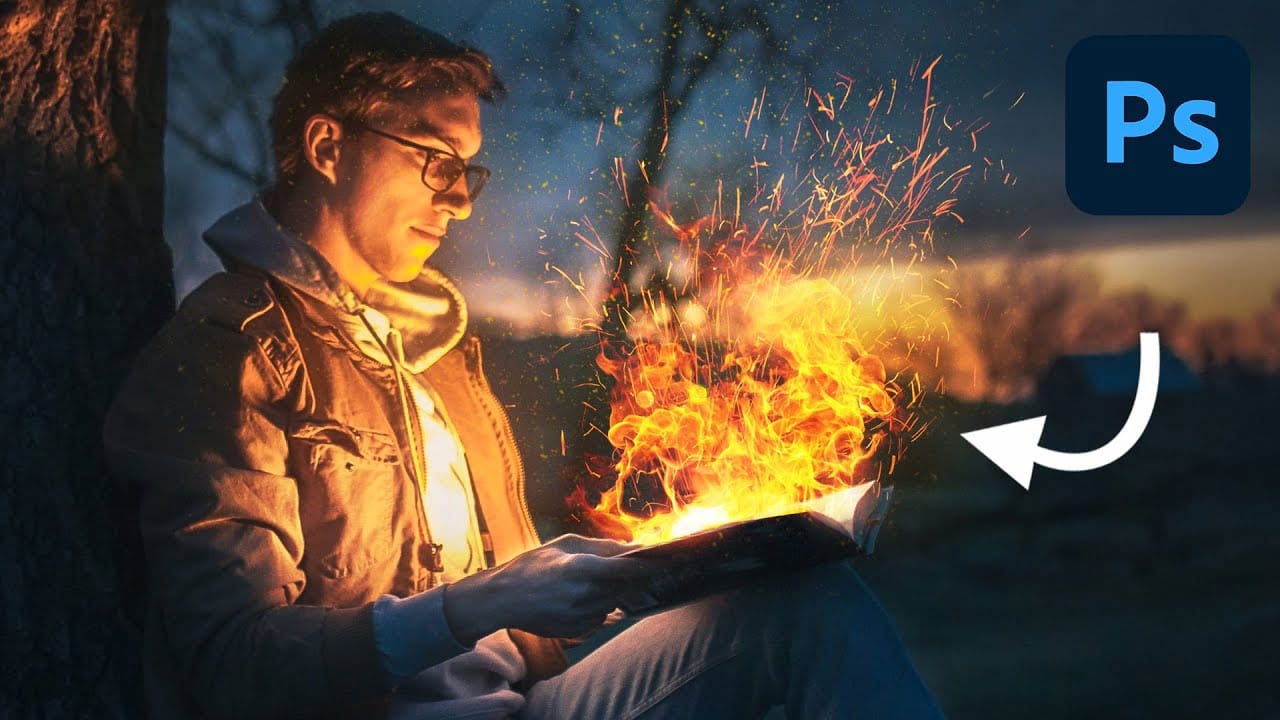
Adding realistic fire effects can dramatically enhance digital art and photo manipulations, bringing a sense of energy and intensity to any scene. Mastering these techniques allows designers to transform ordinary images into captivating visual narratives.

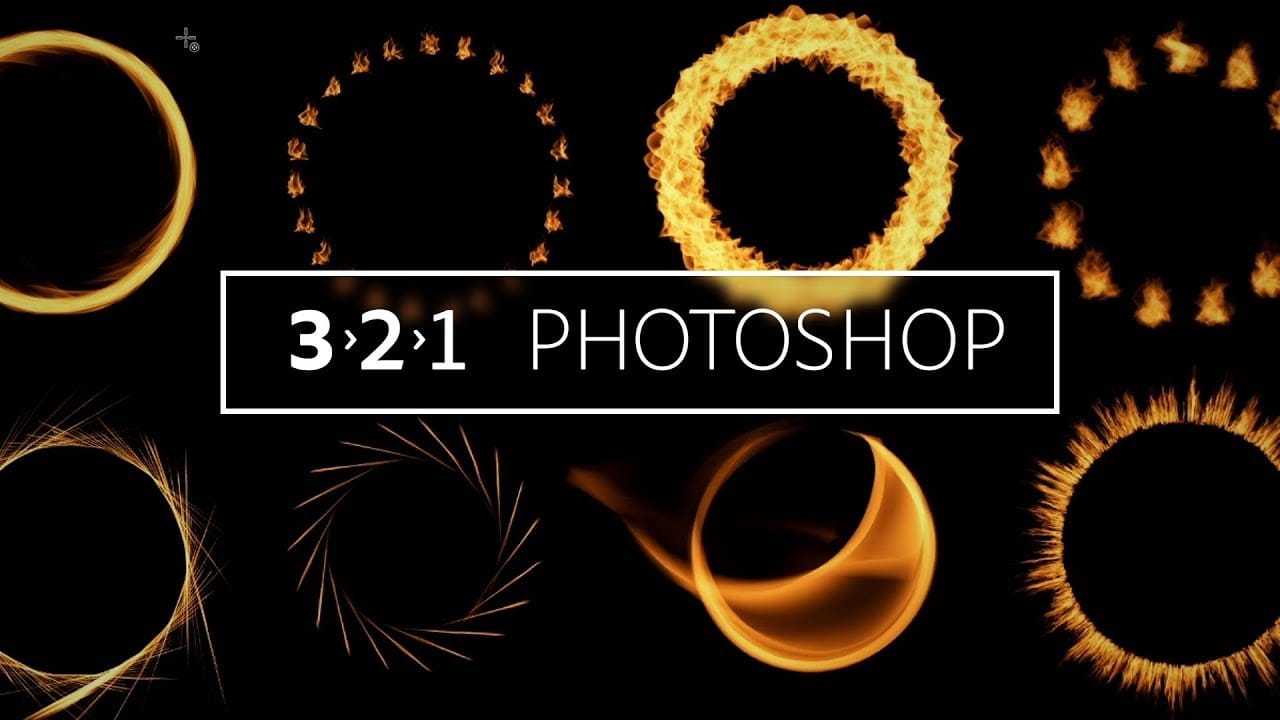
This tutorial demonstrates how to construct a powerful ring of fire in Photoshop, covering essential steps from path creation to applying dynamic flame and spark effects. Viewers will gain practical skills for integrating complex visual elements into their projects.

Watch the Video

Video by Blue Lightning. Any links or downloads mentioned by the creator are available only on YouTube

Understanding Photoshop's Flame Filter for Dynamic Effects

Photoshop's built-in Flame filter, introduced in Photoshop CS6 and further refined in Creative Cloud versions, offers a powerful procedural method for generating realistic fire effects directly within the application. Unlike relying solely on stock images, this filter allows for dynamic customization of flame appearance, direction, and intensity, providing artists with greater control over their fiery compositions.

The filter operates by generating flames along a path, enabling precise placement and shaping. Users can choose from various flame types, adjust characteristics like length and interval, and even define custom color gradients to achieve specific visual temperatures or ethereal glows. This procedural approach ensures that each flame generated is unique, contributing to a more organic and believable final effect.

Integrating generated flames with complementary elements such as sparks is crucial for achieving a complete and convincing fire simulation. While the Flame filter produces the core fire, sparks add the necessary particulate detail and movement, enhancing the overall realism and visual impact of the effect.

Practical Tips for Creating Fire Effects

  • Ensure consistent results by setting your background resolution to 72 pixels per inch via Image > Image Size before starting.
  • Utilize the Ellipse Tool in "Path" mode to create a precise circular path for your flame generation.
  • Leverage the Flame filter's extensive settings, including Multiple Flames One Direction and Randomize Length, to customize the appearance of your fire.
  • Enhance flame depth and luminosity by applying multiple Outer Glow effects with different Blend Modes, such as Overlay and Color Dodge.
  • Organize your layers by grouping related elements into folders (Ctrl/Cmd + G) and apply layer masks to folders for selective adjustments.

Explore additional techniques for creating fire and light effects in Photoshop with these related articles and tutorials.

Create a Fire Burning Effect in Photoshop
Creating a fire-burning effect in Photoshop is a fascinating process that can enhance your images dramatically. Start by setting up a new file with dimensions of 1920 x 1080 pixels. Import the necessary images, which can be found in the provided link. Duplicate your main layer using Ctrl + J, then convert it to black and white through the Image Adjustments menu by selecting Hue/Saturation and removing all saturation. Next, apply an inverted mask to the black and white layer. Use the brush tool
Create awesome fireworks in Photoshop
In this Photoshop tutorial from BlueLightning TV, you will learn how to create stunning visuals of fireworks bursting over a skyline at night. The tutorial provides step-by-step instructions, making it easy for you to follow along, regardless of your skill level. As you explore the techniques demonstrated, you will discover how to manipulate images and use various tools within Photoshop to achieve professional-looking results. The emphasis is on layering effects and enhancing colors to bring yo
How to Create Flames in Photoshop
In this tutorial, Julieanne Kost walks you through the process of creating realistic flames in Photoshop. The tutorial simplifies the process into four manageable steps, making it accessible even for beginners. Kost starts by guiding you through the basics of setting up your workspace and selecting the right tools. She then demonstrates how to use different paths and brush settings to shape and control the flame effect. By adjusting various parameters, you can achieve a dynamic and realistic fl
How to Create Realistic Fire in Photoshop
In this tutorial by Aaron Nace from Phlearn, you'll learn how to add realistic fire effects to your photos using Photoshop. The tutorial focuses on blending free stock images of fire into your own photographs to create a convincing fire effect. Aaron Nace demonstrates how to effectively use common tools like Blending Modes and Layer Masks to integrate the fire seamlessly into your images. You will explore techniques for adjusting the fire’s appearance, ensuring it matches the lighting and persp

Get tutorials & freebies delivered to you.

Subscribe to the Photoshop Roadmap newsletter, a weekly roundup of new tutorials, insights and quality downloads, trusted by 6500+ readers.

You might also like

How to Create Realistic Lighting Effects and Dust Particles in Photoshop

Creating convincing lighting effects requires more than just adding a bright spot to your image. The key to realism lies in ensuring your subject already has highlights that match the direction of your artificial light source, making the effect appear natural and believable. This technique combines a simple soft brush...

How to Set Up Mouse Scroll Zoom in Photoshop for Faster Navigation

Constantly reaching for the magnify tool or right-clicking to access zoom options disrupts your creative flow and slows down detailed work. Most users don't realize that Photoshop includes powerful scroll wheel zoom features that aren't enabled by default. These simple preference settings transform navigation into smooth,...

How to Fix Layer Panel Thumbnails Showing the Full Canvas in Photoshop

When working with complex layered files, layer thumbnails that display the entire canvas instead of just the layer content make it difficult to identify specific layers at a glance. This common issue occurs when the layers panel is set to show the "entire document" rather than focusing on...

Game Boy Pixel Effect Tutorial in Photoshop

The distinctive monochrome pixelated aesthetic of the original Game Boy has become an iconic visual style that evokes powerful nostalgia for classic handheld gaming. This technique transforms ordinary photographs into high-contrast, pixelated artwork that mimics the characteristic black and white display of Nintendo's legendary portable console. The process...

How to Cut Out Trees Using Blend If in Photoshop

Trees with complex branching patterns challenge traditional selection tools, often leaving messy edges and incomplete cutouts. The Blend If feature offers a powerful alternative for extracting trees from contrasting backgrounds by targeting specific color channels rather than attempting pixel-by-pixel selection. This technique works particularly well when trees are photographed against...

Should You Use Photoshop's New AI Credit System or Stick to Traditional Tools

Adobe's credit-based AI system is creating a dilemma for photographers and digital artists. With 250 monthly credits that can disappear after just a few generative fill operations, many are questioning whether these new tools are worth the investment or if traditional skills remain more valuable. This perspective from...

You’ve successfully subscribed to Photoshop Roadmap
Welcome back! You’ve successfully signed in.
Great! You’ve successfully signed up.
Success! Your email is updated.
Your link has expired
Success! Check your email for magic link to sign-in.