Vintage toy cameras produced wonderfully imperfect images—plastic lenses created natural distortions, light leaked through cheap seals, and dust accumulated on surfaces. These analog flaws gave photos a distinctive lo-fi charm that's highly sought after today.
This technique combines lens correction filters, colorful light leak textures, and carefully crafted grain to recreate that nostalgic aesthetic digitally. The process works particularly well with typography and portrait photography.
Watch the Video
Video by Texturelabs. Any links or downloads mentioned by the creator are available only on YouTube
Practical Tips
Master the vintage toy camera effect with these essential techniques:
- Apply lens correction filters multiple times using Cmd/Ctrl+F to build up distortion gradually rather than using extreme settings once
- Set chromatic aberration to -100, 0, and +100 to separate RGB channels and create authentic color fringing around edges
- Use screen blending mode for light leak textures, then adjust hue/saturation to experiment with different color combinations
- Create film grain by filling a layer with 50% gray, adding gaussian noise, then setting to overlay mode at 50% opacity
- For non-square images, reduce the lens correction scale setting to 99% to prevent unwanted image scaling
Related Articles and Tutorials
Explore more vintage effects and distortion techniques for creative photo editing:
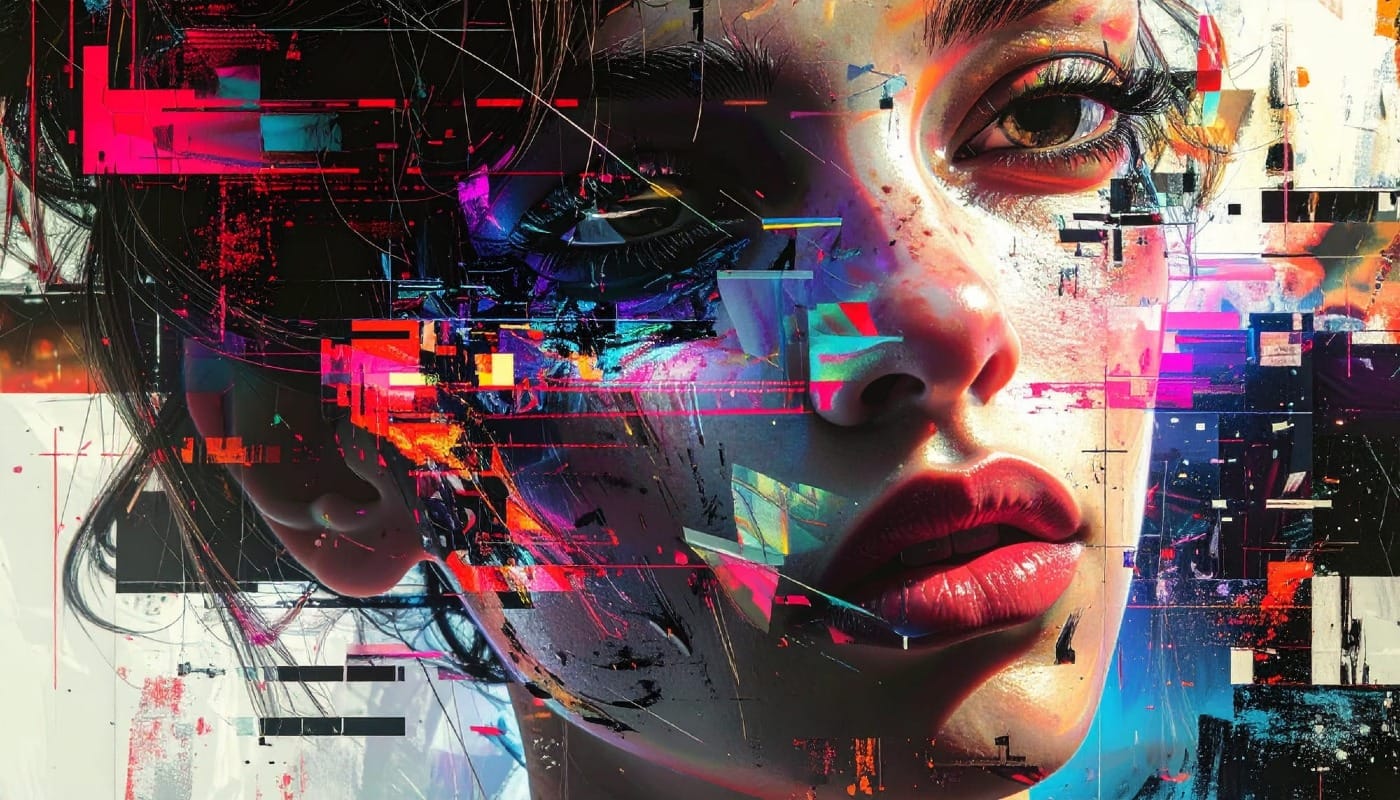
The Beauty of Digital Mistakes: Glitch Effects and Visual Aberrations in Photoshop
Once, a broken image or pixelated frame meant something had gone wrong. Now, those same visual errors are a creative choice. Designers and digital artists are using glitch effects to turn imperfections into style — bending pixels, breaking color channels, and distorting shapes until they feel alive again.
Maybe it's nostalgia for the days of VHS static and corrupted files, or maybe it's a reaction to the clean perfection of digital design — but glitch aesthetics bring a sense of chaos that feel
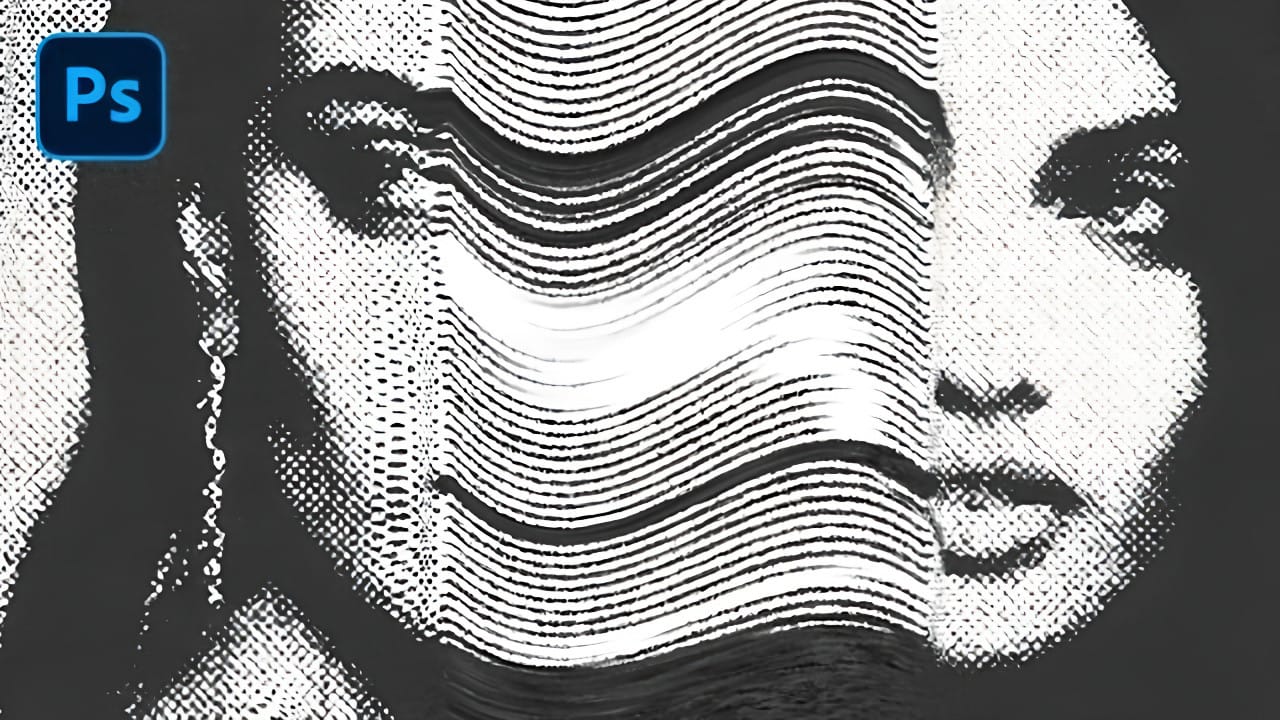
Create a Distorted Photocopy Scan Effect in Photoshop
Vintage photocopy effects capture the imperfect charm of analog reproduction—those streaky scan lines, halftone dots, and mysterious distortions that made every copy slightly different. These gritty, mechanical textures add authentic character to digital designs, evoking the era when photocopiers were the primary way to duplicate documents and images.
This video demonstrates how to recreate that distinctive look using Photoshop's filter gallery and liquify tools to build convincing photocopy di
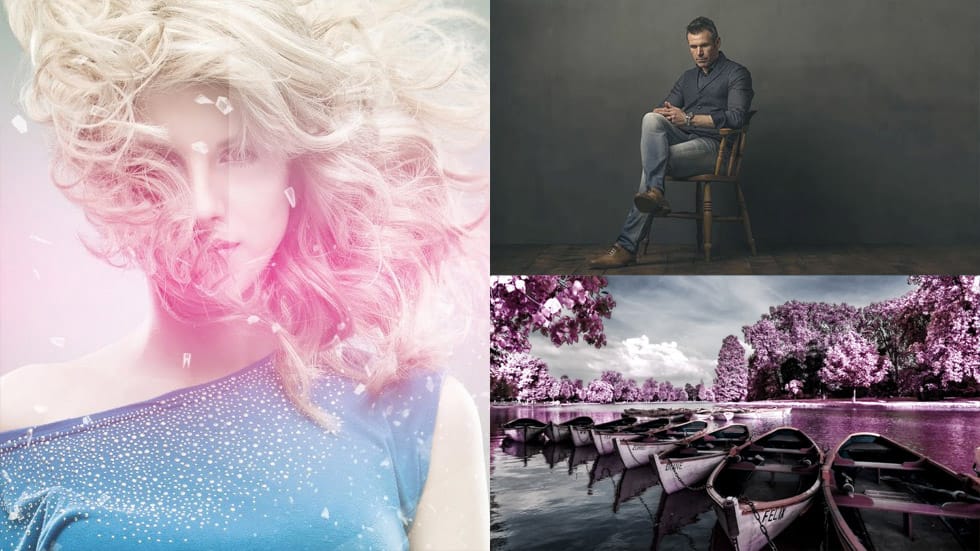
24 Creative Color Effects Photoshop Tutorials
The introduction of digital cameras has revolutionized photography. Gone are the days when quality relied solely on film development services, which often meant dealing with color errors or issues like expired rolls or light leaks. Nowadays, these concerns are virtually eliminated, allowing photographers to focus on creativity rather than technical flaws.
However, even with digital technology, there are still ways to explore artistic expression through color. Mistakes can become opportunities f
Create a Distorted Wave Glitch Effect in Photoshop
Digital distortion effects transform ordinary portraits into striking visual art by warping reality through deliberate technical manipulation. This technique uses multiple wave filters layered together to create increasingly complex distortions, while selective masking preserves important facial features from becoming completely unrecognizable.
Watch the Video
Practical Tips
Master the wave distortion effect with these essential techniques:
* Convert layers to smart objects before applyin
Lighting Effects to Create Drama in Photoshop
In this tutorial, John Whitehead demonstrates how to add dramatic lighting effects in Photoshop to transform flat lighting into something much more dynamic. You'll learn how to use various tools such as lighting effects filters, lens flare, smart objects, and LUTs to completely alter the mood and appearance of your image.
If you want to follow along with the tutorial, you can download the provided image and apply the same techniques. This guide is perfect for photographers and digital artists l

How to Remove Dust and Sensor Spots Using Photoshop Tools
Dust spots and sensor particles are inevitable challenges in digital photography, appearing as dark specks that distract from otherwise clean images. Camera sensors collect dust over time, creating consistent spots that show up across multiple photos, particularly in bright sky areas or uniform backgrounds.
Both Lightroom and Photoshop offer specialized tools designed to tackle these imperfections efficiently. Understanding when to use each application's strengths can streamline your workflow a

Fun Toy Camera Photo Effect in Photoshop
Toy cameras are fun to play around with but most of them take 120 film and for a quick experiment, processing 120 film can get pricey. Also, toy cameras are quite unpredictable. More often than not, you don't know what will come out of them nor can you get the same results twice. That's what makes them fun but for someone who just wants to add a little something to a particlar set of images it may not be worth the hassle. In this tutorial I'll show you how to get similar effects through the use
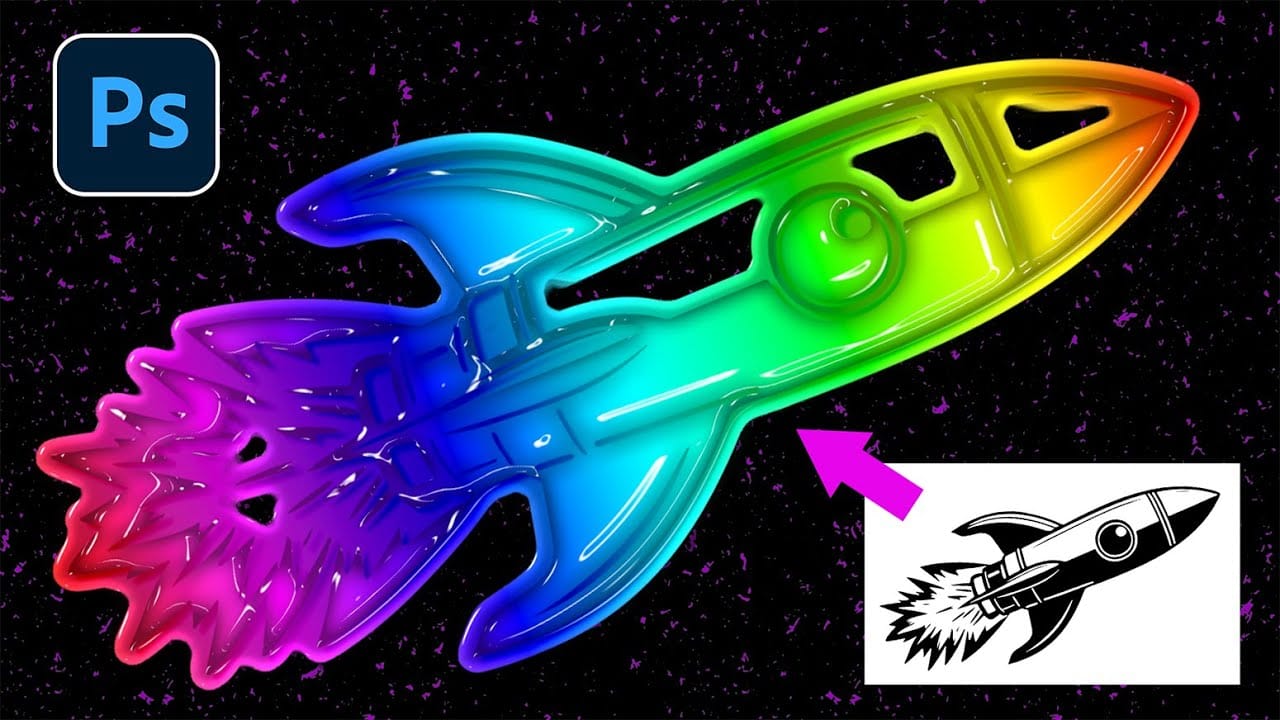
How to Create Retro Molded Plastic Text Effects in Photoshop
The distinctive look of vintage molded plastic carries a unique charm that defined countless products from toys to electronics in decades past. This glossy, dimensional aesthetic brings instant retro appeal to modern designs, combining smooth beveled surfaces with vibrant colors and realistic depth.
This tutorial demonstrates how to recreate that authentic molded plastic appearance using Photoshop's layer styles and smart objects. You'll learn to transform ordinary text and graphics into convin