How to Create Realistic Lighting Effects and Dust Particles in Photoshop

How to Create Realistic Lighting Effects and Dust Particles in Photoshop

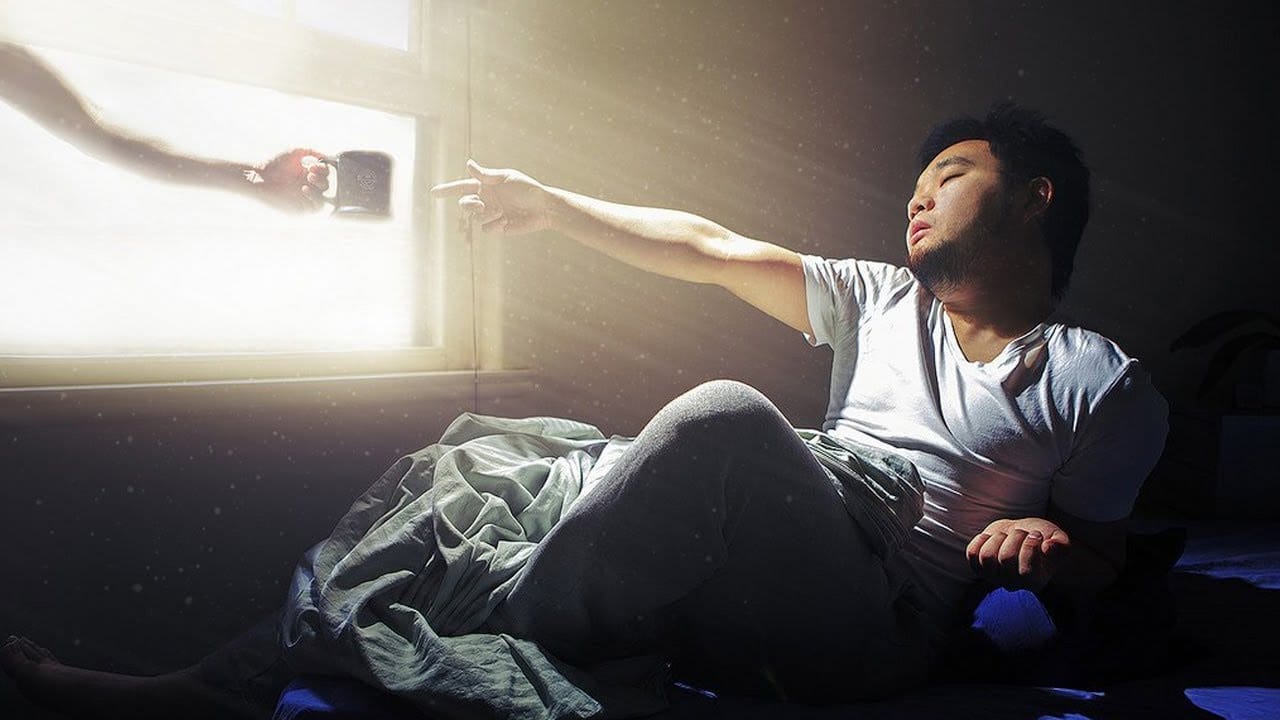
Creating convincing lighting effects requires more than just adding a bright spot to your image. The key to realism lies in ensuring your subject already has highlights that match the direction of your artificial light source, making the effect appear natural and believable.

This technique combines a simple soft brush method for the main light source with atmospheric dust particles that catch and reflect the light. The dust elements add authenticity to the scene, mimicking how particles become visible when illuminated in dark environments.

Watch the Video

Video by Glyn Dewis. Any links or downloads mentioned by the creator are available only on YouTube

Practical Tips

Follow these essential steps to create believable lighting effects that enhance your portraits:

  • Start with a small soft brush (0% hardness) and use Free Transform to enlarge it rather than creating a large brush initially to avoid edge cutoff
  • Ensure your subject has existing highlights on the side where your light source will be positioned before adding the effect
  • Use Screen blend mode on your dust particle layer to show only the lighter areas while hiding the darker parts
  • Apply layer masks to control where dust particles appear, keeping them away from your subject and focused in the light beam area
  • Add subtle motion blur to dust particles to create the impression of movement and make them feel more natural

Explore more lighting and atmospheric effects to enhance your photo editing skills:

Add Dust to a Road Photo in Photoshop
Adding realistic dust clouds to car photos can transform static images into dynamic scenes that suggest motion and atmosphere. This technique uses cloud brush presets and layering methods to build convincing dust effects without complex particle systems or advanced compositing. The approach works by layering different cloud brushes with varying opacities, then using masks and dodge-and-burn techniques to integrate the dust naturally with the vehicle and road surface. Watch the Video Practic
Learn how to create light rays and dust particles in Photoshop
As a reader, you'll find this tutorial by Aaron Nace from Phlearn to be an informative and practical guide. He'll show you how to create stunning light rays and dust particles from scratch in Photoshop, using a custom brush. The step-by-step instructions are easy to follow, making it accessible even for beginners. You'll learn how to set up the brush, adjust the opacity and size, and apply it to your image to achieve the desired effect. The resulting light rays and dust particles will add dept
How to Add Realistic Light and Shadow Effects to Portraits in Photoshop
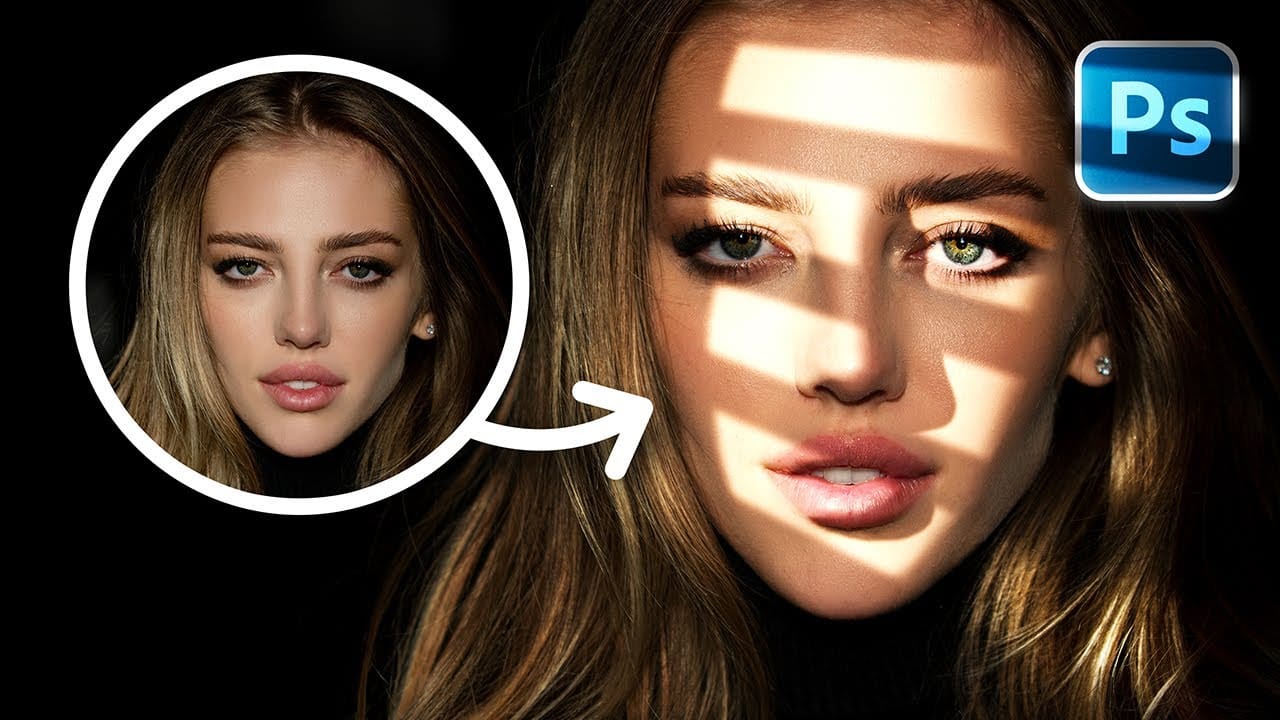
The difference between a flat portrait and one with captivating depth often comes down to how light and shadow play across the subject's features. Professional photographers spend thousands on studio lighting equipment, but digital artists can achieve dramatic lighting effects using only Photoshop tools. This technique transforms ordinary portraits into striking images with realistic light streaks and corresponding shadows. The method involves creating custom light sources that cast believable
Learn how to use lighting effects in Photoshop
Bringing different elements together in Photoshop requires more than just careful selection and placement; it demands mastery of lighting to achieve true realism. When composing an image, the way light interacts with each object determines its perceived depth, form, and how seamlessly it integrates into the scene. Neglecting proper lighting can make even the most detailed composite look flat and artificial. This tutorial demystifies Photoshop's powerful lighting effects, showing how to transfor
Download the Stunning StarDust Photoshop Premium Action
As a photographer, you're always looking for ways to enhance your images and make them stand out. The Stunning StarDust Photoshop Premium Action is a powerful tool that can help you achieve this effortlessly. With just a few clicks, you can transform your photos and create stunning lighting effects that will captivate your viewers. The action offers five different direction options, allowing you to customize the effect to your liking. Whether you want it to shoot up, down, left, right, or from
Add Striking Light Effects to Your Photos in Photoshop
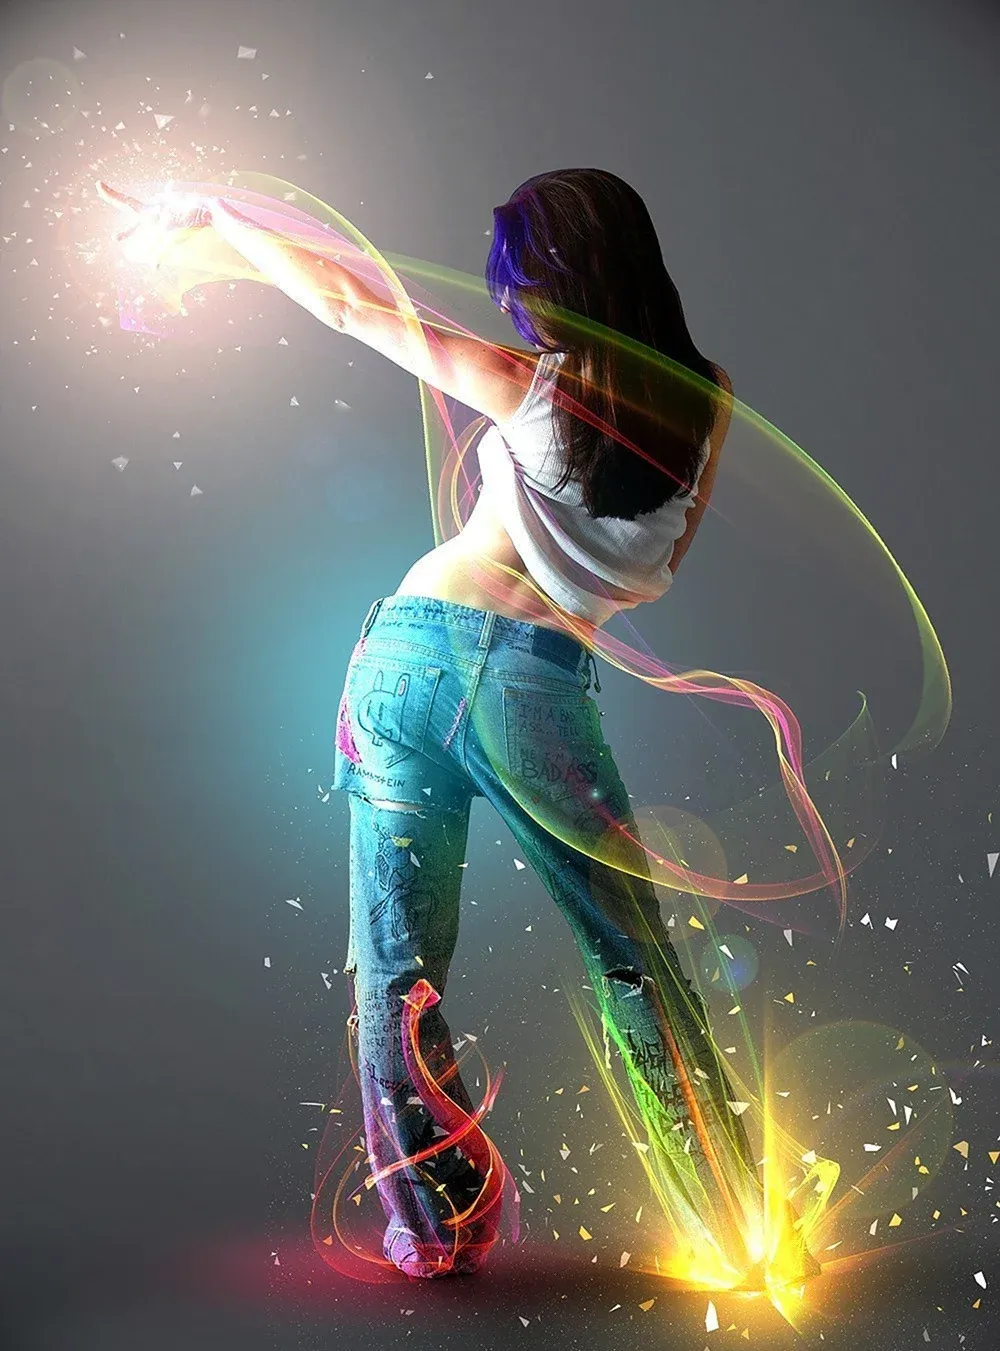
In this Photoshop tutorial from PSD Box, using the "Colors in Motion" textures pack and a model image from deviantArt or ISO Stock, you'll create a vibrant digital artwork. Start by meticulously removing the background with the Pen Tool and placing the model on a new canvas with a gradient backdrop. Enhance the image with non-destructive adjustments for color and contrast, adding realistic shadows for depth. Integrate various light effects from the packs, adjusting blending modes and using tool
Advanced Dave Hill Effect Photo Manipulation Tutorial
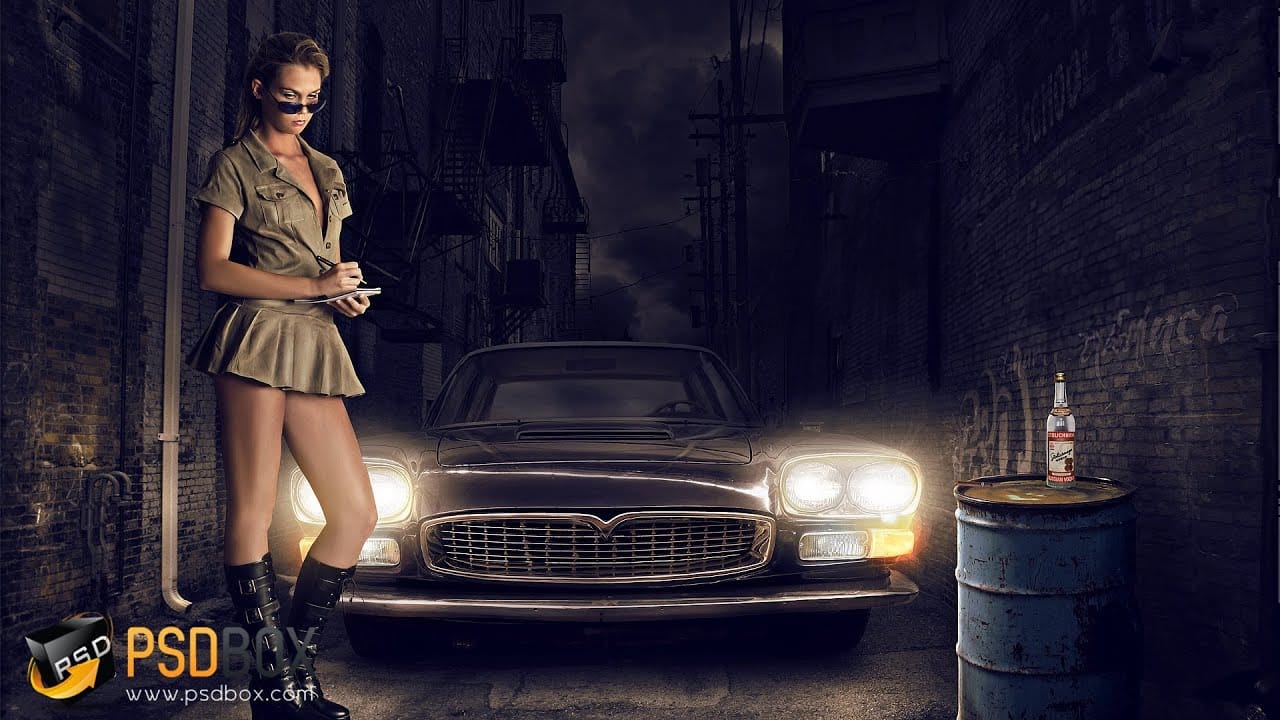
In this advanced Photoshop tutorial by PSD Box, Andrei shows how to transform a daytime photo into a nighttime scene. They start with basic adjustments like cropping and precise sky selection using color range and layer masks. Adding a dark, cloudy sky layer sets the nighttime tone, enhanced by layer styles for shadow depth. Adjustments with hue/saturation and gradient maps add warmth and darkness. Introducing a car, they paint shadows and soften with Gaussian blur, then use layer styles and hu
Lighting Effects to Create Drama in Photoshop
In this tutorial, John Whitehead demonstrates how to add dramatic lighting effects in Photoshop to transform flat lighting into something much more dynamic. You'll learn how to use various tools such as lighting effects filters, lens flare, smart objects, and LUTs to completely alter the mood and appearance of your image. If you want to follow along with the tutorial, you can download the provided image and apply the same techniques. This guide is perfect for photographers and digital artists l
Add beautiful natural background light effects in Photoshop
In this Photoshop tutorial by Unmesh Dinda from Piximperfect you will learn how to make the subject stand out by adding realistic light effects on the background. Learn to create beams of light pouring in from a source (like a window) and falling on the background naturally in Photoshop. We'll create the light by using Step and Repeat and then apply blend modes and masking to make it as realistic as possible. Watch tutorial
Powerful mental wave photo effect
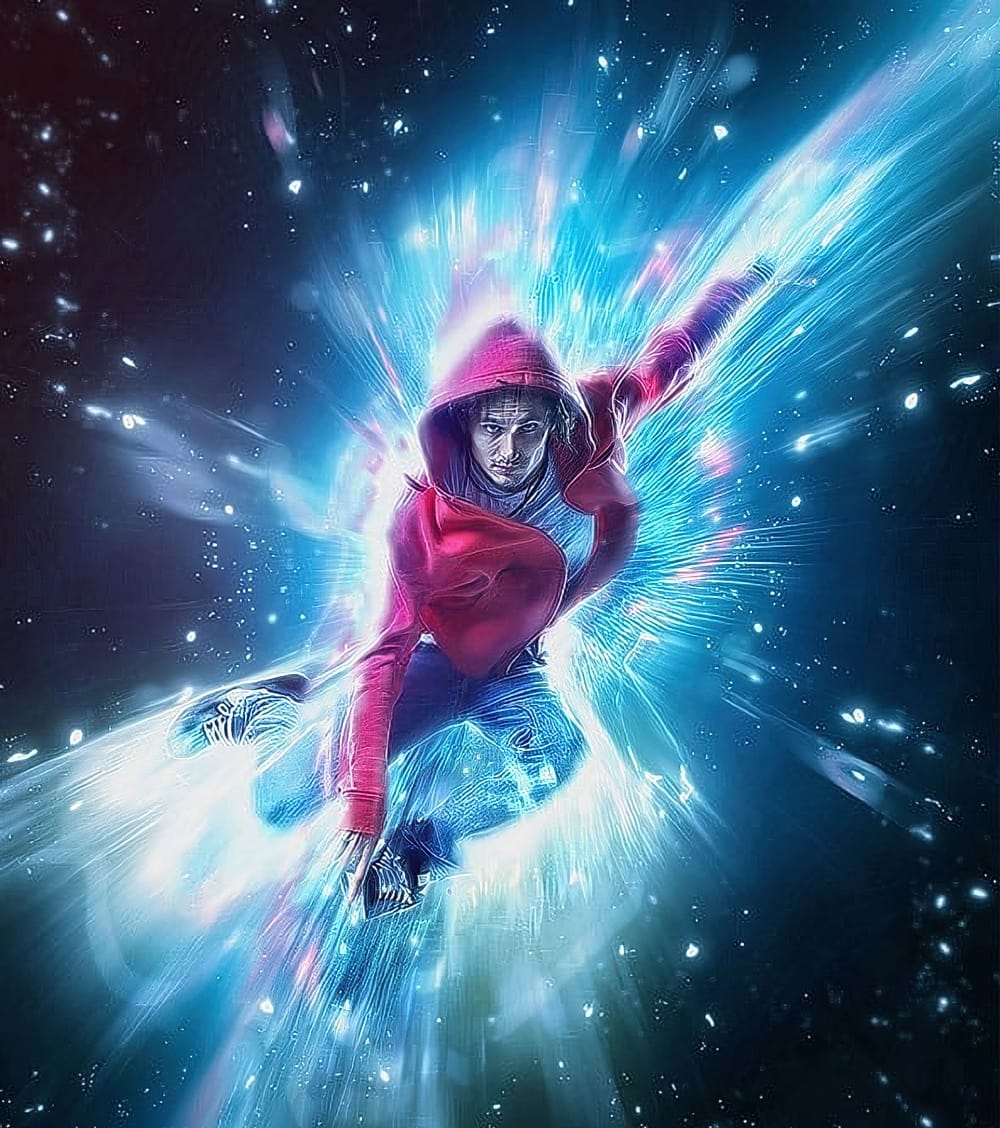
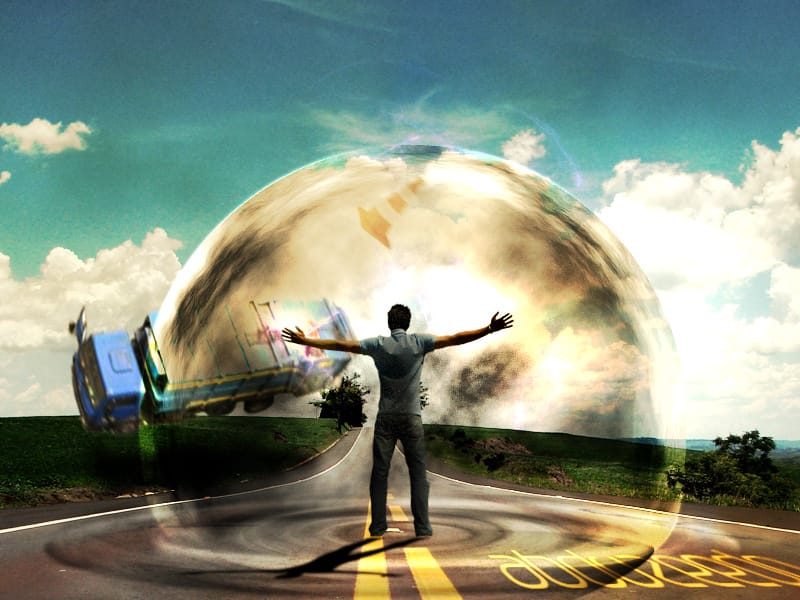
This tutorial by Fabio Sasso will show you how to create an impressive mental wave explosion effect in Photoshop. The step by step instructions guides you through the process of integrating a person into a road scene, enhancing realism through adjustments like shadow creation and lighting effects. It focuses on layer blending techniques, including Soft Light, Multiply, and Color Dodge, to achieve depth and illumination in cloud formations. The tutorial also covers the integration of additional

Get tutorials & freebies delivered to you.

Subscribe to the Photoshop Roadmap newsletter, a weekly roundup of new tutorials, insights and quality downloads, trusted by 6500+ readers.

You might also like

Painting Digital Art Backgrounds: Techniques and Workflow

A well-crafted background can anchor an entire digital painting, providing atmosphere, depth, and visual context for the subject. This video demonstrates practical approaches to building backgrounds from scratch using digital tools, covering brush selection, color layering, and compositional thinking. Watch the Video Practical Tips Keep these core principles in...

How to Use the Light Adjustment Layer in Photoshop

Photoshop's new Light adjustment layer brings Camera Raw controls — exposure, contrast, highlights, shadows, whites, and blacks — directly into the layers panel as a fully non-destructive, maskable layer. This means you can stack multiple light adjustments, target specific subjects, and combine them with Blend If and other adjustment...

How to Use Object Selection, Remove Background, and the Selection Brush in Photoshop

Selections determine the quality and flexibility of almost every edit you make in Photoshop. Three modern tools — the Object Selection tool, Remove Background with Harmonize, and the Selection Brush — handle the most common selection tasks with far less manual effort, while keeping your original image intact through non-destructive layers....

How to Paint a Digital Background and Composite Wildlife Into It

Building a painted digital background from scratch gives you full control over color, mood, and composition before a single wildlife photo is placed. This walkthrough covers the complete process: blocking in shadows on a black canvas, layering foliage with textured brushes, positioning bird subjects on hand-painted stones, and using...

How to Sharpen Skin Texture Using Frequency Separation in Photoshop

Retouched skin can look great up close but lose all its natural texture the moment you zoom out. Rather than relying on standard sharpening filters, you can recover that texture by duplicating the high-frequency layer inside a frequency separation setup — a method that works whether or not you'...

You’ve successfully subscribed to Photoshop Roadmap
Welcome back! You’ve successfully signed in.
Great! You’ve successfully signed up.
Success! Your email is updated.
Your link has expired
Success! Check your email for magic link to sign-in.