Create a Whimsical Vintage Image in Photoshop: Complete Layer Breakdown and Color Matching Technique

Create a Whimsical Vintage Image in Photoshop: Complete Layer Breakdown and Color Matching Technique

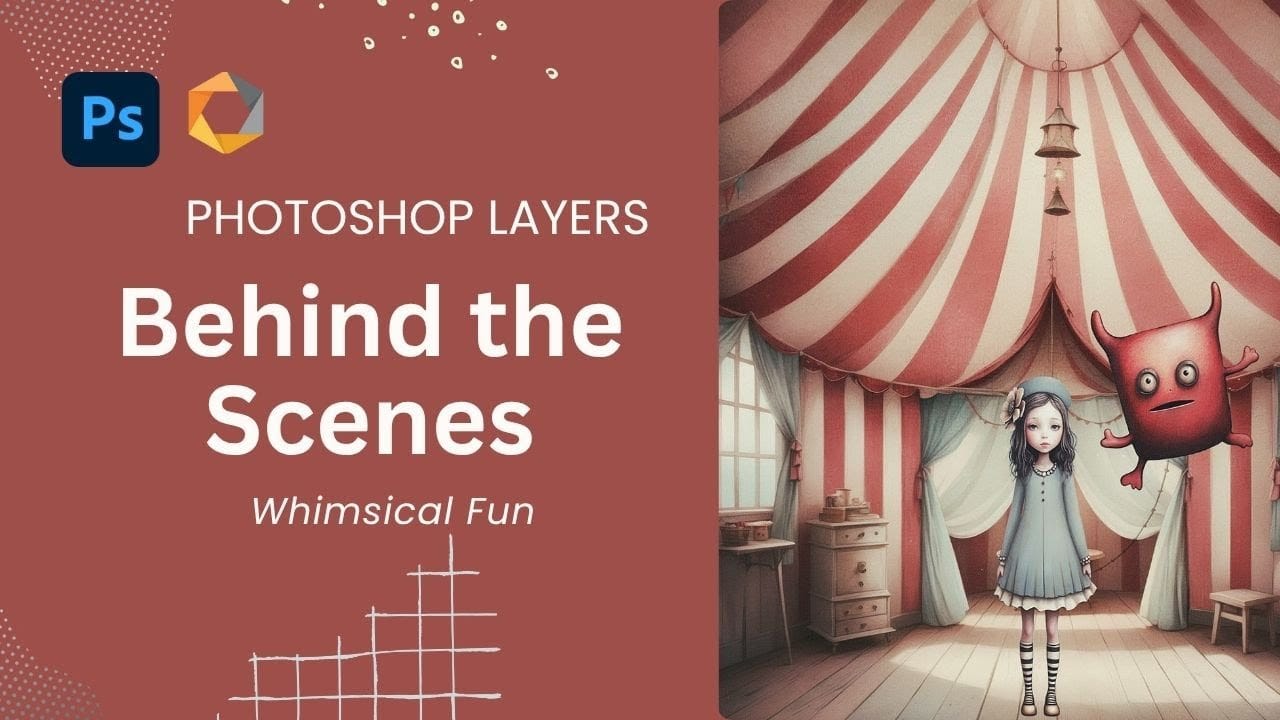
The magic of vintage circus imagery lies in its ability to transport viewers to a world of wonder and nostalgia. Soft, muted tones paired with whimsical characters create compositions that feel both timeless and enchanting.

This tutorial demonstrates how to build a complete vintage-inspired scene using strategic layering, color grading techniques, and a clever color-matching method for harmonizing different elements within your composition.

Watch the Complete Tutorial

Video by SandraD Imagery. Any links or downloads mentioned by the creator are available only on YouTube

Building Vintage Atmosphere Through Strategic Layering

Creating convincing vintage imagery requires understanding how different adjustment layers work together to build atmosphere. The process involves more than simply applying filters—it's about crafting depth and mood through careful tonal adjustments.

The Nik Collection proves invaluable for achieving authentic vintage tones, offering control over film emulation and color grading that mimics classic photography. Combined with texture overlays and blend modes, these tools create the foundation for nostalgic imagery.

  • Layer foundation with brightness and contrast adjustments for initial depth
  • Strategic use of Nik Analog for vintage color grading and film emulation
  • Texture application through crackle overlays for aged poster effects
  • Stamp visible technique for non-destructive editing workflow
  • Color harmony achieved through selective brush work and sampling

Practical Tips for Vintage Image Creation

  • Work with stamp visible layers before major adjustments to preserve your editing flexibility and maintain a non-destructive workflow
  • Use the eyedropper tool with low-opacity brushes to sample colors from one area and paint them onto another for seamless color matching
  • Apply texture overlays at reduced opacity with blend modes like Multiply or Overlay to achieve subtle vintage aging effects
  • Make selections before brush work using object selection tools to ensure precise color matching within specific areas
  • Adjust levels focusing on midtones rather than highlights and shadows for more natural vintage color grading

More Tutorials about Photoshop Layer Techniques

Explore additional layer management and creative compositing techniques.
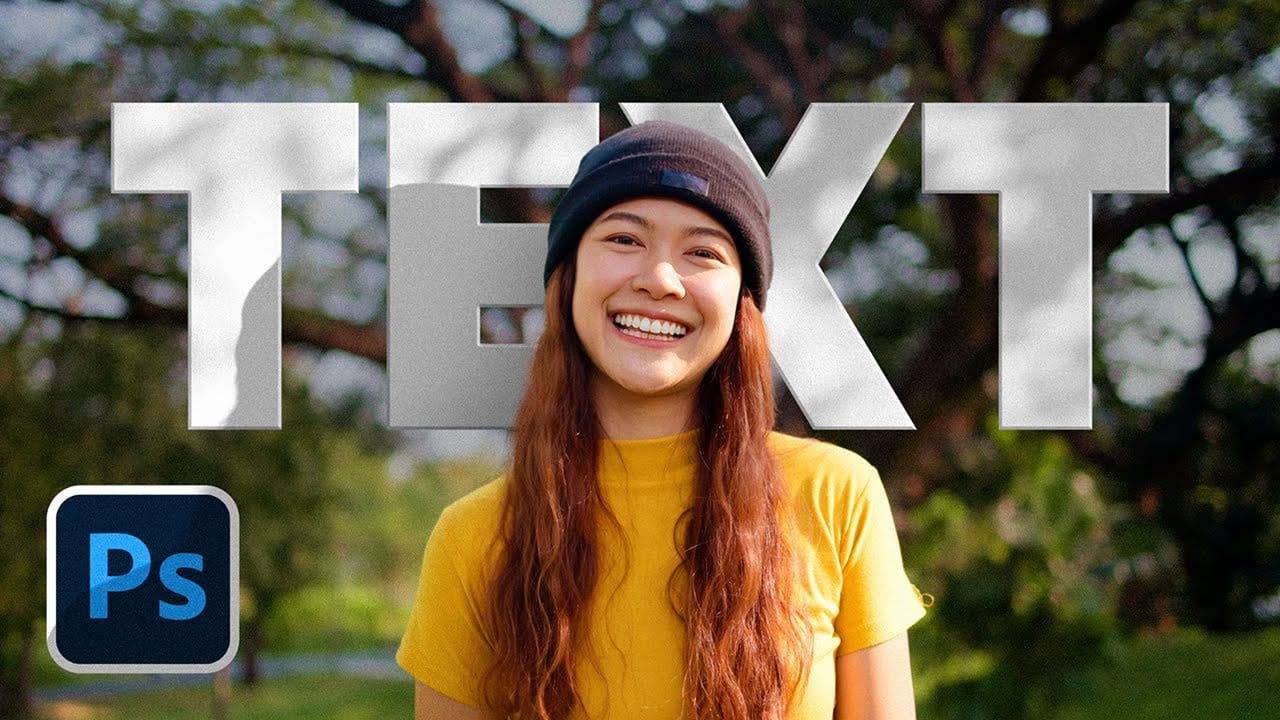
Add Text Behind a Subject with Realistic Shadows in Photoshop
Creating convincing text-behind-object effects in Photoshop requires more than basic masking techniques. While separating a subject and placing text behind it seems straightforward, achieving realistic results means accounting for proper lighting, shadow behavior, and environmental effects that make the composition believable. This tutorial demonstrates advanced techniques for creating text-behind-subject effects with authentic shadows and lighting. The methods cover subject extraction, shadow
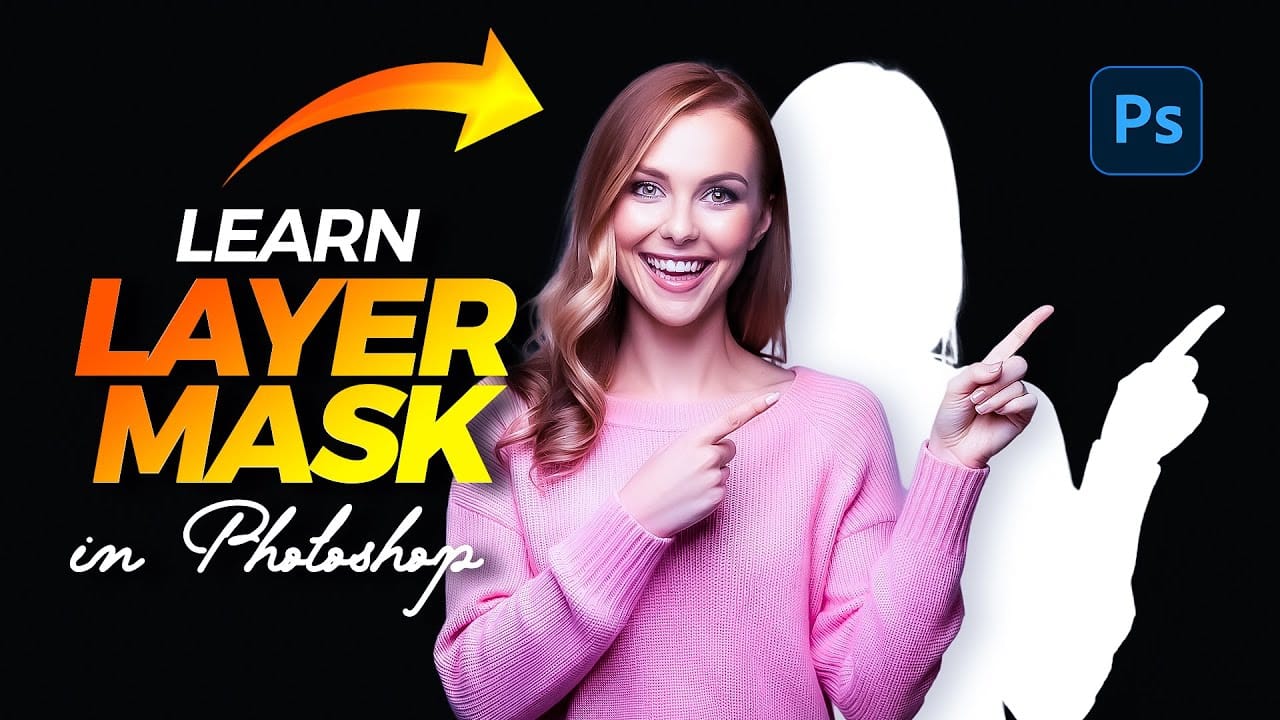
Unlocking the Power of Layer Masks in Photoshop
Layer masks are a fundamental feature in Photoshop that allow for greater control over images. They enable you to hide or reveal portions of a layer without permanently altering the original content. This non-destructive editing approach is beneficial for making precise adjustments to your designs. You can use layer masks in various ways. For example, they help blend multiple images, create seamless transitions, or apply effects to specific areas. By painting on the mask with black or white, yo
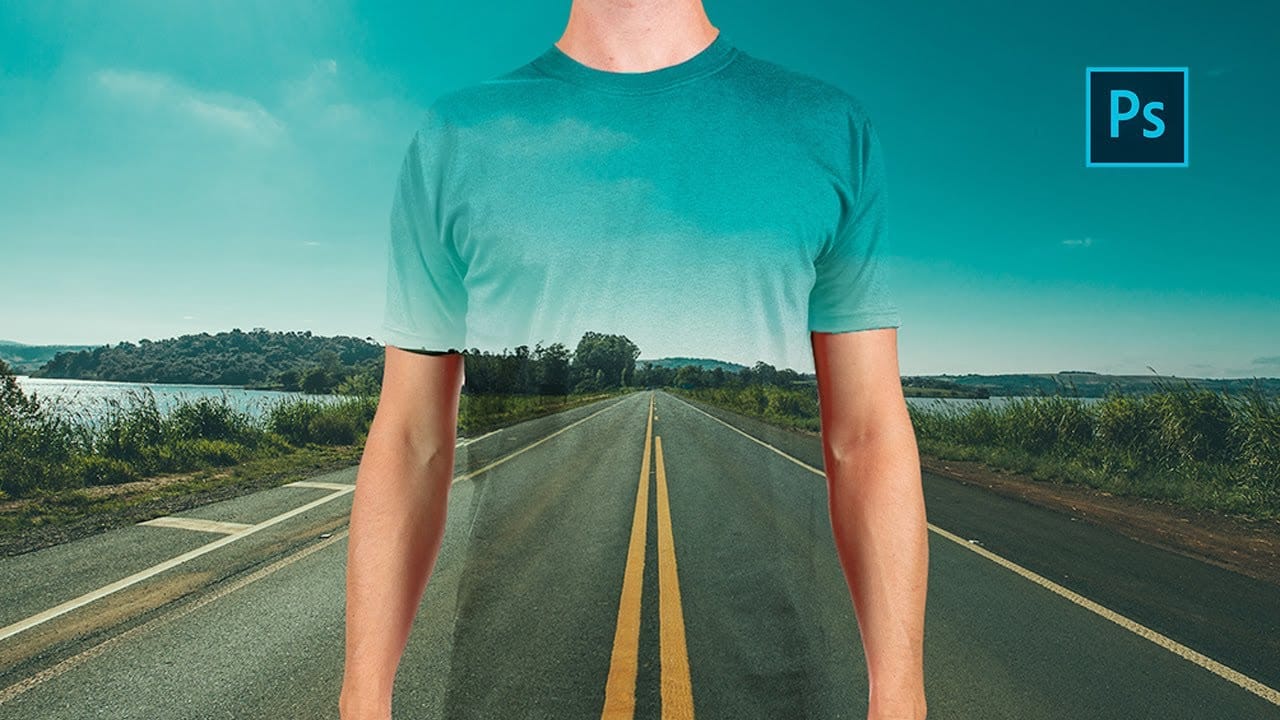
Create a transparent clothes effect in Photoshop
In this Photoshop tutorial you will to achieve a camouflage photo effect where we make t shirt look transparent. It's a super simple tutorial, quite easy for beginners to learn some things. We will cut out the background and and than separate t-shirt from body and will change the blending mode to make it mix with background. The real trick is to make t-shirt black and white before making it transparent so we don't have any trouble with miss matching colors. Also we will use displacement map, wh
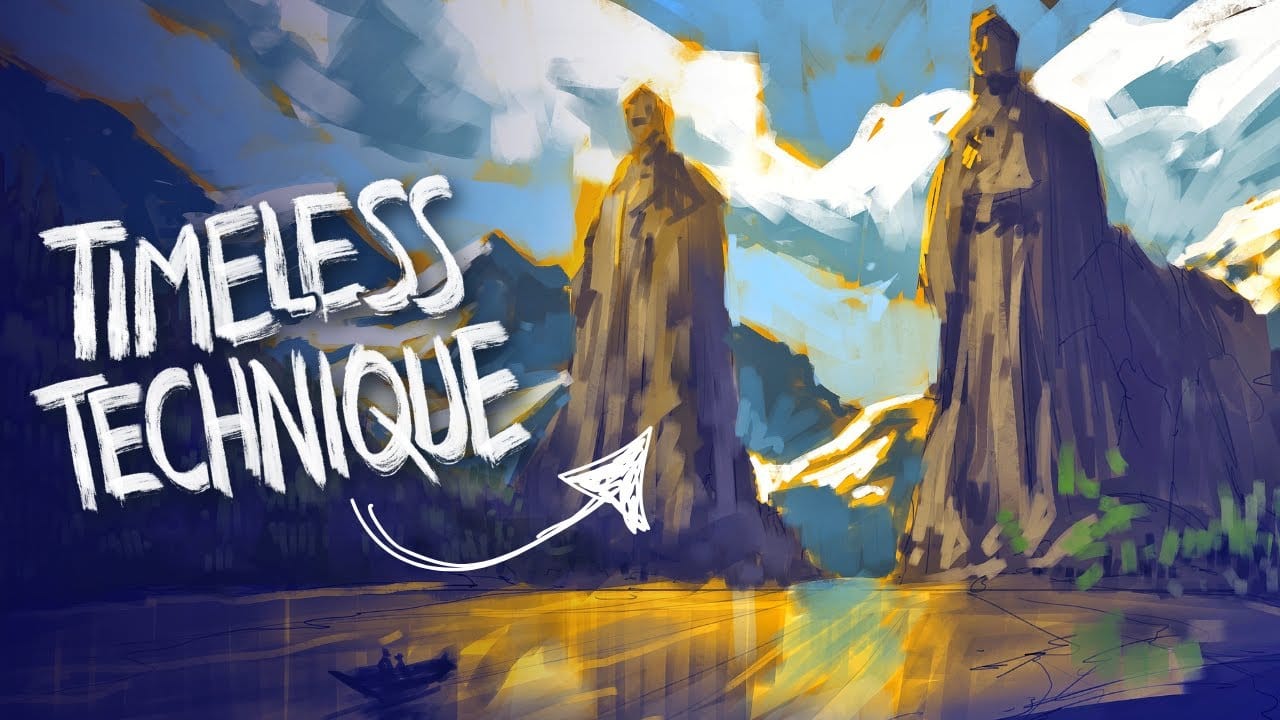
The Underpainting Technique in Adobe Photoshop
In this presentation, you will explore an oil painting technique that has stood the test of time, used by Old Masters for centuries. This method begins with a basic CPA underpainting, which serves as a foundation for the artwork. Following this, layers of color are added on top to create depth and richness. The speaker will demonstrate this technique through digital speedpaints, showing how you can apply it to your own work. The process starts with loose sketching to establish composition, foll

Member discussion

Get tutorials & freebies delivered to you.

Subscribe to the Photoshop Roadmap newsletter, a weekly roundup of new tutorials, insights and quality downloads, trusted by 6500+ readers.

You might also like

New Camera Raw Adjustment Layers in Photoshop: Color Grading, Clarity, and Grain

Working with multiple layers in Photoshop traditionally required complex workarounds to apply Camera Raw adjustments. The old process involved merging layers, converting to smart objects, and losing the flexibility that makes adjustment layers so powerful. Three new adjustment layers bring Camera Raw's most useful tools directly into your...

How to Create a Molten Metal Text Effect in Photoshop

Molten metal text effects transform ordinary typography into blazing, dimensional masterpieces that appear to glow with intense heat. This technique combines strategic layer styles, textural overlays, and color grading to simulate the appearance of scorching hot metal with fiery edges and realistic surface details. The process builds layers of metallic...

Create a Pop Art Stencil Effect from Photos in Photoshop

Pop art transforms ordinary portraits into bold, graphic statements using simplified colors and high contrast. This distinctive style, popularized by artists like Andy Warhol, reduces complex images to their essential elements while maintaining visual impact through strategic color choices. The stencil approach creates clean separations between color areas, producing artwork...

How to Use AI Masking in Adobe Camera Raw for Professional Photo Editing

Adobe Camera Raw's AI masking tools automatically detect subjects, backgrounds, skies, and landscapes, letting you make precise adjustments to specific areas of your photos. These intelligent masks eliminate the need for manual selection work, while allowing you to combine and refine them for complete creative control. The technique...

How to Remove Objects from Photos Using AI Tools in Photoshop

Photoshop's AI-powered object removal tools can eliminate unwanted distractions from your photos with minimal effort. The Remove Tool and Generative Fill feature automated detection for common distractions like people and wires, plus manual painting options for custom removals. These tools work on separate layers, preserving your original image...

Speed Up Your Color Grading Workflow with Photoshop Actions

Color grading can transform your images, but manually adjusting curves and levels for every photo takes time. Photoshop actions offer a faster approach by applying professional color treatments with a single click. This workflow uses pre-built actions, tints, and LUTs to achieve various moods and styles instantly, letting you layer...

You’ve successfully subscribed to Photoshop Roadmap
Welcome back! You’ve successfully signed in.
Great! You’ve successfully signed up.
Success! Your email is updated.
Your link has expired
Success! Check your email for magic link to sign-in.