Blue skies can make or break a landscape photograph. When they appear too intense or cartoonish, they distract from the entire image. When they look flat and lifeless, the whole scene loses its impact.
This video demonstrates how to create rich, dramatic skies using Photoshop's selective color adjustment layer. The technique produces natural-looking results that enhance rather than overpower your landscape images.
Watch the Tutorial
Video by Christian Möhrle - The Phlog Photography. Any links or downloads mentioned by the creator are available only on YouTube
Practical Tips for Sky Color Adjustment
- Start with the blue color channel in selective color, then fine-tune cyan tones for comprehensive coverage
- Increase the yellow slider gradually to reduce overly intense blue tones without creating unnatural colors
- Adjust the black slider upward to darken blue areas and create stronger contrast with white clouds
- Save your selective color settings as a preset to maintain consistency across similar landscape images
- Combine selective color with masking techniques to limit adjustments to sky areas only
More Tutorials about Sky Enhancement
Explore these additional resources for advanced sky editing techniques.
Create colorful dramatic skies with a simple blending trick in Photoshop
A photograph's impact often starts with its sky. A drab or overexposed backdrop can diminish an otherwise strong image, leaving it flat or uninspired. Elevate your photos by transforming ordinary skies into vibrant, dramatic elements that capture attention.
This guide explores a powerful, yet simple Photoshop technique. It uses the Blend If feature to effortlessly integrate colorful new atmospheric elements. You can create stunning, colorful skies that truly enhance your imagery.
Watch the Fu
Add clouds to a sky in Photoshop
Transforming a photo's atmosphere often starts with its sky. A dull, overexposed, or uninteresting sky can detract from an otherwise great image, leaving it feeling flat or uninspired. Enhancing or replacing the sky can dramatically improve the scene, introducing vibrant colors, dramatic clouds, or a serene backdrop.
This tutorial provides a straightforward method for updating skies in Photoshop, allowing creators to effortlessly blend new atmospheric elements into their photos. It covers every

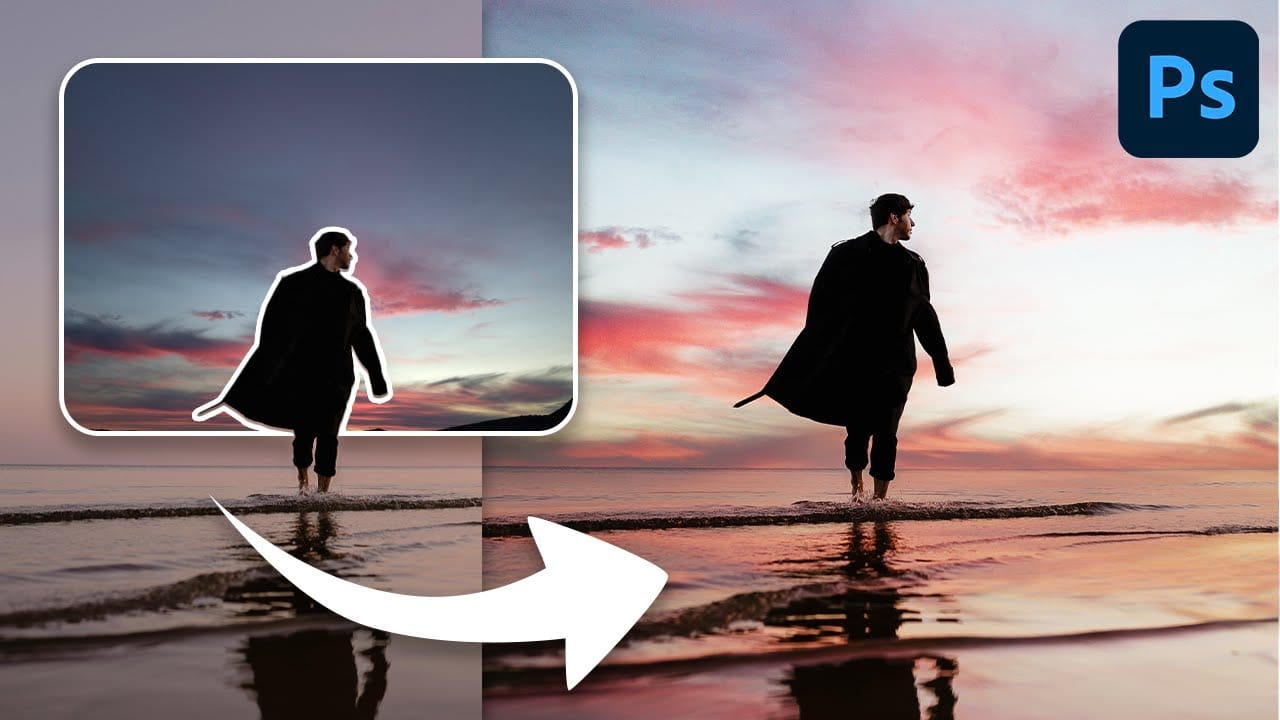
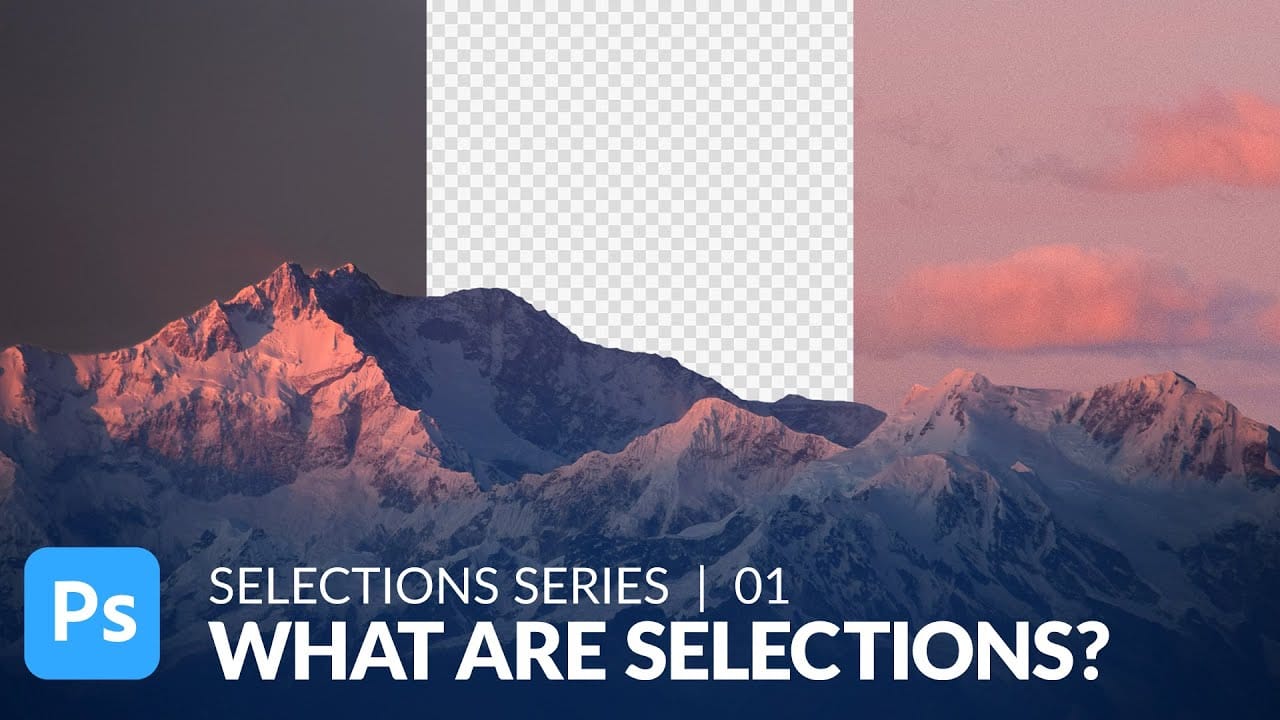
Use Simple Selection Tools to Replace a Sky in Photoshop
In this tutorial, Aaron Nace demonstrates how to effectively use basic selection tools in Photoshop to replace the sky in landscape photos. Selections are crucial for isolating specific areas in your image, and this tutorial breaks down their fundamental functions and applications.
Aaron guides you through the process of making precise selections to isolate the sky from the rest of the image. He then shows you how to seamlessly replace it with a new sky, enhancing the overall mood and impact of
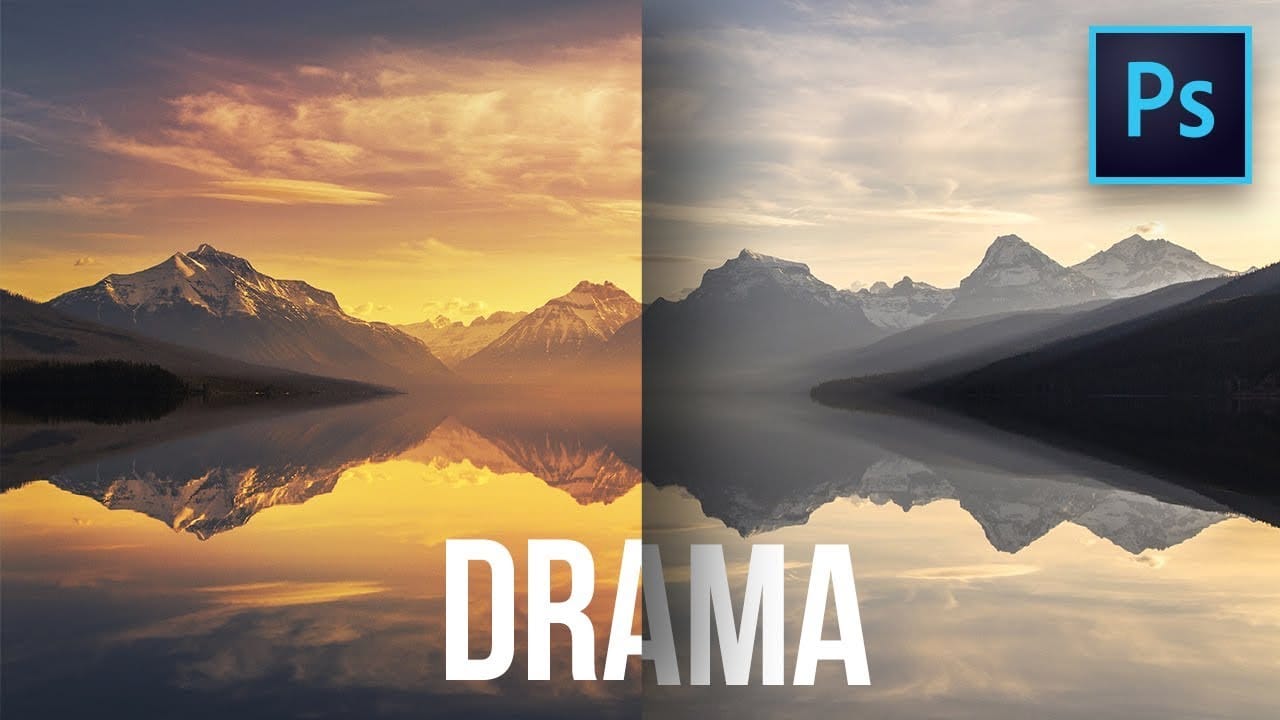
How To Easily Change The Sky In Photoshop
Transforming the mood and visual impact of a photograph often begins with its sky. A drab or overexposed sky can diminish the overall appeal of an otherwise great image, leaving it feeling flat or uninspired. Replacing the sky can dramatically enhance the scene, introducing vibrant colors, dramatic clouds, or a serene atmosphere.
This tutorial provides a straightforward method for updating skies in Photoshop, allowing creators to effortlessly blend new atmospheric elements into their photos. It