Create a sleek chrome logo in Photoshop

Create a sleek chrome logo in Photoshop

Creating a polished chrome logo in Photoshop can significantly elevate a brand's visual identity, lending it a sleek and futuristic appeal. This effect is highly sought after for its ability to convey professionalism and cutting-edge design.

This video tutorial demonstrates a comprehensive process for designing a custom chrome logo from the ground up. Viewers will learn how to build a dynamic background, shape reflective elements, and apply advanced layer styles to achieve a realistic metallic finish on text and shapes.

Watch the Video

Video by Blue Lightning. Any links or downloads mentioned by the creator are available only on YouTube

Understanding Chrome Effects in Digital Design

The essence of a convincing chrome effect in digital art lies in the accurate simulation of light reflection and surface contours. Chrome, being a highly reflective material, mirrors its surroundings, which translates into distinct light and dark areas that define its shape and shine. Designers often manipulate gradients and curves to mimic these complex interactions, creating the illusion of depth and gloss.

Achieving a realistic chrome look involves more than just applying a metallic texture; it requires a nuanced understanding of how light bounces off curved surfaces. Key elements include:

  • High Contrast: Sharp transitions between bright highlights and deep shadows.
  • Reflective Gradients: Smooth, often non-linear, color transitions that simulate environmental reflections.
  • Beveling and Contouring: These effects define the three-dimensional form, making the chrome appear solid rather than flat.

When these principles are applied effectively, a flat design can transform into a striking, three-dimensional element that captures attention and conveys a sense of quality and modernity.

Practical Tips for Creating Chrome Effects

  • Use guides (Ctrl/Cmd + H) to accurately center elements and shapes, ensuring symmetry in your design.
  • Convert your text layer to a Smart Object before applying complex effects; this allows for non-destructive editing and easy text modifications later.
  • Apply Curves adjustment layers with a "hill, valley, hill" shape to simulate the reflective properties and high contrast of chrome.
  • Utilize the Bevel & Emboss layer style, specifically with a Contour, to give your text and shapes a realistic three-dimensional metallic edge.
  • Employ the Gradient Tool with a radial gradient for the background, using specific gray values to set the stage for the reflective chrome.

Explore more techniques and creative approaches to designing stunning chrome effects in Photoshop.
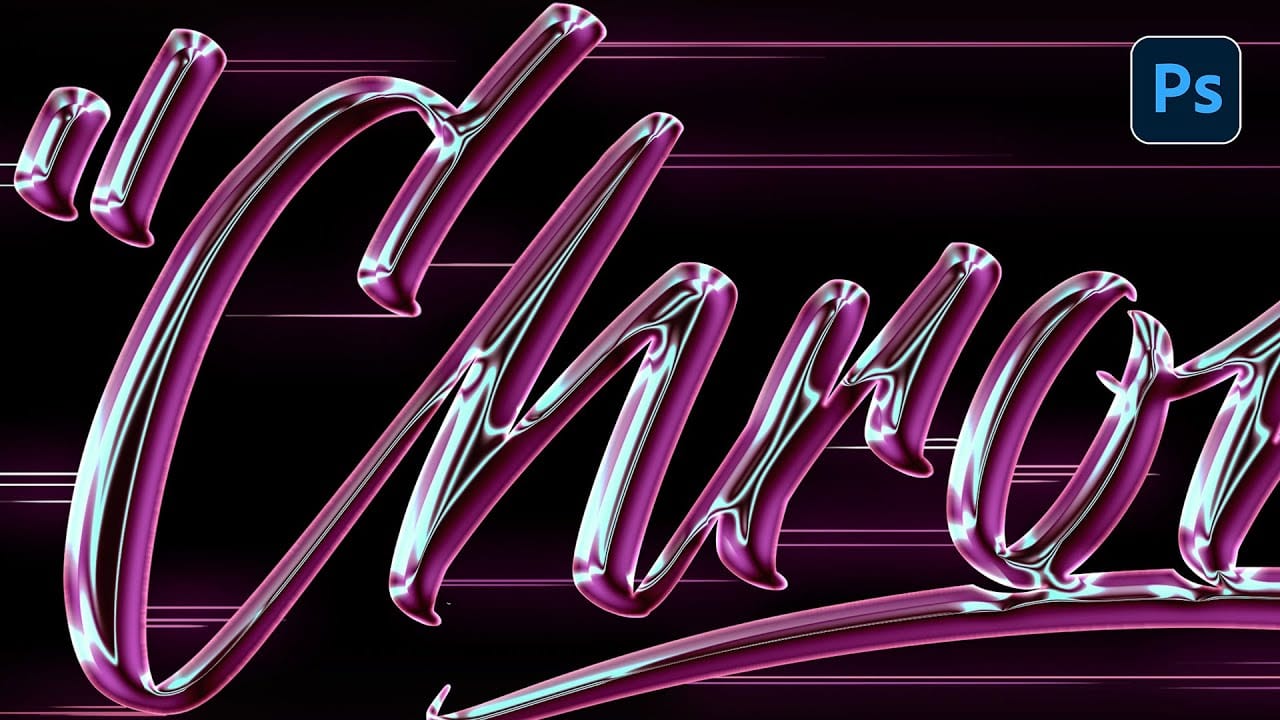
Electric chrome text effect Photoshop Tutorial
In this tutorial by Angelo Konofaos, you'll learn how to create an electric chrome text effect in Adobe Photoshop. Using blending options and adjustment layers, the tutorial guides you through the process of transforming text into a sleek chrome finish that radiates a vibrant, electric feel. Perfect for adding a futuristic touch to your designs, this tutorial teaches you some interesting techniques to achieve polished and eye-catching text effects that grabs the attention. Watch tutorial
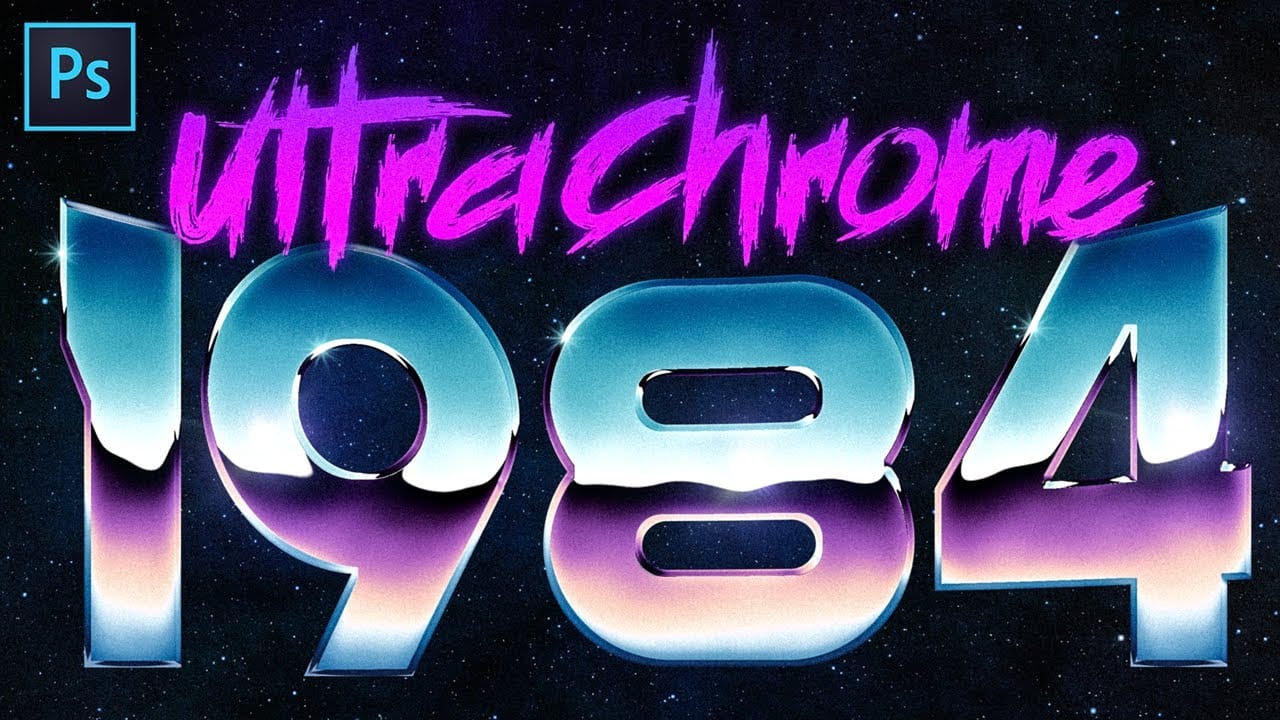
Create Super Rad 80's Chrome in Photoshop
Create hyper-stylized 1980’s chrome text and logos with versatile techniques in Adobe Photoshop. This tutorial by Texturelabs covers the basic process of setting up a chrome reflection that can be customized for various looks. You'll learn how to achieve hyper-realistic details to give your images a rad, retro vibe. The tutorial also provides downloadable gradient presets, stars texture, and more to enhance your design. Get ready to add some 80’s flair to your text and logos Watch tutorial
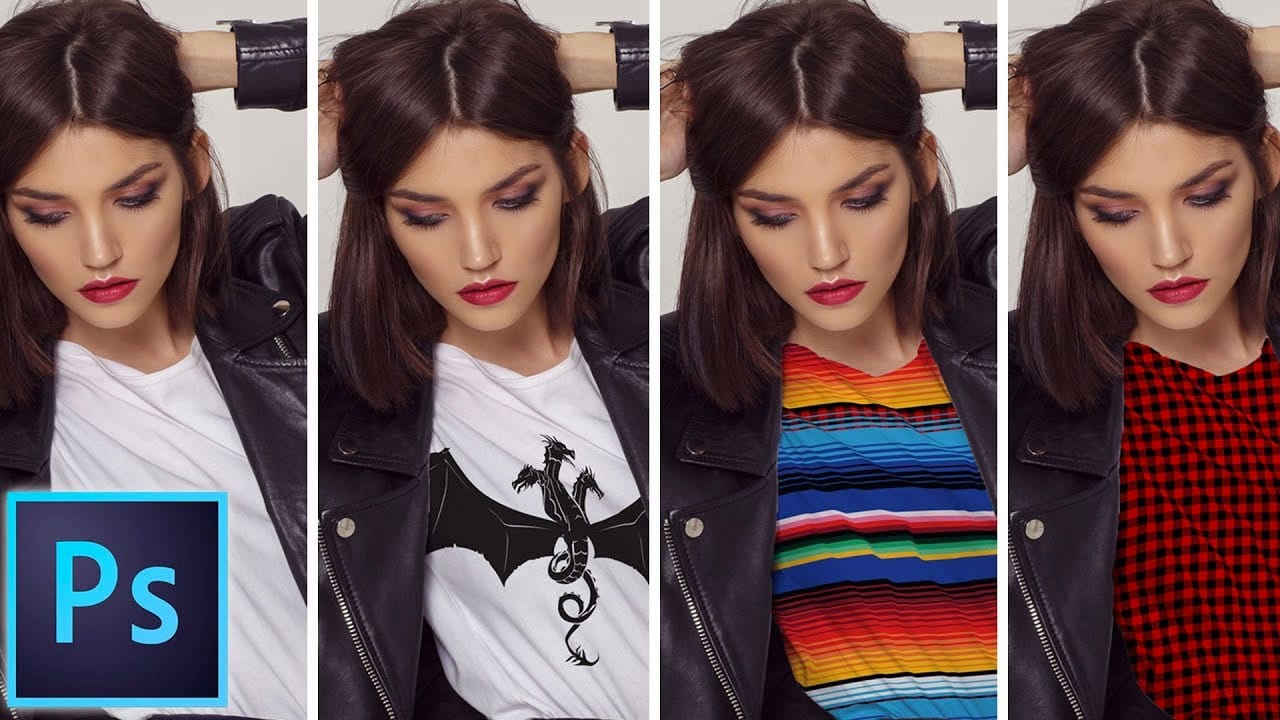
How to add a logo or pattern to a shirt in Photoshop
In his Photoshop tutorial, author Colin Smith guides viewers through the process of adding a logo, graphic, pattern, or texture onto clothing. This technique allows for quick and easy customization of apparel, enabling users to swap out designs in a matter of seconds. Smith's step-by-step instructions demonstrate how to seamlessly incorporate the desired visual element onto a shirt or other garment. By leveraging the power of Photoshop's layers and blending modes, users can achieve a profession
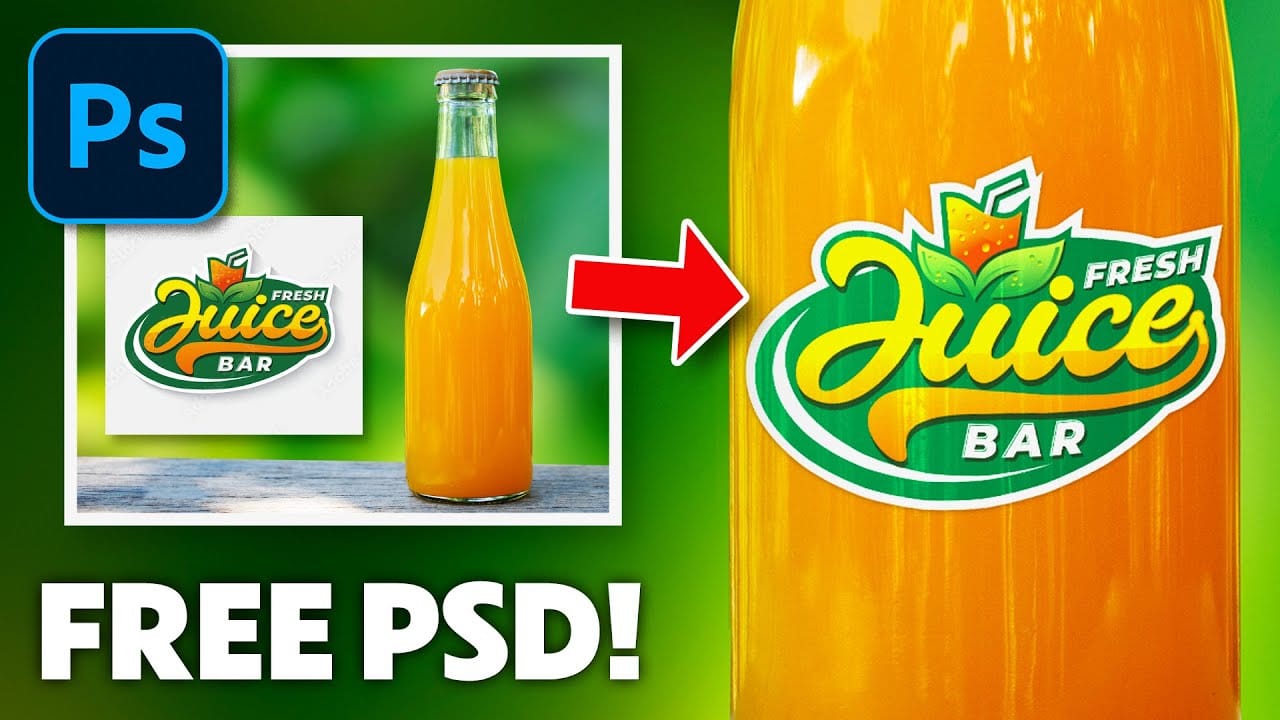
Place a logo onto a bottle in Photoshop
In this detailed tutorial, Jesus Ramirez from PTC Photoshop Training Channel walks you through the process of placing any logo onto a bottle using Photoshop. The tutorial is packed with valuable information and techniques that are essential for both beginners and advanced users. You will learn how to use Smart Objects to ensure your logo retains its quality when resized, and how to apply Clipping Masks to seamlessly integrate the logo onto the bottle's surface. Additionally, the tutorial covers

Get tutorials & freebies delivered to you.

Subscribe to the Photoshop Roadmap newsletter, a weekly roundup of new tutorials, insights and quality downloads, trusted by 6500+ readers.

You might also like

How to Remove Skin Blemishes and Fix Skin Tones in Camera Raw

Two recent additions to Camera Raw make skin retouching significantly faster: an automatic blemish removal tool with separate controls for moles and freckles, and a vectorscope-based skin tone indicator for correcting off-color skin. Both features work non-destructively inside a smart object workflow, so no pixel data is...

Portrait Retouching in Photoshop: Smooth Skin While Keeping Natural Texture

Smooth skin and natural texture are not opposites — achieving both at once is the mark of a professional retouch. This workflow covers blemish removal, flyaway hair cleanup, dark under-eye correction, and eye brightening, all while keeping the skin looking like skin. Watch the Video Practical Tips These key points...

How to Use Camera Raw's Blemish Removal Tool in Photoshop

Camera Raw 18.5 introduced an automatic blemish removal tool that does something previous solutions rarely managed: it removes skin imperfections while preserving the underlying skin texture. It also distinguishes between temporary marks and permanent ones like moles, giving you separate controls for each. Watch the Video Practical Tips These...

Portrait Slice Effect in Photoshop Using Step and Repeat

The portrait slice effect splits a single image into offset vertical bars, creating the illusion of a displaced or fragmented face. The entire technique relies on layer masks and a lesser-known Photoshop shortcut called step and repeat — no filters, no AI, no destructive edits required. Watch the Video Practical...

How to Remove Blemishes in Photoshop: Camera Raw vs. Generative AI

Photoshop now offers two distinct approaches to removing skin blemishes automatically. The Camera Raw Filter includes a dedicated Blemishes option that analyzes and cleans skin with a single checkbox, while Generative AI fills a face selection with clean, texture-consistent results using a simple text prompt. Each method has clear...

Common Photoshop Compositing Mistakes and How to Fix Them

Most compositing errors come down to a handful of repeatable problems: mismatched lighting direction, inconsistent white points, misaligned perspective, and atmosphere applied in the wrong layer order. Catching these issues early — ideally before you shoot — saves significant time in post. Watch the Video Practical Tips These corrections apply to nearly...

You’ve successfully subscribed to Photoshop Roadmap
Welcome back! You’ve successfully signed in.
Great! You’ve successfully signed up.
Success! Your email is updated.
Your link has expired
Success! Check your email for magic link to sign-in.