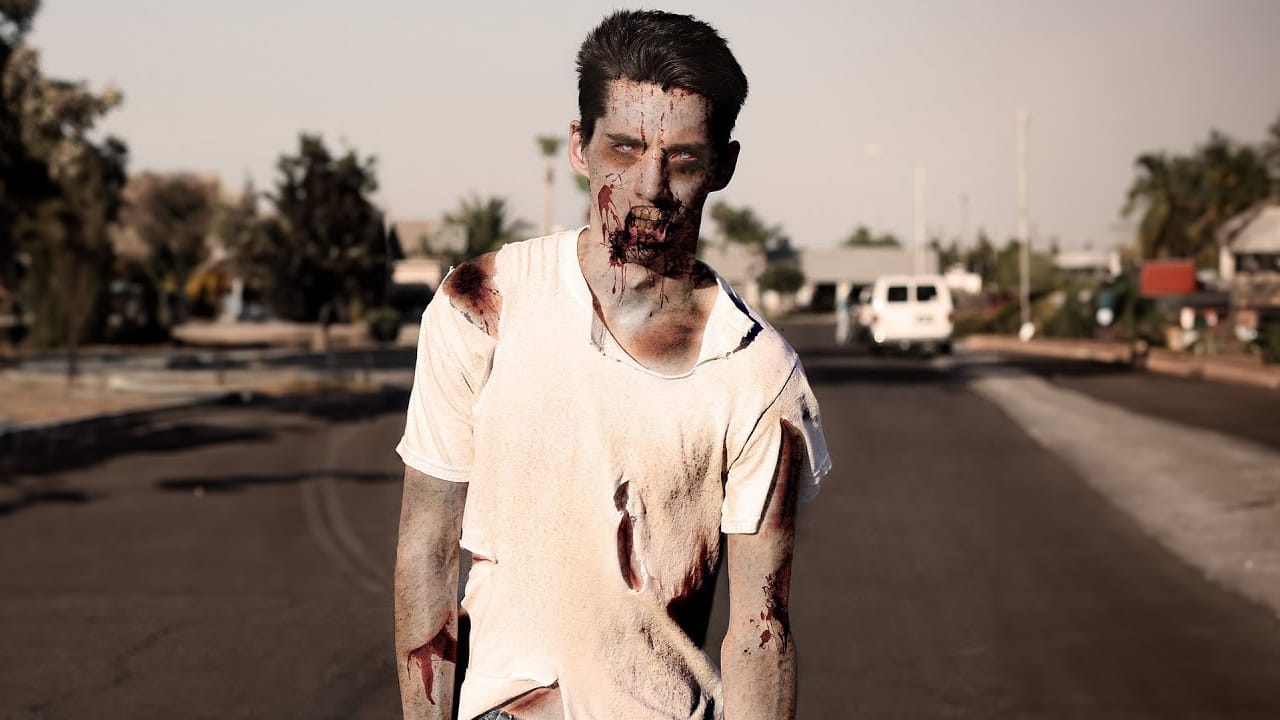
Halloween demands creatures that make people look twice. Creating convincing zombie transformations combines makeup artistry with digital enhancement, turning ordinary portraits into undead masterpieces.
This tutorial covers both approaches: enhancing existing special effects makeup and creating zombies from scratch using only Photoshop techniques.
Watch the Zombie Transformation Tutorial
Essential Tips for Zombie Effects
These techniques will help you create more convincing undead transformations:
- Use layer masks instead of erasing to create hollow flesh areas and wounds—this preserves your original image and allows for adjustments
- Adjust skin tone using hue/saturation on yellow channels to achieve sickly green coloring without affecting blood tones
- Add realistic meat textures from reference images, then blend with levels adjustments to match skin lighting and color temperature
- Create depth in wounds by painting shadows and highlights on separate soft light layers at low opacity
- Transform eyes by removing glossy reflections, adding gray overlays, and painting veins with textured brushes for a lifeless appearance
More Halloween Tutorials
Explore additional spooky Photoshop techniques and seasonal design ideas.
Learn How to Turn Anyone Into a Zombie
In this tutorial by Ch-ch-checkit, you'll discover how to transform anyone into a zombie using Photoshop.
With the current fascination with zombies and apocalyptic themes, this in-depth guide is timely and engaging. You'll need intermediate Photoshop knowledge, including blending modes, masks, and retouching tools, to follow along. You'll learn various techniques to create a convincingly undead look, perfect for adding a touch of horror to your photos.
Whether you're preparing for Halloween or
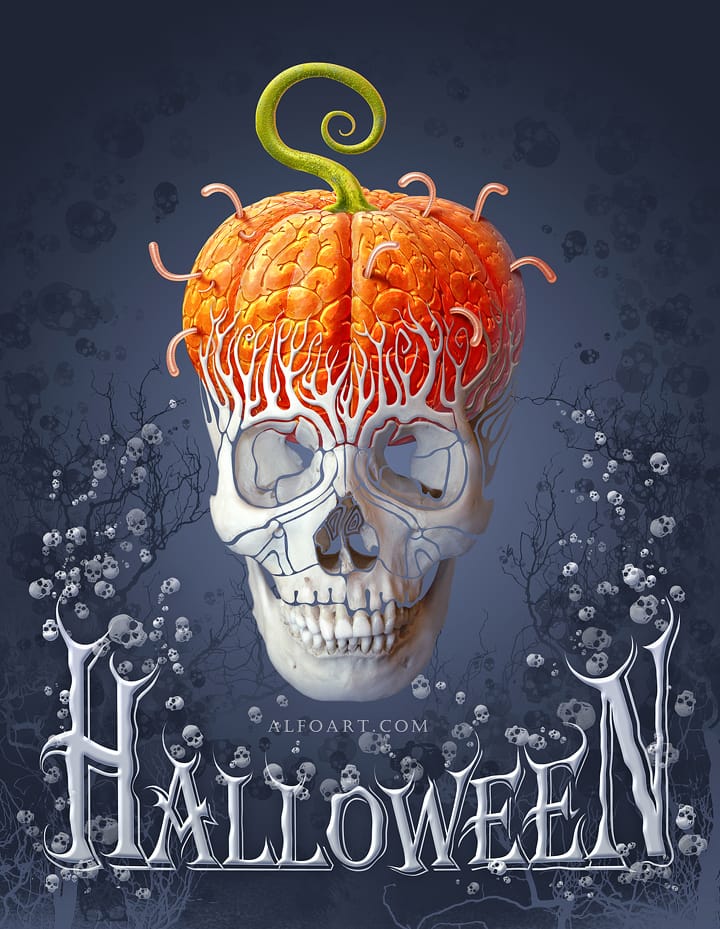
Create a funny and creepy halloween card in Photoshop
Talented artist, Alexandra Fomicheva from AlfoArt, guides you through the process of creating a humorous and eerie Halloween card in Photoshop.
First, you'll learn how to incorporate a decorative skull into your design. Next, you'll explore the use of skull brushes to add a spooky touch. Then, you'll discover the technique for creating a pumpkin brains effect, adding a gruesome element to your card. Finally, you'll incorporate creepy text to complete the Halloween-themed look.
The tutorial bre
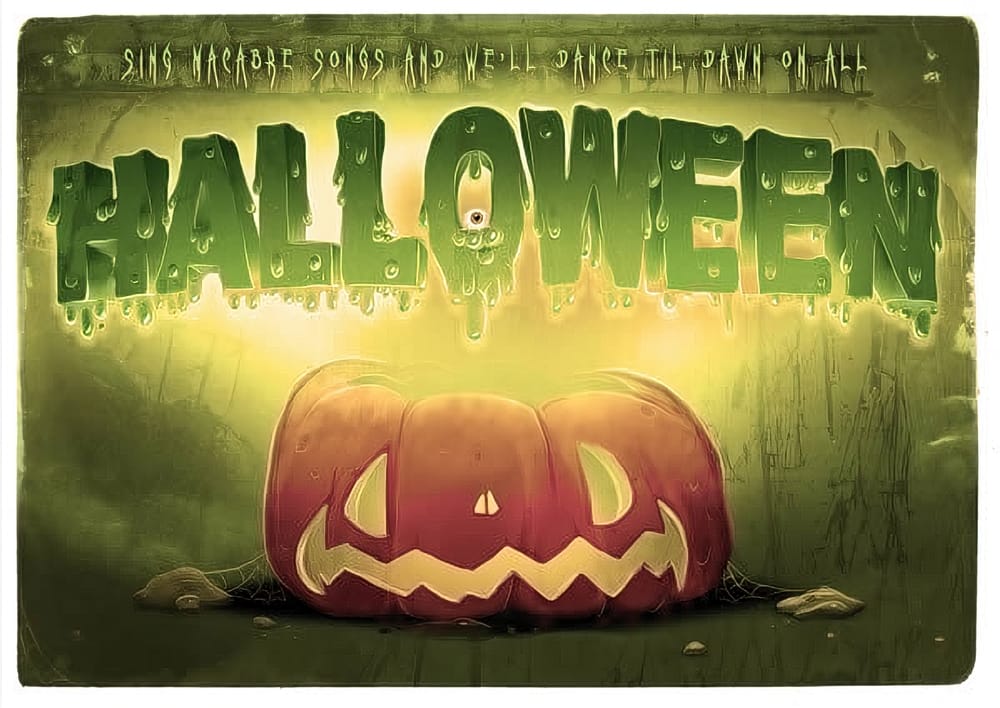
Create a spooky colorful Halloween typography in Photoshop
As autumn rolls in and Halloween nears, many artists start to focus on spooky designs, especially those in the U.S. This tutorial offers a great opportunity to create colorful and eye-catching Halloween typography in Photoshop.
You will learn how to design slimy, gooey, and drippy letters that capture the essence of the holiday. Each step is straightforward, making it accessible whether you're a beginner or an experienced user.
Once you've finished designing your typography, you will have the
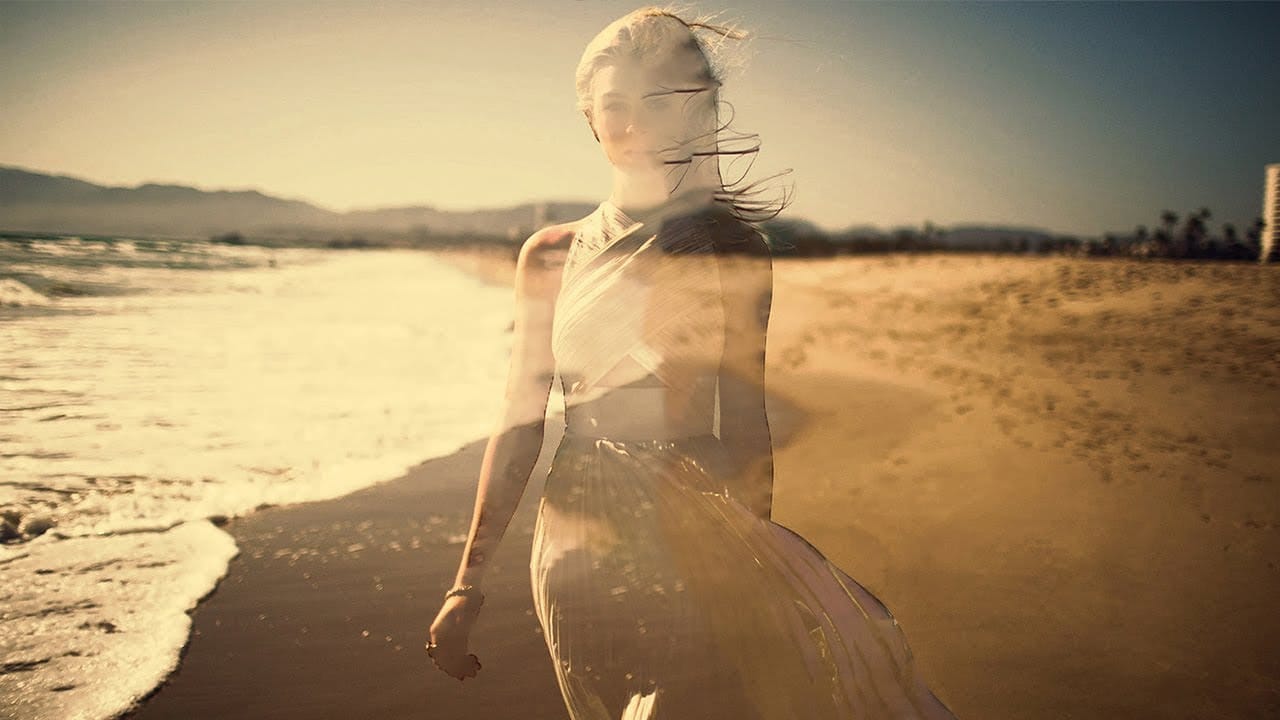
Create a Ghostly Image Effect in Photoshop
In this engaging Photoshop tutorial, you will discover how to create a ghostly effect that transforms a person into a transparent figure, resembling a ghost. This technique is perfect for adding an eerie vibe to your images.
You'll begin by selecting the person in your photo and adjusting the layers to achieve the desired transparency. The step-by-step instructions will guide you through the process of refining the edges and enhancing the overall look to ensure a realistic ghost appearance.
By