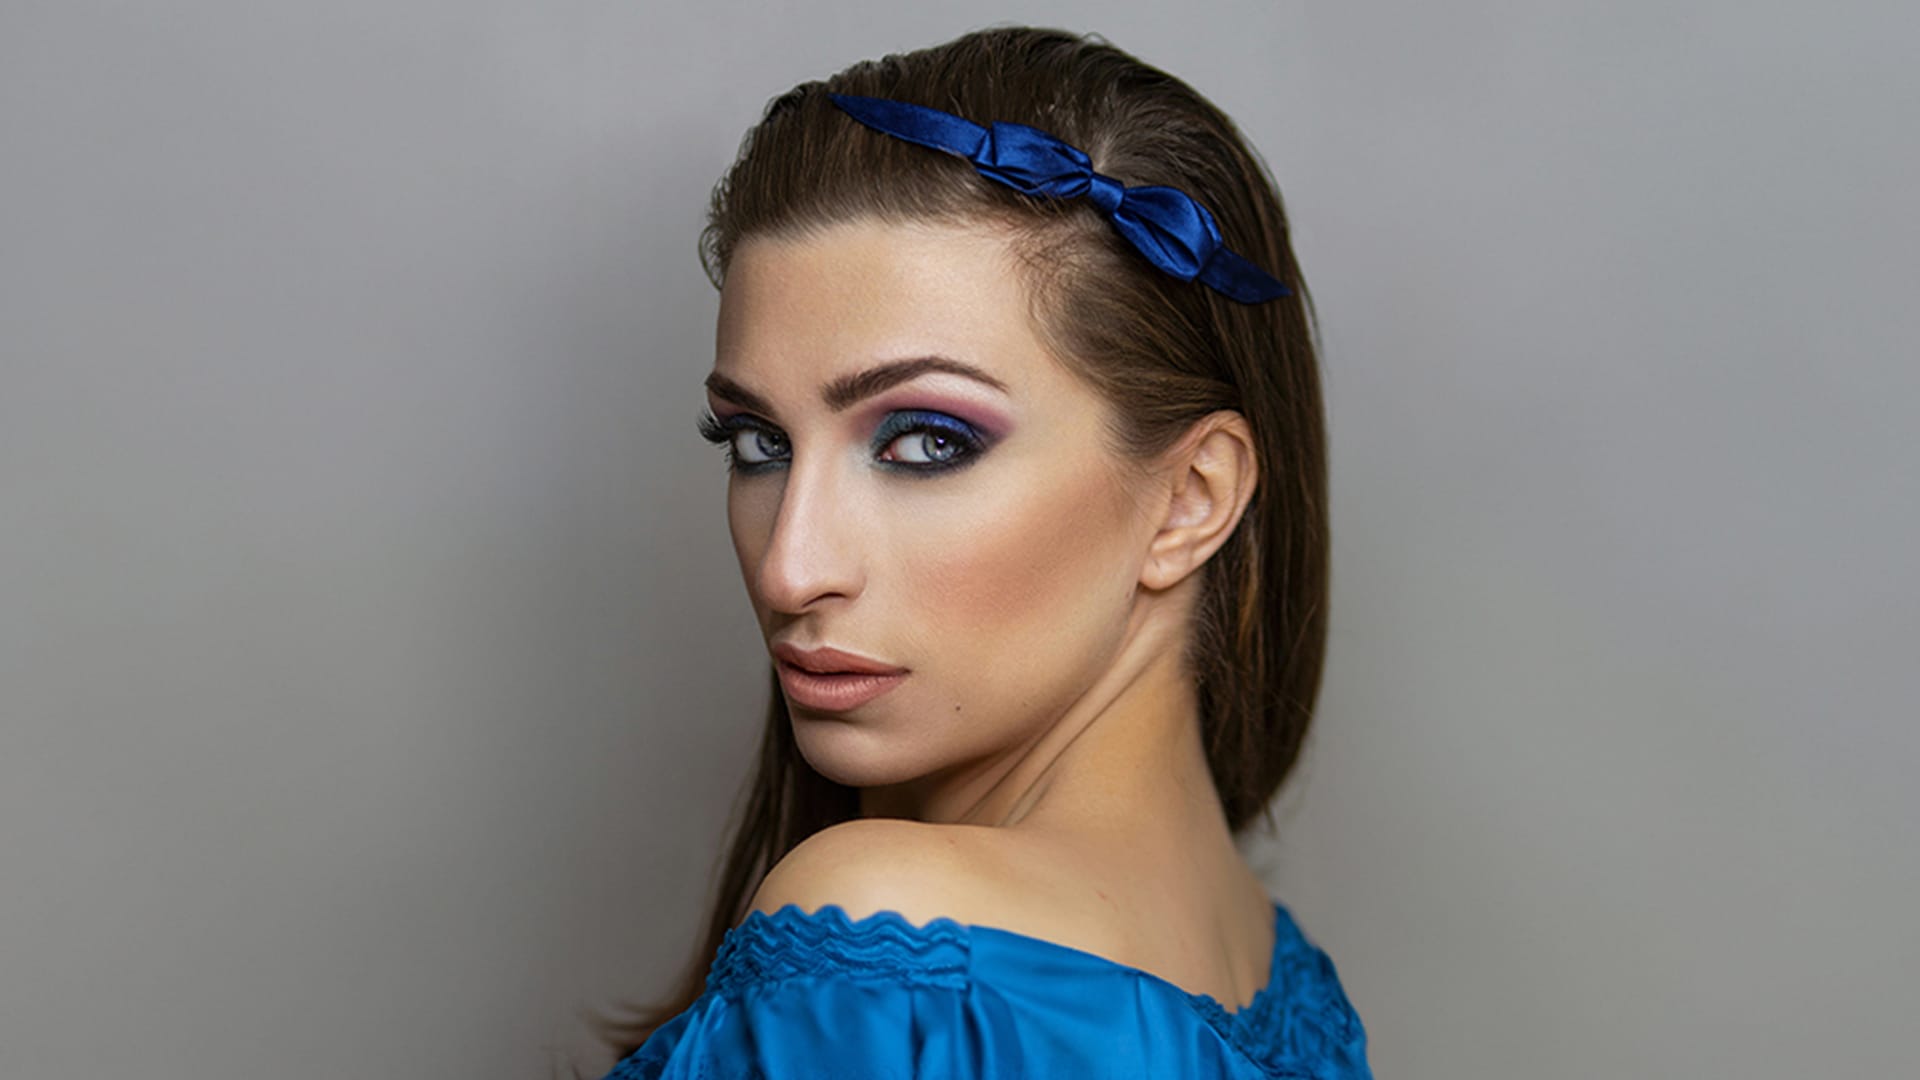
Crop to Any Ratio and Expand with AI in Photoshop

Crop to Any Ratio and Expand with AI in Photoshop

Digital images often require precise dimensions for various outputs, from print to social media. Achieving the perfect crop while maintaining visual integrity can be a challenge, especially when the desired ratio exceeds the original image boundaries.

This tutorial explores how to effectively crop images to specific aspect ratios in Photoshop, demonstrating techniques to not only adjust dimensions but also intelligently expand image content using AI when necessary.

Watch the Video

Video by PHLEARN. Any links or downloads mentioned by the creator are available only on YouTube

The Evolution of Image Cropping with AI

Traditional image cropping involves selecting a portion of an existing image, often necessitating a compromise between composition and desired dimensions. This process can be restrictive, as it inherently removes pixels, potentially leading to a loss of valuable visual information or an inability to achieve a specific aspect ratio without sacrificing key elements.

The integration of artificial intelligence, particularly generative fill capabilities, has significantly transformed this fundamental editing task. AI-powered expansion allows editors to extend the canvas beyond the original image boundaries, intelligently synthesizing new pixel information that seamlessly blends with the existing content. This innovation provides unprecedented flexibility, enabling users to adapt images to virtually any aspect ratio without the constraints of the original frame.

This capability is particularly beneficial for:

  • Adapting horizontal shots for vertical platforms.
  • Preparing images for specific print sizes like 5x7 or 8x10.
  • Creating wider or taller compositions from existing photos.

Practical Tips for Cropping and Expanding Images in Photoshop

  • Always uncheck Delete Cropped Pixels in the Crop tool options to retain original image data for future adjustments.
  • Set the Crop tool's Fill option to Generative Expand to automatically extend image content when cropping beyond original boundaries.
  • Use the Alt or Option key while dragging crop corners to expand the crop equally in all directions.
  • Input custom aspect ratios directly into the Crop tool's width and height fields for precise dimensions like 8x10.
  • If transparent areas remain after an AI expansion, use the Rectangular Marquee tool to select them and apply Generative Fill to complete the image.

Explore more advanced techniques and creative applications of AI within Photoshop with these related tutorials.
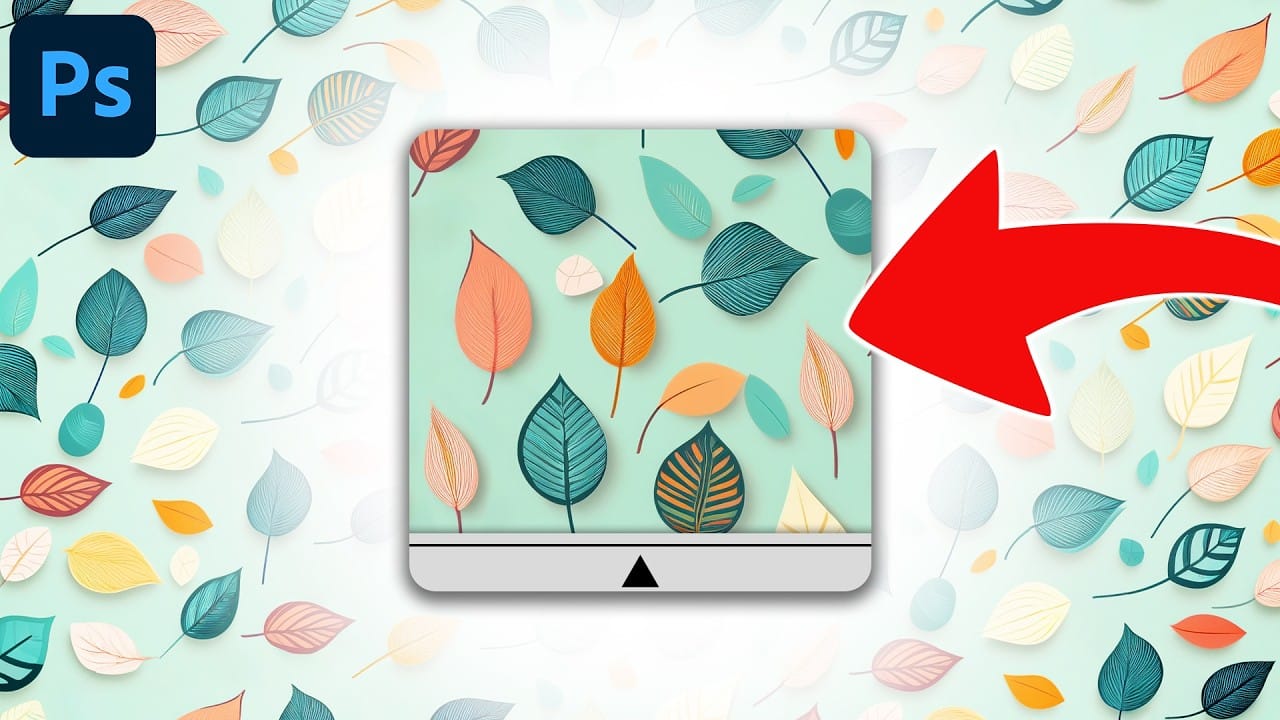
Using AI to Create Seamless Patterns For Photoshop
This Photoshop tutorial guides you through creating a seamless pattern using AI technology. By combining Adobe Firefly with Photoshop, you can generate unique pattern designs that can be easily transformed into usable patterns for your projects. This technique is especially useful for crafting new image backgrounds or enhancing your texture library with overlays. The process begins with crafting the right prompt, so it’s important to experiment with various inputs to achieve the desired results
How to Add Accessories Using AI in Photoshop
In this Photoshop tutorial, you will explore the process of blending graphics with portraiture for stunning visual results. The Super Zoom feature is highlighted, showing how to upscale graphics without losing resolution. This is crucial for maintaining quality when working with high-resolution images. You will also learn about applying Gradient Maps for effective color matching. This technique ensures that your graphics and portraits have a cohesive look. Additionally, the tutorial introduces
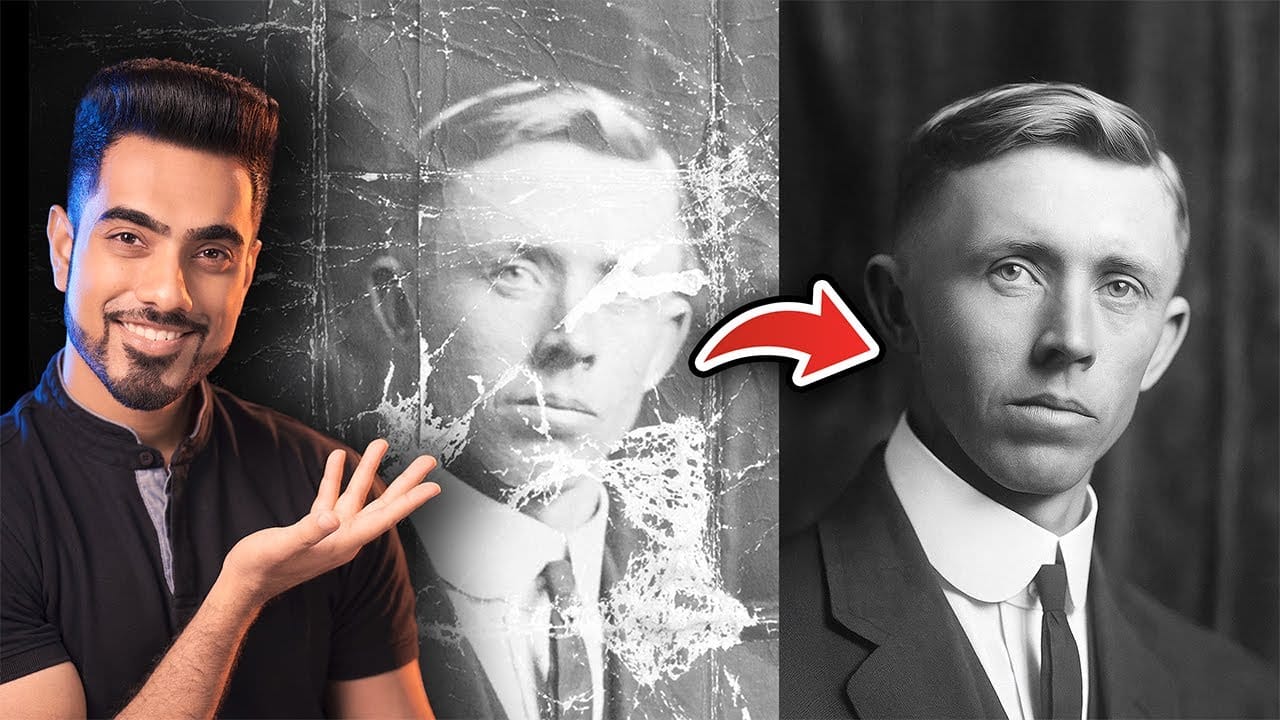
Photo Restoration: Combining AI with Photoshop for Optimal Results
Restoring old, damaged photographs can be a challenging endeavor. While many AI-powered tools promise to breathe new life into vintage images, they often fall short, either over-sharpening details, neglecting certain areas, or, most critically, altering the original likeness of individuals. This often leads to frustrating and uncanny results that strip the photos of their authentic charm. This tutorial unveils a comprehensive workflow that marries the efficiency of AI-driven enhancement with th
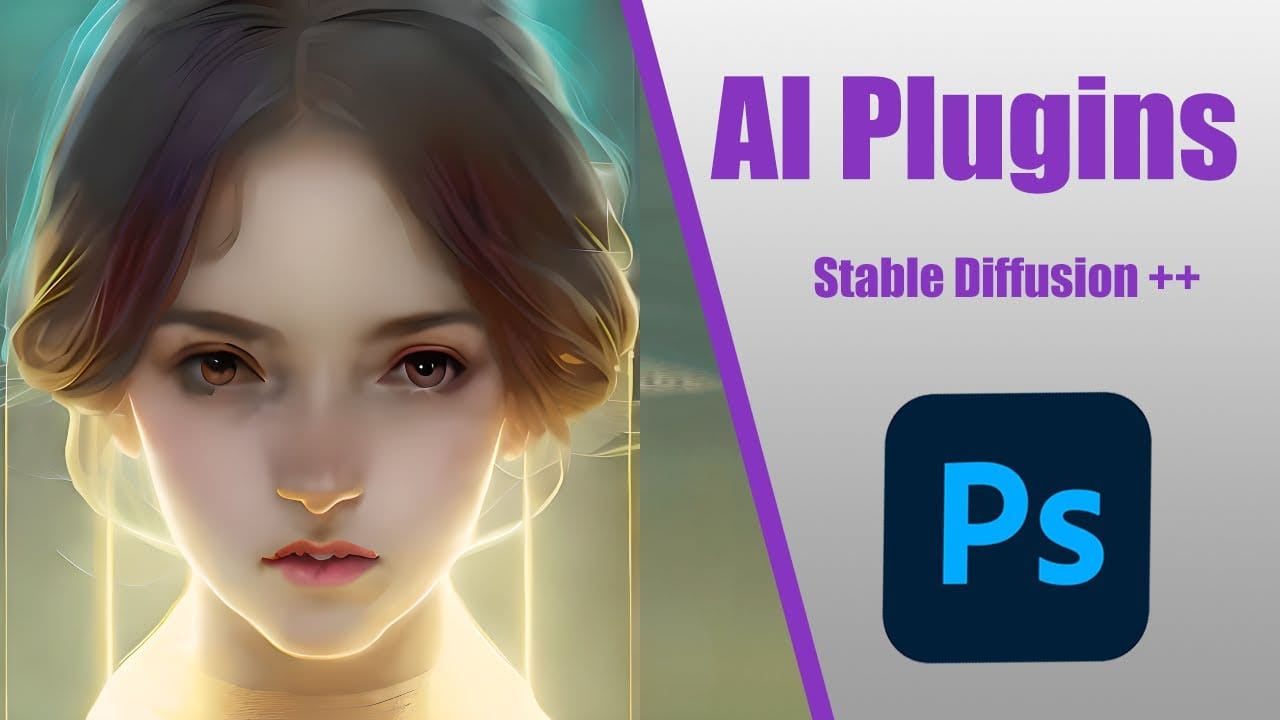
Create AI Art inside Photoshop with Stable Diffusion
Introducing Stable Art – a novel plugin for Photoshop that lets you harness the power of your local Stable Diffusion setup within the software. This plugin is completely free and can be installed and utilized with utmost ease. Despite being fairly basic at the moment, it provides all the fundamental features needed to begin painting with Stable Diffusion models right inside Photoshop. F Follow along with this video as I demonstrate the installation process for this plugin on ANY version of Phot

Get tutorials & freebies delivered to you.

Subscribe to the Photoshop Roadmap newsletter, a weekly roundup of new tutorials, insights and quality downloads, trusted by 6500+ readers.

You might also like

How Photoshop's Enhance Edge Feature Removes Hair Masking Halos

Hair masking has long been one of the most tedious tasks in photo compositing — especially when switching between dark and light backgrounds reveals unwanted halos along the edges. Photoshop's new Enhance Edge feature, available in beta 27.11, offers an AI-powered approach to this problem by generating...

How to Use Quick Compare and Dynamic Layers in Photoshop Beta

Photoshop Beta's latest update introduces two tools worth knowing: a Quick Compare toggle for instant before/after previews, and a Dynamic Layer feature that lets you control AI-generated effects with a simple slider. Together, they streamline how you review edits and apply prompt-based changes like adding...

Retouching Pet Portraits in Photoshop: Cleaning Fur, Eyes, and Fine Details

Pet photos rarely arrive perfectly clean — staining around the eyes, discolored fur near the mouth, and stray hairs are common problems that need fixing before any serious portrait work begins. This workflow covers how to remove those distractions manually using overpaint and fur brushes, then finish with eye enhancement techniques...

Before and After View Plus Dynamic Layers in Photoshop Beta

Photoshop Beta currently includes two features that work quite differently from each other. The first adds a straightforward before-and-after comparison tool directly into the editing workspace — something that sounds simple but solves a real problem when a file already has multiple layers. The second, Dynamic Layers, uses AI...

How to Blend Multiple Exposures for Car Light Trails in Photoshop

Stacking multiple exposures of a night scene lets you capture far more light trail detail than any single shot can deliver. This technique uses the Lighten blending mode to combine a bright base image with several car light trail frames, keeping only the brightest pixels from each layer for a...

You’ve successfully subscribed to Photoshop Roadmap
Welcome back! You’ve successfully signed in.
Great! You’ve successfully signed up.
Success! Your email is updated.
Your link has expired
Success! Check your email for magic link to sign-in.