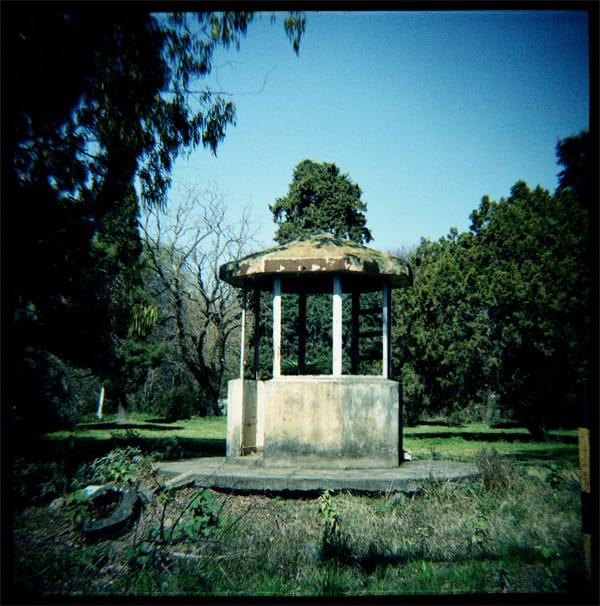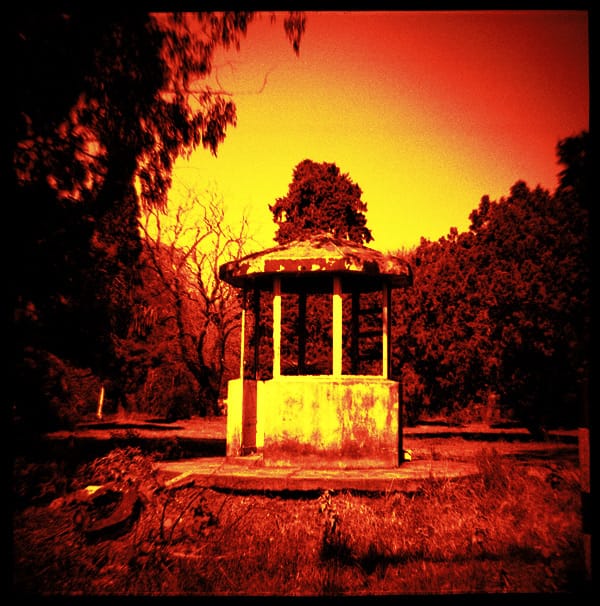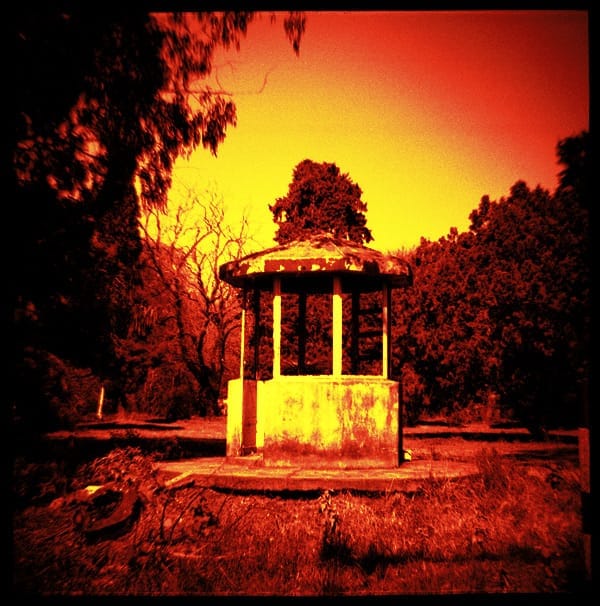
Embraced by the lo-fi photography movement and toy camera fanatics, redscale film consists in exposing photographic film from the wrong side. In other words, the emulsion is exposed through the base of the film which acts as a red-orange filter. The resulting colors range from bright red shadows, orange midtones and yellow highlights. The saturation and contrast of these red tones depends on the exposure. In this tutorial I’m going to show you how to recreate this effect in just a few easy steps saving you the trouble of having to load a 35mm cartridge inside out!
For this tutorial I chose an image with a bright sky and interesting contrast. If you’re looking for a more subtle redscale effect, more like a warm filter, I suggest an image with some green trees. Green compliments the redscale quite well.
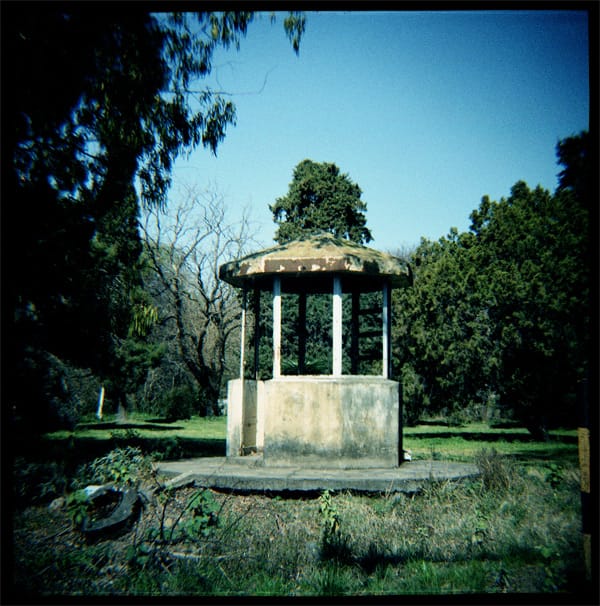
The first thing we’re going to do to this image is coloraize the image using the Hue & Saturation layer adjustment found at the bottom of your layers palette. In your Hue & Saturation window you want to select “Colorize” and shift your Hue towards the warmer colors on the left. To make this red pop, crank the saturation to about 50 to 75.
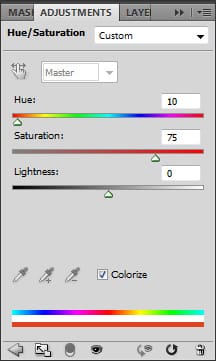
This will give you a pretty flat monochrome image. We now want to get those warm yellow highlights. To do that, first merge what we have so far on a new layer by pressing SHIFT + CTRL + ALT + E. Select this new layer and go to Select > Color Range. What we want to do is select all the highlights. Using the color picker try to click on the whitest part of your image. Next, slide the “Fuzziness” to around 100 to 150 to include as much of those highlights as posible. If you want to add some midtones to your selection hold down SHIFT and you’ll see a plus sign next to your color picker. Click on any midtone to add to your selection. Make sure to keep most of your midtones and your shadows out of this selection.
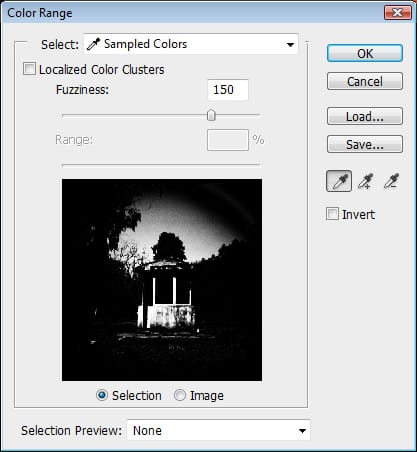
Press OK and you will have your typical marching ants selection. Remember you can tweak your selection a bit by going to Selection > Refine Edge. This will open up your Refine Edge window where you can feather the edge of your selection to make the selection a bt more natural. If you happen to not like your selection press CTRL + D to deselect and try again. When you have your selection ready, we’re going to copy that selection on to a new layer by pressing CTRL + J.
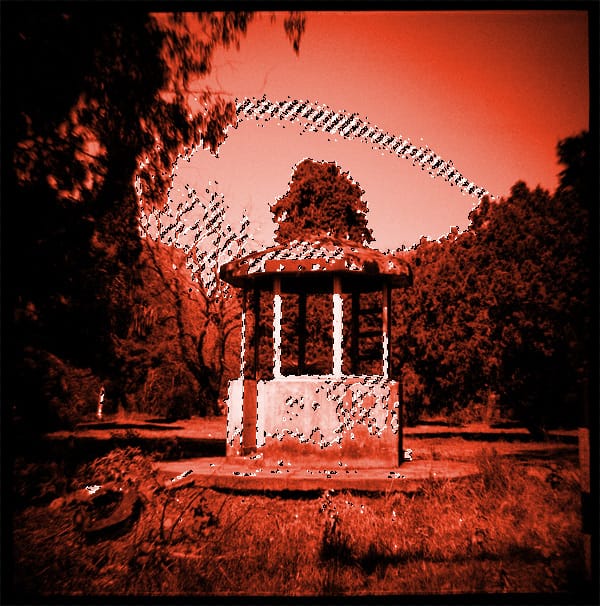
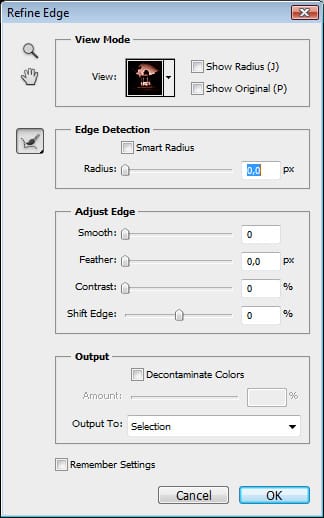
This time we want to colorize just the highlights so go again to your Hue & Saturation adjustment layer. Before we continue, get out of the Hue & Saturation window and go to your layers palette. Hold down ALT and place your mouse between the Hue & Saturation layer and your highlights layer until you notice your hand icon turns into an icon that resembles two circles intertwined. Click and your Hue & Saturation layer has now become a clipping mask!
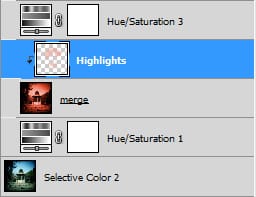
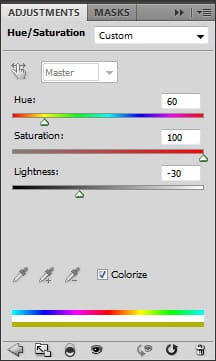
On this occasion we’re looking for a warm yellow to compliment the red tones so slide your Hues towards the yellows nearest to the oranges (about 60). Crank that saturation full blast while at the same time making it lighter by decreasing the Lightness -30. Again because this is a clipping mask it should only affect your highlights.
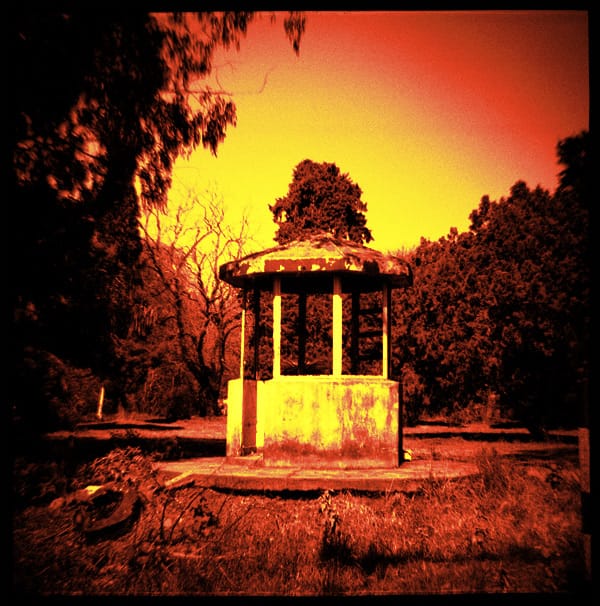
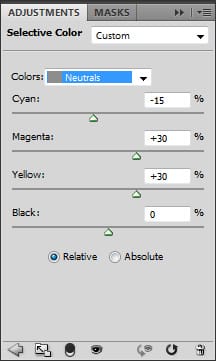
The last thing we want to do to this image is one final Hue & Saturation adjustment. Open another Hue & Saturation adjustment layer and this time select Neutrals from the Colors dropdown menu. We just want to tweak the midtones a bit to achieve a nicer redscale.
Now, suppose you want to be able to dail in how much of this effect will be present in your image as if you were exposing the film at different speeds as one would with true redscale film. To do that, first lets merge all of our adjustment layers on to a new layer by pressing SHIFT + CTRL + ALT + E. Then
select all of your layers except your original layer marked “bg” and this new merged layer you just created by holding down the SHIFT key. Press CTRL + G and you will have created a new folder and placed all of these layers inside! In case you got lost, your layers palette should look like this:
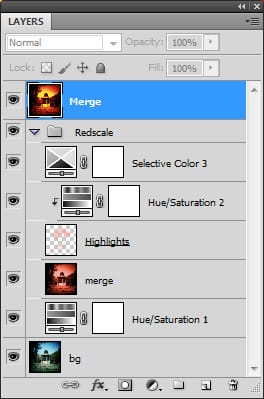
The next thing we’re going to do is hide all the layer adjustments by clicking on the eye icon of that folder:

You should only have the merged layer on top and the original image visible.
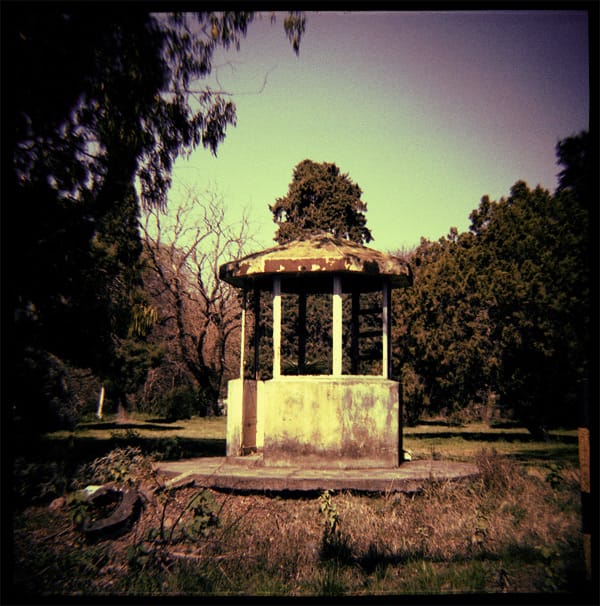
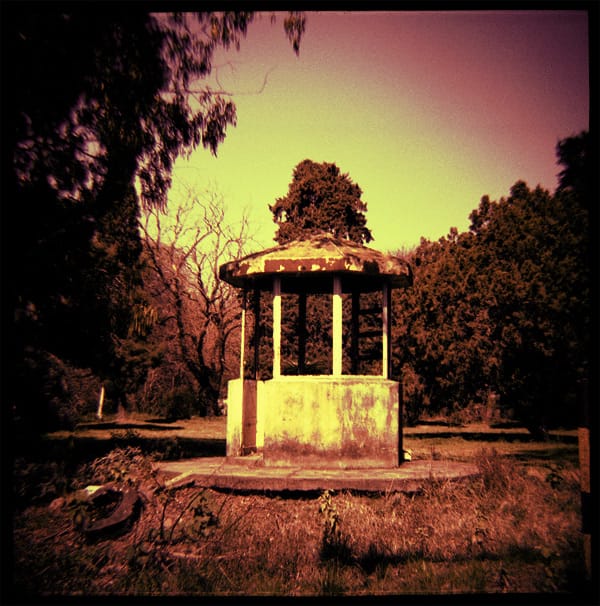
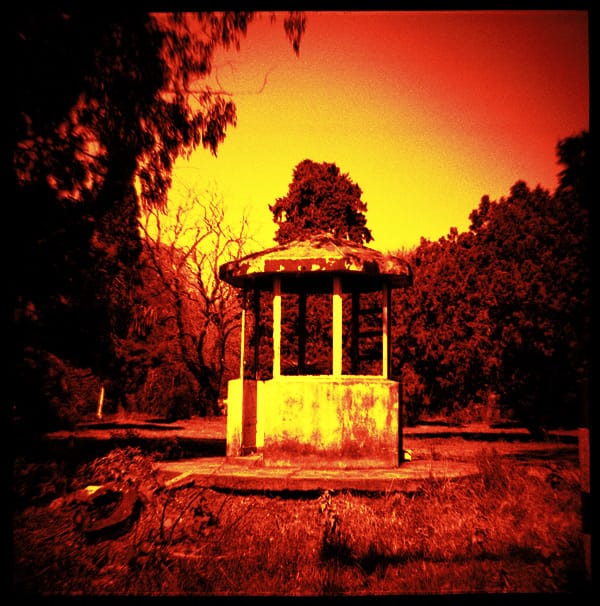
To emulate different film speeds simple decrease the opacity of the merged layer letting the original layer reveal itself beneath. This way you will recover some of your original colors and will achieve more of a warm color effect rather than a full redscale. Here are some example of possible film speeds:
Redscale film exposed @25(opacity set to 40%)
Redscale film exposed @50(opacity set to 60%)
Redscale film exposed @100(opacity set to 100%)
That pretty much all there is to it. Hope you found this tutorial useful!