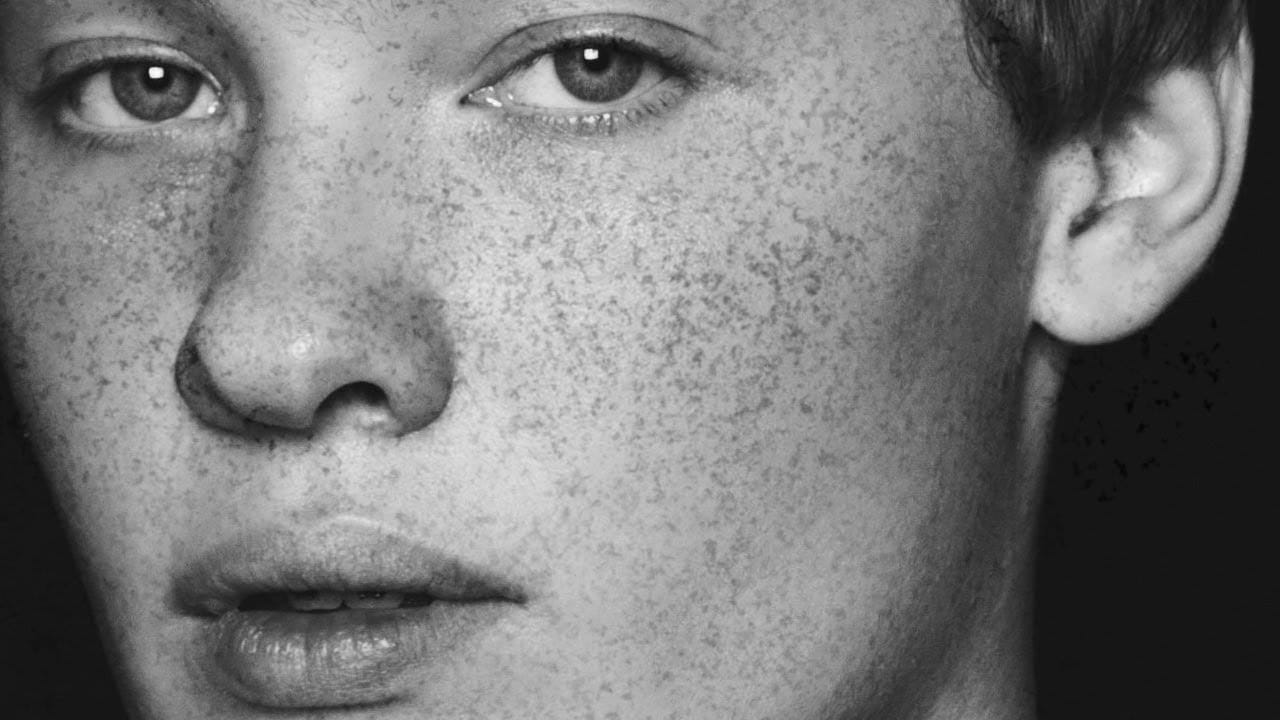
Adding realistic freckles to portraits can bring warmth and character to your subjects while enhancing their natural beauty. This technique uses specialized freckle brushes combined with strategic blending modes and adjustment layers to create convincing, naturally-placed freckles that complement the skin tone and lighting.
The key to success lies in layering different brush types, adding subtle blur, and color-matching the freckles to the existing skin texture for seamless integration.
Watch the Video
Video by Vera Change. Any links or downloads mentioned by the creator are available only on YouTube
Practical Tips
These essential techniques will help you create the most natural-looking freckles:
- Enable shape dynamics with 70% size jitter and angle rotation to randomize brush placement and avoid repetitive patterns
- Use soft light blending mode on black freckles, then add 1-2 pixels of gaussian blur to soften harsh edges
- Layer different brush types (regular, small, heavy, few) on separate layers for realistic density variation
- Apply freckles where they naturally occur—nose, cheeks, forehead—and extend to hands and arms for authenticity
- Color-grade freckles using curves or selective color adjustments clipped to freckle layers to match skin tone
Related Articles and Tutorials
Explore more portrait enhancement techniques and custom brush resources.
Add freckles to a face in Photoshop
Adding realistic freckles to portraits can enhance natural beauty and restore texture that might have been lost during skin retouching. This technique uses an unexpected source material—granite texture—to create an organic, natural-looking freckle pattern that avoids the artificial appearance of standard brushes.
The method transforms granite's random speckled pattern into a custom brush, complete with natural variation and realistic spacing that mimics how freckles naturally appear on skin.
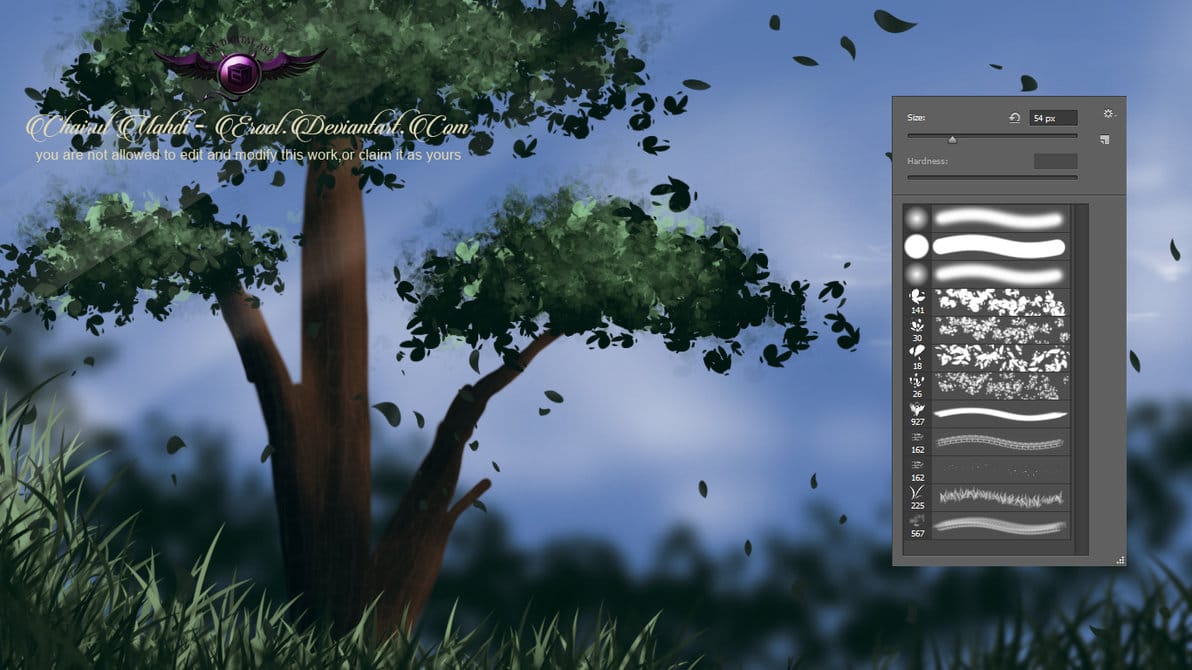
Nature painting Photoshop brushes
This collection includes a variety of grass and foliage brushes, perfect for painting lush landscapes and other natural scenes.
These brushes are designed to provide users with a versatile tool for their creative projects. Whether you're working on a digital painting, a photo manipulation, or a graphic design, these brushes can help you bring your vision to life.
The brushes are high-quality and easy to use, allowing you to add depth and texture to your work with just a few brushstrokes. The s
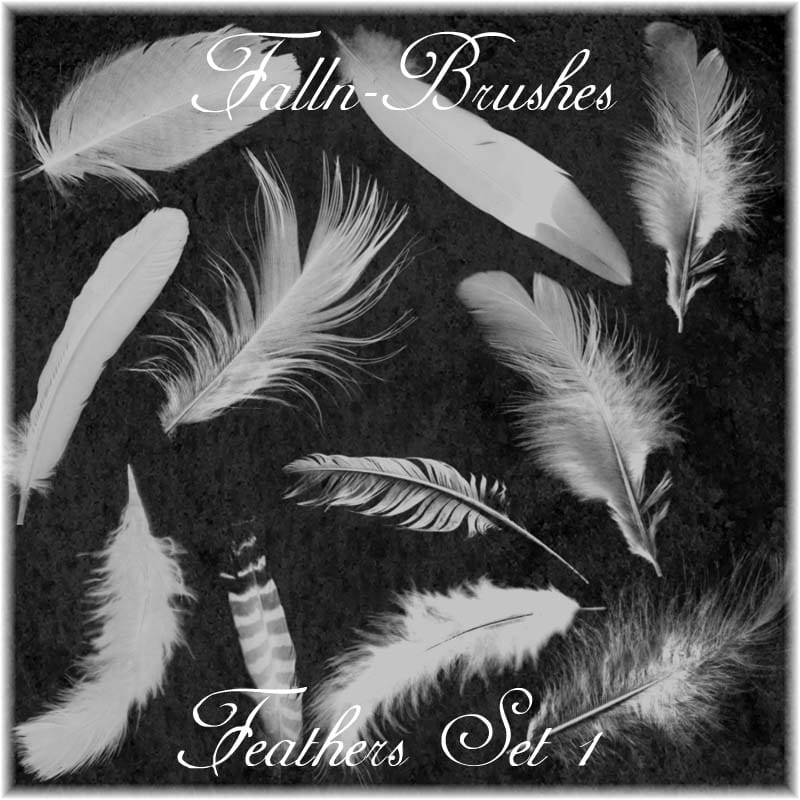
Feathers Photoshop Brushes
The author offers a stunning collection of Photoshop brushes showcasing an array of feathers. These brushes are perfect for adding intricate and realistic textures to your digital artwork.
Whether you're creating stunning illustrations, designing captivating social media graphics, or enhancing your photography, this set of Photoshop brushes will prove invaluable. The feathers come in a variety of shapes, sizes, and styles, allowing you to incorporate them seamlessly into your projects.
With th
Free Grungy and Dirty Photoshop Brushes
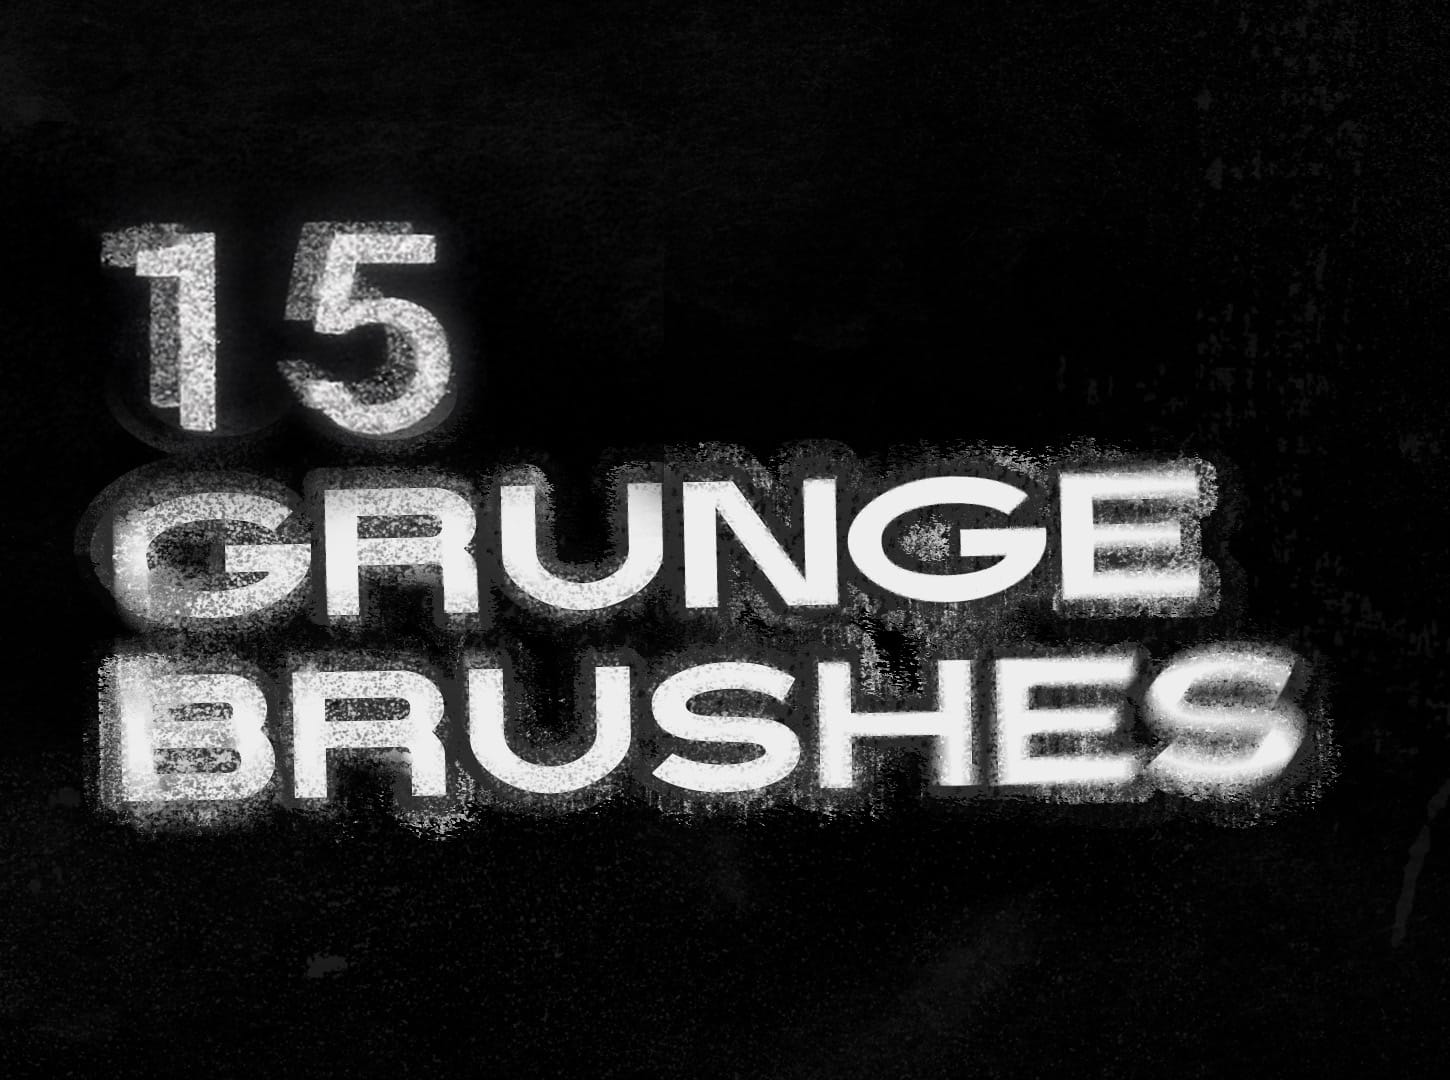
You're getting access to 15 free custom grunge brushes for Photoshop, each designed with attention to detail and based on real textures like stone, paper, paint, and concrete. These brushes let you easily add authentic character and visual depth to your artwork or design projects. Whether you want to create bold, expressive strokes or subtle, textured effects, you'll find plenty of flexibility with this set.Use these brushes to bring a sense of energy to your digital painting or to layer distinc
Natural outdoor portrait retouching in Photoshop
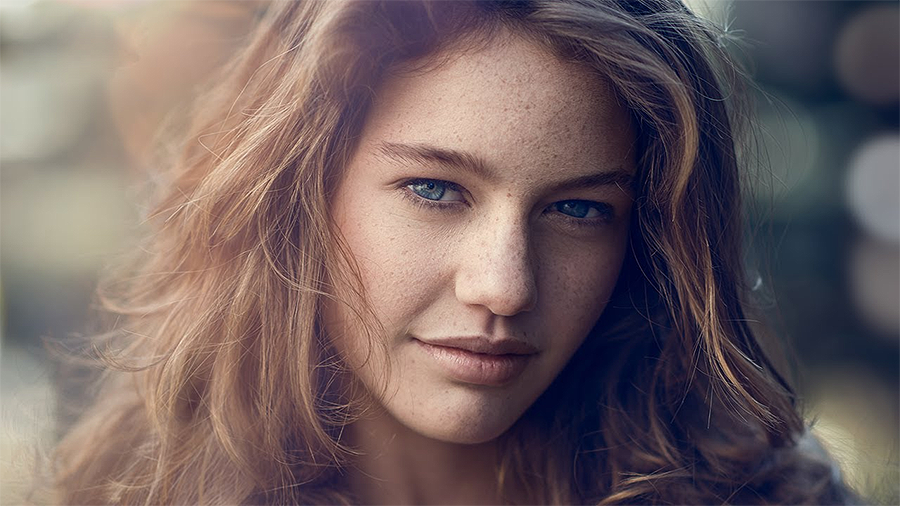
This tutorial guides you through the complete process of achieving a natural outdoor portrait retouch in Adobe Photoshop. You will learn essential techniques to enhance your portraits while maintaining their authentic feel.
Starting with fixing hair, you'll discover how to tidy up those stray strands effectively. The tutorial then moves on to smoothing skin, teaching you to use frequency separation, which helps preserve texture while improving the overall look.
You'll also explore methods for
Portrait retouching using only the brush tool in Photoshop
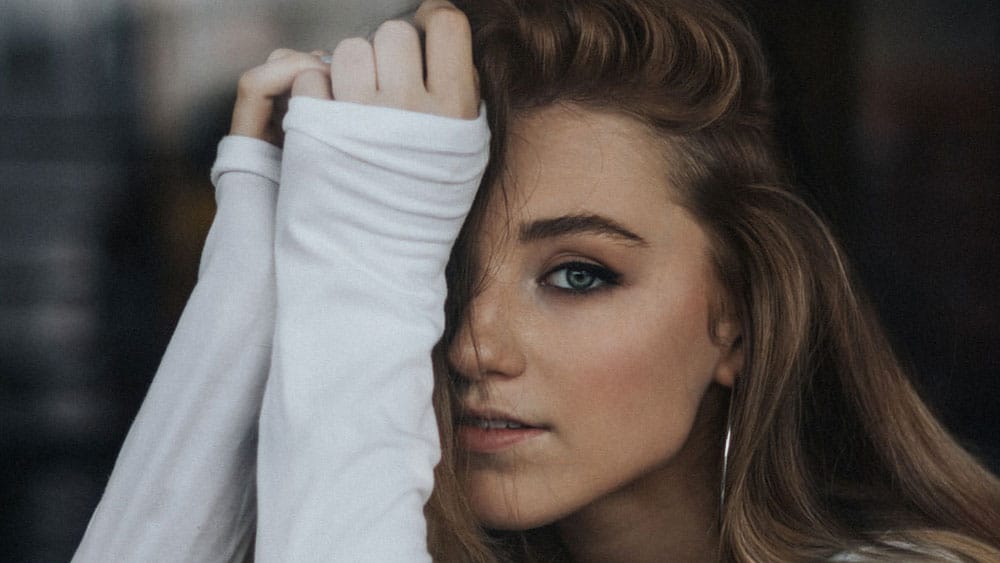
What happens when you strip away all of Photoshop's specialized retouching tools and rely on just the basic brush? This unique challenge demonstrates how to achieve professional portrait results using only painting techniques. By working with careful color sampling, low flow settings, and strategic blend modes, you can handle blemish removal, dodging and burning, and color correction without touching the healing brush, clone stamp, or any other specialized tools.
Watch the Video
Practical Ti
Foliage Sketches Photoshop Brushes
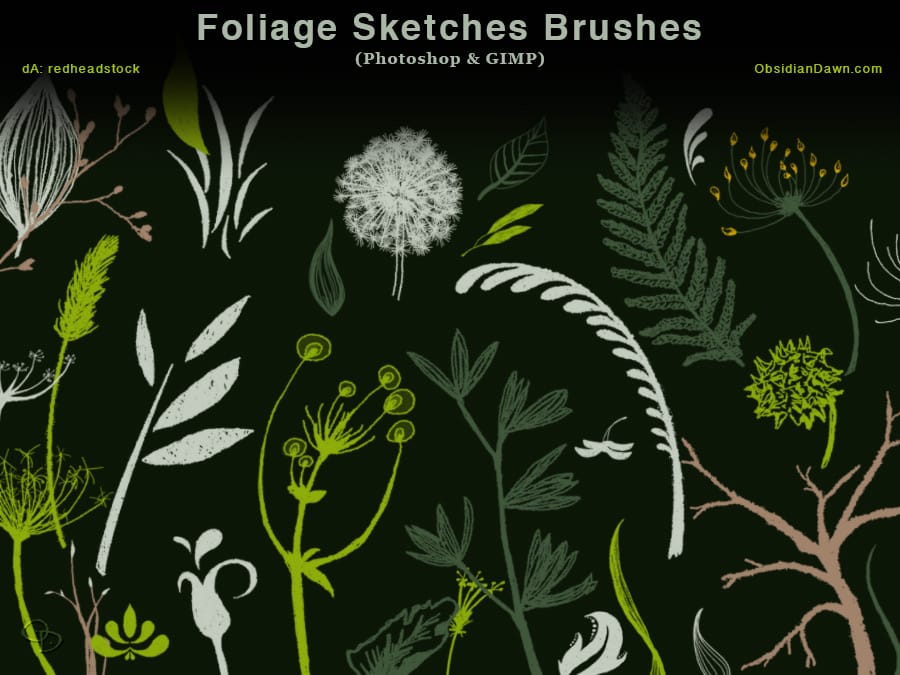
The author has created a collection of Photoshop brushes featuring an assortment of foliage. These brushes are hand-drawn and offer a high-resolution quality, with an average size of approximately 2000 pixels. The set includes a variety of elements, such as branches, dandelions, ferns, flowers on stems, grass, leaves, leafy accents, plants, and seeds.
These brushes can be a valuable resource for artists and designers looking to incorporate natural elements into their digital projects. The atten
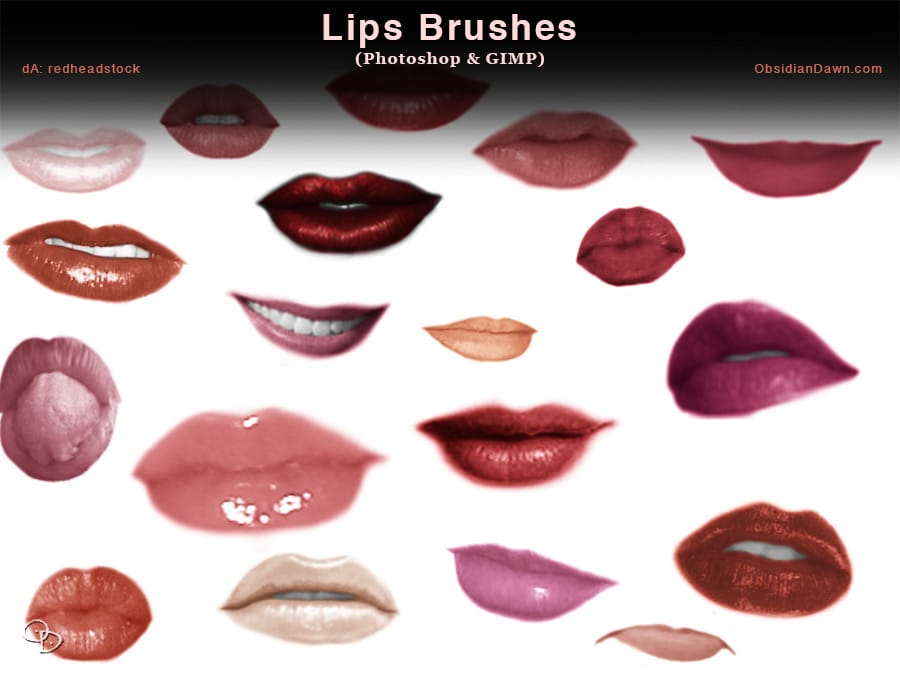
Lips and Mouth Photoshop Brushes
The author has created a unique set of Photoshop brushes that capture the intricate details of the female mouth and lips. These brushes include a diverse range of expressions, from captivating smiles to pensive frowns, and even a playful tongue sticking out. The collection provides artists and designers with a versatile tool to add depth and emotion to their digital creations.
The brushes are designed to be both visually stunning and highly functional. They can be used to enhance portraits, add