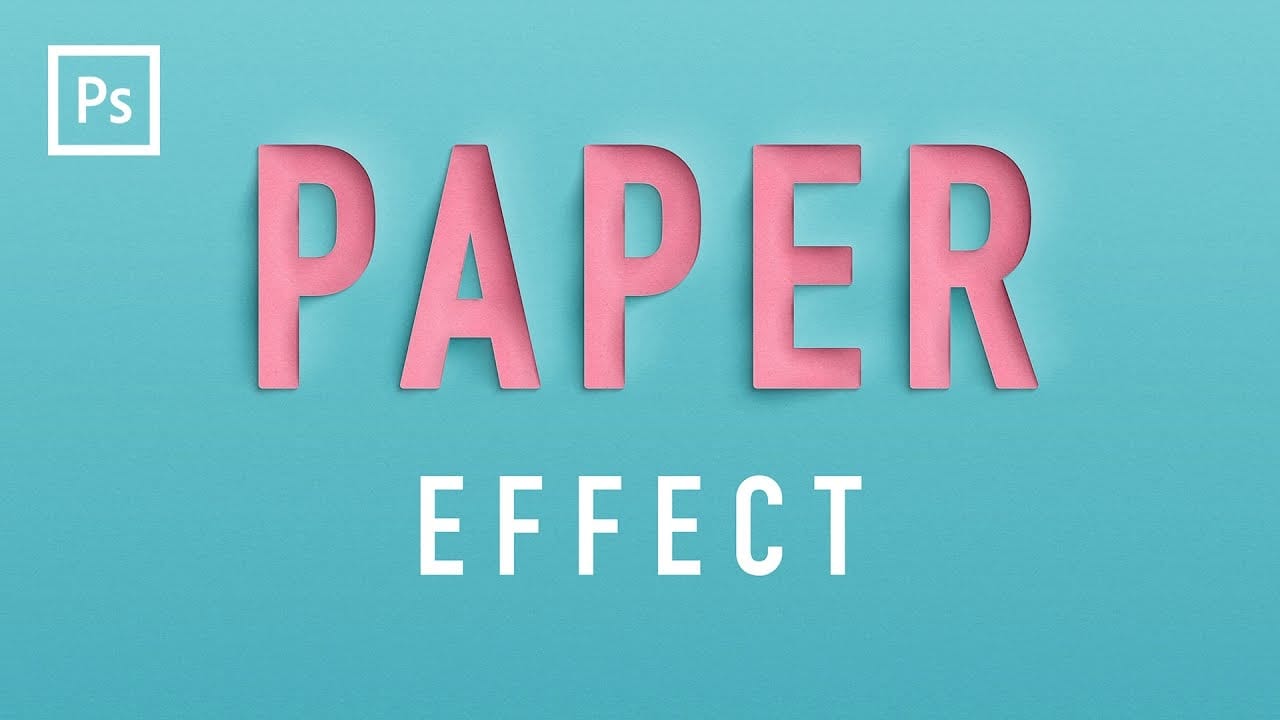
Want to give your text a unique, handcrafted feel? This tutorial shows how to create a compelling folded paper text effect in Photoshop.
Learn to make letters appear as if they are peeling up from the page, adding depth and visual interest to your designs.
Watch the Video
Video by New Layer. Any links or downloads mentioned by the creator are available only on YouTube
Practical Tips for Creating Folded Paper Text Effects
Achieving a convincing folded paper effect involves careful manipulation of text, shadows, and textures. Here are some key tips from the tutorial to help you master this technique:
- Convert your text layer to a shape, then duplicate it for each letter, ensuring each character can be independently edited.
- Create a black duplicate layer beneath each white letter to serve as the shadow, converting both to Smart Objects for non-destructive editing.
- Define a paper texture as a pattern in Photoshop, then apply it via a Pattern Overlay layer style to give your letters a realistic paper texture.
- Use the Warp transform tool on both the white letter and its black shadow layer to create the illusion of paper peeling and folding.
- Soften the black shadow layers with a subtle Gaussian Blur and set their blend mode to Color Burn with a low fill percentage for realistic depth.
- Customize the Gradient Overlay for each white letter, adjusting its angle and position to match the direction of the fold for natural shading.
Related Articles and Tutorials about Paper Effects
Explore more creative possibilities with paper-inspired effects and techniques to enhance your Photoshop projects.
Create a Crumpled Paper Effect in Photoshop
In this detailed tutorial, Aaron Nace walks you through the process of creating a realistic crumpled paper effect in Photoshop. This technique is perfect for adding texture and visual interest to your photos and poster designs.
Aaron begins by demonstrating how to select and prepare your base image, which is crucial for achieving a convincing crumpled look. He then moves on to applying various distortions and adjustments that simulate the appearance of crumpled paper. Throughout the tutorial, A
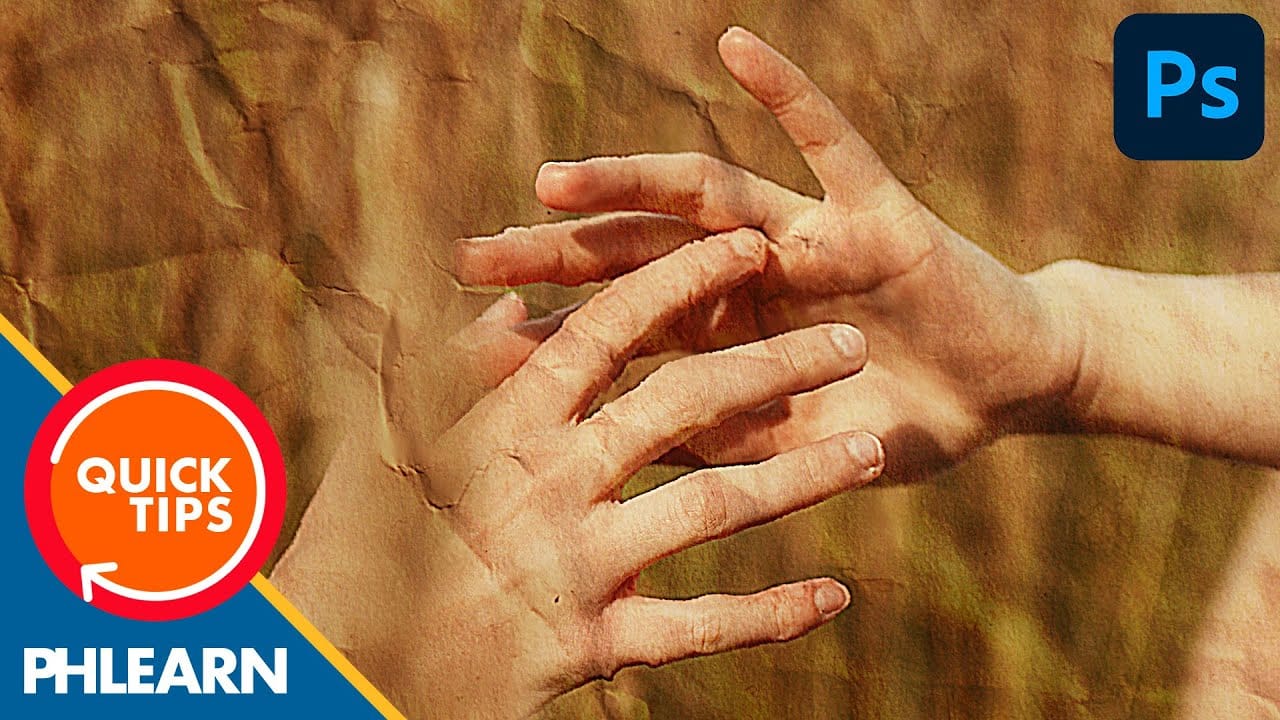
Creating Paper Folds and Creases in Photoshop
It is very common to find tutorials about making page curls. Many of those tutorials are great, but the final effect is very unrealistic, not because of the quality of the tutorial, but due to the 3d nature of the effect.
Creases and folds are more subtle, instead. They can be created only with clever shading and little or no retouching at all. At first glance they may look intimidating, but as soon as you realize how to create basic creases, you will be able to move on to more complex projects
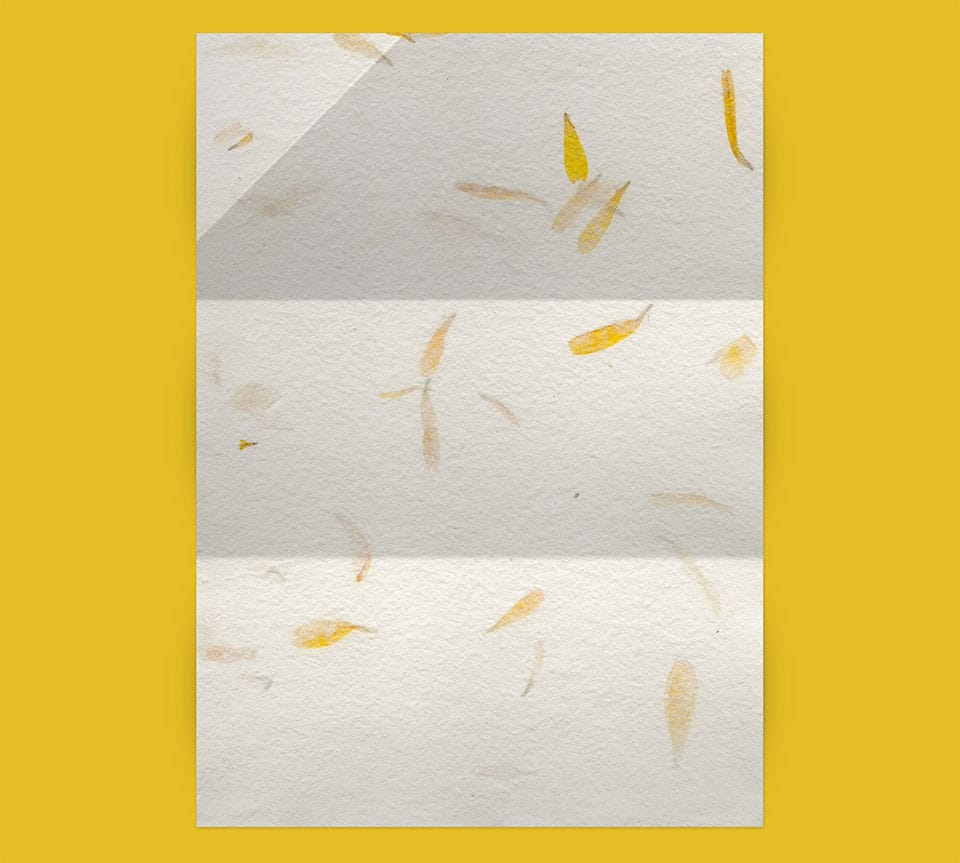
Create a Realistic Paper Cutout Text Effect in Photoshop
In this tutorial by Made By Mighty, you'll learn how to create a paper cutout effect in Photoshop for text or lettering.
The step-by-step format ensures that both beginners and experts can easily recreate this effect. Made By Mighty also provides downloadable files used in the tutorial, enhancing accessibility and ease of following along.
Whether you're looking to add a crafty, handmade look to your designs or exploring new Photoshop techniques, this tutorial offers practical insights and reso
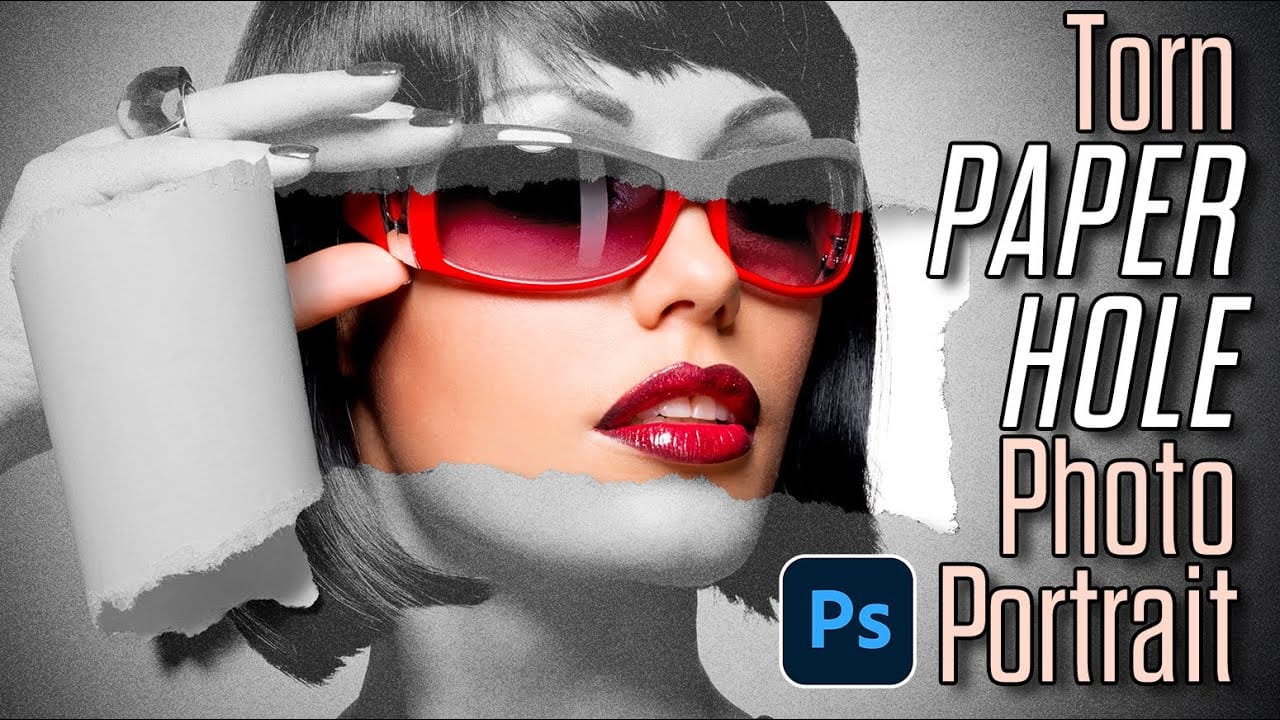
How to Create a Torn Paper Portrait Effect in Photoshop
Torn paper portraits create dramatic visual storytelling by revealing layers of meaning beneath the surface. This artistic technique transforms ordinary portraits into compelling compositions that suggest hidden depths, contrasts, or dual perspectives.
The effect works particularly well when combining different treatments of the same subject—such as color and black-and-white versions—or when creating symbolic narratives about identity, memory, or transformation.
Watch the Video
Understandin