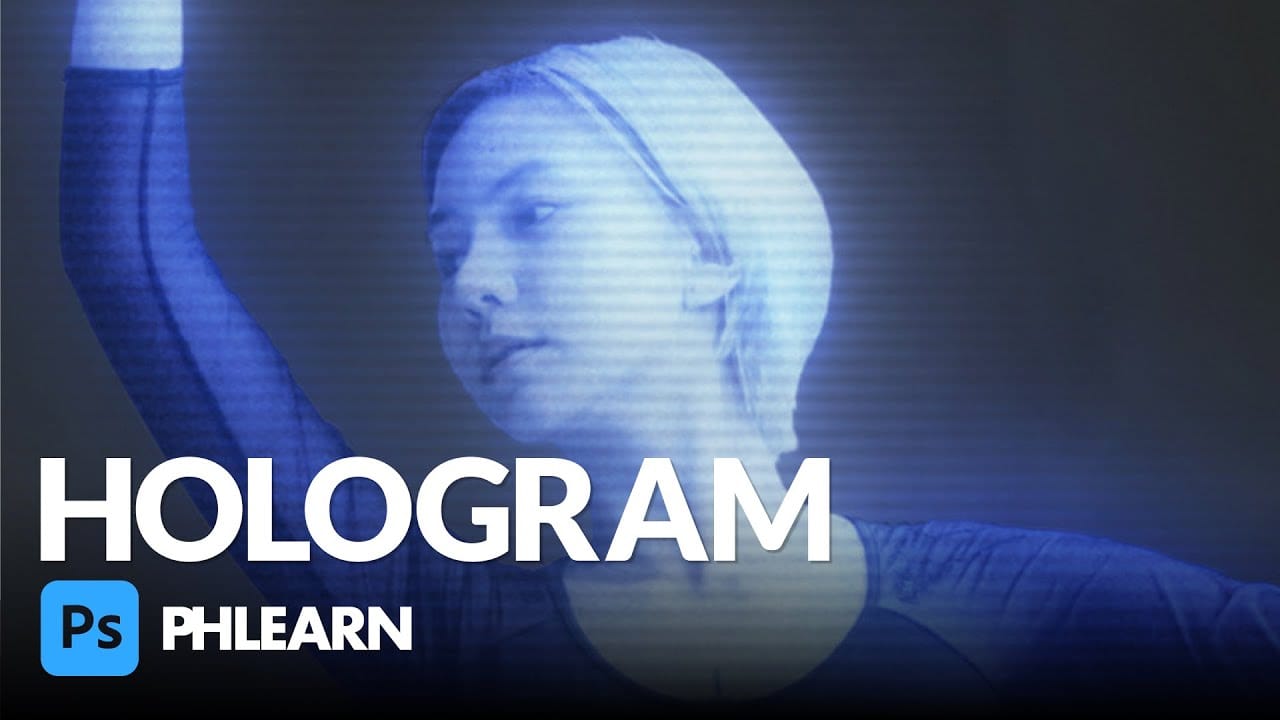
Holographic effects bring futuristic appeal to text designs with their distinctive translucent appearance and rainbow color shifts. This tutorial demonstrates creating convincing hologram text using perspective distortion, layer opacity adjustments, and gradient mapping techniques.
The process combines 3D extrusion with motion blur and color gradients to achieve the signature holographic look.
Watch the Video
Video by P A N T E R. Any links or downloads mentioned by the creator are available only on YouTube
Practical Tips for Hologram Text Effects
Master the hologram effect with these essential techniques:
- Convert text to Smart Objects: Right-click your text layer and choose "Convert to Smart Object" before applying perspective distortion with Ctrl+T and corner handles
- Create graduated opacity layers: Duplicate your text five times and set opacity values at 10%, 20%, 30%, 40%, and 50% from bottom to top for depth
- Apply motion blur strategically: Use Filter > Blur > Motion Blur at 90° angle with 290-pixel distance on a duplicated base layer
- Add noise for authenticity: Create a black solid layer, apply Add Noise at 30% with monochrome unchecked, then blend using Screen mode
- Build holographic colors: Use Gradient Map adjustment with handles positioned for dark purple, blue, light blue, and green transitions
More Tutorials about Text Effects
Explore additional creative text techniques and effects in Photoshop.
Create a hologram effect in Photoshop
In this engaging tutorial, Aaron Nace from Phlearn guides you through creating a sci-fi-inspired hologram effect in Photoshop. The process involves a blend of Adjustment Layers, blurs, noise, Blending Modes, and textures to craft a visually stunning hologram. Aaron starts by using Adjustment Layers to fine-tune colors and contrast, then adds various blurs to simulate the depth and distortion seen in holograms. Noise is introduced to give the effect a more authentic, digital feel, while specific
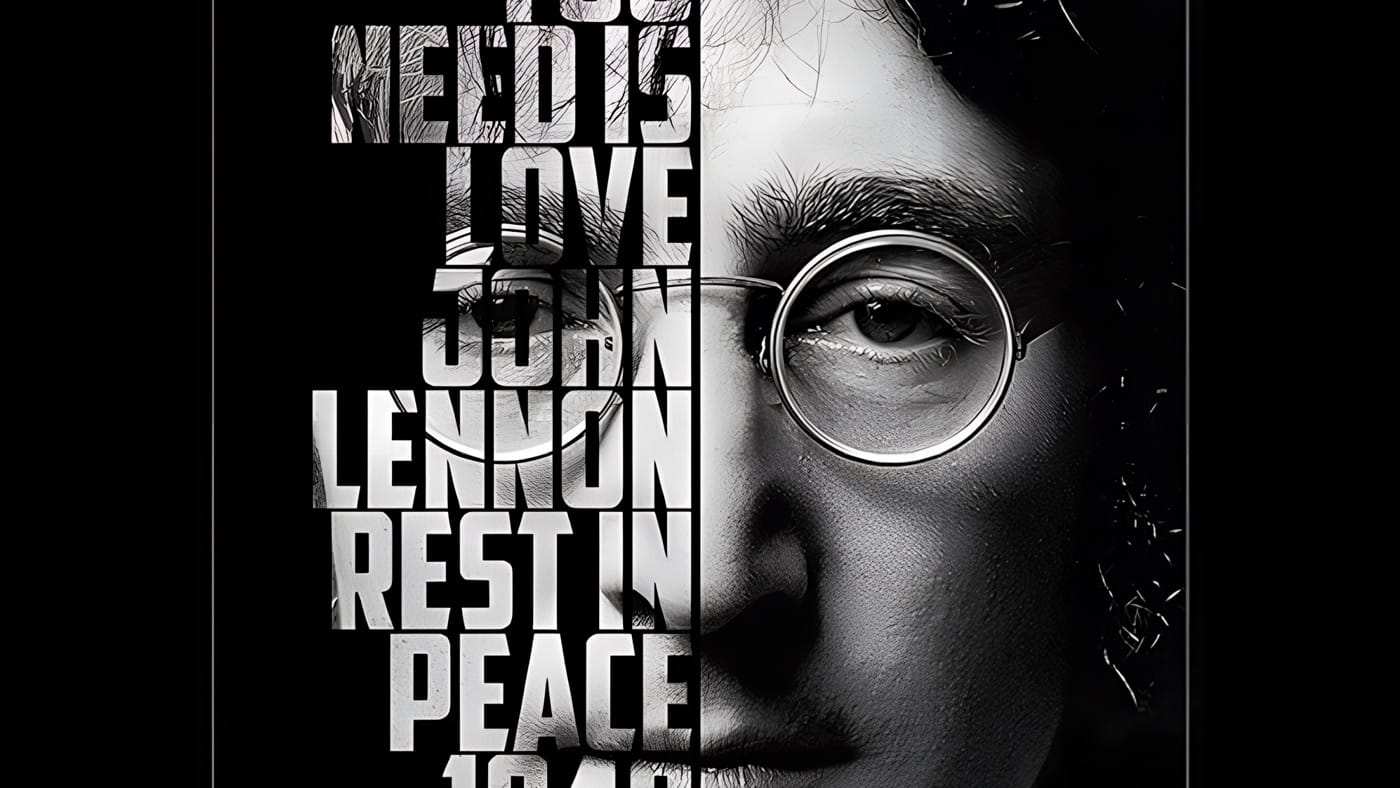
Create a cool text portrait in Photoshop
Learn how to create a striking typographic portrait poster in Adobe Photoshop, transforming a standard photo into an artwork where text defines the contours of the subject's face. You'll practice essential techniques: precise subject selection, background preparation, thoughtful text integration, and subtle refinements to enhance legibility and visual impact.
Watch the Video
Practical Tips for Text Portrait Posters in Photoshop
* Desaturate your base image to black and white early in the p
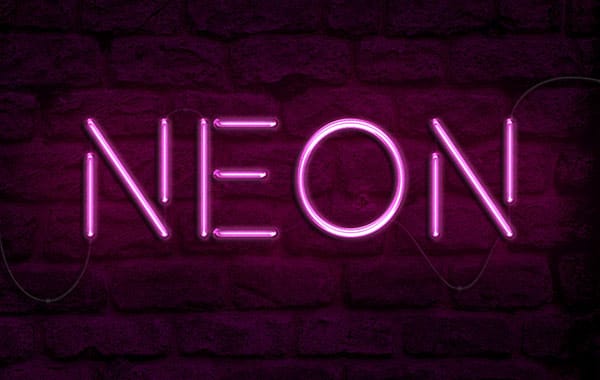
How to create a bright realistic neon text effect in Photoshop
Neon signs offer a charming aesthetic that enhances visual elements. This video explores multiple methods for creating realistic neon light text effects in Photoshop, from detailed scratch builds to efficient shortcuts. Learn to transform text into stylish, fun neon signs.
Watch the Tutorial: Create Neon Text in Photoshop
Practical Tips for Neon Text Effects
Achieve a convincing neon light effect with these essential steps:
* Utilize Smart Objects: Expedite your workflow using pre-made te
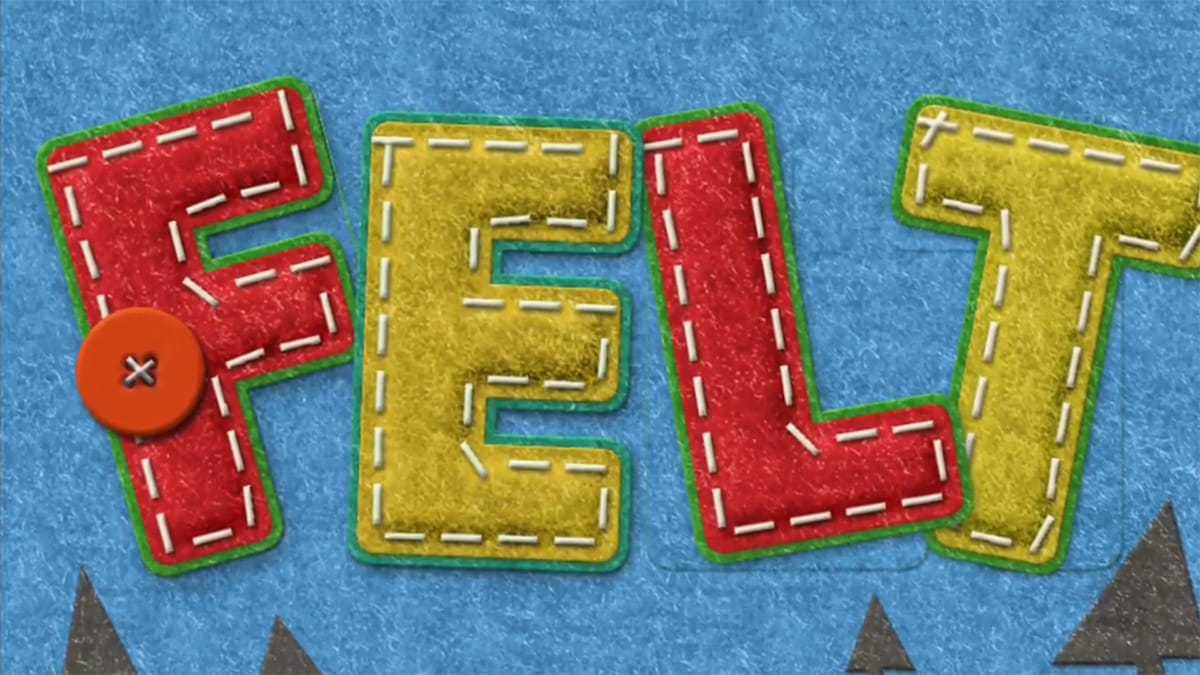
How to Create a Fun Felt Photoshop Text Effect
In this tutorial presented by Photoshop Palace, you'll learn how to create a charming and colorful stitched felt Photoshop text effect set against a rich blue felt background.
This artistic endeavor includes the addition of meticulously crafted felt pine elements, enhancing the seasonal appeal, especially fitting for winter holiday-themed designs.
The tutorial methodically guides you through the process with easy-to-follow steps, ensuring that even beginners can achieve a delightful and festiv