Light leaks add an unexpected warmth and artistic flair to photographs. While these colorful glares typically occur when unwanted light enters a camera lens, they create such appealing visual effects that many photographers seek to recreate them digitally.
This technique uses gradient fill layers with screen blending mode to simulate authentic-looking light leaks in any color combination. The method offers complete control over placement, intensity, and direction while remaining fully adjustable.
Watch the Video
Practical Tips
Here are key techniques to create convincing light leak effects:
- Set the blending mode to Screen before creating the gradient to see the effect immediately
- Use the "Foreground to Transparent" gradient preset and customize colors from white to yellow to red
- Keep all color stops clustered toward the left side of the gradient editor for realistic falloff
- Position light leaks to peek from image edges rather than covering the entire frame
- Duplicate gradient layers to create multiple light sources from different directions
Related Articles and Tutorials
Explore more lighting effect techniques to enhance your photo editing skills:
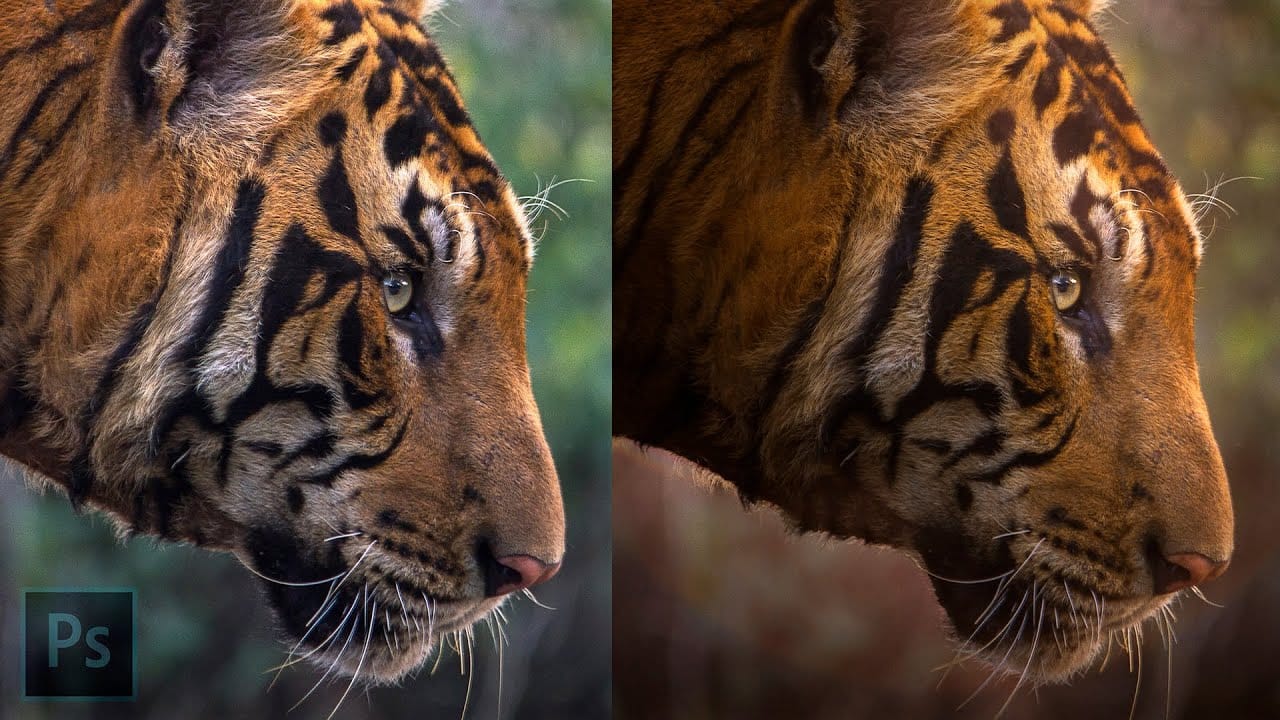
How to Fake Color-Gel Lighting in Photoshop!
In this tutorial, PiXimperfect unveils an inventive method for simulating color-gel lighting effects in Photoshop. You'll explore how to recreate the dynamic look of multiple colored light sources by leveraging Gradient Maps. This technique allows you to precisely control both the brightness and color of the lighting in your images.
The tutorial walks you through the steps to achieve a vibrant and dramatic lighting effect, typically used in studio photography. By the end, you'll know how to app
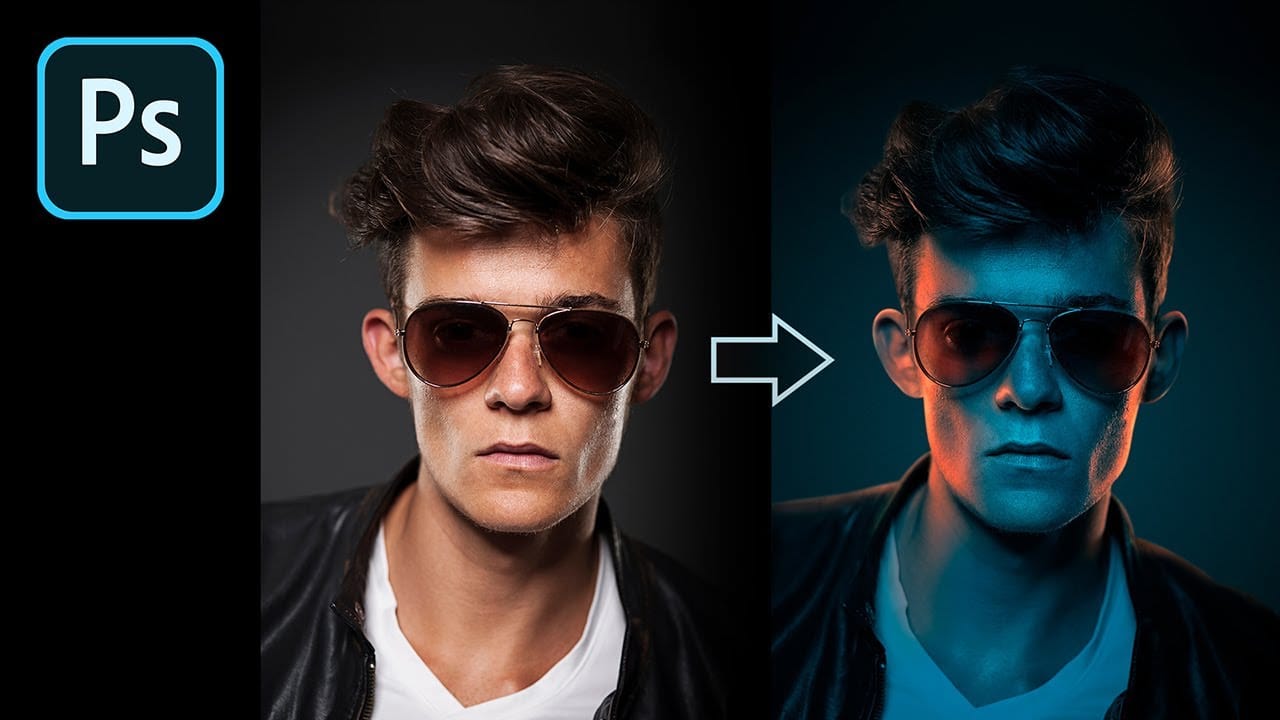
Epic gradient trick for beautiful light rays in Photoshop
In this tutorial, Jesus Ramirez teaches you how to create stunning light rays in Photoshop using an ingenious gradient trick. By utilizing a Gradient Fill layer in an unconventional way, you can achieve a mesmerizing light ray effect that adds a dramatic touch to your photos. This method is straightforward and effective, making it accessible even for beginners.
Part of the Photoshop in-app tutorials, this guide allows you to open the tutorial image directly from Photoshop and follow along with
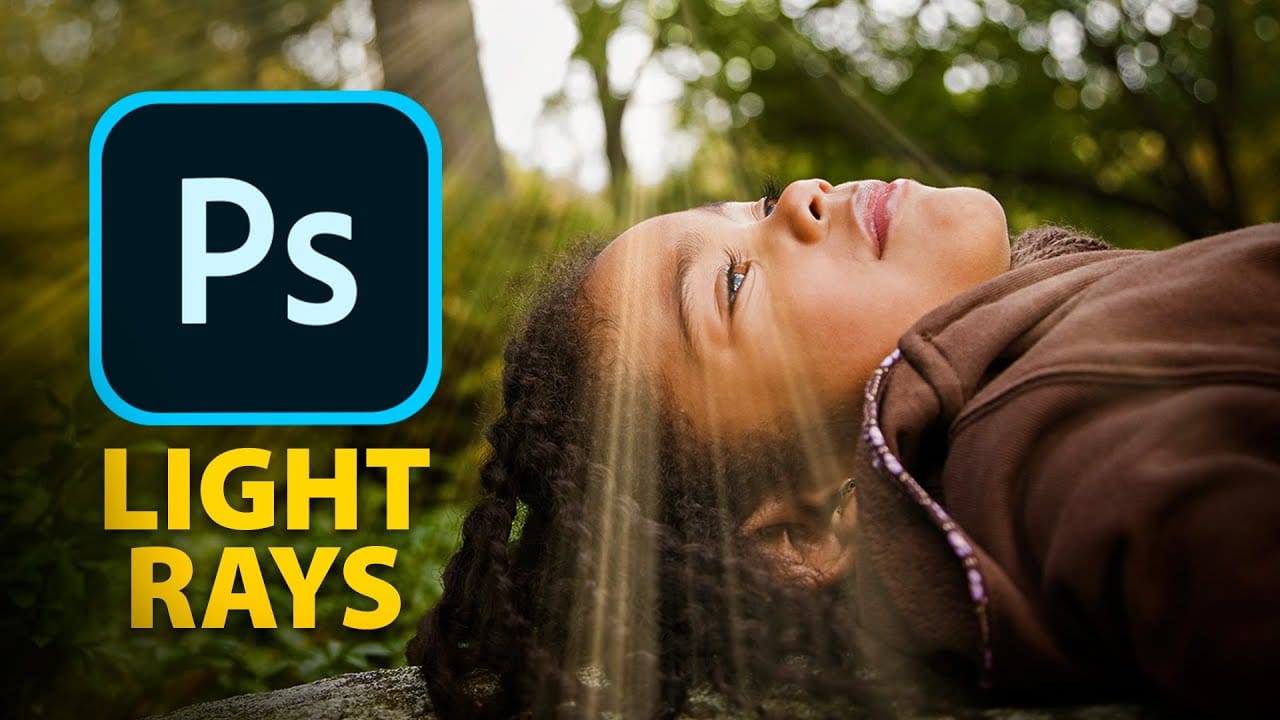
Add beautiful natural background light effects in Photoshop
In this Photoshop tutorial by Unmesh Dinda from Piximperfect you will learn how to make the subject stand out by adding realistic light effects on the background. Learn to create beams of light pouring in from a source (like a window) and falling on the background naturally in Photoshop.
We'll create the light by using Step and Repeat and then apply blend modes and masking to make it as realistic as possible.
Watch tutorial

Create a dual lighting effect with just 2 layers in Photoshop
The author, PixImperfect, presents a straightforward technique to create the dual color lighting effect in Photoshop. Using the power of Gradient Maps, this tutorial demonstrates how to color multiple lights from different directions. Viewers also learn to utilize the "Blend If" feature to make the light more realistic. Optionally, the video explores techniques to add and modify interesting light elements to the image.
This concise yet informative tutorial guides viewers through the process ste

Add creative lights and colors to your image in Photoshop
You're about to learn how to transform your images with creative lights and colors in Photoshop. This tutorial will guide you through the process of adding vibrant hues and eye-catching effects to your photographs.
First, you'll explore the use of gradients and brushes to enhance your image. These tools will allow you to layer different colors and luminous accents, creating a visually striking result. With a few simple steps, you'll be able to turn your ordinary image into an impressive work of

Quick and Easy way to create Glowing Lights Photoshop Brushes
This time, I'll commit myself to tech you a nice illustration technique in a few steps, rather than my usual detailed explanations. This tutorial explains how to create glowing lights brushes using the Lens Flare filter included in the default installation of Adobe Photoshop.
This technique is amazingly simple, but the resulting brushes are so cool that you might find yourself spending your Saturday nights experimenting with brush dynamics and blending settings instead of hanging out with a bun
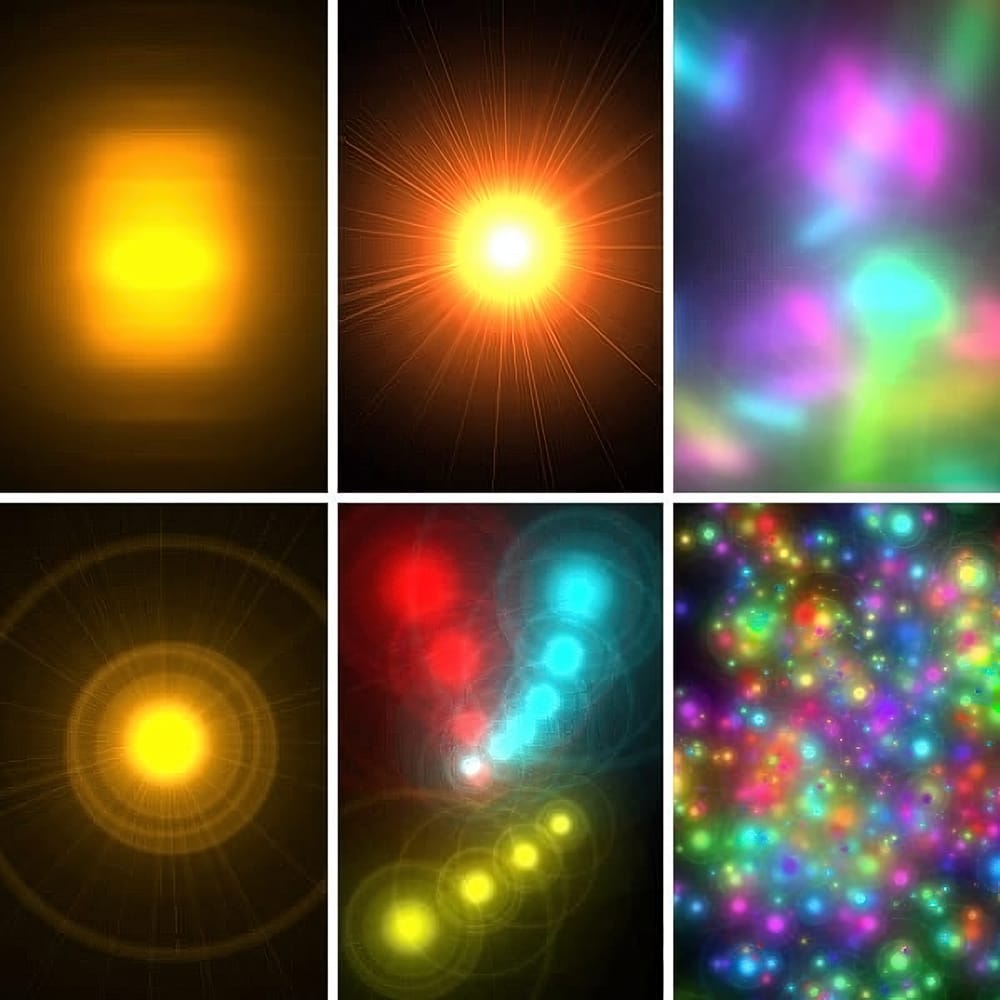
Create lighting effects using Gradient Maps in Photoshop
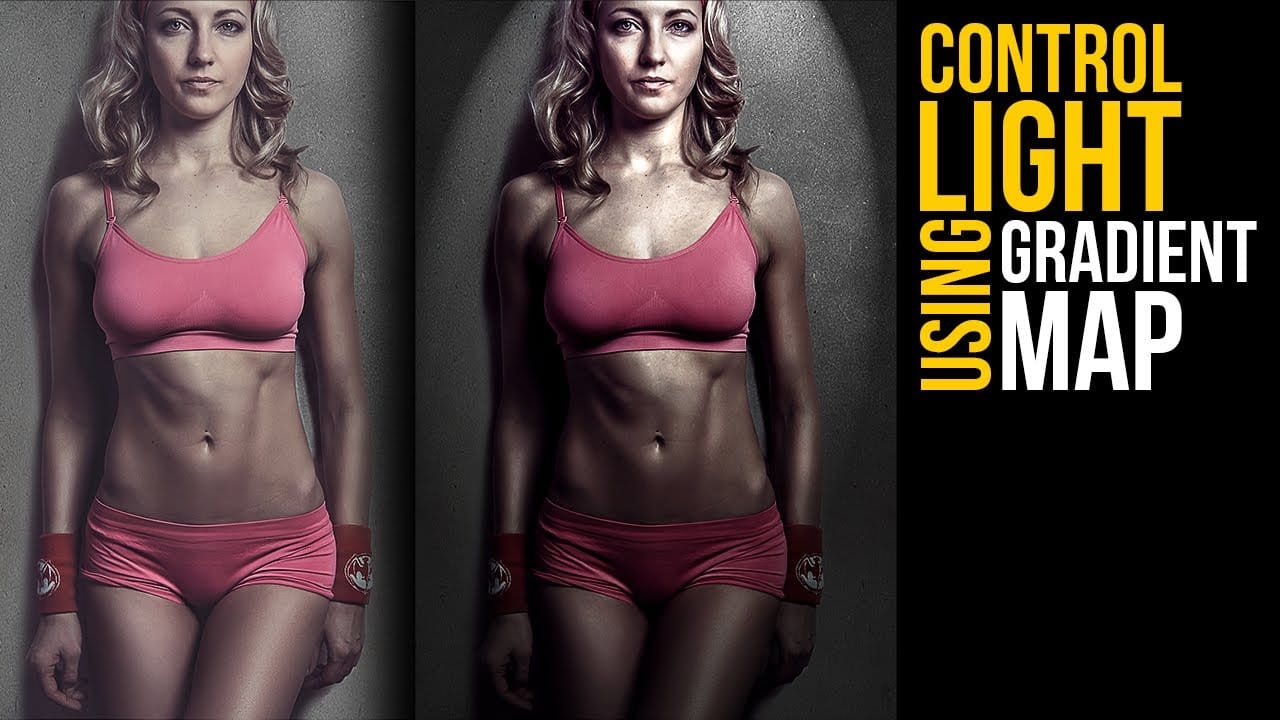
In this Photoshop tutorial by Unmesh Dinda from Piximperfect you will learn an interesting technique to completely mold and control light in Photoshop using Gradient Maps along with amazing light effects to add drama, depth, and dimension.
In this video, learn how to manipulate multiple levels of light. Whether you want to remove shiny flash hotspots or add more shine, make harsh light soft or soft light harsh, with Gradient Maps, you can control almost everything. Gradient Map allows you to co
Add Striking Light Effects to Your Photos in Photoshop
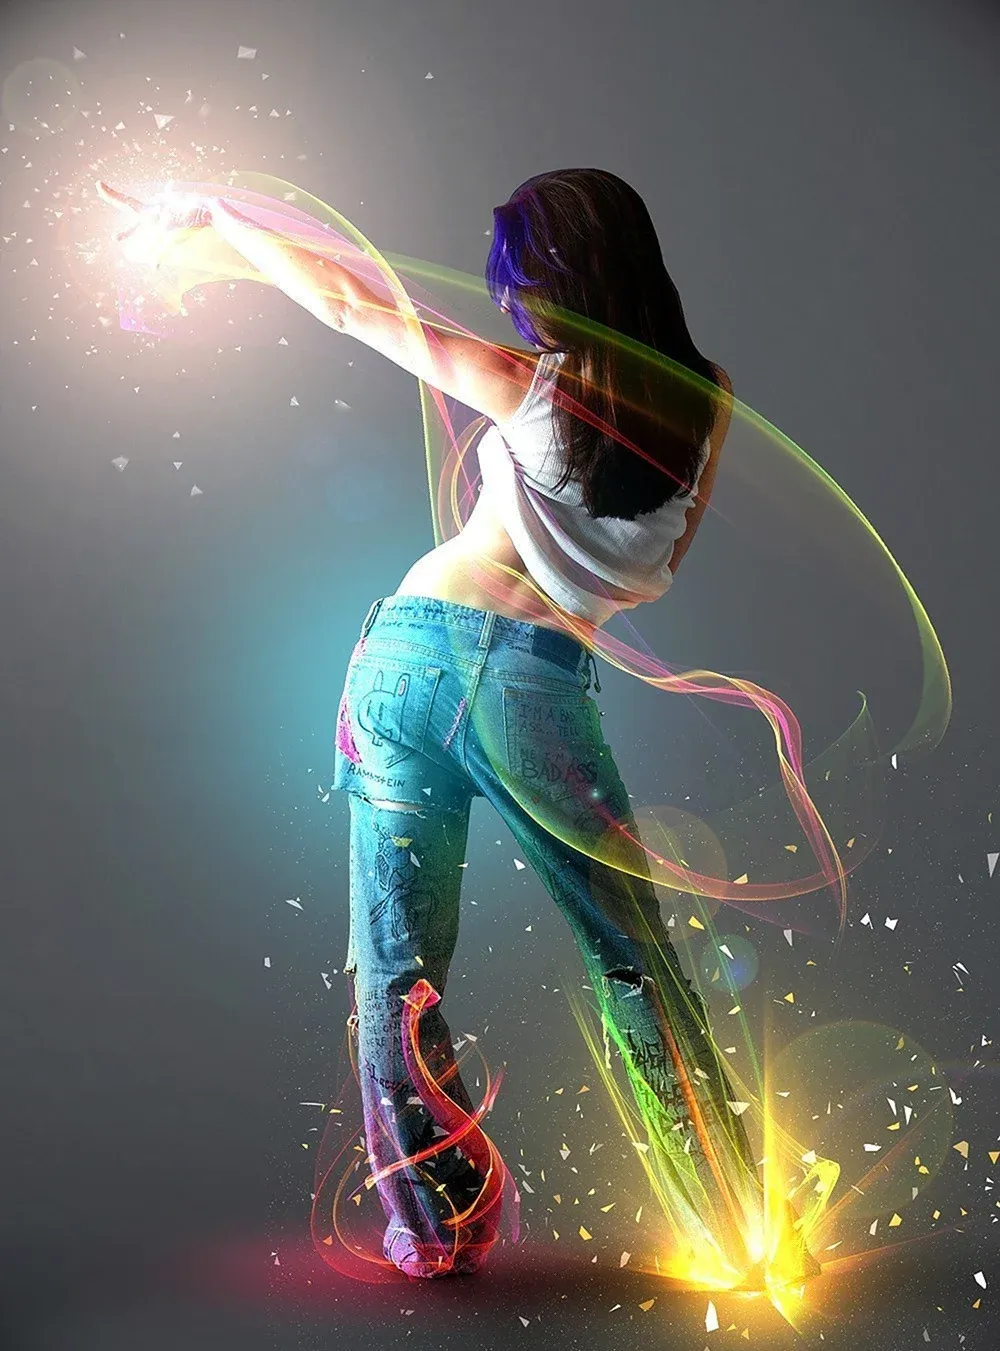
In this Photoshop tutorial from PSD Box, using the "Colors in Motion" textures pack and a model image from deviantArt or ISO Stock, you'll create a vibrant digital artwork.
Start by meticulously removing the background with the Pen Tool and placing the model on a new canvas with a gradient backdrop. Enhance the image with non-destructive adjustments for color and contrast, adding realistic shadows for depth. Integrate various light effects from the packs, adjusting blending modes and using tool
Lighting Effects to Create Drama in Photoshop
In this tutorial, John Whitehead demonstrates how to add dramatic lighting effects in Photoshop to transform flat lighting into something much more dynamic. You'll learn how to use various tools such as lighting effects filters, lens flare, smart objects, and LUTs to completely alter the mood and appearance of your image.
If you want to follow along with the tutorial, you can download the provided image and apply the same techniques. This guide is perfect for photographers and digital artists l