How to Fuse Two Portrait Photos into One Model in Photoshop

How to Fuse Two Portrait Photos into One Model in Photoshop

Portrait fusion opens up creative possibilities that go beyond traditional photo editing. By seamlessly blending facial features from two different models, you can create striking artistic compositions that challenge perception and explore identity.

This advanced technique combines precise selection work with Photoshop's powerful distortion tools. The result transforms separate portraits into a unified image where features merge naturally, creating something entirely new while maintaining photographic realism.

Watch the Tutorial

Video by P A N T E R. Any links or downloads mentioned by the creator are available only on YouTube

The Art of Digital Portrait Fusion

Model fusion represents a sophisticated form of digital art that has gained popularity in fashion photography and conceptual portraiture. The technique requires careful consideration of facial proportions, lighting conditions, and anatomical structure to achieve convincing results.

Successful portrait blending depends on selecting compatible source images. Models with similar lighting angles, comparable skin tones, and matching head positions create the foundation for seamless integration. The Liquify tool becomes essential for reshaping features, while smart objects preserve image quality throughout the editing process.

Professional retouchers often use this technique for beauty campaigns where multiple takes need combining, or for artistic projects exploring themes of identity and transformation. The key lies in maintaining natural proportions while creating something visually striking.

Essential Tips for Portrait Fusion

  • Convert both model layers to smart objects before applying any transformations to preserve image quality and enable non-destructive editing
  • Use the Show Backdrop option in Liquify to see both models simultaneously, ensuring accurate alignment of facial features like eyes, nose, and mouth
  • Work with soft-edged masks when blending layers to create gradual transitions between different facial elements
  • Match the lighting direction and intensity between both source images before starting the fusion process
  • Apply subtle adjustments to skin tone and texture consistency across the merged areas for realistic results

Explore more advanced photo manipulation and blending techniques.
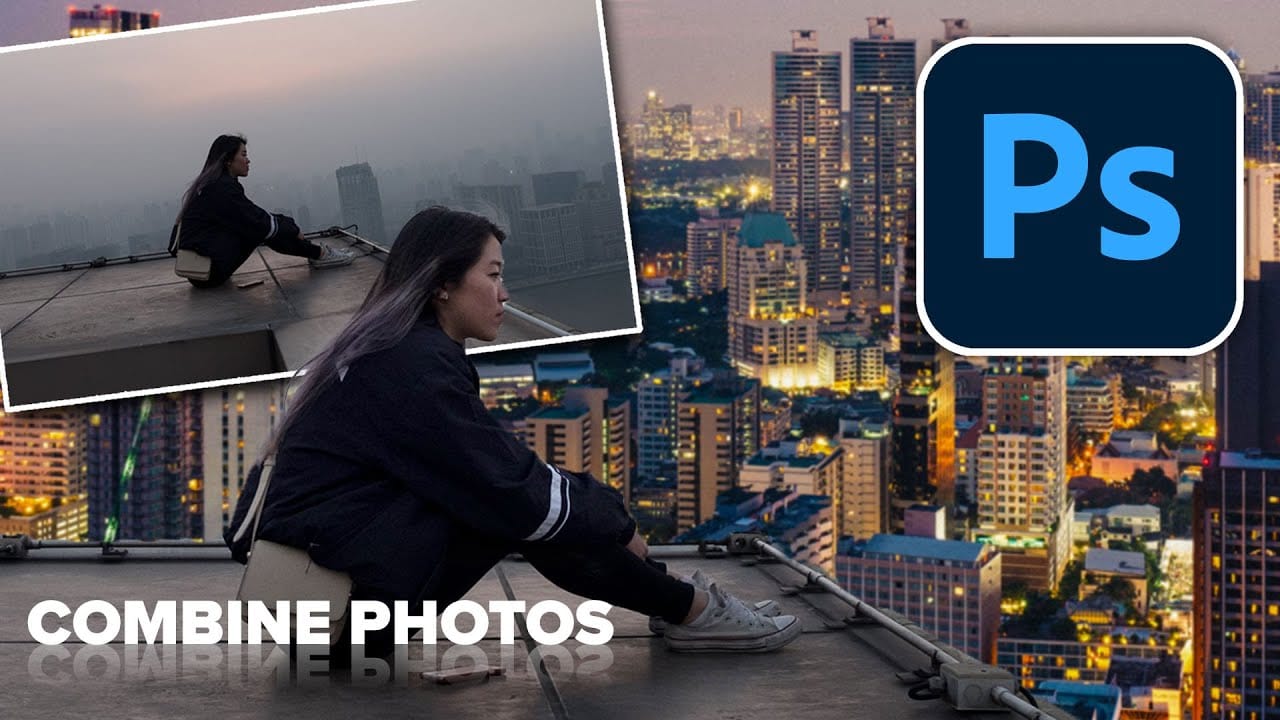
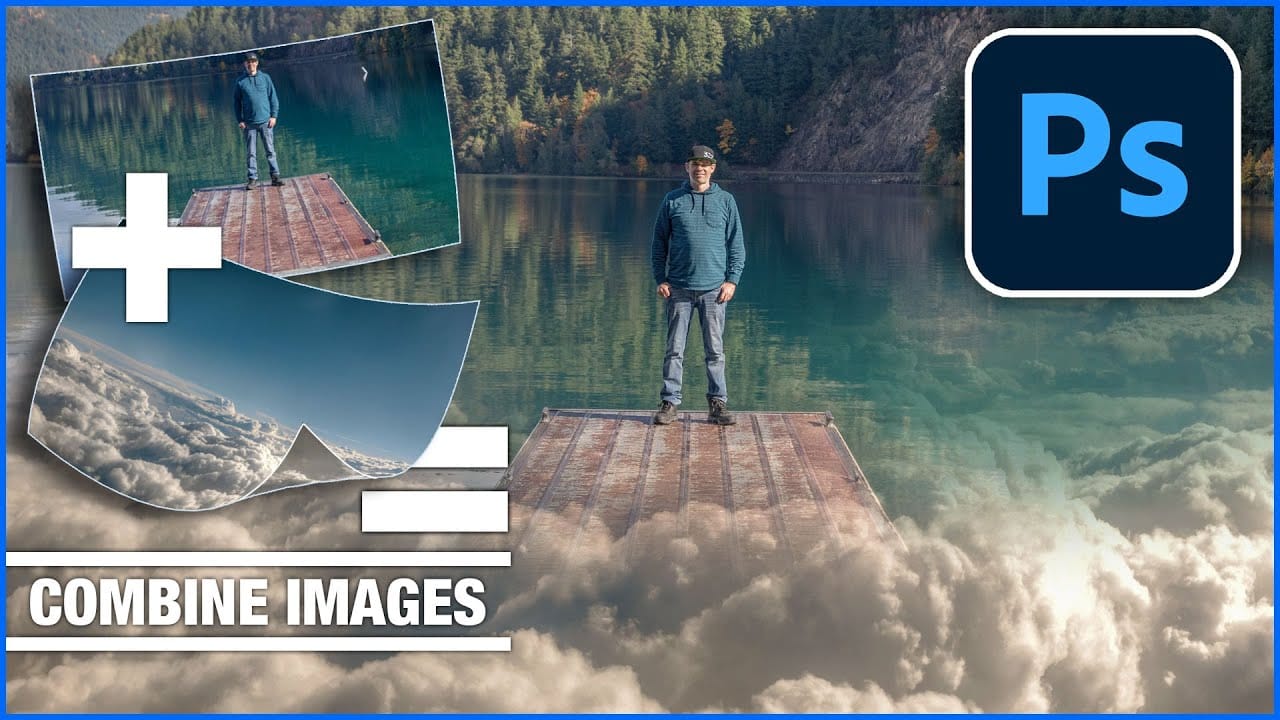
How to combine and blend photos in Photoshop
In this tutorial by Colin Smith from Photoshop Cafe, you'll explore various methods to seamlessly combine and blend photos in Photoshop. Colin covers the basics of getting photos into Photoshop and demonstrates different techniques for layering and blending images. The tutorial provides practical guidance on how to integrate multiple photos into a cohesive composition. Whether you're working with selections or blending layers directly, you'll learn how to achieve smooth transitions and create v
How to combine and blend photos in Photoshop
In this tutorial, Colin Smith from Photoshop Cafe demonstrates effective techniques for combining and blending multiple photos in Photoshop. You'll learn two distinct methods for merging images, allowing you to seamlessly integrate different elements into a cohesive composition. Colin also covers four advanced techniques for blending layers together, helping you achieve smooth transitions and harmonious effects. These techniques are essential for creating compelling visuals where multiple image
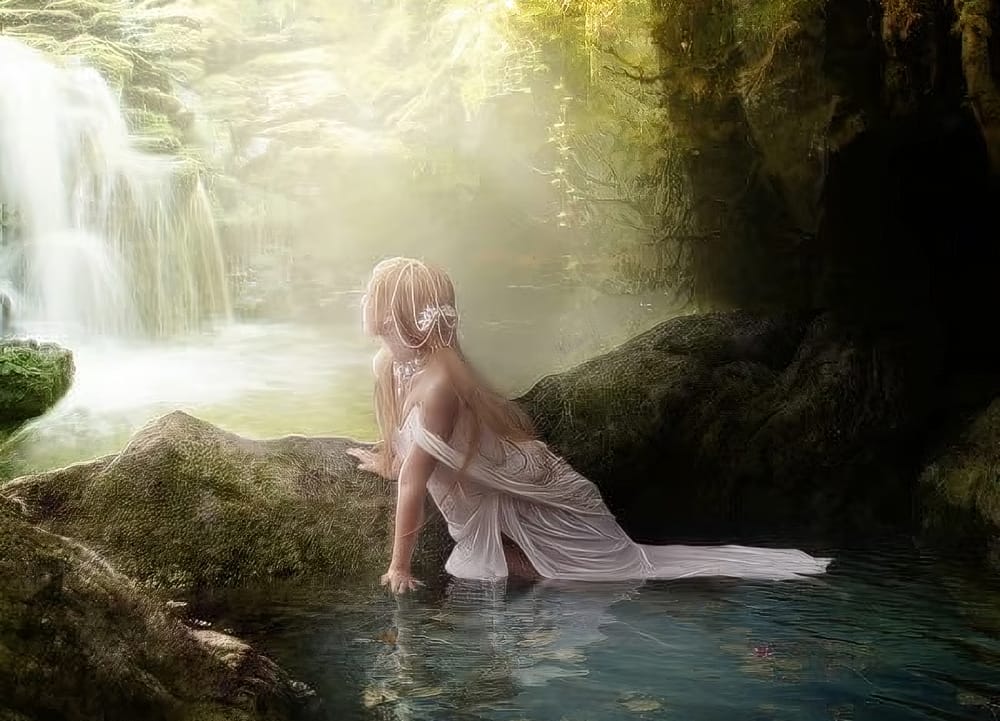
Create a Fantasy Photo Manipulation in Photoshop
This tutorial focuses on creating a stunning fantasy photo manipulation in Photoshop. It guides you through the process of combining various stock photos and artworks to achieve your desired effect. You will learn techniques for applying a soft photo effect that adds an ethereal touch to your composition. The tutorial also covers how to add realistic moss to rocks, bringing an organic feel to the environment. Moreover, you'll discover how to enhance a pool of water by introducing water lilies,
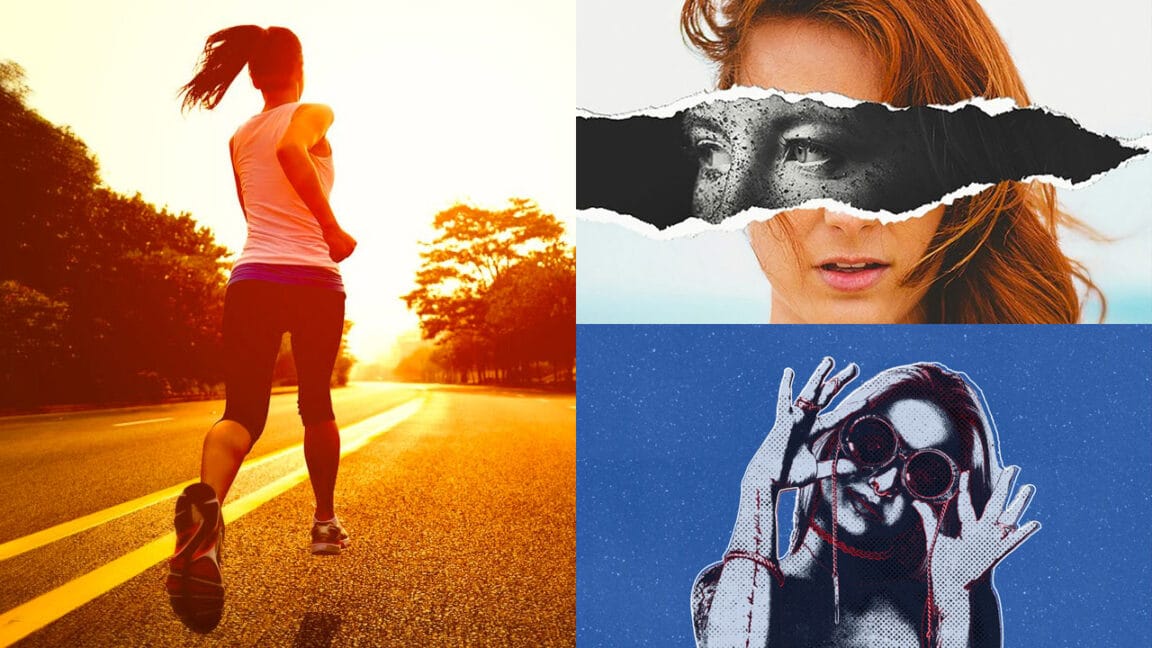
30 Essential Photo Manipulation Photoshop Tutorials for Beginners
When exploring new Photoshop tutorials, it's common to encounter complex techniques aimed at professionals. However, the reality is that many users often need to tackle basic tasks, such as removing red-eye or altering colors in their images. Sometimes, they might just want to learn a single skill from a more intricate project. This compilation focuses on essential photo manipulation techniques suitable for beginners. It includes methods like changing skies, fixing red-eye issues, creating a ti

Get tutorials & freebies delivered to you.

Subscribe to the Photoshop Roadmap newsletter, a weekly roundup of new tutorials, insights and quality downloads, trusted by 6500+ readers.

You might also like

Painting Digital Art Backgrounds: Techniques and Workflow

A well-crafted background can anchor an entire digital painting, providing atmosphere, depth, and visual context for the subject. This video demonstrates practical approaches to building backgrounds from scratch using digital tools, covering brush selection, color layering, and compositional thinking. Watch the Video Practical Tips Keep these core principles in...

How to Use the Light Adjustment Layer in Photoshop

Photoshop's new Light adjustment layer brings Camera Raw controls — exposure, contrast, highlights, shadows, whites, and blacks — directly into the layers panel as a fully non-destructive, maskable layer. This means you can stack multiple light adjustments, target specific subjects, and combine them with Blend If and other adjustment...

How to Use Object Selection, Remove Background, and the Selection Brush in Photoshop

Selections determine the quality and flexibility of almost every edit you make in Photoshop. Three modern tools — the Object Selection tool, Remove Background with Harmonize, and the Selection Brush — handle the most common selection tasks with far less manual effort, while keeping your original image intact through non-destructive layers....

How to Paint a Digital Background and Composite Wildlife Into It

Building a painted digital background from scratch gives you full control over color, mood, and composition before a single wildlife photo is placed. This walkthrough covers the complete process: blocking in shadows on a black canvas, layering foliage with textured brushes, positioning bird subjects on hand-painted stones, and using...

How to Sharpen Skin Texture Using Frequency Separation in Photoshop

Retouched skin can look great up close but lose all its natural texture the moment you zoom out. Rather than relying on standard sharpening filters, you can recover that texture by duplicating the high-frequency layer inside a frequency separation setup — a method that works whether or not you'...

You’ve successfully subscribed to Photoshop Roadmap
Welcome back! You’ve successfully signed in.
Great! You’ve successfully signed up.
Success! Your email is updated.
Your link has expired
Success! Check your email for magic link to sign-in.