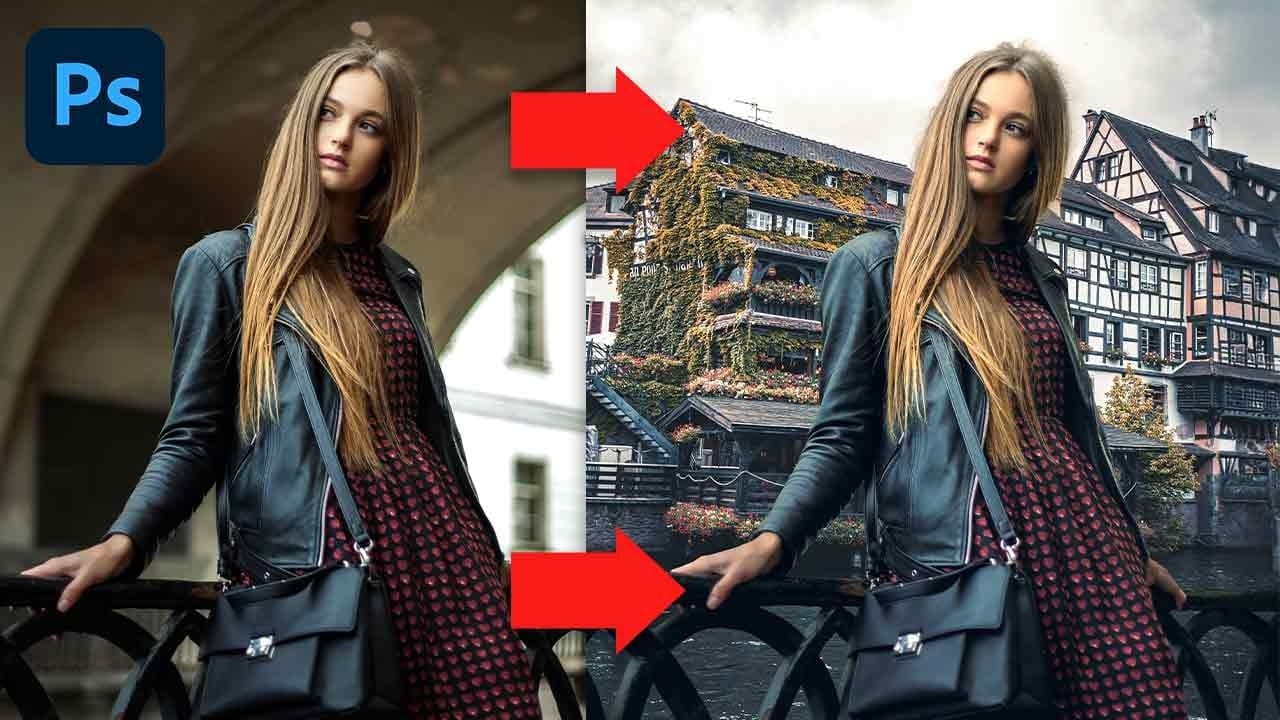
Compositing images often requires precise color matching. When combining elements from different sources, slight variations in tone can disrupt the visual harmony, making the final image appear unnatural. Achieving a cohesive look is crucial for professional results.
This tutorial offers a straightforward method to blend disparate image elements seamlessly. The video demonstrates how to use Photoshop's built-in tools, specifically the Curves adjustment layer and Camera Raw, to unify the color profiles of your composite images. It simplifies a complex process, allowing beginners to create more realistic and polished digital art.
Watch the Tutorial
Achieving Visual Harmony Through Color Matching
When combining images, visual discrepancies are often immediately apparent. These differences, especially in color and lighting, break the illusion of a single, unified scene. Effective color matching addresses these issues by aligning the chromatic properties of different image sources, creating a believable and polished composite.
A well-executed composite feels natural, as if all elements belong together from the start. This involves more than just aligning edges; it requires a deep understanding of how light interacts with surfaces and how colors influence perception. For instance, mismatched color temperatures can instantly reveal an image as a composite, even to an untrained eye.
While various tools exist for color correction, the challenge lies in applying them harmoniously across multiple layers. Techniques can range from simple global adjustments to highly localized modifications, each serving to unify the composite's overall palette. Beyond mere color correction, subtle grading can further enhance the mood and narrative, integrating elements into a compelling visual story.
Practical Tips for Color Matching Composites
- Apply a Curves adjustment layer to your subject layer, ensuring it uses a clipping mask to affect only that layer.
- Utilize the Curves Auto Options to find dark and light colors, sampling the darkest and brightest areas of your background for initial color alignment.
- Manually adjust the black and white points of your Curves layer to fine-tune contrast after the auto-adjustment, visually blending your subject with the background.
- Convert all layers into a Smart Object before applying a Camera Raw filter, allowing for non-destructive global color grading and further blending.
- Use Camera Raw for final, global color adjustments, such as warming or cooling the overall image, to achieve a cohesive final look.
Related Articles and Tutorials about Color Matching
Explore more resources to enhance your color editing and compositing skills in Photoshop.


