How to select and remove specific colors from images in Photoshop

How to select and remove specific colors from images in Photoshop

Color removal can transform any image, from isolating subjects against clean backgrounds to creating dramatic artistic effects. The challenge lies in making precise selections that capture only the colors you want to eliminate while preserving the integrity of your main subject.

The Magic Wand tool offers powerful solutions for color-based selections, especially when combined with layer masks and selection refinement techniques. This approach gives you the control needed to achieve professional results without affecting unwanted areas.

Watch the Video

Video by Brendan Williams. Any links or downloads mentioned by the creator are available only on YouTube

Understanding Color-Based Selection Tools

The Magic Wand tool operates on a fundamental principle of pixel similarity detection. When you click on an area, it analyzes the colors within your defined sample size and searches for matching pixels throughout the image. This makes it particularly effective for backgrounds with consistent color ranges or textures that need complete removal.

The contiguous setting becomes crucial for maintaining control over your selections. With this option enabled, the tool only selects touching pixels of similar colors, effectively containing your selection to connected areas like backgrounds. Disable it, and the selection jumps to matching colors anywhere in the image, potentially affecting your subject in unwanted ways.

Layer masks paired with selection refinement create a non-destructive workflow that preserves your original image data. This combination allows for precise edge control and the ability to make adjustments without permanently altering your source material. The process becomes especially powerful when dealing with complex subjects that require different refinement approaches for various edge types.

Practical Tips for Color Removal

  • Keep the contiguous setting enabled to limit selections to connected areas and avoid unwanted selections on your subject
  • Start with a lower tolerance value (around 15) and use Shift + click to add additional color areas to your selection
  • Use two separate Select and Mask rounds: first apply global smoothing and contrast adjustments for hard edges, then use hair refinement for complex details
  • Paint with a white brush on the layer mask to restore missing subject areas, and use black to remove unwanted selections
  • Invert your layer mask after creation using Cmd/Ctrl + I to hide the selected colors rather than the subject

Explore more techniques for working with colors and selections in Photoshop.

Six easy ways to select colors in Photoshop
In this episode of "3, 2, 1… Photoshop!", longtime Adobe evangelist Julieanne Kost shares essential tips and tricks for selecting colors in Photoshop. Julieanne introduces six easy methods to choose colors effectively, whether you're working on a detailed project or just need a quick color pick. You'll learn how to use the eyedropper tool for precise color selection, manipulate foreground and background colors, and utilize the heads-up-display (HUD) color picker for a more interactive experienc
Remove color cast from your photos in Photoshop
In this tutorial, Michael Woloszynowicz demonstrates how to effectively remove color cast from photos in Photoshop, particularly addressing an overall orange tint common in portraits. Instead of the usual Color Balance method, Michael introduces a more nuanced technique involving the creation of a new group called Offset. Within this group, layers are created and filled with sampled colors from the photo's highlight and shadow areas. By adjusting these layers' blending modes and opacities, the u
How to colorize photos in Photoshop
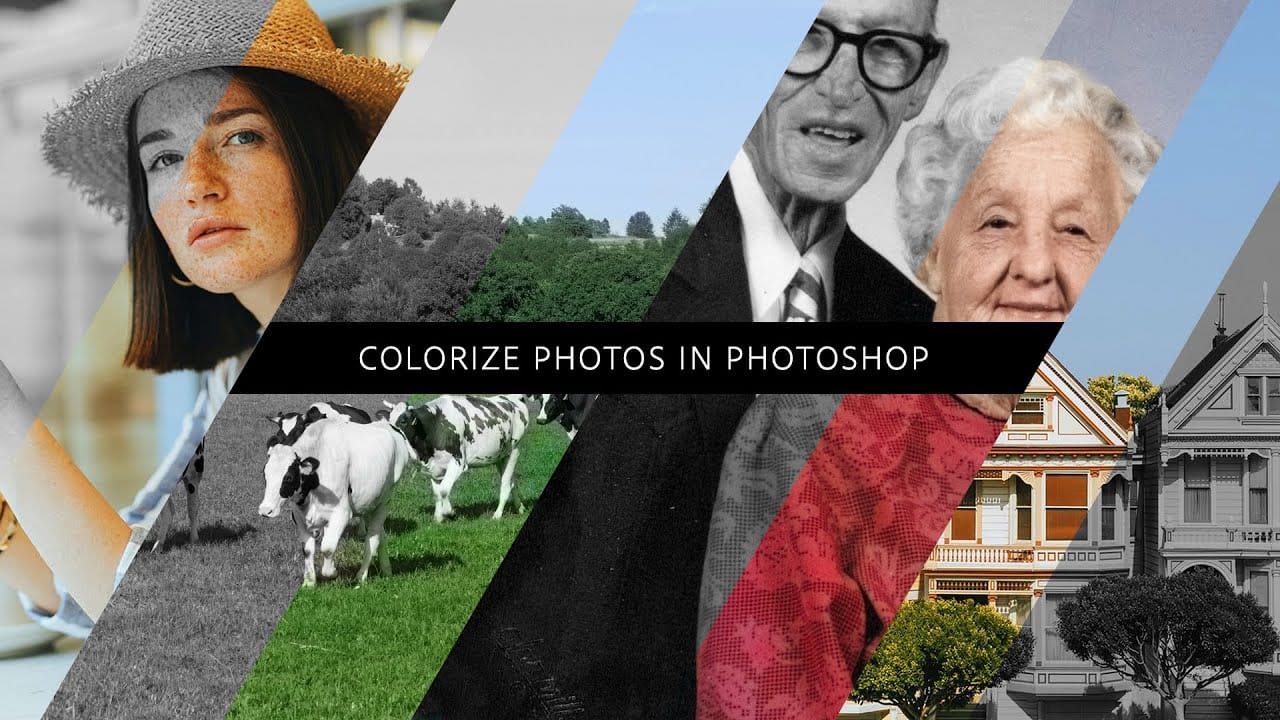
In this episode, Adobe Evangelist Paul Trani demonstrates how to instantly colorize photos in Photoshop using the new Neural Filters. This feature allows you to bring new life to black-and-white images, from landscapes to your old family photos, with just a few clicks. Paul walks you through the process of accessing and applying the Neural Filters to your photos. You'll learn how these advanced filters use artificial intelligence to analyze your image and apply realistic colorization based on t
How to change the color of clothing in Photoshop
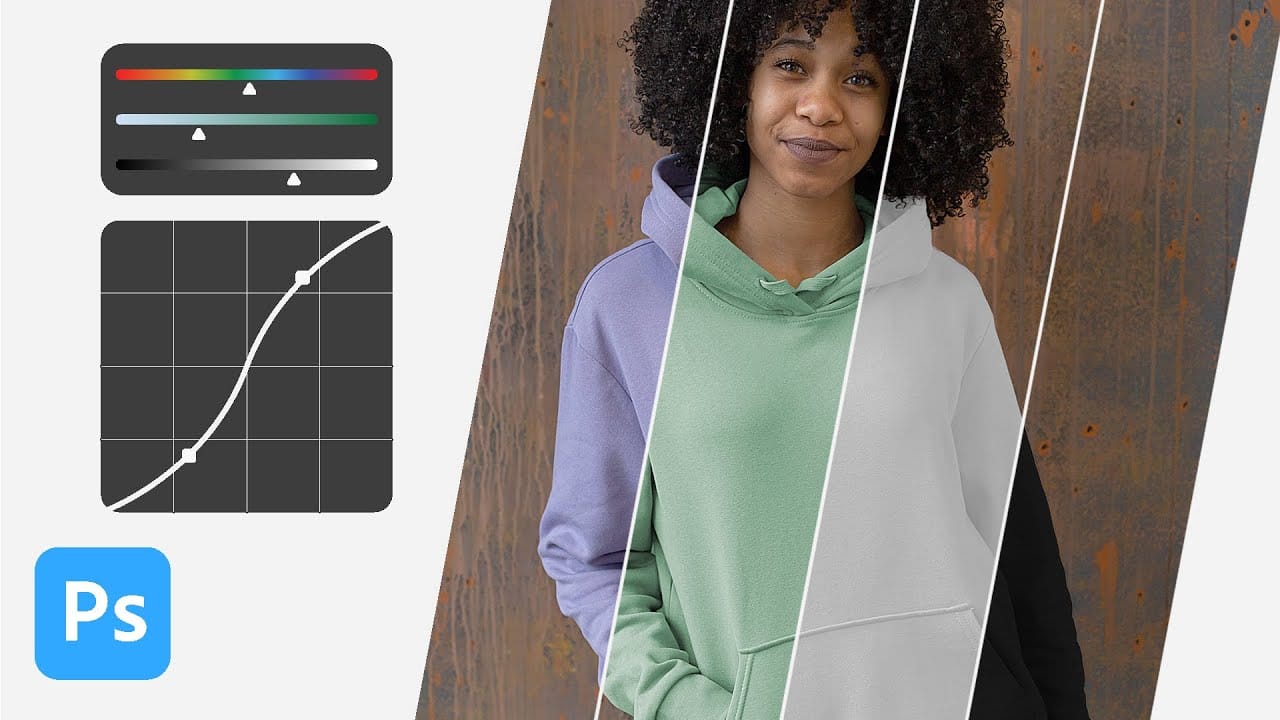
In this tutorial, Aaron Nace from Phlearn shows you how to change the color of clothing in Photoshop, even transforming it to black or white. This comprehensive guide covers essential tools and techniques to ensure perfect detail and realistic highlights and shadows. Aaron demonstrates how to use Layer Masks, Curves Adjustment Layers, and Hue/Saturation Adjustment Layers to create precise selections that isolate the clothing from the rest of the image, adjust brightness and contrast, and manipu

Get tutorials & freebies delivered to you.

Subscribe to the Photoshop Roadmap newsletter, a weekly roundup of new tutorials, insights and quality downloads, trusted by 6500+ readers.

You might also like

How to Create Custom Keyboard Shortcuts in Photoshop

Many essential Photoshop functions surprisingly lack default keyboard shortcuts, forcing you to navigate through menus repeatedly for common tasks like creating smart objects or layer masks. Learning to create custom shortcuts transforms your workflow by giving you instant access to the tools you use most. This comprehensive guide walks you...

How to Convert a Portrait Photo into a Black and White Logo Design

Portrait photos can be transformed into bold, graphic logos with the right combination of filters and adjustments. This technique uses Gaussian blur and threshold adjustments to convert photographs into high-contrast black and white designs suitable for branding, badges, or stamps. The process involves subject isolation, smart filtering, and precise path...

How to Create Sharp Halftone Effects in Photoshop

Traditional halftone effects in print media created depth through visible dot patterns that gave images character and texture. While Photoshop's built-in Filter Gallery offers a quick halftone option, it produces blurry results that lack the crisp definition of professional halftone work. This technique uses the Color Halftone filter...

Create a Sci-Fi Hologram Effect in Photoshop

Transform ordinary portraits into futuristic holographic projections with this sci-fi effect technique. The process combines motion blur, gradient mapping, and scan line patterns to create the distinctive translucent appearance of holographic displays. This method keeps your subject vibrant and colorful while converting the background to black and white, emphasizing the...

How to Use Reference Images with Generative Fill in Photoshop

Generative Fill transforms when you replace text prompts with actual images. Instead of describing what you want, you show the AI exactly what to create using reference photos. This feature works for adding objects like toys and electronics, or swapping clothing items with precise visual control. The AI automatically matches...

Photoshop's Generative Fill Gets Major Upgrade: New Model Comparison and Quality Test

Adobe's latest Generative Fill update brings the new Firefly Fill and Expand model with double the resolution and dramatically improved quality for generating people, hands, and complex objects. The upgrade moves from 1024x1024 to 2048x2048 pixel output, allowing for larger selections without quality loss. This comprehensive comparison tests...

You’ve successfully subscribed to Photoshop Roadmap
Welcome back! You’ve successfully signed in.
Great! You’ve successfully signed up.
Success! Your email is updated.
Your link has expired
Success! Check your email for magic link to sign-in.