How to Replace Objects Using Reference Images in Photoshop Generative Fill

How to Replace Objects Using Reference Images in Photoshop Generative Fill

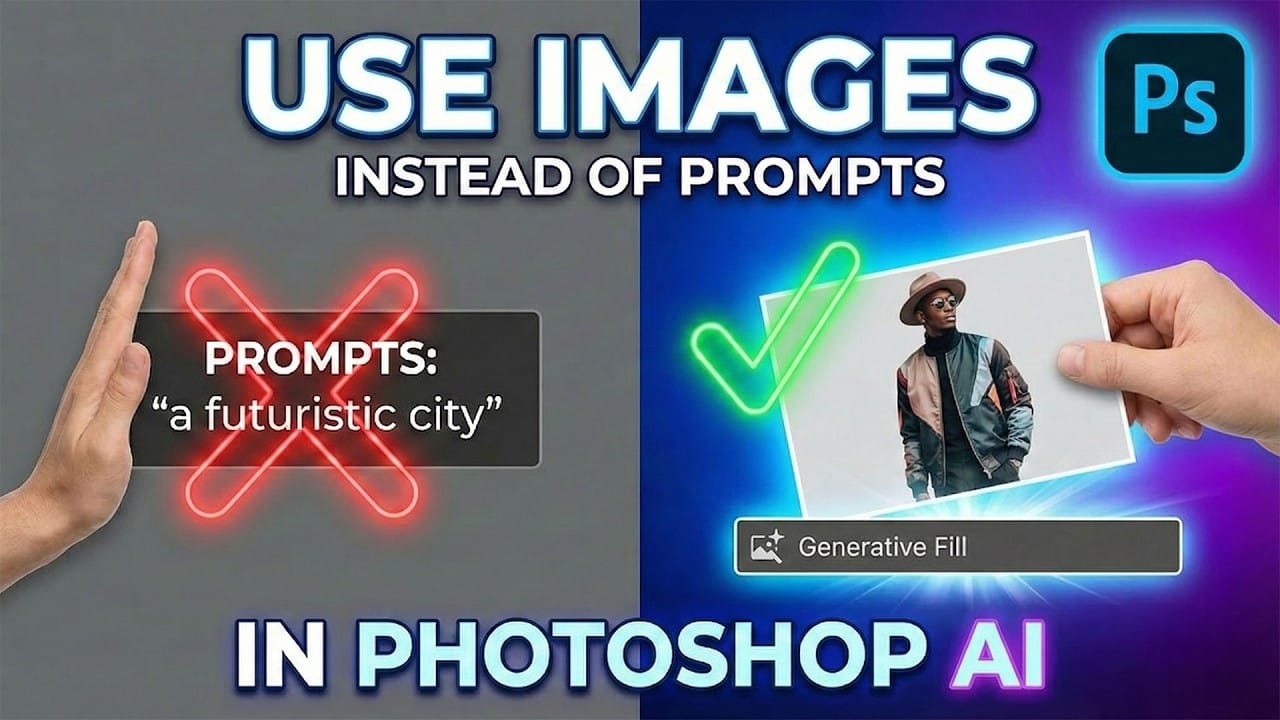
Reference images transform Generative Fill from a text-based tool into a precise visual command system. Instead of describing what you want, you show the AI exactly which object to create, leading to more accurate and predictable results.

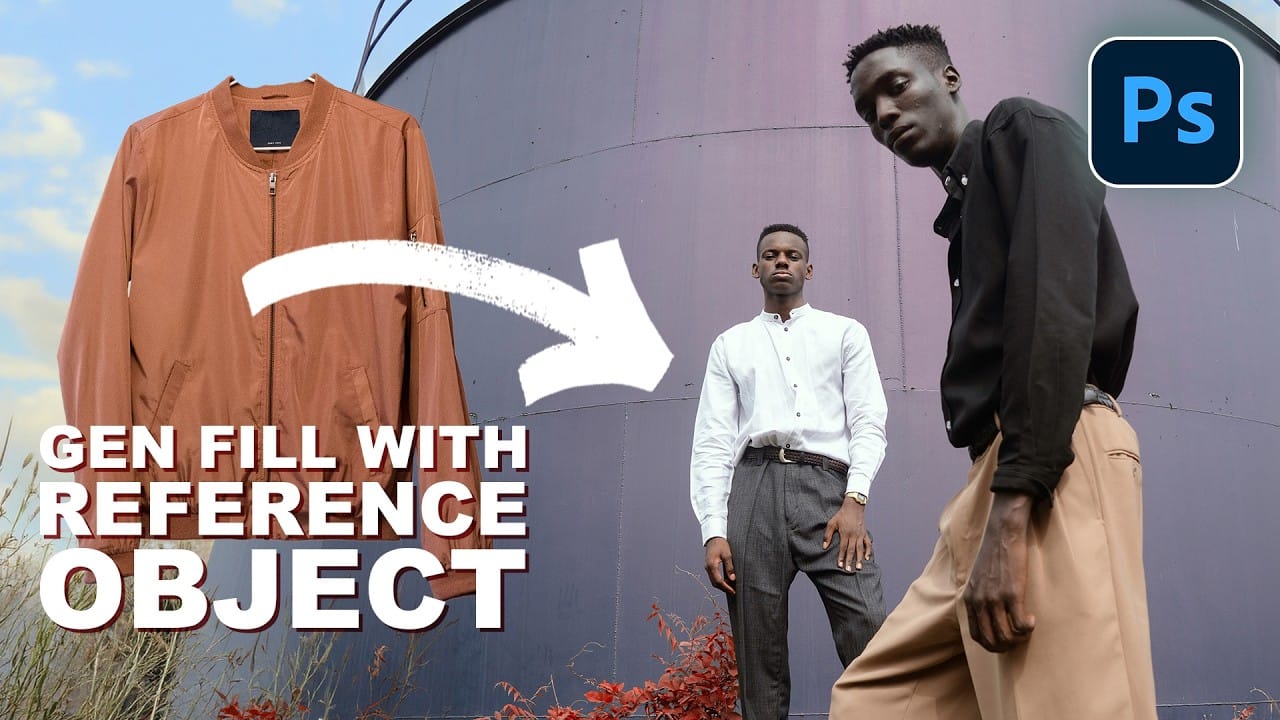
This technique works by combining traditional selection tools with the new reference image feature in Firefly Fill and Expand, allowing you to swap shoes, clothing, or any object while maintaining realistic lighting and perspective.

Watch the Video

Video by 2-Minute Design. Any links or downloads mentioned by the creator are available only on YouTube

Practical Tips

These key techniques will help you achieve better results when replacing objects with reference images:

  • Make your selection larger than the target object to give the AI adequate space for proper proportions and shadows
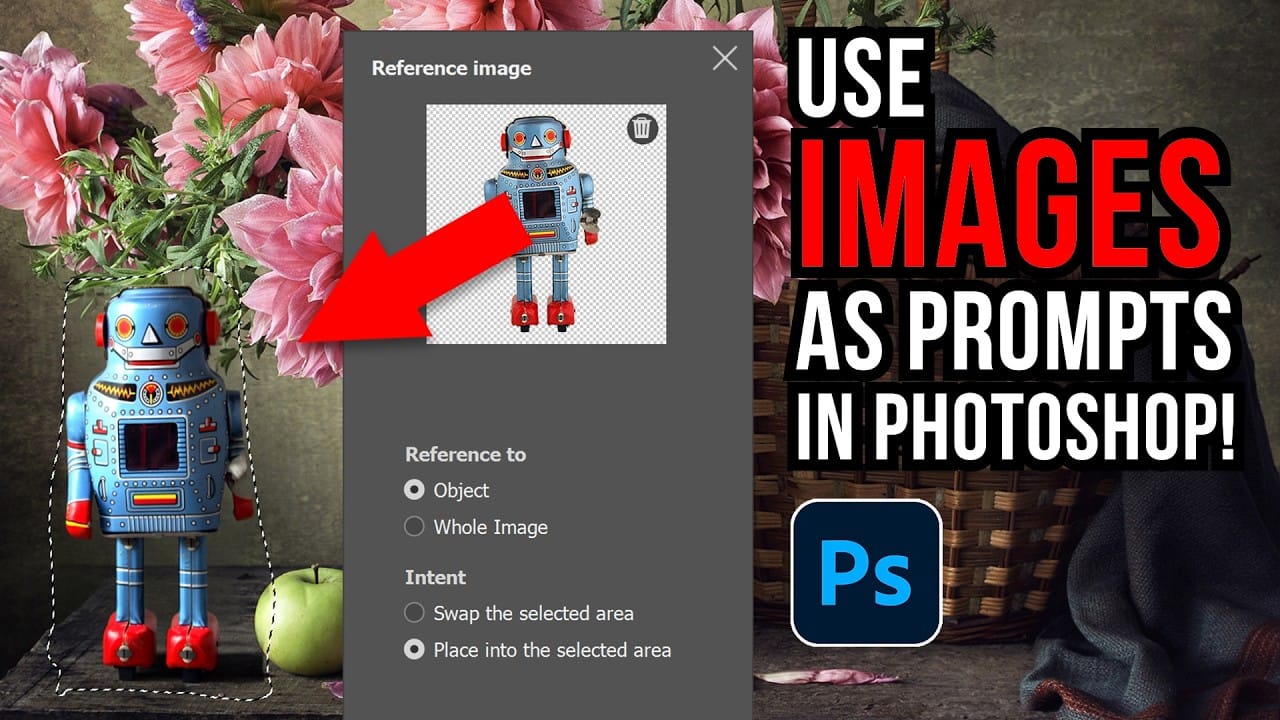
  • Use isolated reference images when possible, though the AI can automatically remove backgrounds if you select "object" mode
  • Choose "swap" when replacing existing objects or "place" when adding new items to empty areas
  • Generate multiple variations and use the enhance details feature for sharper, higher-resolution results
  • Monitor your generative credits usage, as both generation and enhancement consume credits

Explore these tutorials to master advanced object manipulation and AI-powered editing techniques.
How to Use Reference Images with Generative Fill in Photoshop 2026
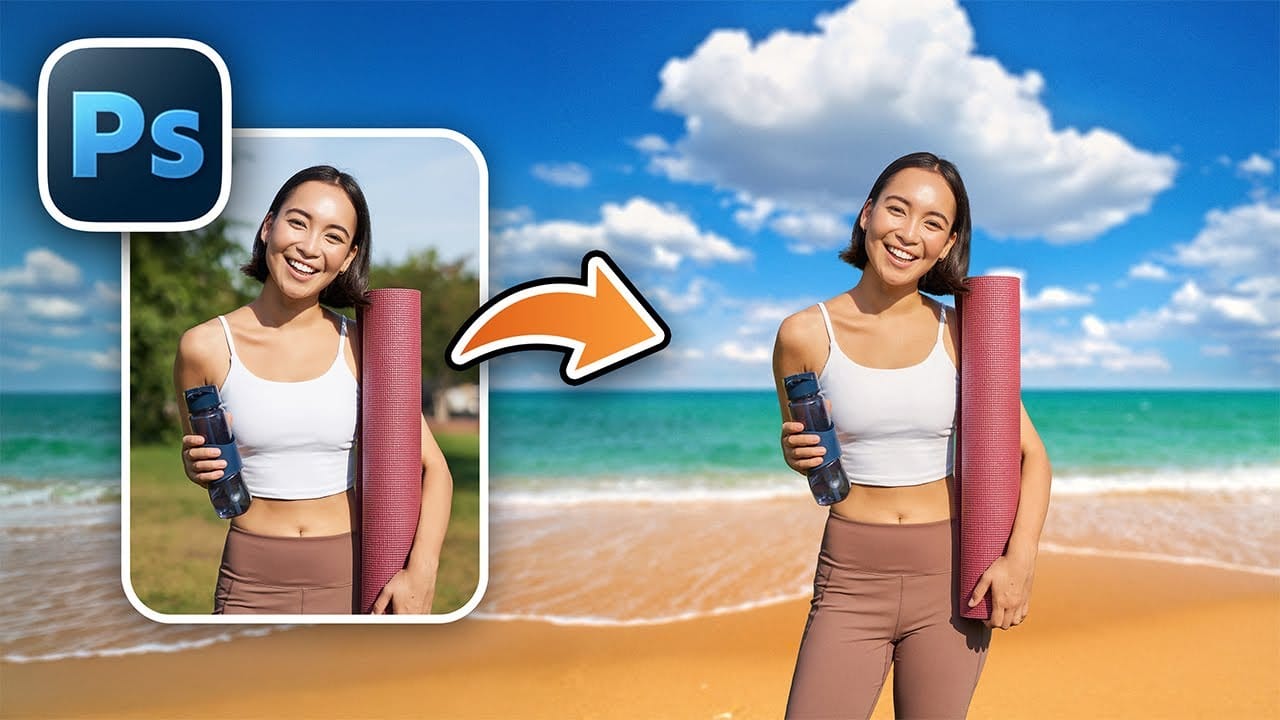
Photoshop 2026 introduces reference image support for Generative Fill, letting you show AI exactly what object you want instead of describing it with text. This feature transforms how you swap clothing, add accessories, or replace objects by using actual photographs as your guide. The tool intelligently adapts your reference objects to match the lighting, perspective, and style of your target image while maintaining realistic proportions and shadows. Watch the Video Practical Tips These te
How to Use Reference Images with Generative Fill in Photoshop
Generative Fill transforms when you replace text prompts with actual images. Instead of describing what you want, you show the AI exactly what to create using reference photos. This feature works for adding objects like toys and electronics, or swapping clothing items with precise visual control. The AI automatically matches lighting, shadows, and perspective to blend seamlessly with your original photo. Watch the Video Practical Tips Here are key techniques to get the best results with re
How to Use Reference Images with Generative Fill in Photoshop
Reference images revolutionize how Generative Fill works, letting you guide AI with actual photos instead of text prompts. This feature enables precise clothing swaps, object replacements, and realistic additions by showing the AI exactly what you want rather than describing it. The technique works with everything from custom t-shirts and branded merchandise to complex items like leather jackets, automatically handling wrapping, shadows, and perspective to create convincing results. Watch the
How to Replace Any Sky in Photoshop Using Selection Tools and Color Adjustments
A dull, overexposed sky can drain the life from an otherwise compelling photograph. Sky replacement transforms flat images into dramatic scenes that capture attention and convey mood. This tutorial demonstrates the complete process of replacing skies in Photoshop using built-in selection tools, smart objects, and color matching techniques for natural-looking results. Watch the Video Essential Tips for Sky Replacement * Match the sun position between your original photo and replacement sky
How to Change Backgrounds and Match Lighting in Photoshop
Creating seamless background replacements requires more than just cutting out your subject. The real challenge lies in making the new composition look natural through proper lighting, color matching, and depth of field consistency. Modern Photoshop tools have simplified this process significantly, allowing you to achieve professional results with automated background removal and smart masking techniques that handle even complex details like hair. Watch the Video Practical Tips These essent
How to Add Objects to Photos Using Photoshop's Generative Fill
Photoshop's Generative Fill transforms photo editing by letting you add realistic objects using simple text descriptions. This AI-powered feature creates seamless additions that match your image's lighting, perspective, and style. The process requires just a basic selection and a descriptive prompt to generate professional-looking results in seconds. Watch the Tutorial Essential Tips for Generative Fill Success * Make your selection slightly larger than the object you want to generate — t
How to Change Object Colors in Photoshop Using Hue/Saturation
Changing the color of specific objects in your photos requires precision and the right technique. The key is creating an accurate selection and using a targeted adjustment layer that affects only your chosen subject while preserving the rest of the image. This method combines the Object Selection tool with Hue/Saturation adjustment layers to achieve professional color changes. The technique works by isolating your subject with a layer mask, then using targeted color adjustments to transform hue
How to Swap a Person Out in Photoshop
Wedding photographers and portrait artists frequently encounter clients who love a group photo but want to replace one person who didn't look their best. This common request becomes simple when you understand the right techniques for seamlessly swapping people between similar images. The process involves careful selection, positioning, and blending to create a natural-looking result that appears as if it was captured in a single shot. Watch the Video Practical Tips These essential techniqu
Understanding the basics of Photoshop Smart Objects
Photoshop users often face the challenge of maintaining image quality when resizing or making multiple adjustments, which can lead to frustrating pixelation and loss of detail. This technical hurdle can significantly impact the final output, especially in professional design and photo compositing. This video tutorial demonstrates how Smart Objects in Photoshop provide a powerful solution to these common editing issues. Viewers will learn how to preserve image quality through unlimited transform
How to Add Realistic 3D Objects in Photoshop
Adding 3D objects to photos often results in fake-looking composites that scream "digital manipulation." The biggest challenge isn't importing the 3D model—it's making the lighting, shadows, and perspective match seamlessly with your background image. This tutorial demonstrates how to use Photoshop Beta and Substance 3D Beta to create convincing 3D composites. You'll learn essential techniques for matching lighting direction, positioning objects accurately, and applying realistic shadows that i

Get tutorials & freebies delivered to you.

Subscribe to the Photoshop Roadmap newsletter, a weekly roundup of new tutorials, insights and quality downloads, trusted by 6500+ readers.

You might also like

How to Remove Skin Blemishes and Fix Skin Tones in Camera Raw

Two recent additions to Camera Raw make skin retouching significantly faster: an automatic blemish removal tool with separate controls for moles and freckles, and a vectorscope-based skin tone indicator for correcting off-color skin. Both features work non-destructively inside a smart object workflow, so no pixel data is...

Portrait Retouching in Photoshop: Smooth Skin While Keeping Natural Texture

Smooth skin and natural texture are not opposites — achieving both at once is the mark of a professional retouch. This workflow covers blemish removal, flyaway hair cleanup, dark under-eye correction, and eye brightening, all while keeping the skin looking like skin. Watch the Video Practical Tips These key points...

How to Use Camera Raw's Blemish Removal Tool in Photoshop

Camera Raw 18.5 introduced an automatic blemish removal tool that does something previous solutions rarely managed: it removes skin imperfections while preserving the underlying skin texture. It also distinguishes between temporary marks and permanent ones like moles, giving you separate controls for each. Watch the Video Practical Tips These...

Portrait Slice Effect in Photoshop Using Step and Repeat

The portrait slice effect splits a single image into offset vertical bars, creating the illusion of a displaced or fragmented face. The entire technique relies on layer masks and a lesser-known Photoshop shortcut called step and repeat — no filters, no AI, no destructive edits required. Watch the Video Practical...

How to Remove Blemishes in Photoshop: Camera Raw vs. Generative AI

Photoshop now offers two distinct approaches to removing skin blemishes automatically. The Camera Raw Filter includes a dedicated Blemishes option that analyzes and cleans skin with a single checkbox, while Generative AI fills a face selection with clean, texture-consistent results using a simple text prompt. Each method has clear...

Common Photoshop Compositing Mistakes and How to Fix Them

Most compositing errors come down to a handful of repeatable problems: mismatched lighting direction, inconsistent white points, misaligned perspective, and atmosphere applied in the wrong layer order. Catching these issues early — ideally before you shoot — saves significant time in post. Watch the Video Practical Tips These corrections apply to nearly...

You’ve successfully subscribed to Photoshop Roadmap
Welcome back! You’ve successfully signed in.
Great! You’ve successfully signed up.
Success! Your email is updated.
Your link has expired
Success! Check your email for magic link to sign-in.