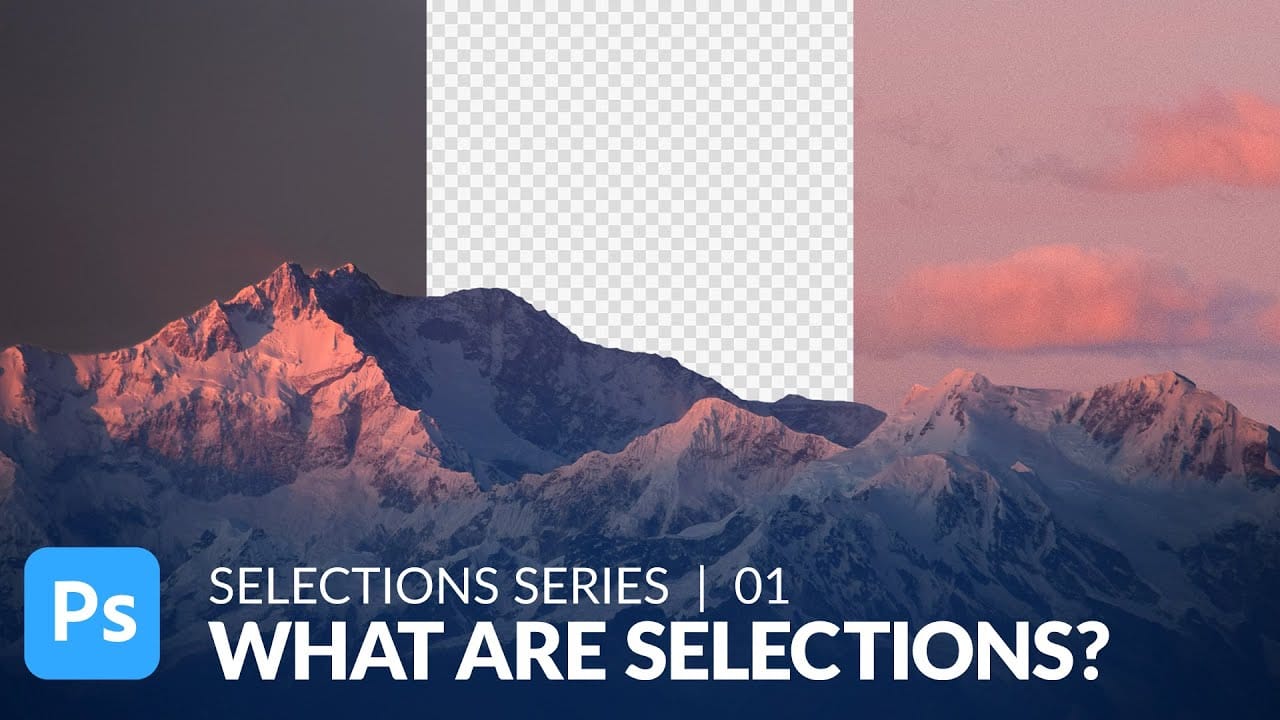
A dull, overexposed sky can drain the life from an otherwise compelling photograph. Sky replacement transforms flat images into dramatic scenes that capture attention and convey mood.
This tutorial demonstrates the complete process of replacing skies in Photoshop using built-in selection tools, smart objects, and color matching techniques for natural-looking results.
Watch the Video
Video by PHLEARN. Any links or downloads mentioned by the creator are available only on YouTube
Essential Tips for Sky Replacement
- Match the sun position between your original photo and replacement sky image to maintain realistic lighting direction
- Use Photoshop's Select > Sky feature to automatically create precise sky selections, then apply this as a layer mask to your sky group
- Convert your sky layer to a Smart Object for non-destructive editing that allows adjustments at any time
- Apply Levels adjustments to brighten the replacement sky to match the original exposure levels
- Use Color Balance adjustments to match the sky's color temperature with the lighting visible in your subjects
- Add a gradient layer mask to the sky layer to create a natural fade between the original and replacement sky
Related Articles and Tutorials about Sky Replacement
Explore more techniques for transforming skies and atmospheric elements in your photos.
How To Easily Change The Sky In Photoshop
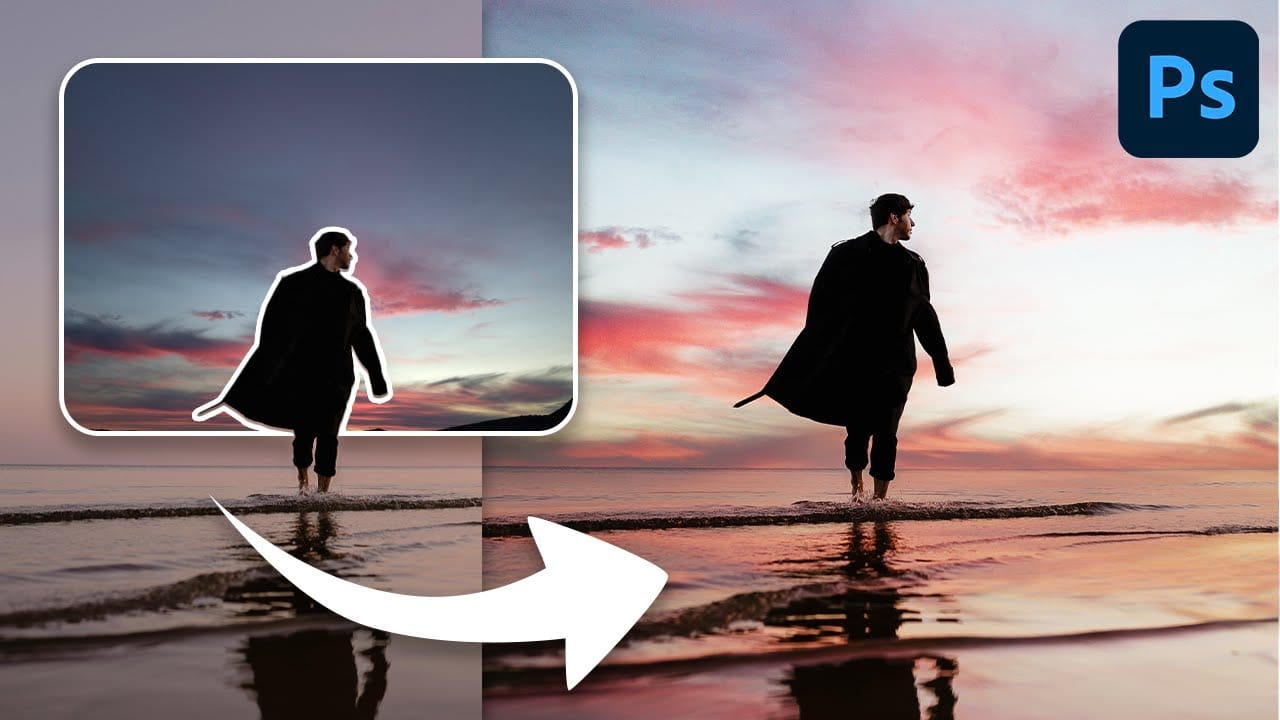
Transforming the mood and visual impact of a photograph often begins with its sky. A drab or overexposed sky can diminish the overall appeal of an otherwise great image, leaving it feeling flat or uninspired. Replacing the sky can dramatically enhance the scene, introducing vibrant colors, dramatic clouds, or a serene atmosphere.
This tutorial provides a straightforward method for updating skies in Photoshop, allowing creators to effortlessly blend new atmospheric elements into their photos. It
Starry Night Sky Effect in Photoshop – Photoshop Roadmap
This tutorial demonstrates how precise selection techniques are crucial for isolating elements like trees and landscapes. It ensures that the subsequent addition of detailed celestial phenomena, such as stars and aurora borealis, seamlessly integrates with the original image. The process goes beyond simple overlays, showcasing how to invert layer masks
 Blue Lightning TV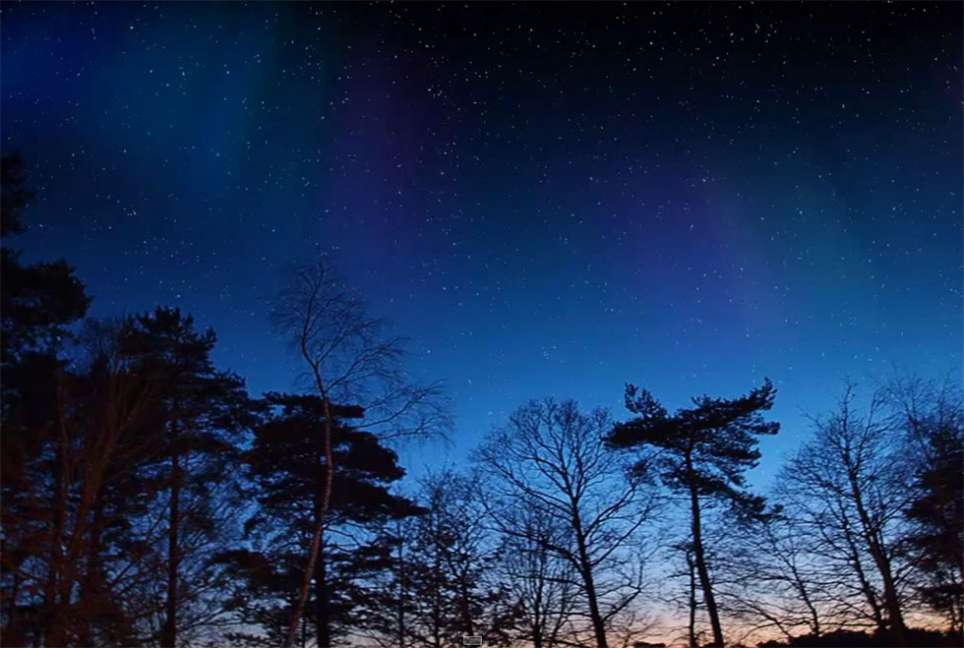
Add clouds to a sky in Photoshop
Transforming a photo's atmosphere often starts with its sky. A dull, overexposed, or uninteresting sky can detract from an otherwise great image, leaving it feeling flat or uninspired. Enhancing or replacing the sky can dramatically improve the scene, introducing vibrant colors, dramatic clouds, or a serene backdrop.
This tutorial provides a straightforward method for updating skies in Photoshop, allowing creators to effortlessly blend new atmospheric elements into their photos. It covers every

Learn how to replace the sky in a landscape photo
Photography often presents challenges with lighting conditions, especially when a bright sky overexposes and loses detail. Replacing a sky can dramatically transform the mood and visual impact of an image, turning a washed-out scene into a captivating landscape.
This video tutorial demonstrates a comprehensive method for replacing a sky in Photoshop, guiding viewers through the process of selecting, refining, and integrating a new, vibrant blue sky complete with custom-rendered clouds.
Watch
Use Simple Selection Tools to Replace a Sky in Photoshop
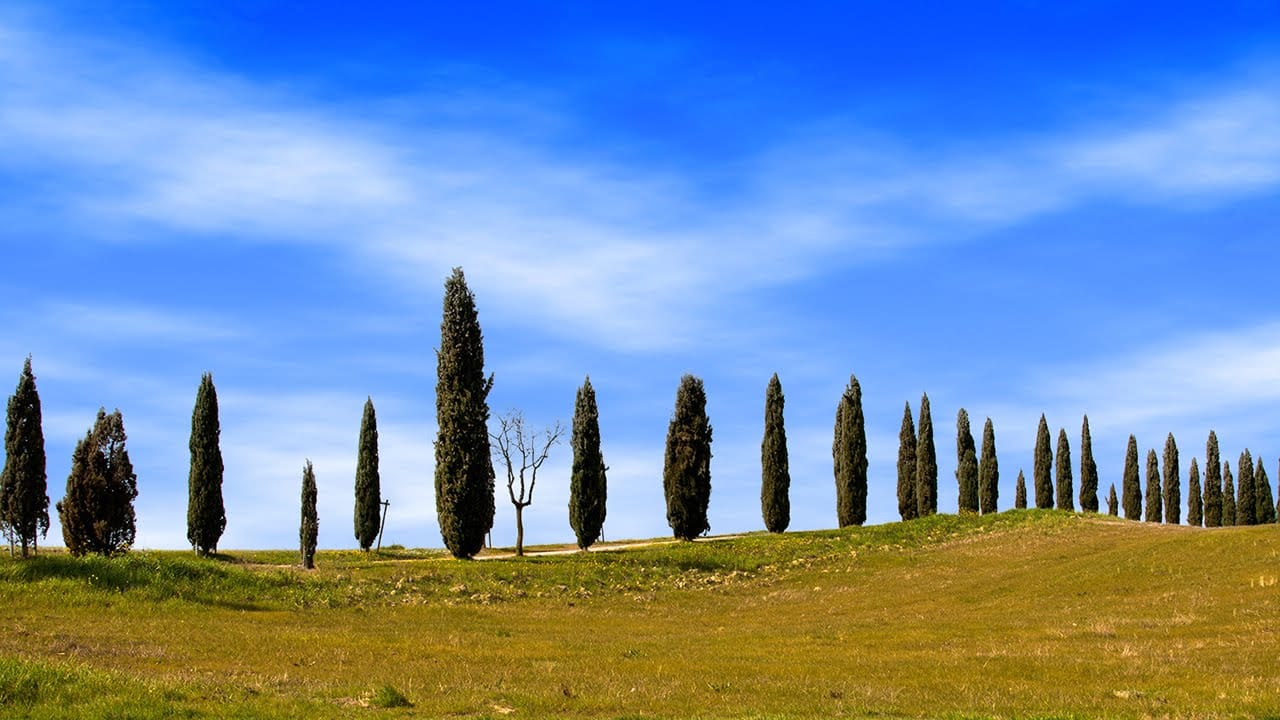
In this tutorial, Aaron Nace demonstrates how to effectively use basic selection tools in Photoshop to replace the sky in landscape photos. Selections are crucial for isolating specific areas in your image, and this tutorial breaks down their fundamental functions and applications.
Aaron guides you through the process of making precise selections to isolate the sky from the rest of the image. He then shows you how to seamlessly replace it with a new sky, enhancing the overall mood and impact of