Generative Fill transforms when you replace text prompts with actual images. Instead of describing what you want, you show the AI exactly what to create using reference photos.
This feature works for adding objects like toys and electronics, or swapping clothing items with precise visual control. The AI automatically matches lighting, shadows, and perspective to blend seamlessly with your original photo.
Watch the Video
Video by Photoshop Arthouse. Any links or downloads mentioned by the creator are available only on YouTube
Practical Tips
Here are key techniques to get the best results with reference images:
- Access the contextual taskbar by right-clicking on the canvas if it's not visible
- Make loose selections with the lasso tool for placing objects, tight selections for replacing items
- Choose "Firefly Fill and Expand" from the AI models list to access reference image options
- Use "place into selected area" for adding new objects, "swap selected area" for replacements
- Generate multiple variations by clicking the generate button repeatedly for more options
Related Articles and Tutorials
Explore these tutorials for more advanced editing techniques and creative workflows.
How to Use Reference Images with Generative Fill in Photoshop
Reference images revolutionize how Generative Fill works, letting you guide AI with actual photos instead of text prompts. This feature enables precise clothing swaps, object replacements, and realistic additions by showing the AI exactly what you want rather than describing it.
The technique works with everything from custom t-shirts and branded merchandise to complex items like leather jackets, automatically handling wrapping, shadows, and perspective to create convincing results.
Watch the
Create impressionist paintings from your photos in Photoshop
One intriguing technique in digital art involves leveraging a master's work as a direct reference for color and tone. This tutorial demonstrates how to use a Claude Monet painting to guide the color matching of your own photographs, achieving a cohesive impressionist style.
The process also emphasizes a non-destructive workflow by converting images to Smart Objects, allowing for flexible adjustments and easy photo replacement without redoing effects. Additionally, it highlights efficient conten
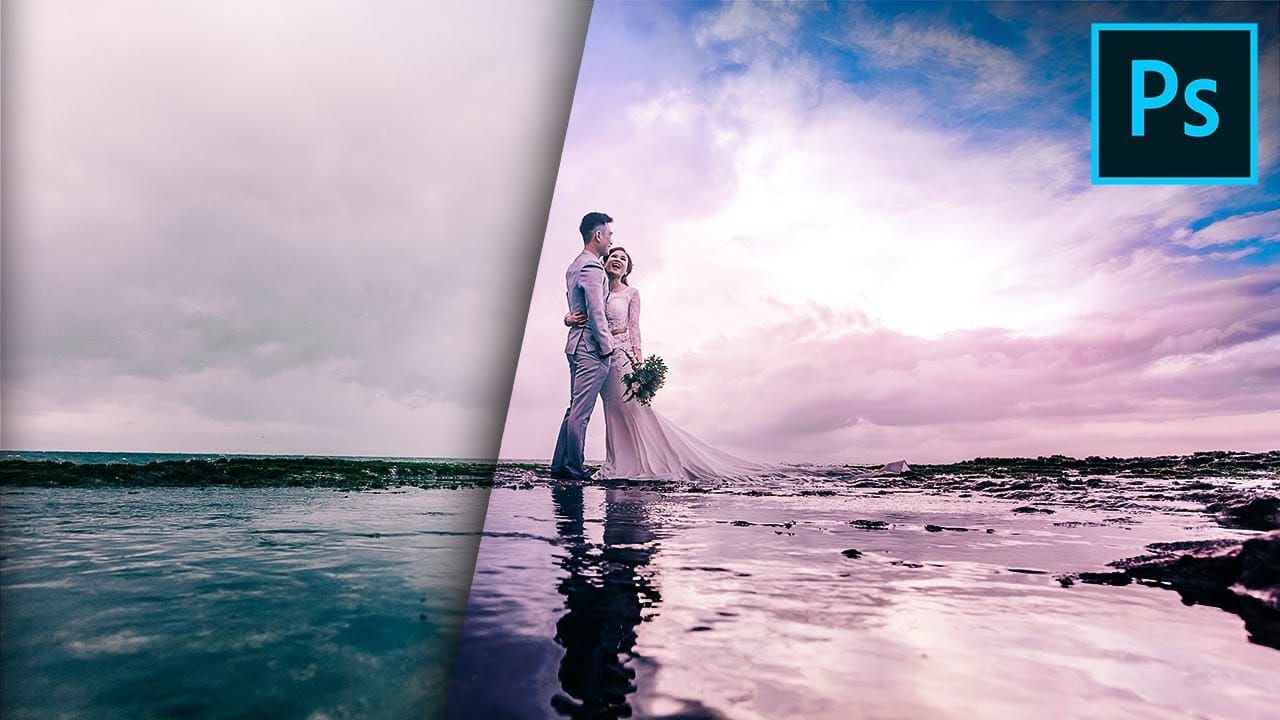
Add creative lights and colors to your image in Photoshop
You're about to learn how to transform your images with creative lights and colors in Photoshop. This tutorial will guide you through the process of adding vibrant hues and eye-catching effects to your photographs.
First, you'll explore the use of gradients and brushes to enhance your image. These tools will allow you to layer different colors and luminous accents, creating a visually striking result. With a few simple steps, you'll be able to turn your ordinary image into an impressive work of

How to copy color effect from other images in Photoshop
The PiXimperfect tutorial offers a simple yet effective technique to add a burst of vibrant color to your Photoshop projects. By leveraging blend modes and a touch of creativity, you can seamlessly incorporate color from one image into another, elevating your visual compositions.
The author guides viewers through the process step-by-step, making it accessible for both beginners and seasoned Photoshop users. With a keen eye for detail, the tutorial demonstrates how to carefully select and blend
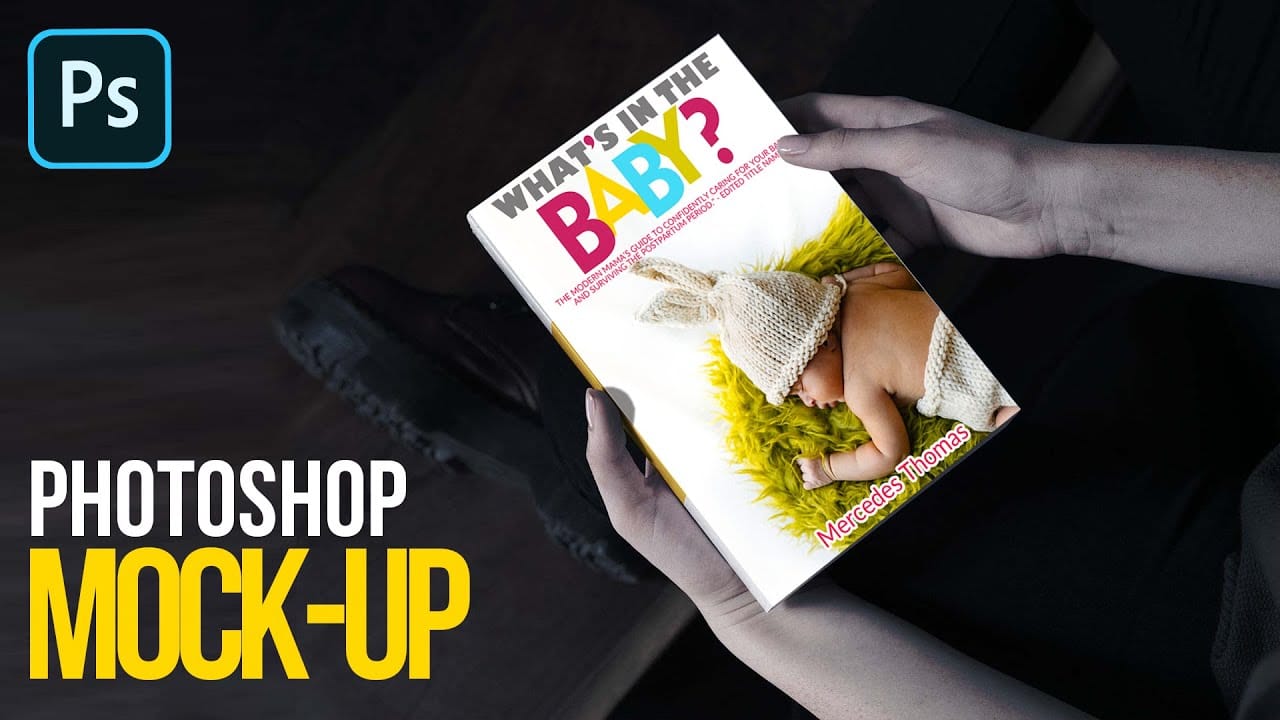
Easily create realistic mockups and templates in Photoshop
In this tutorial by Quistt, you'll discover how to craft realistic mockups and templates in Photoshop with ease. This comprehensive guide will walk you through the process of creating high-quality product showcases, whether you're designing for books, signs, t-shirts, or various other merchandise.
You'll learn to utilize Photoshop's powerful tools and features to produce mockups that look both professional and authentic. The tutorial covers techniques for adding realistic details and ensuring y
How to Add Objects to Photos Using Photoshop's Generative Fill
Photoshop's Generative Fill transforms photo editing by letting you add realistic objects using simple text descriptions. This AI-powered feature creates seamless additions that match your image's lighting, perspective, and style.
The process requires just a basic selection and a descriptive prompt to generate professional-looking results in seconds.
Watch the Tutorial
Essential Tips for Generative Fill Success
* Make your selection slightly larger than the object you want to generate — t
Inserting Multiple Images Inside Text In Photoshop
Placing multiple images inside text in Adobe Photoshop is a popular design technique that can add visual interest and depth to your designs. This technique involves inserting images into letters or words to create an eye-catching and unique design.
The Clipping Mask feature in Photoshop is used to achieve this effect. Clipping masks allow you to use one layer to define the shape of another layer, making it ideal for inserting images into text. With this technique, the possibilities are endless