How to Use Inverted Masks in Photoshop to Add Color Depth and Texture

How to Use Inverted Masks in Photoshop to Add Color Depth and Texture

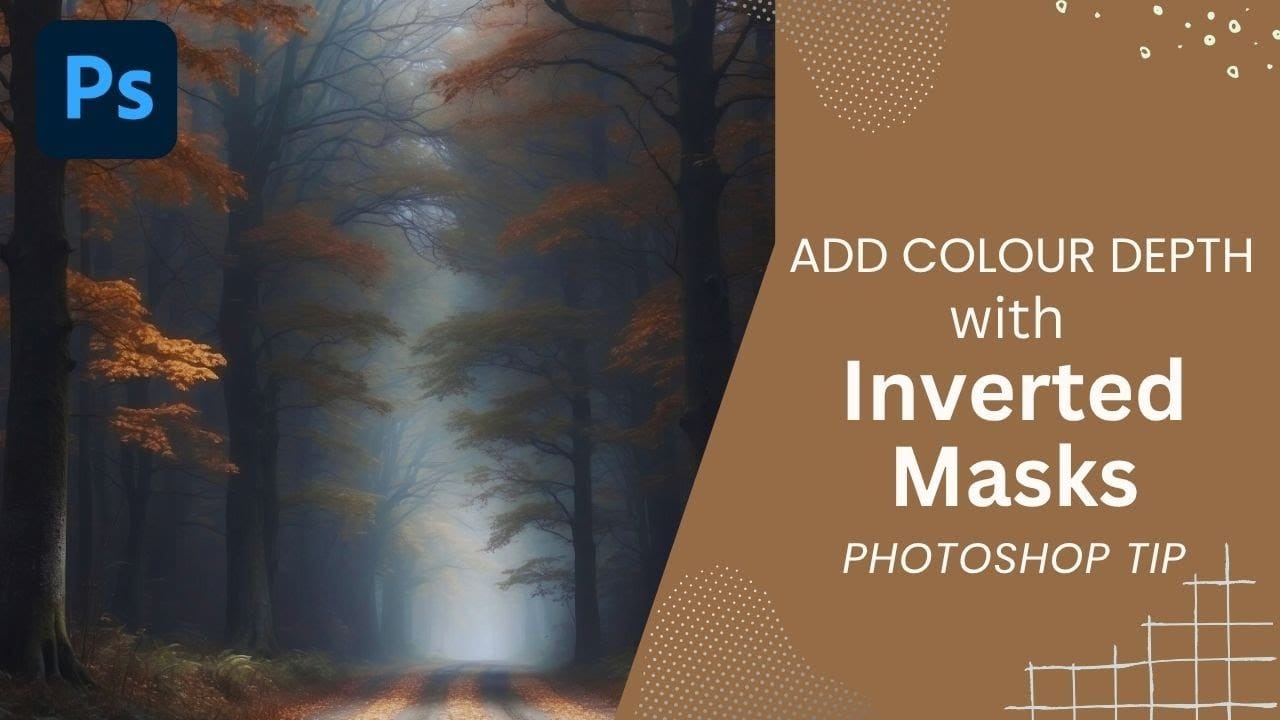
Forest photography often lacks the color depth and texture detail that makes images truly captivating. Flat foliage and monotone tree trunks can leave your landscape photos feeling lifeless, no matter how carefully composed.

Inverted mask offer a precise solution for selectively enhancing specific areas of your images. This technique allows you to brush in texture overlays and targeted color fills exactly where they're needed most, creating dimensional depth that transforms ordinary forest scenes into compelling visual stories.

Watch the Video Tutorial

Video by SandraD Imagery. Any links or downloads mentioned by the creator are available only on YouTube

Understanding Inverted Mask Workflows

Inverted masks reverse the traditional masking approach by starting with complete opacity and revealing effects through white brush strokes. This method provides exceptional control when adding localized enhancements to landscape photography.

The workflow centers on creating solid color fills and texture overlays that remain completely hidden until strategically brushed into view. This approach prevents heavy-handed editing while maintaining the natural character of the original image.

Key Concepts for Successful Inverted Masking:

  • Black mask foundation – Complete concealment allows precise control
  • White brush revelation – Gradual opacity builds create natural transitions
  • Selective area targeting – Focus enhancements where they provide maximum impact
  • Layer opacity refinement – Final adjustments balance overall effect intensity
  • Color temperature matching – Harmonious additions complement existing tones

Practical Tips for Inverted Masking

  • Start with low brush opacity (8–17%) to build effects gradually and avoid harsh transitions.
  • Use the Ctrl+I shortcut to quickly invert white masks to black after creating adjustment layers.
  • Apply black brush strokes to remove unwanted areas after painting with white.
  • Select specific areas first with selection tools for cleaner, more controlled brush application.
  • Adjust final layer opacity to fine-tune the overall strength of your color and texture enhancements.

More Tutorials About Photoshop Masking Techniques

Explore additional masking workflows and creative applications.
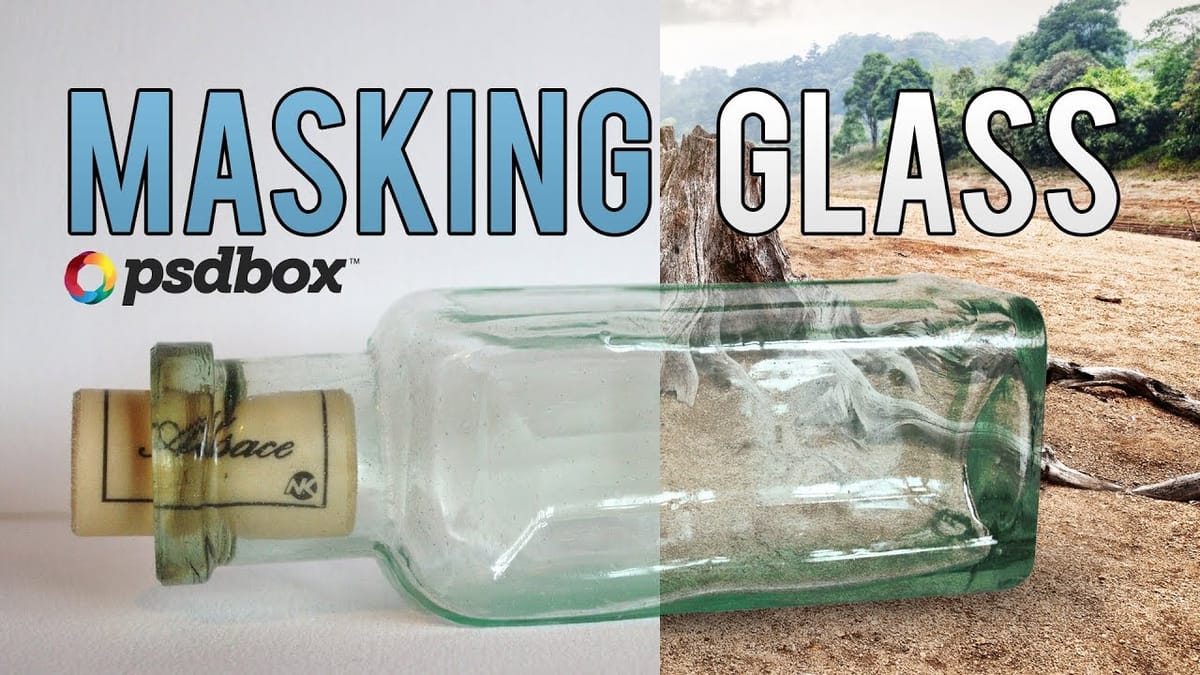
Masking Glass and Transparent Objects – Photoshop Roadmap
In this Photoshop tutorial by PSD Box, you’ll master the art of masking glass using a straightforward selection method. The focus is on preserving the natural reflections and highlights present on the glass object, ensuring a realistic and seamless integration into new backgrounds or compositions. This technique is crucial for
Photoshop auto masks, new feature no one is talking about
Making precise selections in Photoshop has historically been one of the most time-consuming and challenging aspects of image editing. From intricate hair strands to complex tree foliage, achieving a clean mask often required significant manual effort and advanced techniques. However, recent advancements in artificial intelligence are rapidly transforming this fundamental
Transform Your Photos with These Photoshop Masks
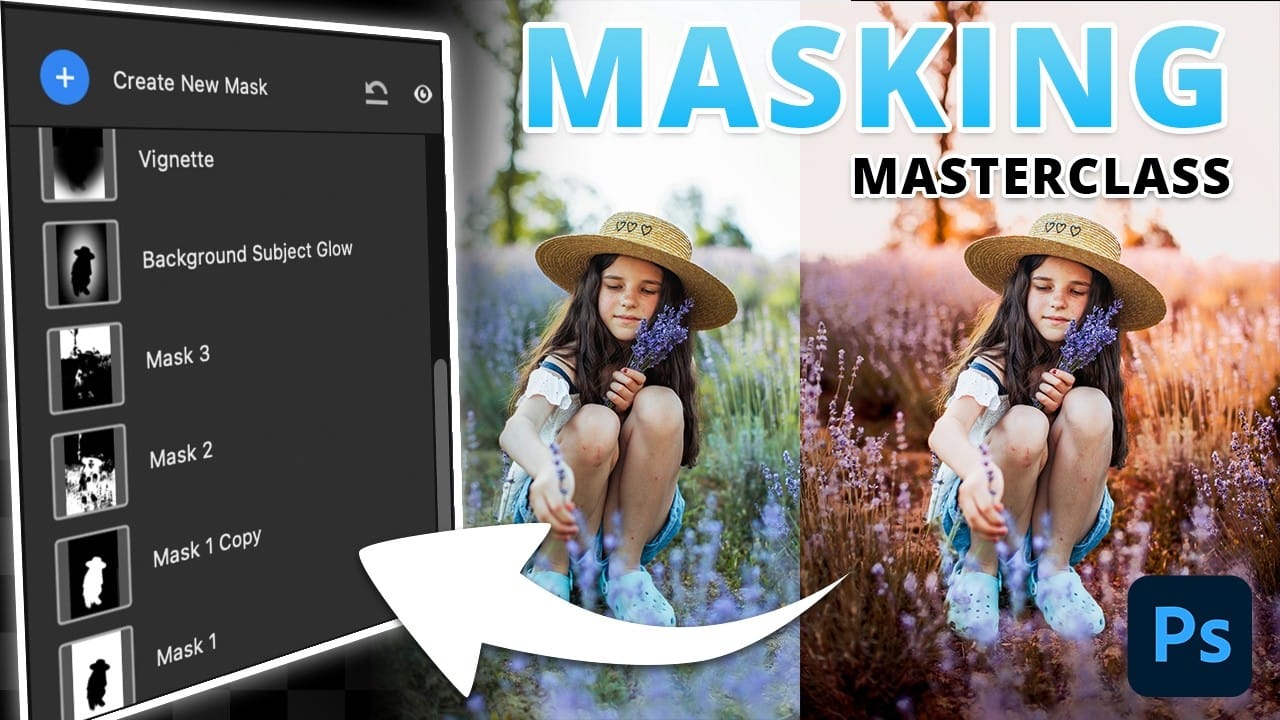
Masking in Photoshop is a powerful technique to isolate and enhance different parts of an image. However, many users find it complicated and time-consuming, often sticking to basic masks or selections that limit creative control. This can make photo editing feel frustrating and slow, especially when trying to achieve subtle but impactful adjustments. This tutorial introduces a structured masking workflow within Camera Raw that simplifies the process while giving you precise control over highlig
How to Create and Use Layer Masks in Photoshop
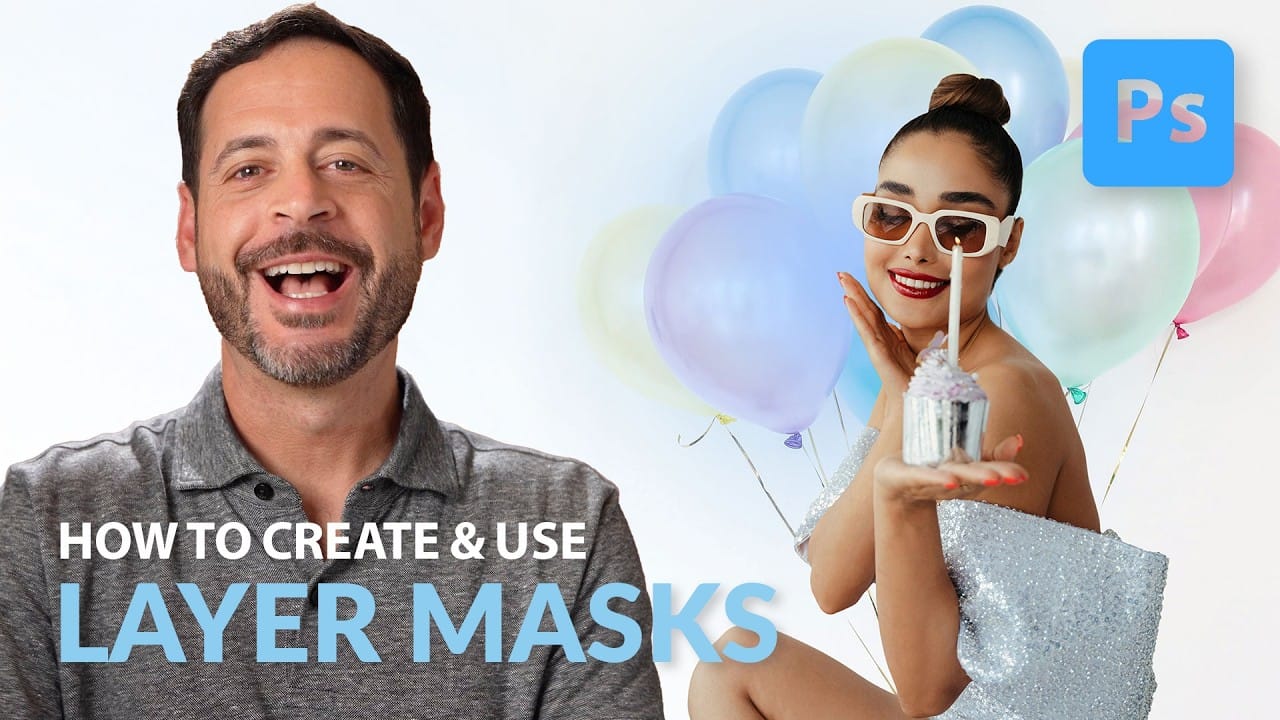
Layer masks represent one of Photoshop's most powerful non-destructive editing tools, providing photographers and designers with precise control over image visibility. Unlike permanently deleting parts of an image, layer masks allow for reversible adjustments that can be refined throughout the creative process. In this comprehensive tutorial, you'll explore everything from fundamental layer mask concepts to advanced techniques like mask copying, unlinking, and group masking. Learn how to use th

Get tutorials & freebies delivered to you.

Subscribe to the Photoshop Roadmap newsletter, a weekly roundup of new tutorials, insights and quality downloads, trusted by 6500+ readers.

You might also like

Basic Photoshop techniques you really need to learn

Photoshop hasn’t changed as much as it looks. New features come and go, but the same core techniques keep showing up in real work. If you skip them, everything feels harder than it should. This post focuses on those basics, not as isolated tricks, but as skills you’ll...

How to Use Select Subject for Background Removal and Edge Refinement

Background removal becomes effortless when you know how to use the right tools. AI-powered selection can instantly isolate subjects from their backgrounds, but the real skill lies in refining those selections to create professional results. This guide covers the complete workflow from initial selection to edge refinement, plus creative techniques...

How to Wrap Text Around Any Shape in Photoshop

Creating text that flows naturally around irregular shapes transforms static layouts into dynamic, professional designs. This technique works particularly well for posters, magazine layouts, and editorial designs where text needs to integrate seamlessly with complex subjects rather than simply sitting in rigid rectangular boxes. The process combines selection tools, path...

How to Edit Text in Images Using Generative Fill

Changing text within existing images has traditionally required complex masking and reconstruction techniques. Modern AI-powered tools now make it possible to seamlessly replace words and phrases in photographs while maintaining realistic typography, lighting, and perspective that matches the original scene. This technique works particularly well for signs, storefronts, billboards, and...

How to Remove Dust and Sensor Spots Using Photoshop Tools

Dust spots and sensor particles are inevitable challenges in digital photography, appearing as dark specks that distract from otherwise clean images. Camera sensors collect dust over time, creating consistent spots that show up across multiple photos, particularly in bright sky areas or uniform backgrounds. Both Lightroom and Photoshop offer specialized...

Photoshop vs Affinity Photo: Feature Comparison and Professional Analysis

When choosing professional photo editing software, the decision often comes down to comparing features, performance, and value. This detailed comparison examines the core capabilities of both applications across noise reduction, smart selections, object removal, masking, and AI-powered tools. The analysis covers real-world scenarios that professionals encounter daily, from complex background...

You’ve successfully subscribed to Photoshop Roadmap
Welcome back! You’ve successfully signed in.
Great! You’ve successfully signed up.
Success! Your email is updated.
Your link has expired
Success! Check your email for magic link to sign-in.