Creating Photoshop composites becomes much smoother when you have pre-cut elements ready to use. Building a collection of inspiring images and cutting them out ahead of time eliminates the tedious prep work.
This approach lets you jump straight into the creative process when inspiration strikes, rather than stopping to hunt for and extract new elements.
Watch the Video
Video by SandiraD Imagery. Any links or downloads mentioned by the creator are available only on YouTube
Practical Tips for Building Your Element Library
- Cut out elements during creative downtime to build a ready-to-use collection
- Look for subjects in specific poses, like seated figures, that work naturally in multiple scenes
- Save architectural elements from backgrounds even if you plan to use the full image later
- Extract objects like boats, vehicles, or furniture that can enhance future compositions
- Focus on elements that inspire you visually, regardless of their original context
Related Articles and Tutorials about Photoshop Composites
Explore these additional resources to improve your composite workflow and techniques.
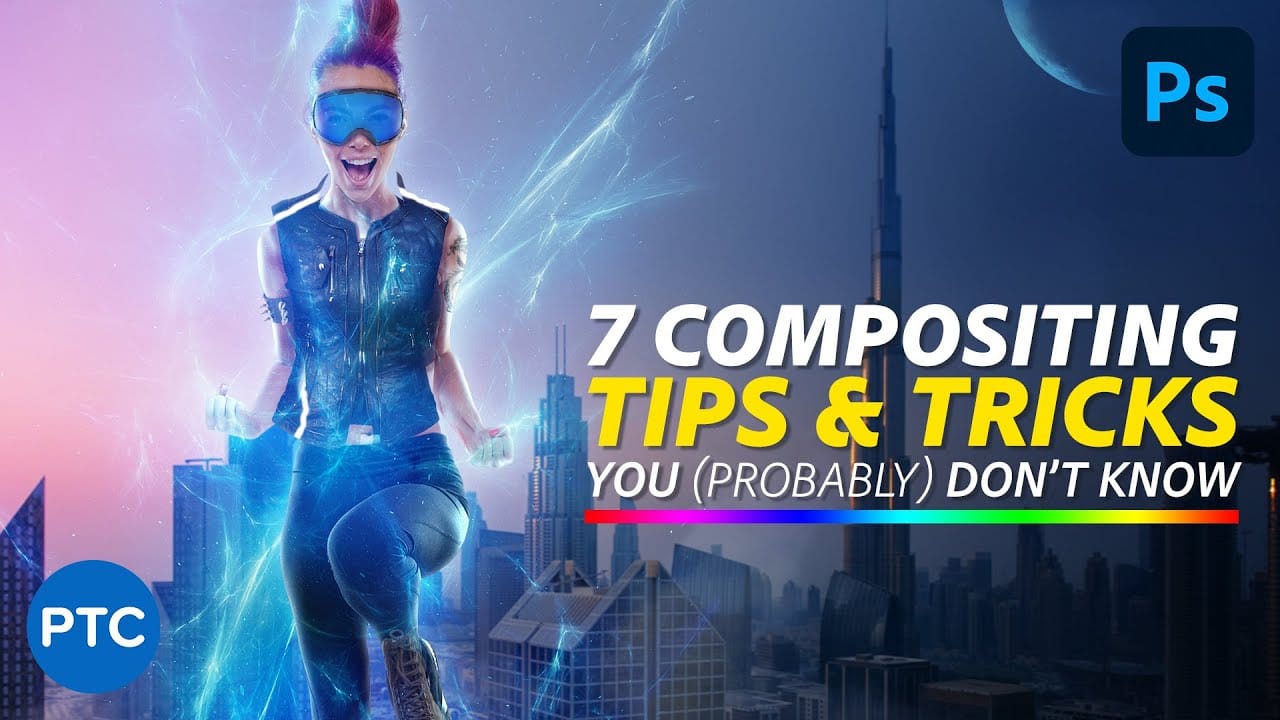
7 easy Photoshop tips to make your composites more realistic
In this tutorial, Jesus Ramirez shares seven essential Photoshop tips and tricks to help you create more realistic composites. If you're struggling to make your composites look convincing, this video is a must-watch.
Jesus covers a range of techniques designed to enhance the realism of your composite images. These tips include how to match lighting and shadows, blend edges seamlessly, and use adjustment layers effectively. You'll also learn about color matching and the importance of perspective
Learn Photoshop by Combining Tools and Techniques
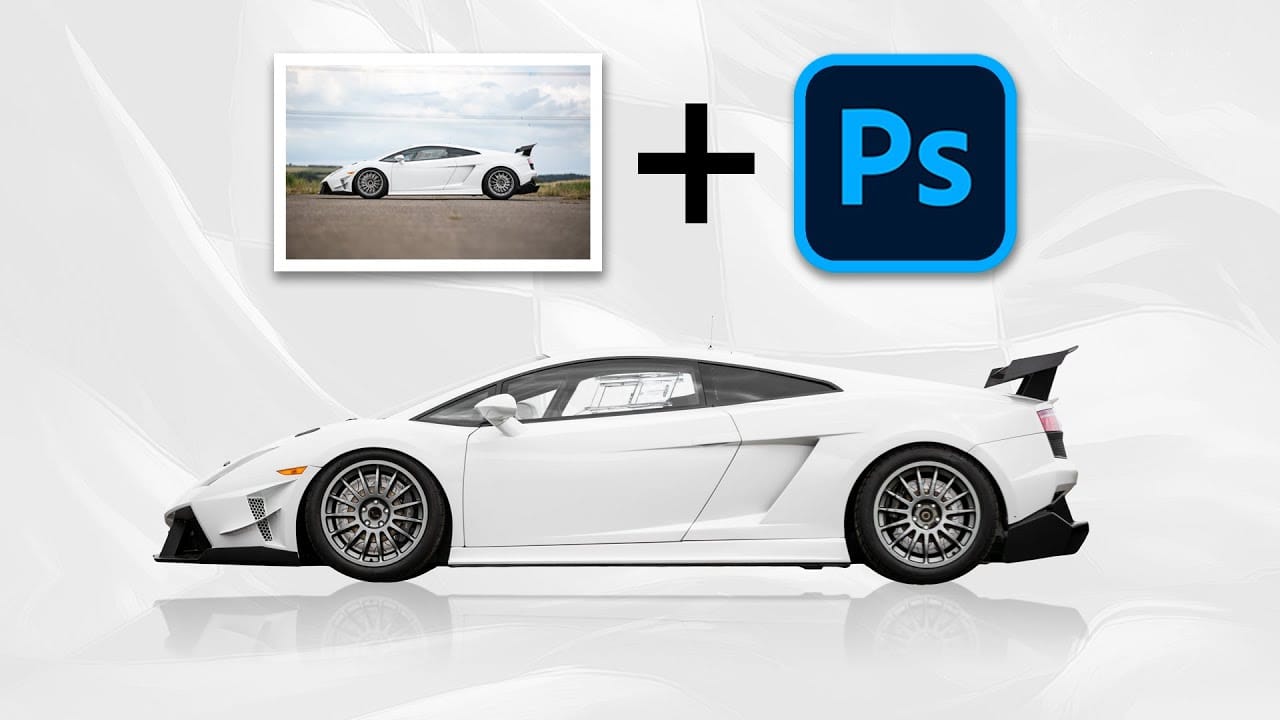
Achieving truly impressive image manipulations in Photoshop goes beyond mastering individual tools; it requires skillfully combining them. Many users learn techniques in isolation, but the real power of Photoshop emerges when these diverse methods are blended to create a cohesive final result.
This tutorial demonstrates how to transform an ordinary photo into a dynamic composite. It guides you through integrating various tools and techniques, showing how to approach complex edits by layering di
How to combine and blend photos in Photoshop
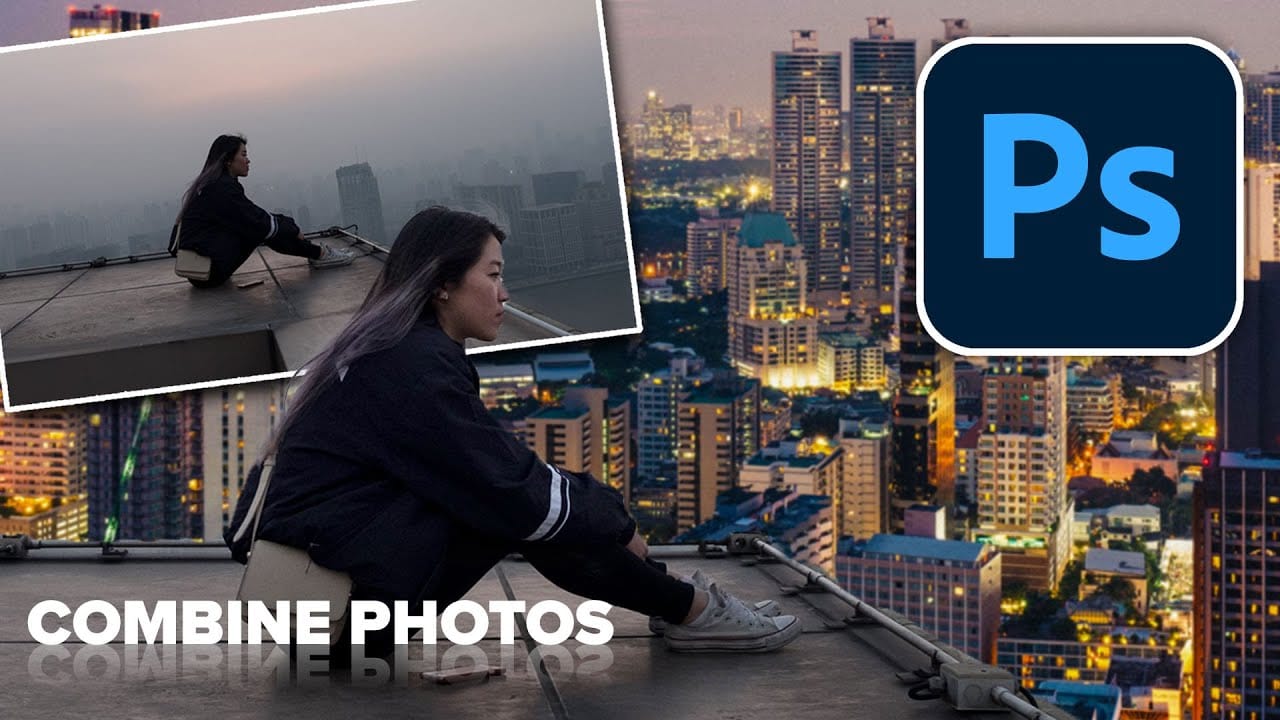
Creating captivating photo composites involves seamlessly bringing different elements together. Mastering the art of combining and blending images allows you to expand your creative possibilities, whether you are crafting surreal landscapes or integrating subjects into new environments.
This guide provides a foundational understanding of how to merge multiple photos into a single canvas and then blend them naturally within Photoshop. You will explore various techniques for combining images and
Match lighting for composites with this secret tool
In this informative tutorial, Aaron Nace from Phlearn shares a valuable technique for creating realistic composites. The key to achieving a seamless blend between two images lies in matching the light between them. Nace introduces a hidden tool within Photoshop that can help accomplish this task with impressive results. By utilizing a Threshold Adjustment Layer in conjunction with a Levels Adjustment Layer, users can effectively place a person into a new environment, making the composite appear