Create a Bone-Chilling, Horror Movie Poster in Photoshop

Create a Bone-Chilling, Horror Movie Poster in Photoshop

This video tutorial guides you through the process of designing a compelling horror movie poster in Photoshop. It demonstrates how to combine various elements to achieve a chilling visual narrative.

Viewers will learn practical techniques for image manipulation, including creating realistic textures, applying dramatic lighting, and integrating custom typography, all essential for crafting effective cinematic artwork.

Watch the Tutorial

Video by Blue Lightning. Any links or downloads mentioned by the creator are available only on YouTube

Visual Storytelling in Horror Posters

Horror movie posters serve as the initial visual hook, immediately communicating the film's genre and mood to potential audiences. Beyond simply displaying frightening imagery, these designs strategically employ visual motifs to evoke a sense of dread and anticipation.

Effective horror poster design often leverages specific elements to achieve its impact. These can include:

  • Disturbing central figures, such as skulls or monstrous entities.
  • Textural overlays, like concrete or blood, to add grit and realism.
  • Dramatic lighting and shadows to enhance atmosphere.
  • Unique typography that reflects the film's tone.

The sophisticated integration of these components, often through techniques like displacement mapping for realistic texture application, transforms simple images into cohesive, bone-chilling narratives that draw viewers into the film's world.

Practical Tips for Horror Poster Creation

  • Utilize Smart Objects for non-destructive editing of core elements, such as the skull, allowing for flexible modifications without altering original image data.
  • Employ displacement maps to make textures, like blood streaks, conform realistically to the contours of underlying objects, significantly enhancing visual depth.
  • Adjust Levels to precisely control contrast and tonal values, which helps in bringing out intricate details in textures like concrete and blood for a more impactful look.
  • Combine Motion Blur and Gaussian Blur on text layers to create dynamic effects, such as a subtle ethereal glow and a sense of implied movement.
  • Feather selections for soft, gradual transitions, particularly when adding subtle shadows or vignetting to effectively frame the main subject.

More Tutorials about Horror Movie Poster Design

Explore additional resources to deepen your understanding of horror-themed visual design and movie poster creation in Photoshop.
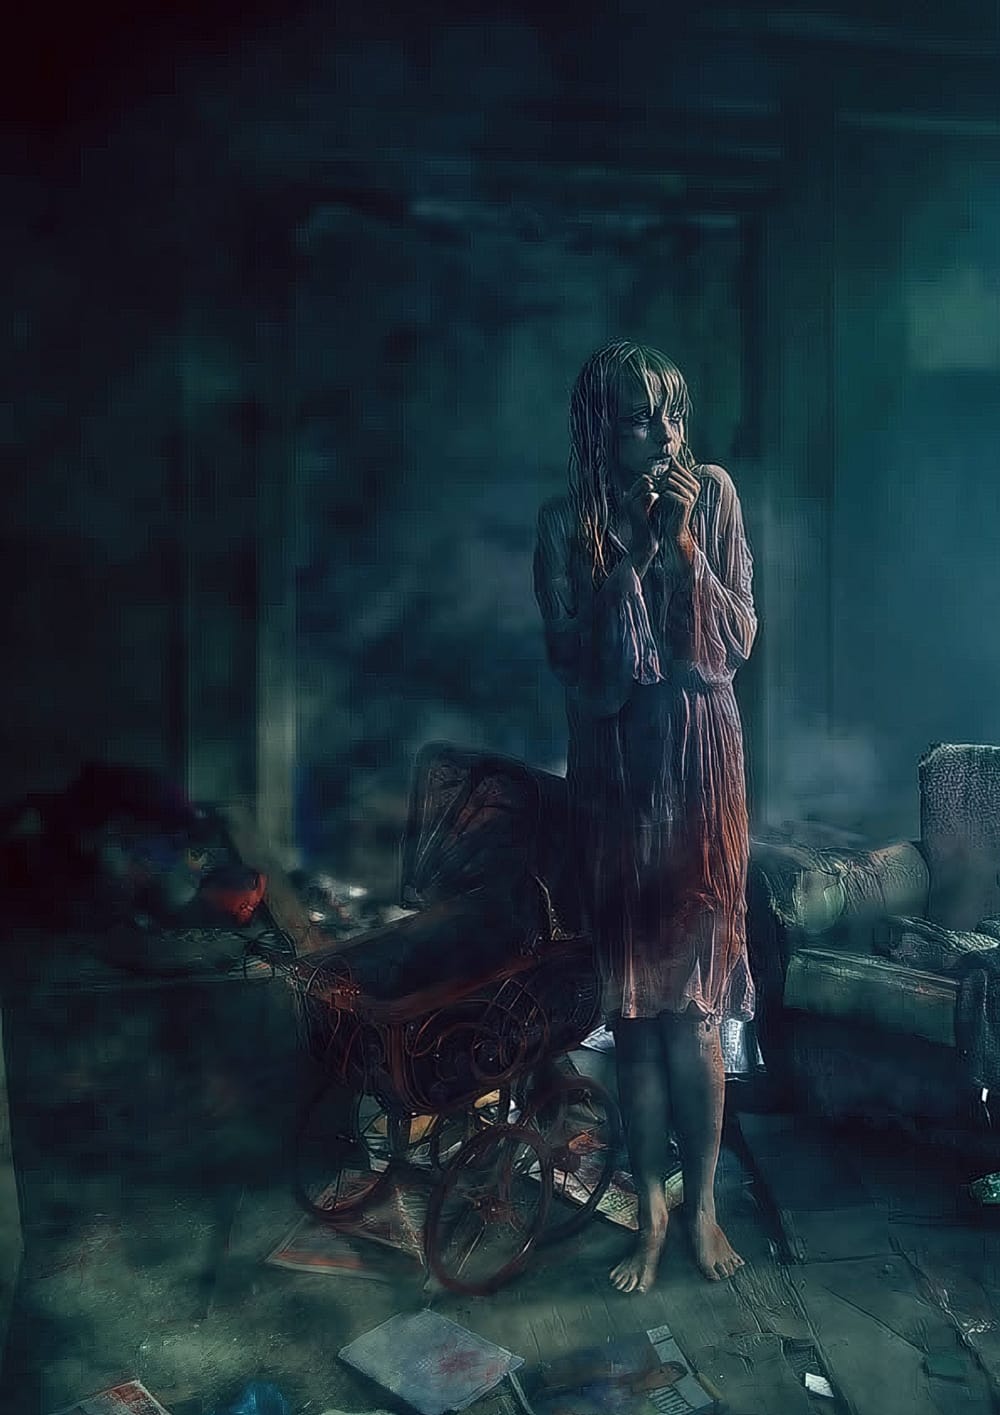
Create a Horror Scene Photo Composition in Photoshop
In this engaging tutorial, Mario Sanchez Nevado from Tuts+ guides you through the process of creating a horror movie-themed photo composition in Photoshop. You'll learn how to choose the right photos and blend them together seamlessly to achieve a realistic and believable result. Key techniques covered include balancing light, using midtones, creating depth of field, and mastering blending methods. This tutorial is perfect for those looking to enhance their photo manipulation skills and create
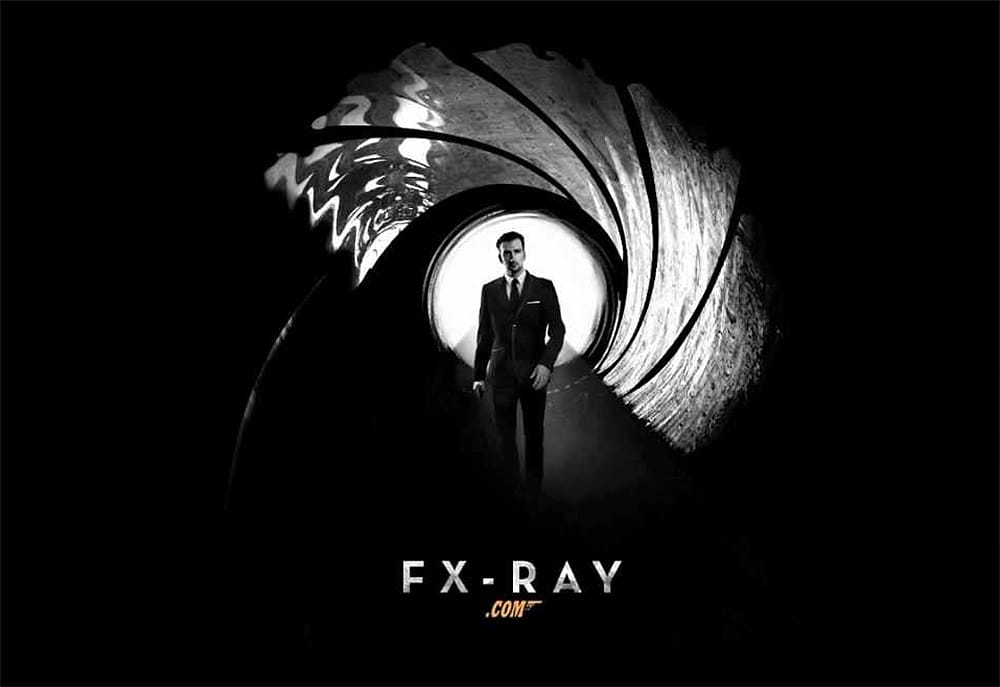
Create a Sky Fall Inspired Movie Poster in Photoshop
If you're looking to create an eye-catching movie poster in Photoshop, this guide offers a straightforward approach to designing a dark, black and white James Bond-inspired piece, reminiscent of Skyfall. You will start with essential techniques, including layering, blending, and using filters to achieve that cinematic feel. Each step is well-explained, allowing you to understand the process clearly. You'll learn how to manipulate images effectively, ensuring that every element of your poster a
Create a Cute and Scary Children’s Illustration in Photoshop
As the fall approaches in many parts of the world, many designers and illustrators might already be thinking about the upcoming Halloween holiday, especially those that are based in the U.S. In this tutorial, we will show you how to illustrate a cute and scary children’s illustration using techniques that you could easily incorporate into your own Halloween artwork. Watch tutorial
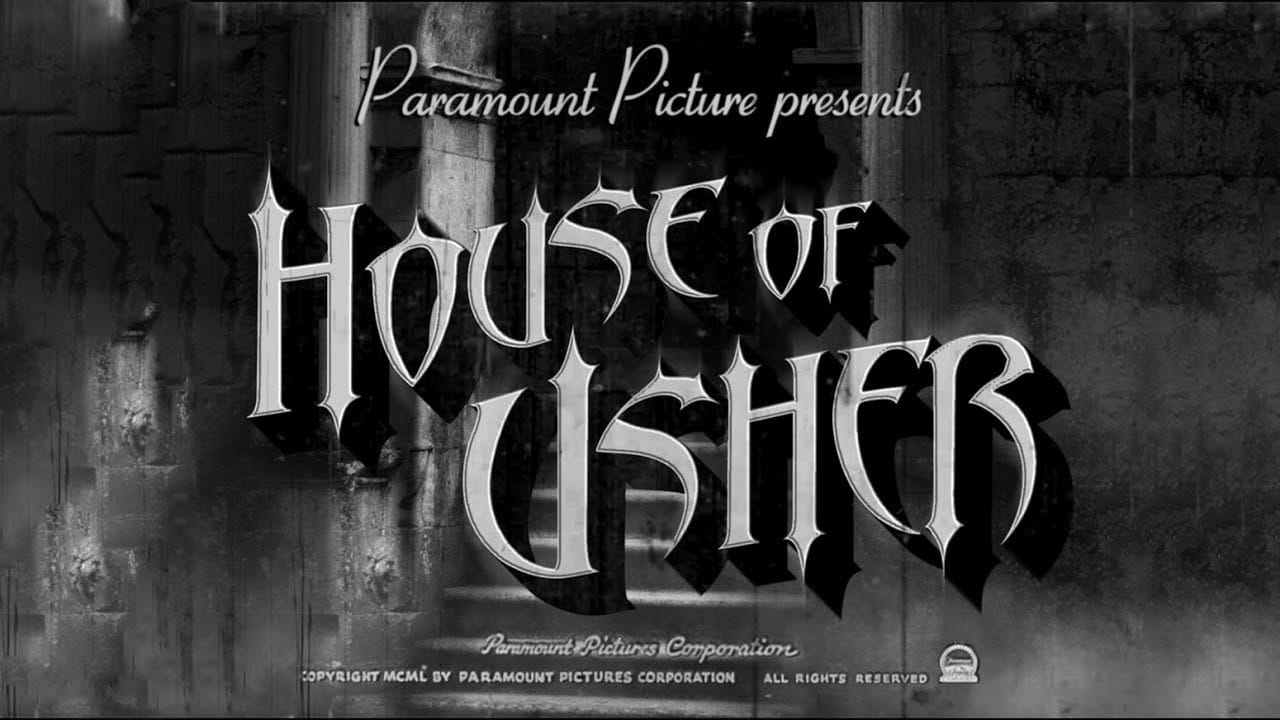
Create a Classic 1940s Horror Movie Title Design in Photoshop
This tutorial focuses on creating a classic 1940s black and white Hollywood horror movie title design. It takes you through the steps needed to achieve a vintage look, perfect for fans of that eerie cinematic style. You will learn how to manipulate various Photoshop tools to form the text and effects reminiscent of those classic films. The combination of shadows, lighting, and textures plays a crucial role in achieving an authentic appearance. The background features a creepy dungeon setting, a

Get tutorials & freebies delivered to you.

Subscribe to the Photoshop Roadmap newsletter, a weekly roundup of new tutorials, insights and quality downloads, trusted by 6500+ readers.

You might also like

How Photoshop's Enhance Edge Feature Removes Hair Masking Halos

Hair masking has long been one of the most tedious tasks in photo compositing — especially when switching between dark and light backgrounds reveals unwanted halos along the edges. Photoshop's new Enhance Edge feature, available in beta 27.11, offers an AI-powered approach to this problem by generating...

How to Use Quick Compare and Dynamic Layers in Photoshop Beta

Photoshop Beta's latest update introduces two tools worth knowing: a Quick Compare toggle for instant before/after previews, and a Dynamic Layer feature that lets you control AI-generated effects with a simple slider. Together, they streamline how you review edits and apply prompt-based changes like adding...

Retouching Pet Portraits in Photoshop: Cleaning Fur, Eyes, and Fine Details

Pet photos rarely arrive perfectly clean — staining around the eyes, discolored fur near the mouth, and stray hairs are common problems that need fixing before any serious portrait work begins. This workflow covers how to remove those distractions manually using overpaint and fur brushes, then finish with eye enhancement techniques...

Before and After View Plus Dynamic Layers in Photoshop Beta

Photoshop Beta currently includes two features that work quite differently from each other. The first adds a straightforward before-and-after comparison tool directly into the editing workspace — something that sounds simple but solves a real problem when a file already has multiple layers. The second, Dynamic Layers, uses AI...

How to Blend Multiple Exposures for Car Light Trails in Photoshop

Stacking multiple exposures of a night scene lets you capture far more light trail detail than any single shot can deliver. This technique uses the Lighten blending mode to combine a bright base image with several car light trail frames, keeping only the brightest pixels from each layer for a...

You’ve successfully subscribed to Photoshop Roadmap
Welcome back! You’ve successfully signed in.
Great! You’ve successfully signed up.
Success! Your email is updated.
Your link has expired
Success! Check your email for magic link to sign-in.