Create a Glitch Art Effect in Photoshop

Create a Glitch Art Effect in Photoshop

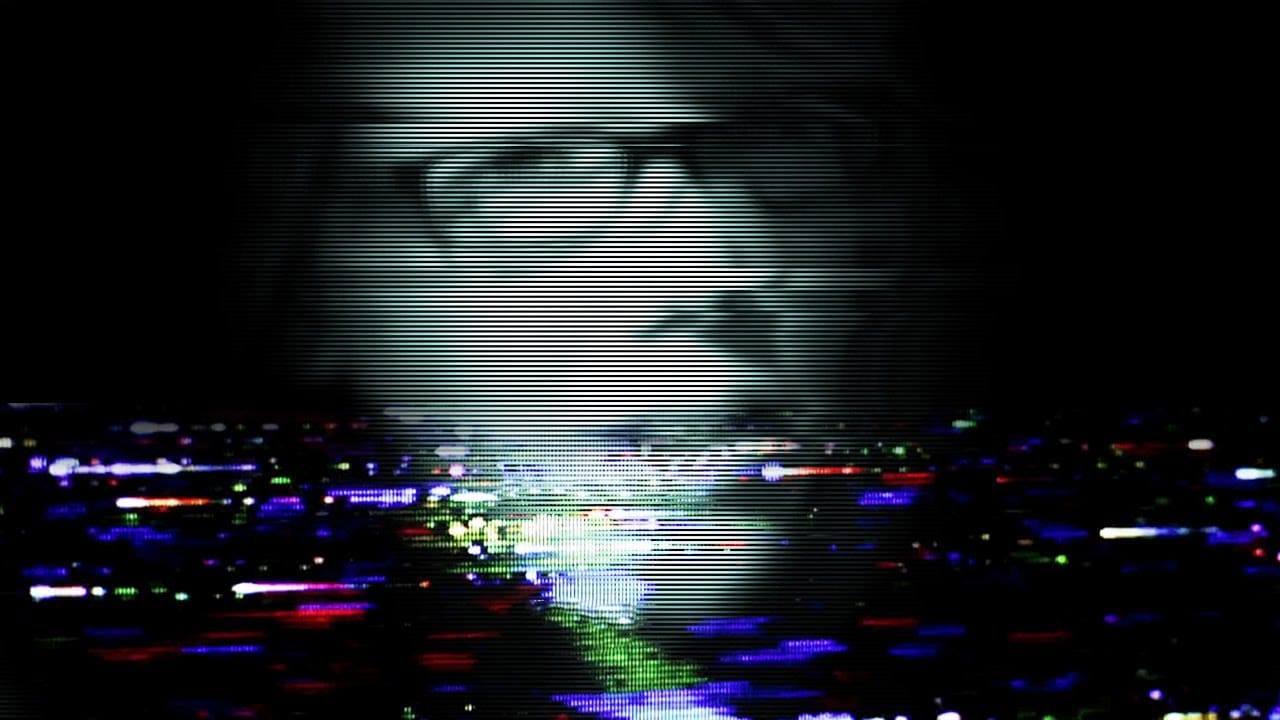
Glitch art has emerged as a distinctive aesthetic in the digital age, rooted in the unexpected visual outcomes of digital errors. This art form transforms technical malfunctions into deliberate creative expressions, offering a unique visual language.

This tutorial explores how to simulate this captivating effect from a standard photograph in Photoshop, guiding you through the essential steps to transform your images into compelling glitch art pieces.

Watch the Video

Video by Blue Lightning. Any links or downloads mentioned by the creator are available only on YouTube

The Digital Aesthetic of Glitch Effects

Glitch art, a relatively new art form, draws its inspiration from the accidental visual distortions that occur in digital media. What began as an unintended consequence of technical malfunctions—like corrupted data or signal interference—has been embraced and intentionally replicated by artists to create unique and striking visuals.

This aesthetic resonates deeply within contemporary digital culture, reflecting our increasing interaction with technology and its inherent imperfections. By deliberately introducing elements of disruption, artists can comment on the fragility of digital information or simply explore new visual possibilities that defy traditional artistic norms.

The visual characteristics of glitch art often include:

  • Pixelation and fragmentation
  • Unexpected color shifts and banding
  • Geometric anomalies and distortions

These elements collectively contribute to a sense of digital decay or controlled chaos, making each piece distinctively dynamic.

Practical Tips for Creating Glitch Art Effects

  • Apply the Filter > Pixelate > Fragment effect, then repeat it using Ctrl/Cmd + F to intensify the initial pixelation.
  • Use a Hue/Saturation adjustment layer with the "Colorize" option checked to introduce a specific color tint to your glitch effect.
  • Utilize the Filter > Distort > Shear tool to introduce controlled, wavy distortions, remembering that holding Alt/Option allows you to undo the last point.
  • Create horizontal bar effects by filling a new layer with 50% gray, applying Filter Gallery > Sketch > Halftone Pattern (Pattern Type: Line), and then making a layer mask from Select > Color Range > Highlights.
  • Soften or reveal parts of your distorted layers by painting on their layer masks with a black brush to hide and a white brush to reveal, adjusting opacity for blending.

More Tutorials about Glitch and Photo Effects

Explore additional Photoshop tutorials to enhance your skills in creating unique photo manipulations and artistic effects.

Double Exposure Glitch Poster Design in Photoshop
In this Photoshop tutorial by Click3D, you'll learn how to create a striking double exposure glitch poster design. The tutorial guides you through the process step by step, starting with the basics of setting up your project and selecting your images. You'll discover how to combine double exposure techniques with glitch effects to achieve a unique and eye-catching design. The tutorial covers essential steps like blending layers, applying distortion effects, and refining your poster to enhance t
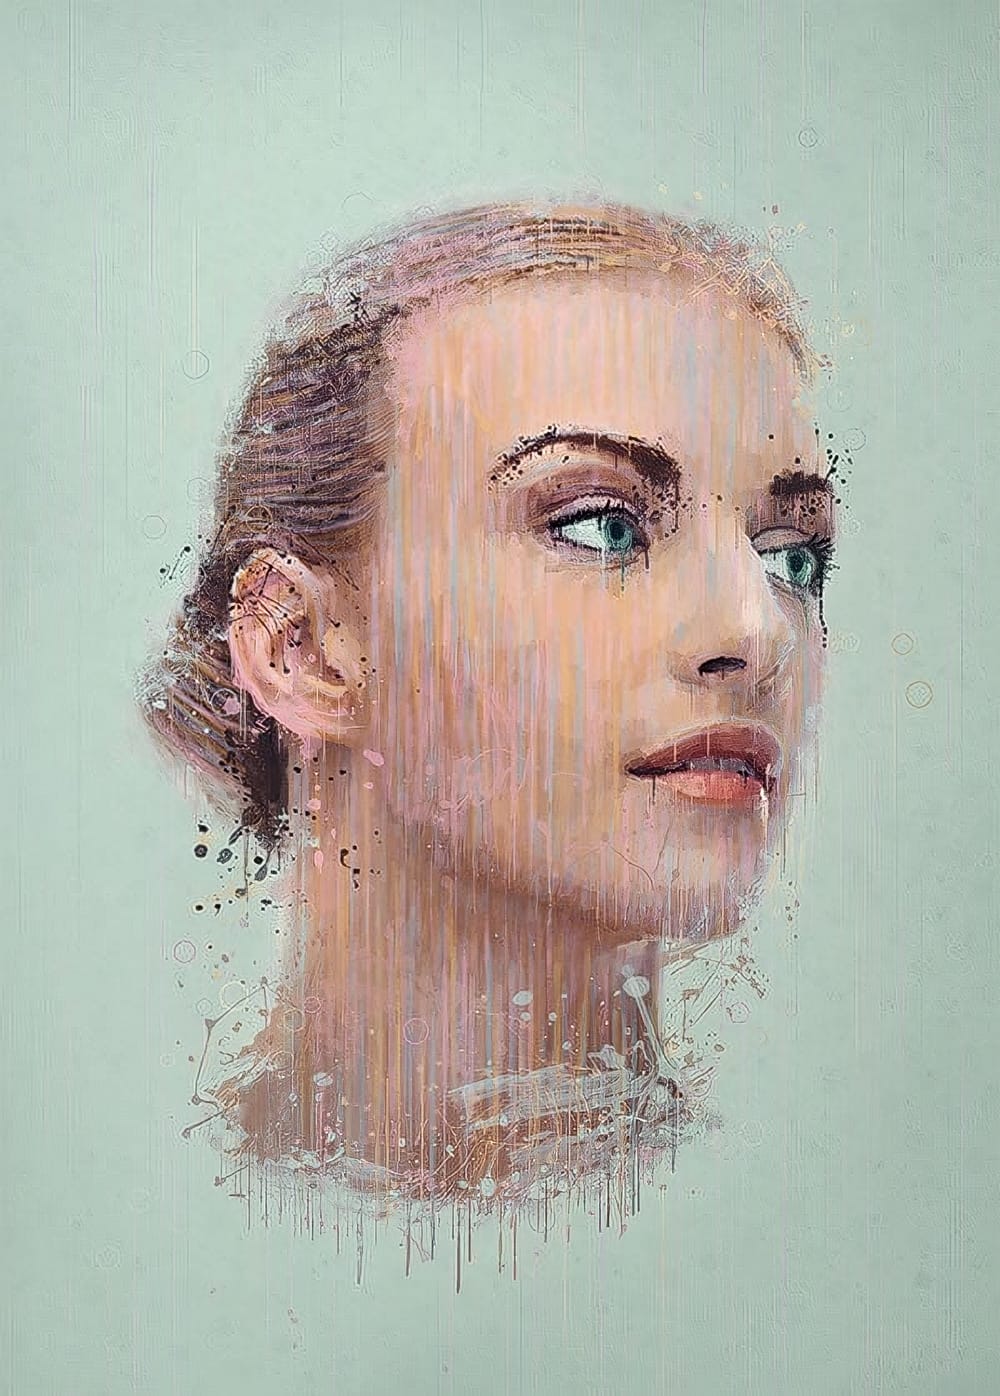
Apply a painterly splatter effect to a photo in Photoshop
In this tutorial, you will learn how to create a unique and visually striking portrait photo with a splatter paint and drip effect in Photoshop. The techniques covered include overlay painting, blending, and coloring methods. You'll start by working with your portrait image, experimenting with different overlay modes and blending options to achieve the desired paint-like effect. Then, you'll explore adding drips and splatters to the image, using various brushes and techniques to ensure a natura
Colorful Painted 3D Text Effect Tutorial in Photoshop
In this tutorial by Angelo Konofaos, you'll explore how to create a 3D-style text effect in Photoshop, alongside techniques like adding shadows, highlights, shines, and colors. Utilizing a variety of Photoshop tools such as the Mixer Brush, Pen Tool, clipping masks, and adjustment layers, the tutorial demonstrates the process of refining text to achieve a polished and dimensional look. For optimal results, Konofaos recommends using a pen tablet like the Wacom Intuos to enhance precision and fl
Beautiful Illustration Effects and Techniques Photoshop Tutorials
This collection of Photoshop tutorials focuses on various illustration effects and techniques, perfect for those interested in enhancing their artistic skills. You will discover how to create striking images through a variety of methods, including pencil sketches, mixed media, and watercolor styles. By following these tutorials, you can learn to produce unique artistic pieces that stand out. Each lesson offers clear step-by-step instructions, making it easy to grasp new concepts and apply them

Get tutorials & freebies delivered to you.

Subscribe to the Photoshop Roadmap newsletter, a weekly roundup of new tutorials, insights and quality downloads, trusted by 6500+ readers.

You might also like

Complete Photoshop Editing Workflow: 5 Steps from Raw to Polished

Photoshop offers endless possibilities for photo enhancement, but many photographers never move beyond basic adjustments because the software feels overwhelming. This comprehensive workflow breaks down photo editing into five manageable stages that work consistently across different photography styles. The systematic approach covers everything from initial raw processing to advanced lighting...

Photoshop Workspace Basics: Navigation, Zooming, and Essential Interface Elements

Photoshop's interface can feel overwhelming when you first open the program. Dozens of panels, tools, and menus compete for attention, making simple tasks feel complicated. This tutorial breaks down the essential workspace elements and teaches fundamental navigation skills that form the foundation of efficient Photoshop work. Watch the...

How to Restore Old Damaged Photos Using Nano Banana in Photoshop

Old family photos with scratches, tears, and missing sections can seem beyond repair. Google's Nano Banana AI model, now integrated into Photoshop, makes full restoration possible in minutes rather than hours. This powerful tool excels at maintaining facial characteristics while automatically filling in damaged areas and adding realistic...

How to Get Higher Quality Results from Photoshop's Generative Fill Tool

Photoshop's Generative Fill creates impressive AI extensions, but the results often look blurry and pixelated when viewed at full size. This quality limitation makes many AI-generated areas unusable for printing or large displays. This technique shows how to work around the 1024x1024 pixel quality limit to create much...

How to Use Photoshop's Liquify Tool for Non-Destructive Portrait Retouching

Clothing wrinkles, hair that lacks volume, and awkward fabric bunching can distract from an otherwise great portrait. Photoshop's Liquify tool offers a powerful solution for smoothing out these issues while preserving the natural look of your subject. This tutorial demonstrates how to use the Liquify tool non-destructively with...

You’ve successfully subscribed to Photoshop Roadmap
Welcome back! You’ve successfully signed in.
Great! You’ve successfully signed up.
Success! Your email is updated.
Your link has expired
Success! Check your email for magic link to sign-in.