How to add steam to a photo in Photoshop

How to add steam to a photo in Photoshop

Digital imagery often benefits from atmospheric elements that enhance realism or mood. Whether portraying a hot beverage or a misty landscape, the subtle inclusion of steam or vapor can significantly elevate a photo's visual impact, adding depth and a sense of environment.

This video tutorial guides you through the process of adding convincing steam and vapor effects to your photographs, providing practical steps to integrate these details seamlessly. You will learn essential Photoshop techniques to create, shape, and refine these atmospheric additions for a more dynamic composition.

Watch the Tutorial

Video by Blue Lightning. Any links or downloads mentioned by the creator are available only on YouTube

Understanding Atmospheric Effects in Digital Art

Atmospheric effects like steam and vapor play a crucial role in visual storytelling within digital art and photography. They are not merely decorative elements but serve to convey temperature, movement, and even a sense of mystery or warmth. For instance, visible steam rising from a cup of coffee immediately communicates warmth and freshness, while a subtle wisp of vapor can suggest chill or an ethereal quality.

Achieving realistic atmospheric effects involves understanding how light interacts with these elements and how they diffuse or obscure parts of the scene. Artists often manipulate opacity, blur, and distortion to mimic natural phenomena, ensuring the effect integrates naturally rather than appearing as an artificial overlay. This attention to detail transforms a static image into a more immersive and believable visual experience.

The effective use of such elements contributes to the overall mood and narrative of an image. From the gentle curl of steam to the dense shroud of fog, these details provide contextual clues that deepen a viewer's connection to the subject, making the scene feel more alive and tangible.

Practical Tips for Creating Steam and Vapor

  • Begin by creating steam strokes on a new layer with a soft white brush (0% Hardness, 50% Opacity) to establish a base shape.
  • Apply a Maximum filter followed by a Surface Blur to soften and diffuse the brushed strokes into a more natural, cloud-like steam appearance.
  • Use the Transform Tool with the Warp option to meticulously shape and distort the steam, allowing it to conform realistically to your image's contours.
  • Introduce a secondary vapor layer by applying the Clouds filter within a selection of your initial steam, then set its blend mode to Overlay for added depth and texture.
  • Refine the steam's appearance and blend using layer masks and opacity adjustments, brushing with black to create a realistic evaporating effect.

More Tutorials about Atmospheric Effects

Explore additional techniques for enhancing your images with compelling visual elements and digital artistry.
How to Add Steam or Smoke in Photoshop
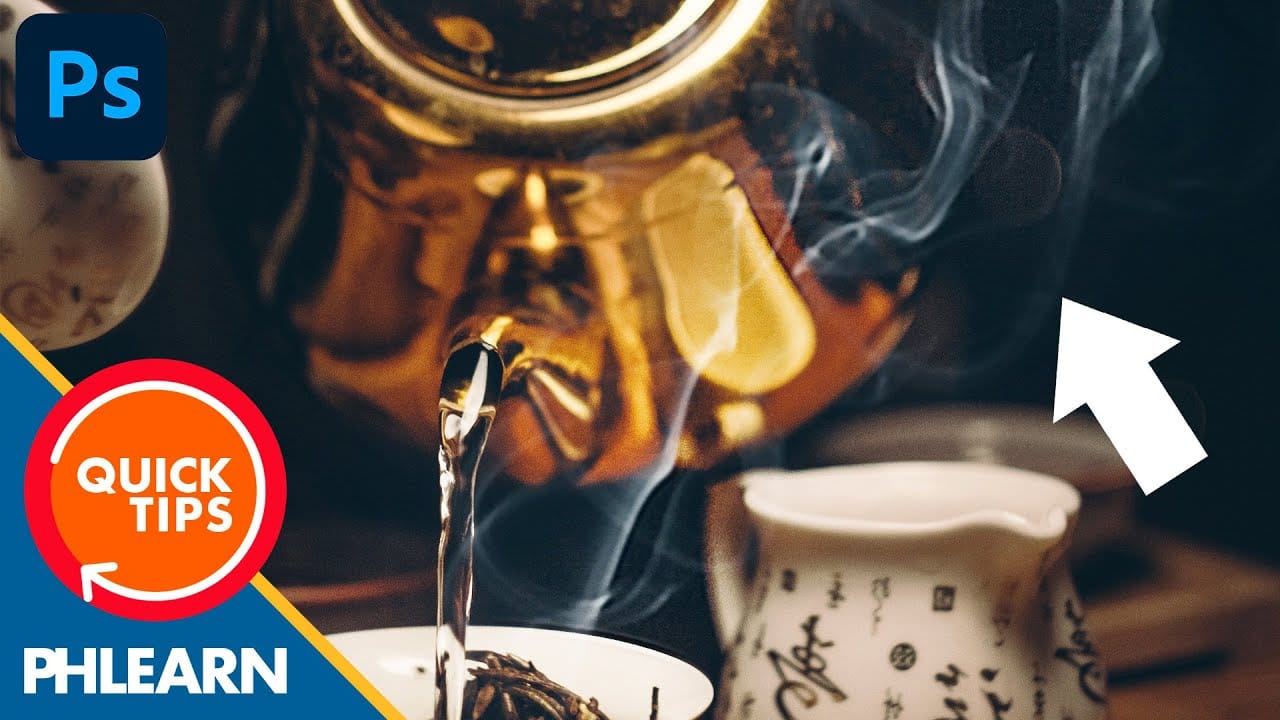
In this engaging tutorial by Aaron Nace from Phlearn, you'll discover how to introduce realistic steam or smoke effects into your images. This technique is perfect for adding atmospheric elements that can enhance the mood and mystery of any scene. Nace walks you through the process in a few simple steps, ensuring that even beginners can follow along and achieve professional results. The tutorial covers essential methods for creating and blending steam or smoke effects seamlessly into your photo
How to Create a Steampunk Style Illustration in Photoshop
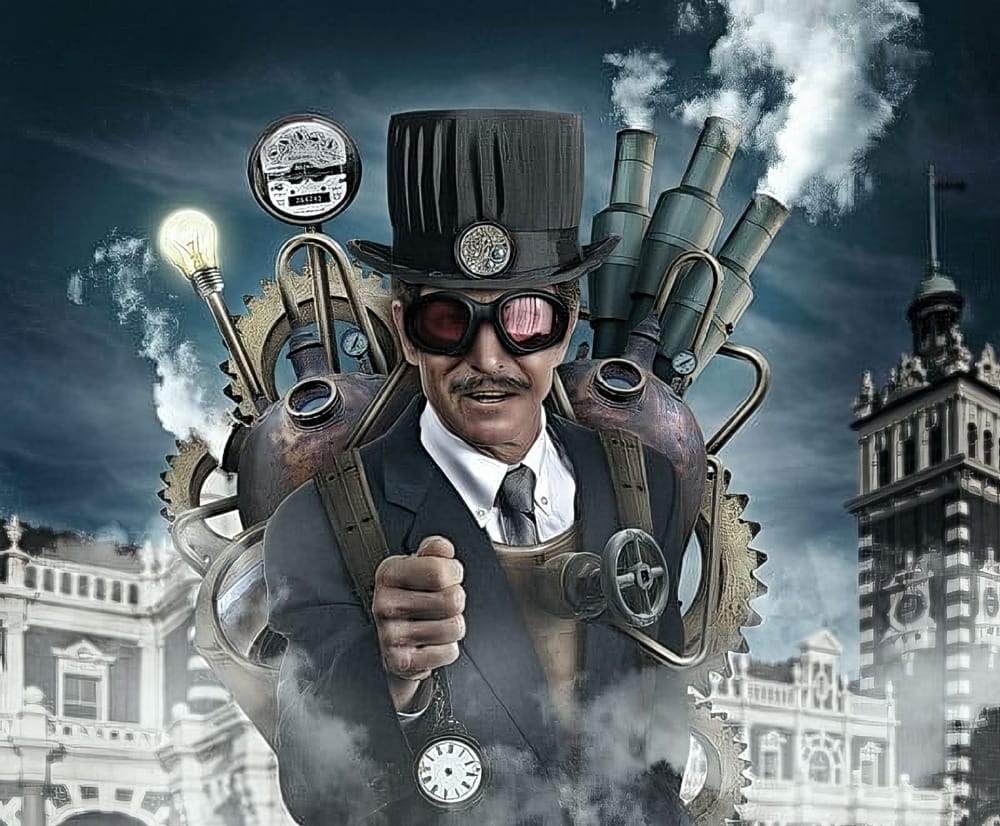
Ever dreamt of conjuring fantastical contraptions and whimsical machines inspired by the world of steampunk? This detailed Adobe Photoshop tutorial is your gateway into that realm! We’ll be embarking on a journey to create a captivating steampunk-style illustration, filled with intricate gears, billowing steam, and a touch of vintage charm. No prior experience with Photoshop is needed – this tutorial caters to all skill levels. The instructor will be your trusty guide, leading you step-by-step
Vaporwave Neon Effect Photoshop Tutorial
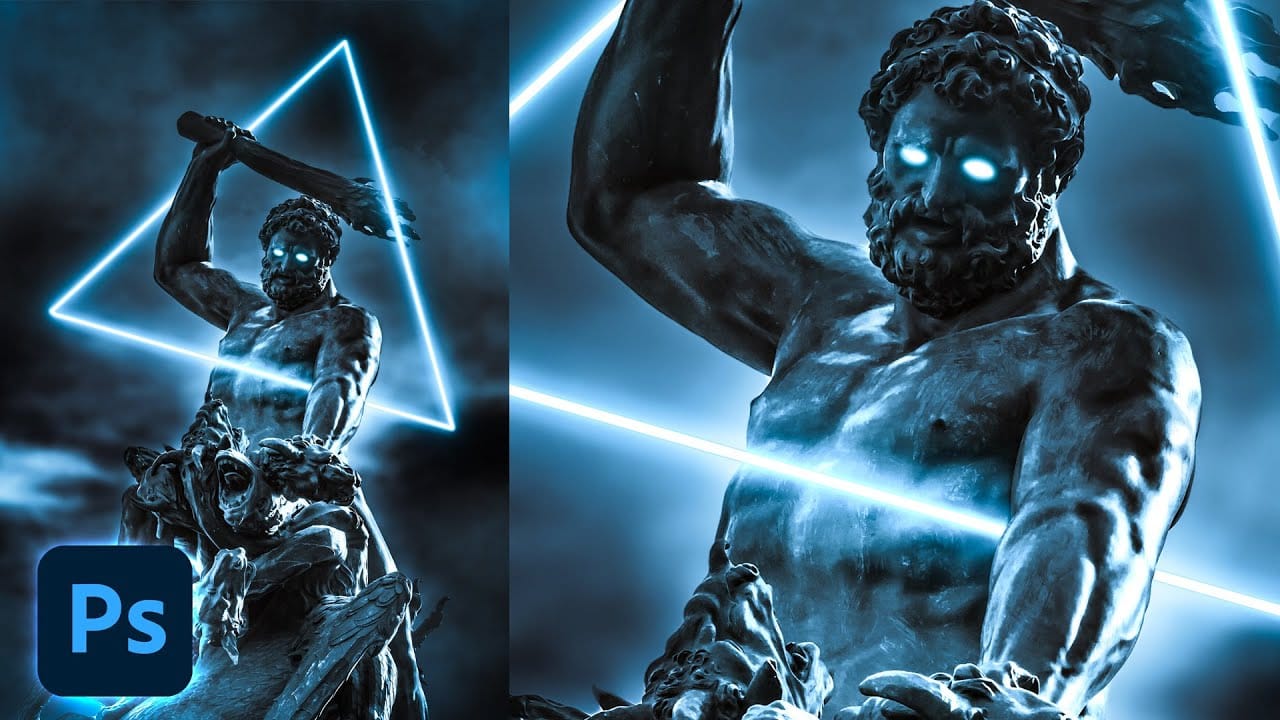
The combination of classic Renaissance sculptures with the vibrant neon colors of the Vaporwave aesthetic creates an intriguing mix of styles that captivates the eye. This unique blend has gained popularity in the world of abstract art, showcasing how contrasting elements can work together harmoniously. In this tutorial, readers will discover how to enhance a shape with a vibrant neon glow using Photoshop's layer styles. This straightforward technique allows for the creation of stunning visuals
How to Create Flames in Photoshop
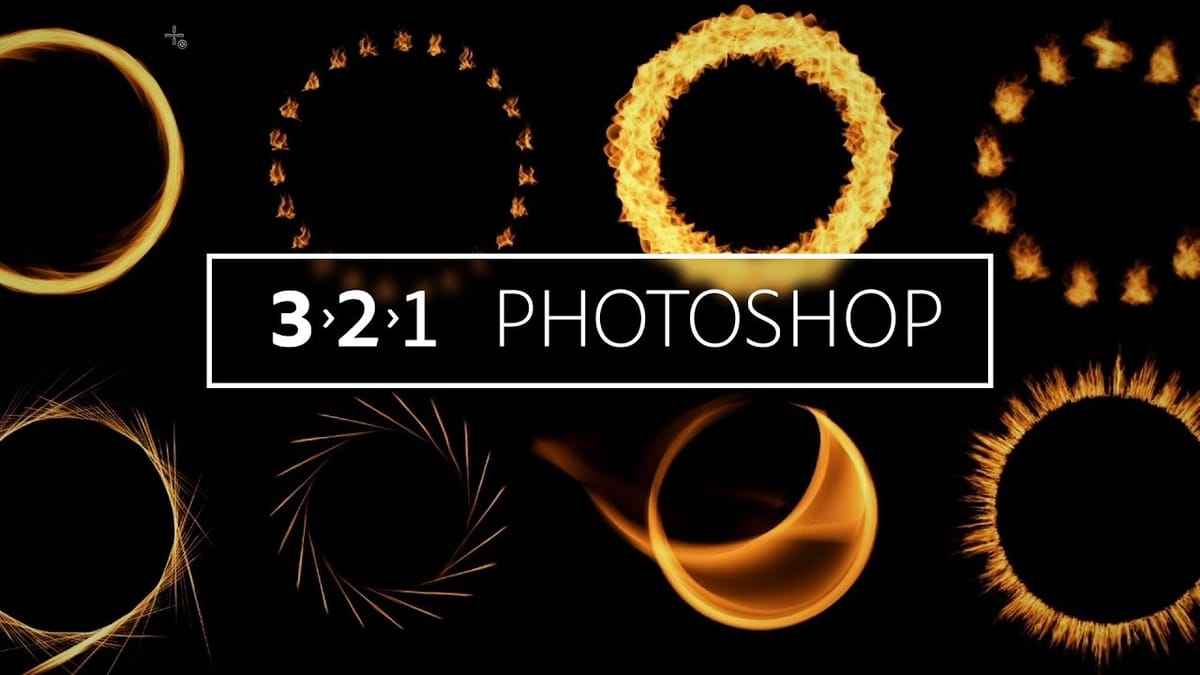
Learn how create flames using different paths in Photoshop. Great for adding a flaming look to your designs and photo manipulations. Lots of tweaking options! More

Get tutorials & freebies delivered to you.

Subscribe to the Photoshop Roadmap newsletter, a weekly roundup of new tutorials, insights and quality downloads, trusted by 6500+ readers.

You might also like

How to Apply an Exact Hex Color to Any Object in Photoshop

Matching an object's color to a specific hex code is harder than it looks. Real surfaces carry highlights, shadows, and texture — meaning no single pixel represents the true color. The solution is to average the surface first, then use either Hue/Saturation or Curves to bring that average...

Photoshop 2026: 5 New Features Worth Adding to Your Workflow

Photoshop 2026 arrives with a set of updates that genuinely change how certain editing tasks get done. The Light adjustment layer alone could replace a step many photographers have been routing through Camera Raw for years — and that's just the start. Watch the Video Practical Tips Here are...

How to Apply a Cinematic Color Grade in Photoshop or Lightroom

Separating a subject from its background through selective toning is one of the most effective ways to give a photo a cinematic feel. This walkthrough covers a full color grading workflow using Camera Raw masks, radial gradients, and the color mixer to create warm subject tones against a cooler, darker...

How to Build a Soft Highlight Glow Effect Manually in Photoshop

A soft light bloom adds depth and atmosphere to portraits and nature shots without making them look over-processed. This technique isolates the actual highlight information from your photo, blurs it across multiple layers, and finishes with color grading and grain — all built manually using standard Photoshop tools. Watch the...

You’ve successfully subscribed to Photoshop Roadmap
Welcome back! You’ve successfully signed in.
Great! You’ve successfully signed up.
Success! Your email is updated.
Your link has expired
Success! Check your email for magic link to sign-in.