Burn Text and Graphics into a toast in Photoshop

Burn Text and Graphics into a toast in Photoshop

Integrating digital elements onto textured surfaces realistically is a key challenge in graphic design. Photoshop provides powerful tools to simulate physical interactions, turning flat images into convincing 3D effects.

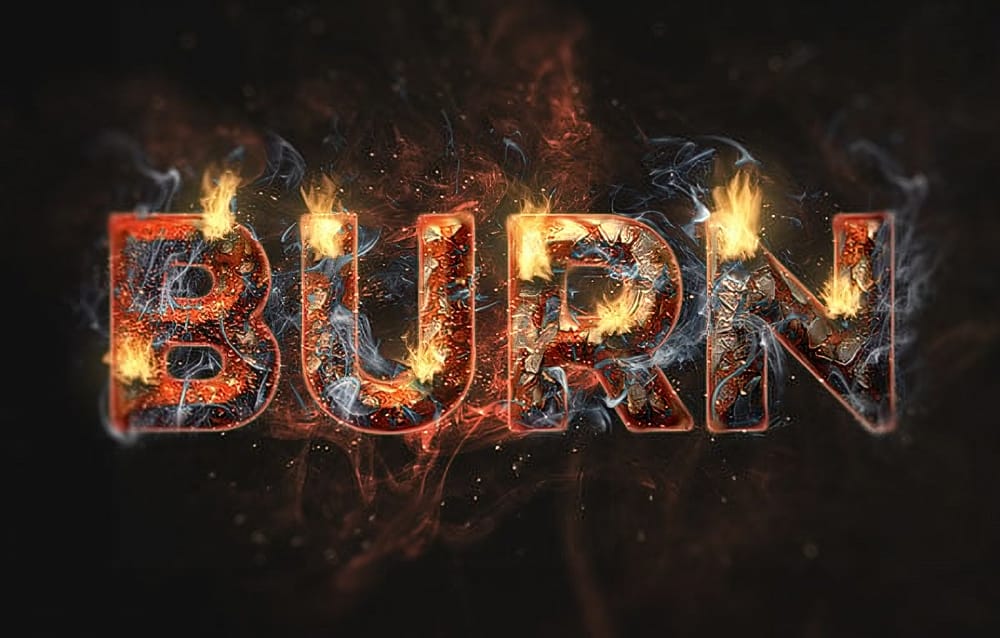
This tutorial shows how to create burnt graphics and text that blend seamlessly into a slice of toast. You’ll learn essential techniques for applying textures and effects that mimic real-world interactions.

Watch the Tutorial

Video by Blue Lightning. Any links or downloads mentioned by the creator are available only on YouTube

The Role of Displacement Maps in Realistic Texture Application

The displacement map is key to making a graphic appear molded to an uneven surface. This grayscale image guides Photoshop by defining the texture's contours and depth. The software warps the graphic by aligning its pixels with the map's light and dark areas, creating a realistic surface illusion.

The effectiveness of a displacement map depends on its contrast and blur. A properly prepared map, often based on the target surface, accurately captures the details the graphic should conform to. This technique isn't just for toast—it's essential for applying logos to clothing, text to crumpled paper, or any element meant to appear embedded in a textured surface.

Practical Tips for Realistic Burnt Effects

  • Create a blurred, grayscale copy of your background image to use as a displacement map for realistic contouring.
  • Ensure your graphic is pure black and white using Image > Auto-Contrast before separating it from its background.
  • Convert your graphic or text layer into a Smart Object to allow for non-destructive transformations and filter applications.
  • Utilize the Soft Light blend mode and an Outer Glow layer style with a Color Burn blend mode to enhance the burnt appearance.
  • Refine the effect by using a soft brush on an inverted layer mask to selectively lighten or darken burnt areas, mimicking uneven charring.
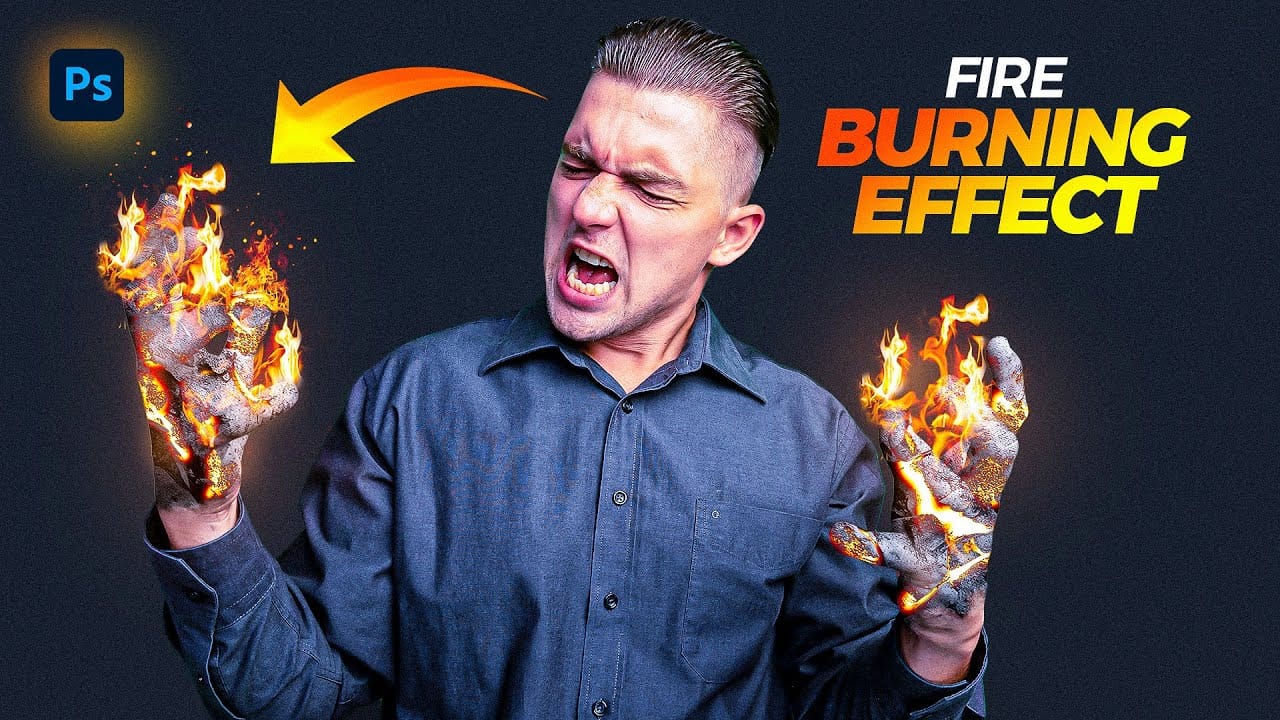
Explore more Photoshop techniques for creating realistic burnt, fire, and textured effects in your designs.

Create a Text Burnt on Wood in Photoshop
Today, Marty Geller from Blue Lightning TV will show us how to create a text effect that looks burnt onto a wood background, similar to a branding, using Photoshop. This tutorial is extremely detailed, loaded with useful techniques, and very easy to follow. Marty guides you through the steps to achieve a realistic burnt wood effect, perfect for adding a rustic and vintage touch to your designs. Whether you're working on a logo, poster, or any other creative project, this tutorial will provide y
Create a Fire and Rust Text Effect in Photoshop
If you're looking to add some fiery flair to your text, this tutorial has you covered. The team at TutsPlus walks you through the process of creating a striking fire and rust text effect in Photoshop. First, you'll learn how to style and texture a rusty, weathered look for your text. This involves using various tools and techniques to achieve an authentic, gritty appearance. Once the base is set, the tutorial then demonstrates how to incorporate flames using the Flame filter, as well as other s
Apply a Burning Flames Effect to a Photo in Photoshop
In this tutorial by Neville D’Souza, you will learn how to take a simple model shot and transform it into a striking, dynamic piece of art that resembles a spitting, crackling beacon of fire. The tutorial guides you through the process using some of the most common tools available in Photoshop, showcasing techniques that allow you to create intricate and impressive effects. The author meticulously explains each step, ensuring you can follow along without the need for third-party plug-ins. By th
Create a Fire Burning Effect in Photoshop
Creating a fire-burning effect in Photoshop is a fascinating process that can enhance your images dramatically. Start by setting up a new file with dimensions of 1920 x 1080 pixels. Import the necessary images, which can be found in the provided link. Duplicate your main layer using Ctrl + J, then convert it to black and white through the Image Adjustments menu by selecting Hue/Saturation and removing all saturation. Next, apply an inverted mask to the black and white layer. Use the brush tool

Get tutorials & freebies delivered to you.

Subscribe to the Photoshop Roadmap newsletter, a weekly roundup of new tutorials, insights and quality downloads, trusted by 6500+ readers.

You might also like

How to Create a 1-Bit Bitmap Effect in Photoshop

The 1-bit bitmap effect transforms modern digital images into stark black-and-white graphics reminiscent of early computer displays and vintage print materials. A bitmap uses exactly one bit of data per pixel, allowing only pure black or white with no gray values in between. This technique works equally well on photographs...

14 New Features in Photoshop 27.6 You Need to Know

Photoshop 27.6 brings significant updates that enhance workflow efficiency and creative possibilities. From improved reflection removal tools to smarter AI models, these features address real challenges photographers and designers face daily. This comprehensive overview covers 14 key additions, including enhanced distraction detection, new AI capabilities, and improved workspace organization...

Create Film Looks with Custom LUTs and Profiles for Any Photo Editor

Film photography's nostalgic warmth and character continue to captivate photographers working in the digital realm. Creating authentic film looks requires understanding how vintage stocks like Kodak Kodacolor and Fujifilm Superia handled color, contrast, and tone. This comprehensive workflow shows you how to build these looks from scratch using...

Create Pixelated Liquid Typography with Chromatic Distortion in Photoshop

Liquid typography combines flowing, organic distortions with digital glitch aesthetics to create text that appears to melt and separate into colorful chromatic components. This technique transforms static letters into dynamic, pixelated designs that suggest movement and technological breakdown. The method uses the Liquify filter to create fluid distortions, then separates...

How to Create Cinematic Color Grading Using Camera Raw Filter in Photoshop

Color grading transforms ordinary photos into cinematic masterpieces by adding mood and visual depth. The Camera Raw filter built into Photoshop provides professional-level color grading tools that rival dedicated editing software, allowing you to adjust shadows, midtones, and highlights with precision. This technique uses smart filters to ensure non-destructive editing,...

You’ve successfully subscribed to Photoshop Roadmap
Welcome back! You’ve successfully signed in.
Great! You’ve successfully signed up.
Success! Your email is updated.
Your link has expired
Success! Check your email for magic link to sign-in.