Create a Text Burnt on Wood in Photoshop

Create a Text Burnt on Wood in Photoshop

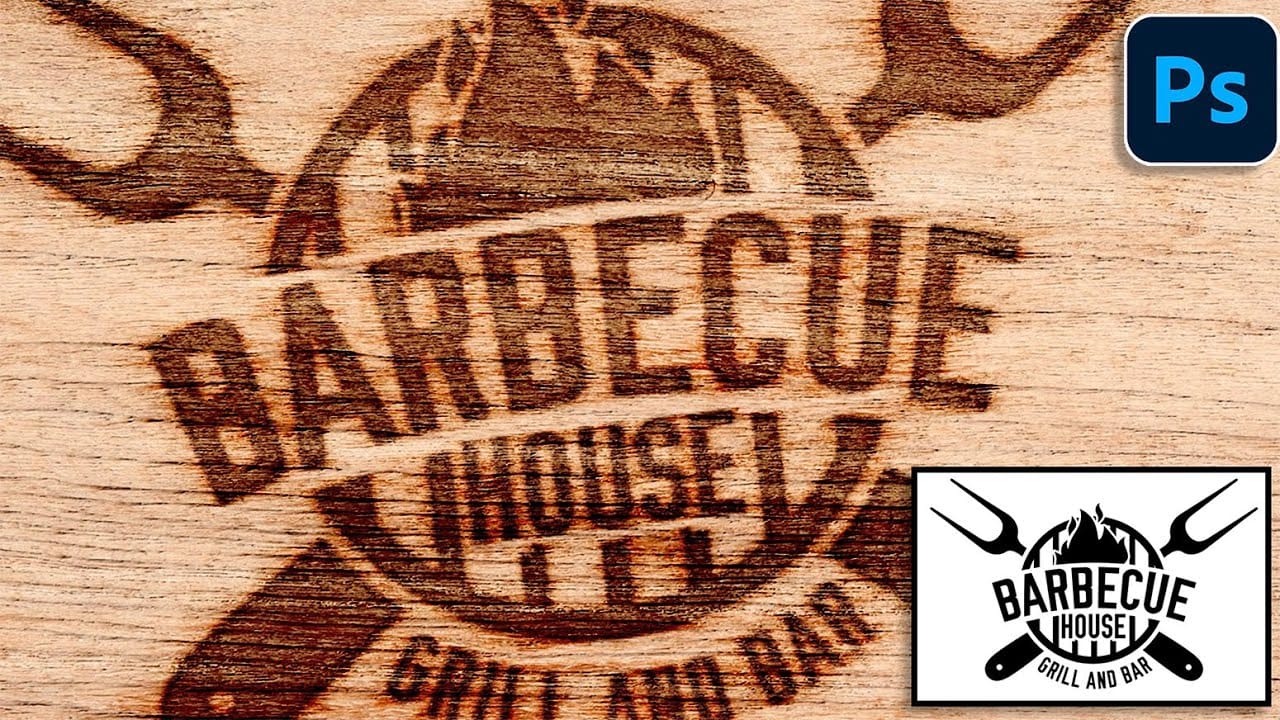
Wood-burned designs evoke a rustic charm and handcrafted authenticity, transforming ordinary text or graphics into something uniquely compelling. This classic aesthetic brings a sense of tradition and warmth to any visual project, making it ideal for everything from logos to decorative art.

This video tutorial demonstrates how to achieve a realistic wood burn effect in Photoshop. It guides you through the process of applying charring, texture, and depth to your digital creations, allowing you to infuse your designs with this distinctive, time-honored look.

Watch the Video

Video by Blue Lightning. Any links or downloads mentioned by the creator are available only on YouTube

Unlocking the Craft of Digital Pyrography

Digital pyrography, or the art of simulating wood burning, offers a powerful way to infuse your designs with a tactile, handcrafted feel without needing physical tools. This technique bridges the gap between digital precision and the rustic warmth of traditional craftsmanship, making it perfect for custom logos, unique branding, or decorative text.

By carefully manipulating layers and applying specific Photoshop filters, artists can recreate the distinct charring and depth that characterize real wood branding. The versatility of this method allows for creative application on various wood textures, ensuring a convincing and authentic result. Understanding the interplay of filters and layer styles is key to mastering this distinct visual effect.

  • Precise text selection and expansion for defined edges.
  • Application of Gaussian Blur and Wind filters for a charred, textured look.
  • Strategic use of the Color Burn blend mode to deepen the effect.
  • Refinement of the burn's appearance with Bevel & Emboss layer styles.

Practical Tips for Creating a Wood Burn Effect

  • Adjust the Expand pixel amount (e.g., 15 pixels) to suit your text's size and resolution, ensuring a clear outline.
  • Invert the image (Ctrl/Command + I) before and after applying the Wind filter to achieve a consistent burn direction.
  • Refine the burn's intensity by adjusting the Output Black level in the Levels window (Ctrl/Command + L), such as setting it to 72.
  • Customize Bevel & Emboss settings, including depth (e.g., 50%), size (e.g., 20 pixels), and angle, based on your text's characteristics.
  • Experiment with Color Burn blend mode opacity (e.g., 60%) and Fill reduction (e.g., 40%) to control the overall intensity and depth of the burn.

More Tutorials about Wood Burning and Fire Effects

Explore additional resources to deepen your understanding of creating realistic fire and burning effects, enhancing your digital artistry with dynamic visual elements.
How to Create a Wood Burn Effect in Photoshop
Wood burning transforms simple text and graphics into rustic, branded designs that carry the authenticity of crafted woodwork. This timeless aesthetic connects digital art with traditional craftsmanship, creating visuals that feel both handmade and professional. Photoshop's layering and blending capabilities make it possible to simulate the charred, weathered appearance of wood burning without needing actual pyrography tools. The technique combines texture work, strategic blending modes, and ca
Create a Fire Burning Effect in Photoshop
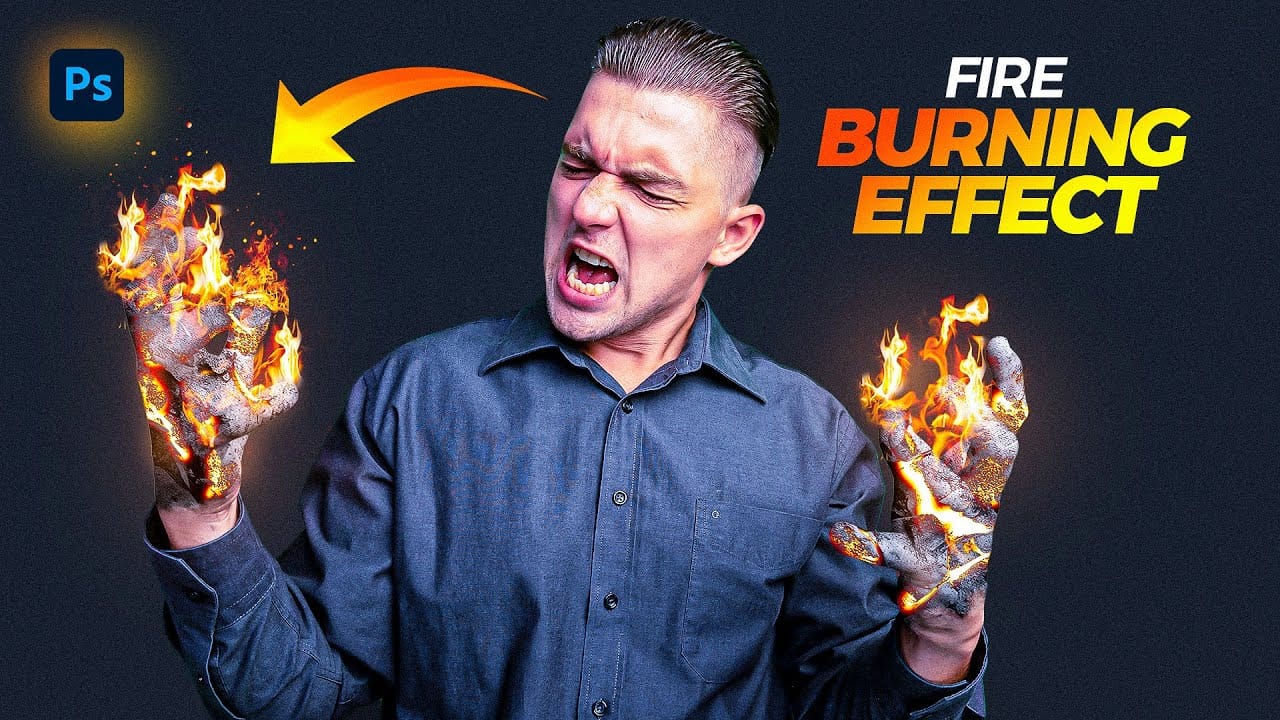
Creating a fire-burning effect in Photoshop is a fascinating process that can enhance your images dramatically. Start by setting up a new file with dimensions of 1920 x 1080 pixels. Import the necessary images, which can be found in the provided link. Duplicate your main layer using Ctrl + J, then convert it to black and white through the Image Adjustments menu by selecting Hue/Saturation and removing all saturation. Next, apply an inverted mask to the black and white layer. Use the brush tool
Apply a Burning Flames Effect to a Photo in Photoshop
In this tutorial by Neville D’Souza, you will learn how to take a simple model shot and transform it into a striking, dynamic piece of art that resembles a spitting, crackling beacon of fire. The tutorial guides you through the process using some of the most common tools available in Photoshop, showcasing techniques that allow you to create intricate and impressive effects. The author meticulously explains each step, ensuring you can follow along without the need for third-party plug-ins. By th
How to Create Flames in Photoshop
In this tutorial, Julieanne Kost walks you through the process of creating realistic flames in Photoshop. The tutorial simplifies the process into four manageable steps, making it accessible even for beginners. Kost starts by guiding you through the basics of setting up your workspace and selecting the right tools. She then demonstrates how to use different paths and brush settings to shape and control the flame effect. By adjusting various parameters, you can achieve a dynamic and realistic fl

Get tutorials & freebies delivered to you.

Subscribe to the Photoshop Roadmap newsletter, a weekly roundup of new tutorials, insights and quality downloads, trusted by 6500+ readers.

You might also like

Create an Old Masters Painting Effect from a Studio Portrait in Photoshop

Old Masters paintings capture drama and character through rich textures, dramatic lighting, and warm color palettes. By combining strategic dodging and burning with selective color adjustments and composite backgrounds, you can transform a simple studio portrait into a classical painterly masterpiece. This technique focuses on enhancing natural textures rather than...

How to Use AI Depth Masking in Photoshop for Targeted Subject and Background Editing

AI depth masking revolutionizes how you select and edit specific areas of your photos by analyzing three-dimensional space rather than shapes or colors. This powerful feature uses artificial intelligence to calculate depth layers, allowing you to brighten subjects while darkening backgrounds or apply targeted adjustments based on distance from the...

9 Lazy Photoshop Habits You Need to Break Right Now

Photoshop has added incredible AI features and smarter workflows over the last few years to save you time. Yet, you might still be stuck using clunky, manual workarounds you learned years ago. If you are constantly repeating tedious tasks, you are losing time and actively limiting the quality of your...

Professional Portrait Retouching with the B.S.T. Method in Photoshop

Professional portrait retouching requires artistic choices that automated tools can't make. The B.S.T. method breaks retouching into three focused steps: removing blemishes with precision, smoothing skin while preserving natural texture, and equalizing skin tones throughout the image. This systematic approach gives you complete control over every...

Create Motion Blur Light Effects in Photoshop

Transform ordinary portraits into dynamic, cinematic images by combining path blur effects with creative background textures. This technique creates the illusion of camera movement while maintaining focus on key elements like the subject's eyes, resulting in professional-looking motion blur effects that add energy and visual interest to static...

How to Paint Realistic Jewelry on Portraits in Photoshop

Adding painted jewelry to portraits transforms ordinary photos into fantasy portraits with ornate accessories that never existed. This digital painting technique uses careful layering, proper lighting, and realistic shadows to create convincing rings, earrings, and decorative headpieces. The method combines basic brush work with advanced blending techniques to build up...

You’ve successfully subscribed to Photoshop Roadmap
Welcome back! You’ve successfully signed in.
Great! You’ve successfully signed up.
Success! Your email is updated.
Your link has expired
Success! Check your email for magic link to sign-in.