How to Create a 3D Retro Text Effect in Adobe Photoshop

How to Create a 3D Retro Text Effect in Adobe Photoshop

Transform your designs with a classic retro text effect in Adobe Photoshop. This tutorial guides you through creating popular vintage styles, featuring 3D appearances and decorative elements like inset faces.

Learn how to achieve these striking visuals using a combination of powerful Photoshop techniques, ensuring your text remains fully editable and dynamic.

Watch the Video

Video by Spoon Graphics. Any links or downloads mentioned by the creator are available only on YouTube

Leveraging Smart Objects and Advanced Layer Styles for Retro Aesthetics

Achieving a complex retro text effect in Photoshop often relies on more than just basic adjustments. The approach outlined here focuses on the power of Smart Objects, which enable non-destructive editing and ensure your text remains fully customizable, even after applying numerous effects. This means you can update the wording at any time, and all the applied styles will automatically adapt.

A key technique in this process is the "Transform Again" trick, also known as step-and-repeat. This method builds a sense of depth by repeatedly duplicating and slightly transforming layers, creating a sophisticated 3D block appearance. While powerful, this trick can sometimes glitch with Smart Objects, necessitating a simple workaround. Furthermore, the tutorial highlights the importance of subtle details, such as adding a slight grain to smooth gradients and enhance the vintage feel of the overall design.

  • Smart Objects: Allow for non-destructive, editable text effects.
  • Layer Styles: Essential for creating bevels, shadows, and patterned overlays.
  • Transform Again (Step and Repeat): Builds dynamic 3D depth.
  • Pattern Overlays: Add subtle texture and visual interest.
  • Noise/Grain: Enhances realism and smooths gradient banding.

Practical Tips for Retro Text Effects

  • Fill the background layer quickly using the `Command + Backspace` (Mac) or `Ctrl + Backspace` (Windows) shortcut.
  • Use the `X` key to rapidly flip foreground and background colors, ideal for creating highlights.
  • Convert your text layer to a Smart Object early in the process to preserve editability and allow for non-destructive styling.
  • Employ `Command + Alt + Shift + T` (Mac) or `Ctrl + Alt + Shift + T` (Windows) repeatedly to execute the "transform again" command and build 3D depth.
  • Apply a 50% gray fill with `Add Noise` and an `Overlay` blending mode to add a subtle grain, smoothing gradients and enhancing texture.

Explore more resources and step-by-step guides to master various retro and vintage text effects in Photoshop.
Colorful Retro Text Effects Premium Photoshop Styles
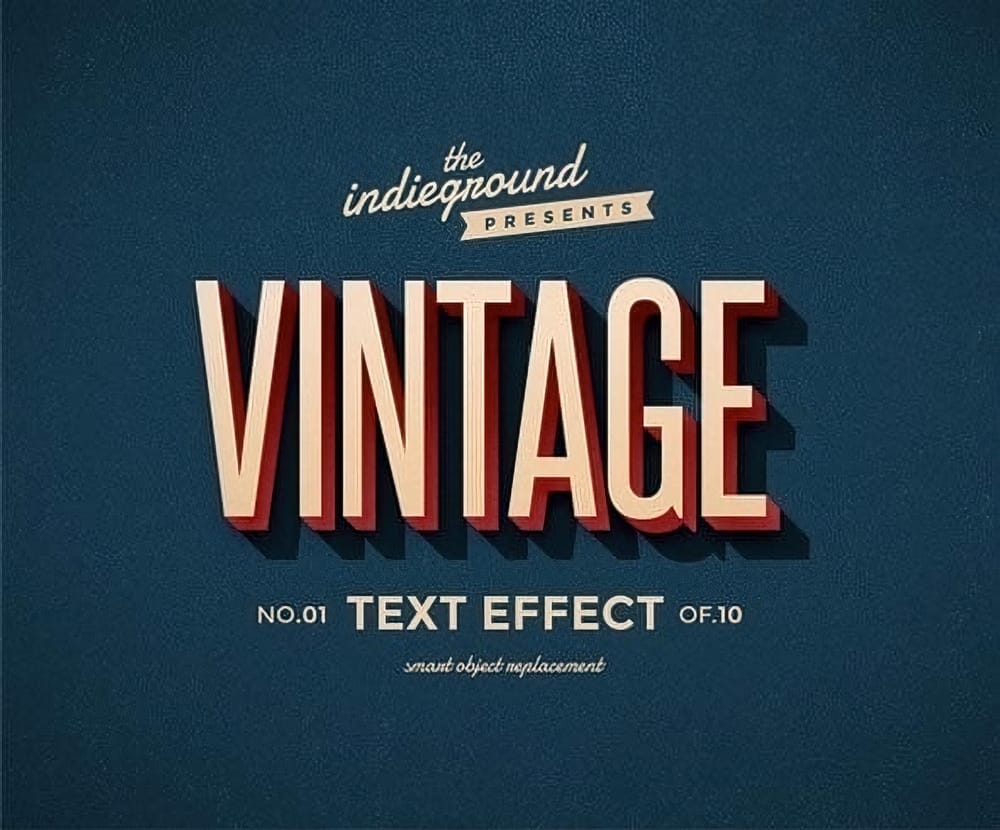
This graphic resource offers a quick and easy way to apply a high-quality retro or vintage look to your text. You can use it on plain text, shapes, and vector logos. Simply replace them into the smart object of your preferred style, included in the package. With this tool, you can create fantastic posters, flyers, Facebook covers, magazine titles, or website banners and give them a vintage touch. The styles included are of excellent quality, allowing you to transform your text and visuals effor
How to Create Retro Chrome Text Effects in Photoshop
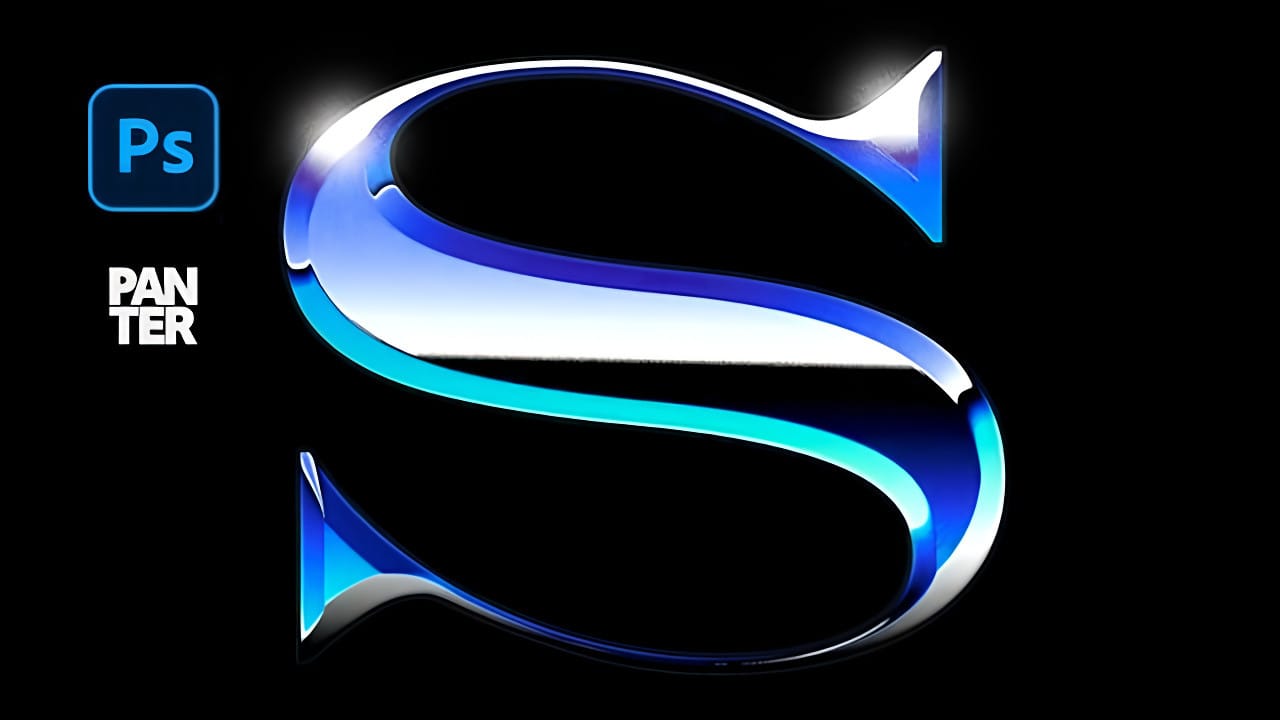
Chrome text effects instantly elevate any design with their sleek, metallic finish and dimensional depth. The reflective surfaces and gradient layers create that premium, high-end aesthetic perfect for retro-futuristic designs, gaming graphics, and eye-catching headlines. This tutorial demonstrates how to build convincing chrome effects using layer styles, gradient mapping, and color blending techniques that transform ordinary text into polished metallic artwork. Watch the Video Tutorial Un
Create an Outrun-style retro text effect in Photoshop
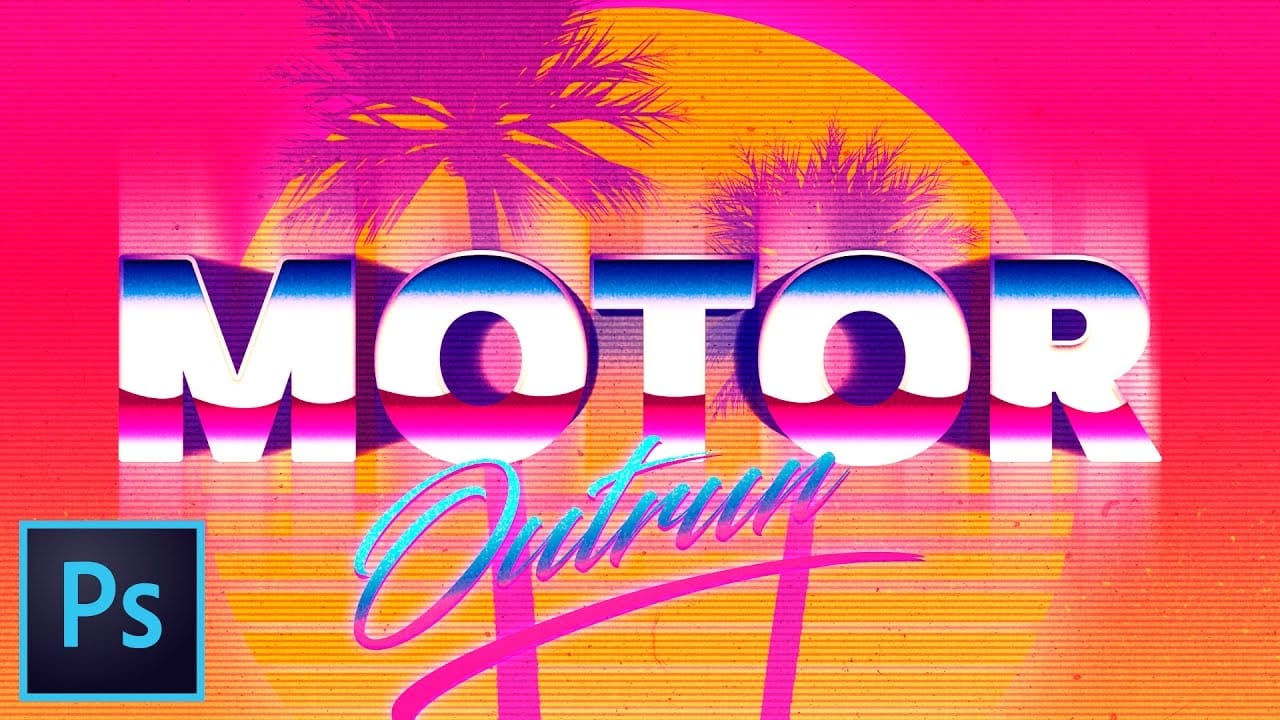
In this Photoshop tutorial by Nathaniel Dodson from TutVid, you'll learn how to create an Outrun-style video game text effect. By using gradients, textures, colors, and text, the tutorial guides you through the process of creating various "Outrun" style works of art. This comprehensive tutorial covers everything you need to know to achieve the vibrant and retro aesthetic characteristic of the Outrun genre. Watch tutorial
Create a 50s Retro TV Show Text Effect in Photoshop
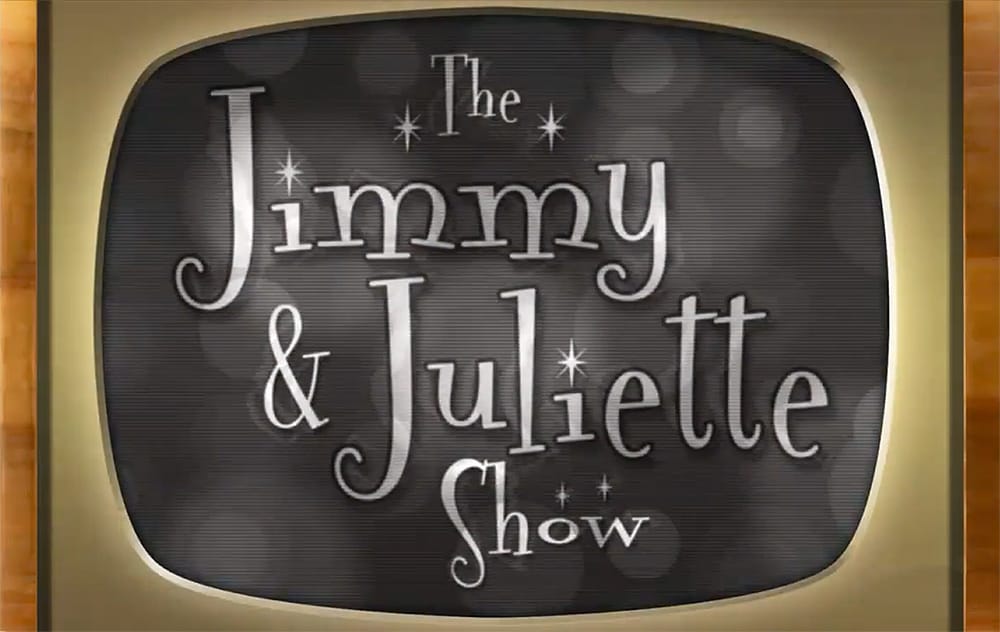
In this Photoshop tutorial by Marty Geller from Blue Lightning TV, you will learn how to create a striking black and white 50s retro TV show text effect. This guide is designed for users at any skill level, making it accessible and easy to follow. You'll start by adding vintage-style text, setting the stage for a nostalgic look. The tutorial walks you through incorporating scan lines and signal interference, elements that will enhance the retro feel. Each step is demonstrated clearly, ensuring

Get tutorials & freebies delivered to you.

Subscribe to the Photoshop Roadmap newsletter, a weekly roundup of new tutorials, insights and quality downloads, trusted by 6500+ readers.

You might also like

9 Photoshop Tools That Still Outperform AI for Precision and Control

AI generates images from descriptions, but it cannot hand you the brush. When a project demands exact colors, editable text, precise retouching, or seamless mockups, Photoshop's native tools remain the more reliable choice — not because AI is weak, but because these workflows require control that generative tools simply...

How to Create a Vintage Film Look in Photoshop Using Adjustment Layers

Aging a photo convincingly takes more than a preset — it requires control over highlights, color channels, and grain working together. This walkthrough covers a fully manual, non-destructive workflow for building a vintage film effect in Photoshop, using Color Range selections, Smart Filters, a Grain adjustment layer, and per-channel...

How to Use the Object Selection Tool in Photoshop for Faster Edits

The Object Selection tool lets you isolate parts of an image with a simple drag, and it becomes even more useful when paired with adjustment layers and layer masks. These techniques are practical for targeted color edits, texture work, and building selections that cover multiple elements like a flower, stem,...

How to Set Up Bleed and Crop Marks for Print in Photoshop

Sending a print file without proper bleed is one of the most common mistakes in print production. A bleed — typically 1/8 inch of extra canvas on all sides — prevents white slivers from appearing when a printer trims the finished piece. Photoshop's Canvas Size tool and AI-powered...

How to Use Camera Raw's Feathered Sky Mask to Create a Natural Glow Effect

Camera Raw now lets you feather and expand AI-generated masks directly in the masking panel — a feature that makes it possible to create a convincing light bloom effect without any manual brush work. This tutorial covers the full editing process for a dark, underexposed landscape shot, with the feathered...

How to Build a Photo Manipulation in Photoshop: A 4-Step Compositing Workflow

Building a convincing photo manipulation from scratch requires more than creativity — it demands a repeatable process. This breakdown covers the four core steps used to composite multiple images into a single cohesive scene, from rough layout through exposure matching, color balancing, and shadow painting. Watch the Video Practical Tips These...

You’ve successfully subscribed to Photoshop Roadmap
Welcome back! You’ve successfully signed in.
Great! You’ve successfully signed up.
Success! Your email is updated.
Your link has expired
Success! Check your email for magic link to sign-in.