How to Create Retro Chrome Text Effects in Photoshop

How to Create Retro Chrome Text Effects in Photoshop

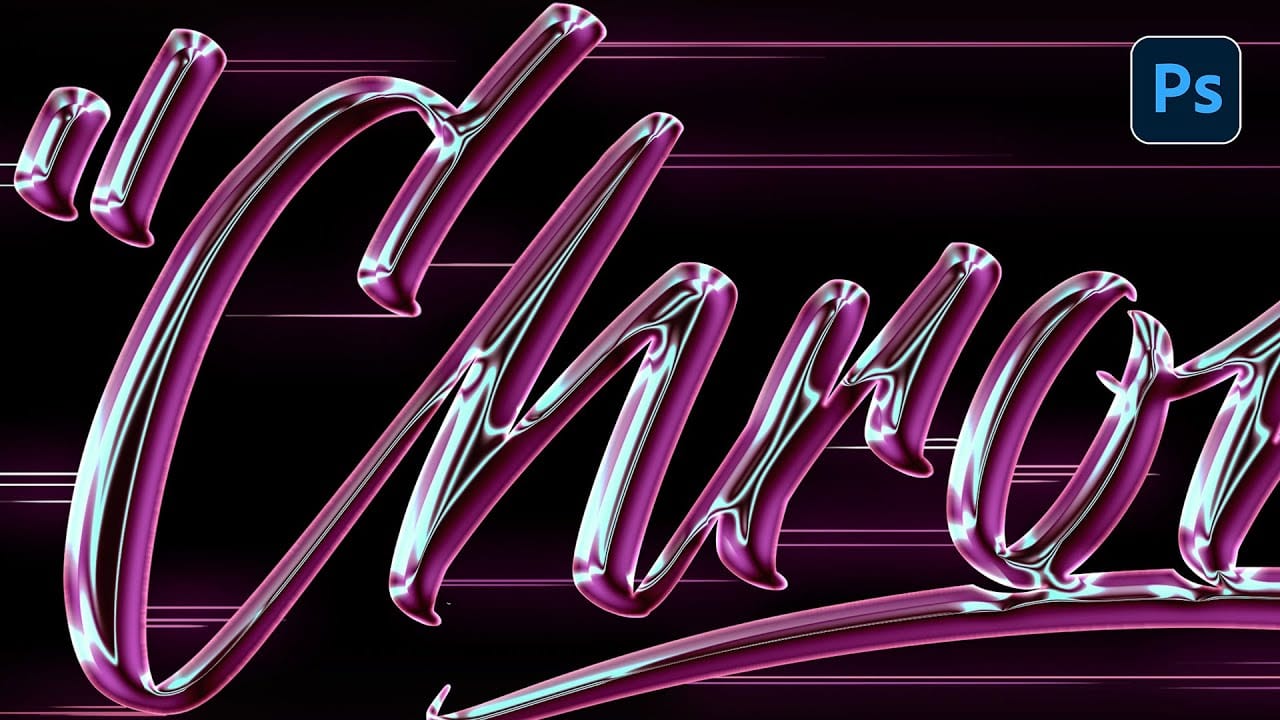
Chrome text effects instantly elevate any design with their sleek, metallic finish and dimensional depth. The reflective surfaces and gradient layers create that premium, high-end aesthetic perfect for retro-futuristic designs, gaming graphics, and eye-catching headlines.

This tutorial demonstrates how to build convincing chrome effects using layer styles, gradient mapping, and color blending techniques that transform ordinary text into polished metallic artwork.

Watch the Video Tutorial

Video by P A N T E R. Any links or downloads mentioned by the creator are available only on YouTube

Understanding Chrome Text Layer Structure

Chrome effects rely on careful layering and strategic use of Photoshop's blending capabilities. The foundation starts with proper text setup and builds complexity through multiple adjustment layers working together.

The key lies in combining bevel and emboss effects with gradient mapping to simulate the way light reflects off metallic surfaces. Color gradients create the illusion of depth while overlay blending modes enhance the metallic sheen.

  • Layer organization — grouping text elements prevents blend mode conflicts
  • Gradient mapping — creates realistic color transitions across the chrome surface
  • Contour adjustments — controls how light appears to wrap around the text edges
  • Anti-aliasing fixes — ensures clean, professional edges without pixel artifacts

Practical Tips for Chrome Text Effects

  • Start with 50% gray text to provide neutral base for metallic color mapping
  • Use inner bevel with high depth settings (1000) for pronounced dimensional effect
  • Apply gradient tool with overlay blend mode to enhance surface reflections
  • Create multiple gradient handles with alternating light and dark colors for realistic chrome transitions
  • Duplicate text layer with stroke settings to eliminate anti-aliasing artifacts around edges

More Tutorials About Chrome and Metallic Text Effects

Explore additional techniques for creating stunning metallic typography in Photoshop.

How to Create a 3D Retro Text Effect in Adobe Photoshop
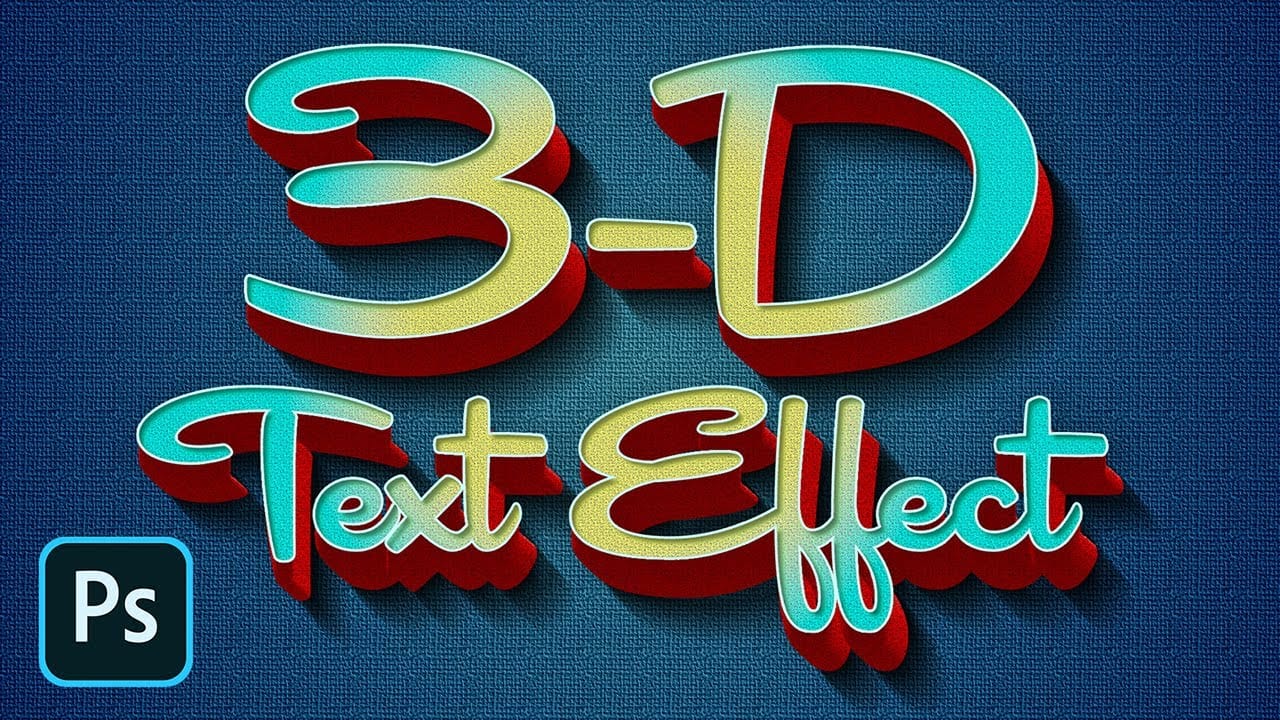
In this Adobe Photoshop tutorial by Spoon Graphics, you'll learn how to create a great-looking retro text effect. Using a mix of layer styles and clever Photoshop techniques, this tutorial guides you through the process step-by-step. The best part is that it utilizes Smart Objects, allowing you to non-destructively create the effect, meaning the original type element can still be updated to change the wording. This approach ensures flexibility and ease of editing while achieving a stylish retr
Electric chrome text effect Photoshop Tutorial
In this tutorial by Angelo Konofaos, you'll learn how to create an electric chrome text effect in Adobe Photoshop. Using blending options and adjustment layers, the tutorial guides you through the process of transforming text into a sleek chrome finish that radiates a vibrant, electric feel. Perfect for adding a futuristic touch to your designs, this tutorial teaches you some interesting techniques to achieve polished and eye-catching text effects that grabs the attention. Watch tutorial
How to Create a Dark Chrome Text Effect in Photoshop Using Advanced Layer Styles
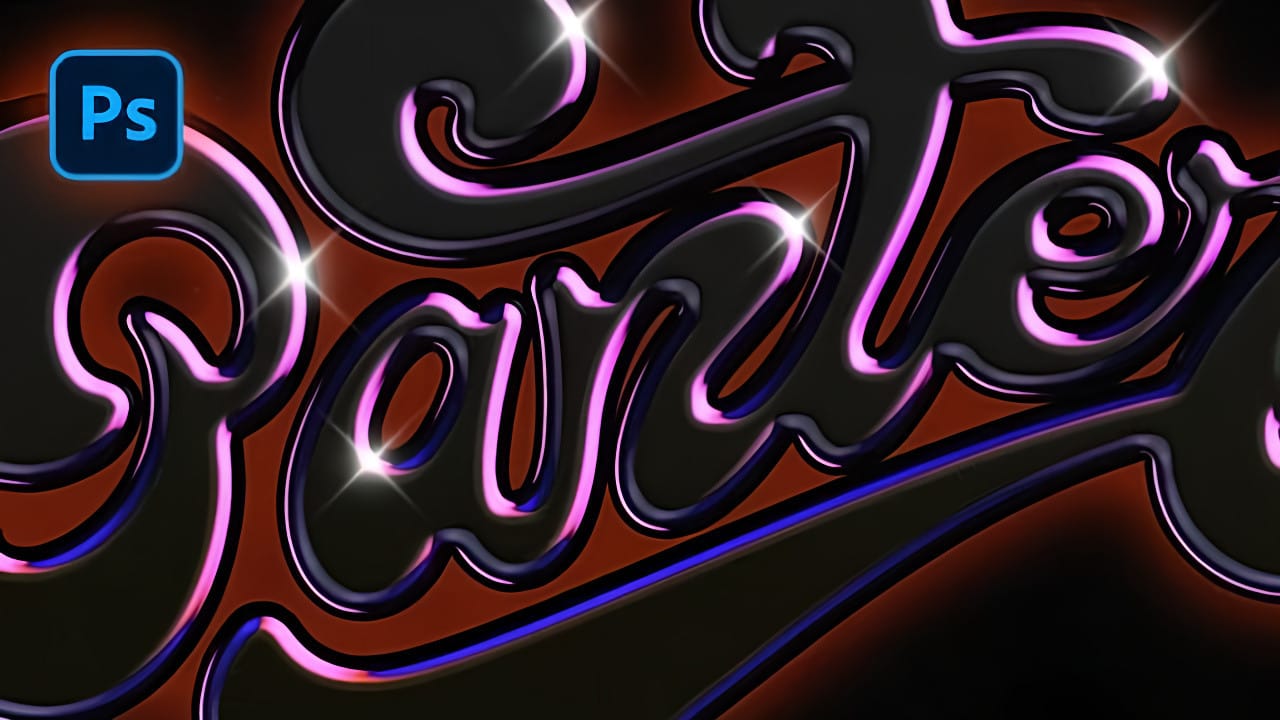
Chrome effects transform ordinary text into polished, metallic masterpieces that command attention. The reflective surfaces and dimensional depth create that premium, high-end look perfect for logos, headlines, and promotional graphics. This tutorial demonstrates a layered approach using multiple bevel and emboss effects, strategic color choices, and gradient overlays to build realistic chrome text with a dark, sophisticated finish. Watch the Tutorial Understanding Chrome Text Effects in Di
How to Create a Retro 3D Text Design in Photoshop
The allure of retro design continues to captivate, offering a nostalgic aesthetic that can add unique character to modern projects. Creating dynamic 3D text effects is a powerful way to infuse this vintage charm into your digital art, transforming flat typography into eye-catching, dimensional elements. This tutorial provides a comprehensive guide to crafting a compelling retro 3D text design in Photoshop. You will learn essential techniques for building depth, applying intricate layer styles,

Get tutorials & freebies delivered to you.

Subscribe to the Photoshop Roadmap newsletter, a weekly roundup of new tutorials, insights and quality downloads, trusted by 6500+ readers.

You might also like

How Photoshop's Enhance Edge Feature Removes Hair Masking Halos

Hair masking has long been one of the most tedious tasks in photo compositing — especially when switching between dark and light backgrounds reveals unwanted halos along the edges. Photoshop's new Enhance Edge feature, available in beta 27.11, offers an AI-powered approach to this problem by generating...

How to Use Quick Compare and Dynamic Layers in Photoshop Beta

Photoshop Beta's latest update introduces two tools worth knowing: a Quick Compare toggle for instant before/after previews, and a Dynamic Layer feature that lets you control AI-generated effects with a simple slider. Together, they streamline how you review edits and apply prompt-based changes like adding...

Retouching Pet Portraits in Photoshop: Cleaning Fur, Eyes, and Fine Details

Pet photos rarely arrive perfectly clean — staining around the eyes, discolored fur near the mouth, and stray hairs are common problems that need fixing before any serious portrait work begins. This workflow covers how to remove those distractions manually using overpaint and fur brushes, then finish with eye enhancement techniques...

Before and After View Plus Dynamic Layers in Photoshop Beta

Photoshop Beta currently includes two features that work quite differently from each other. The first adds a straightforward before-and-after comparison tool directly into the editing workspace — something that sounds simple but solves a real problem when a file already has multiple layers. The second, Dynamic Layers, uses AI...

How to Blend Multiple Exposures for Car Light Trails in Photoshop

Stacking multiple exposures of a night scene lets you capture far more light trail detail than any single shot can deliver. This technique uses the Lighten blending mode to combine a bright base image with several car light trail frames, keeping only the brightest pixels from each layer for a...

You’ve successfully subscribed to Photoshop Roadmap
Welcome back! You’ve successfully signed in.
Great! You’ve successfully signed up.
Success! Your email is updated.
Your link has expired
Success! Check your email for magic link to sign-in.