How to Create a Retro 3D Text Design in Photoshop

How to Create a Retro 3D Text Design in Photoshop

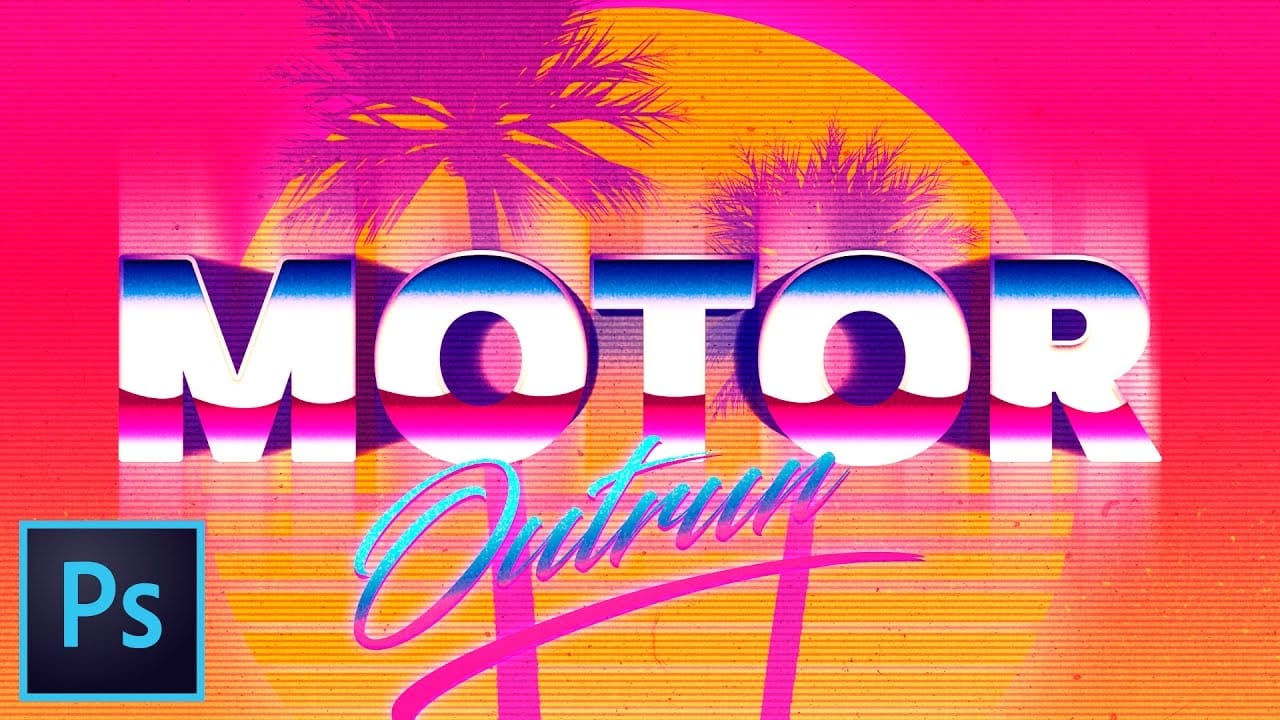
Retro design remains captivating, offering a nostalgic aesthetic that enhances modern projects. Dynamic 3D text effects are a powerful way to integrate this vintage charm into digital art, transforming flat typography into eye-catching, dimensional elements.

This tutorial comprehensively guides you through creating compelling retro 3D text in Photoshop, teaching essential techniques for depth, intricate layer styles, and using Smart Objects for flexible, editable designs.

Watch the Video

Video by Blue Lightning. Any links or downloads mentioned by the creator are available only on YouTube

Understanding the 3D Text Workflow in Photoshop

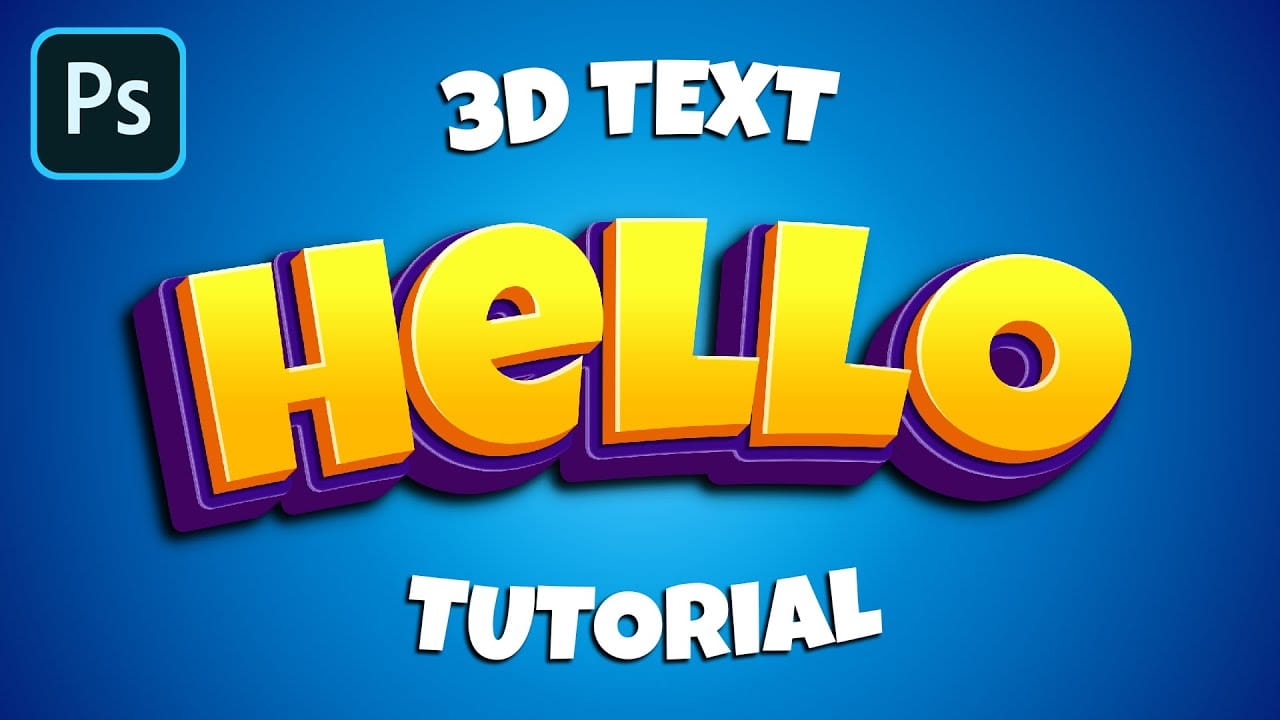
Creating realistic 3D text in Photoshop without dedicated software involves a multi-layered approach. Depth is simulated by duplicating a base text layer, each copy incrementally shifted.

This allows precise control over the perceived depth and angle. Crucially, converting the initial text to a Smart Object links all duplicates, enabling non-destructive editing. Changes to the original Smart Object automatically update all instances, streamlining revisions.

Beyond layering, layer styles like gradients, patterns, bevels, and shadows are applied to different text parts to create the signature retro 3D effect. This combination simulates light, texture, and volume, achieving the bold, glossy, and colorful aesthetic reminiscent of 1980s typography.

Practical Tips for Creating Retro 3D Text

  • Utilize Smart Objects for your base text layer to enable non-destructive editing, allowing for easy updates to text content or font after creating the 3D effect.
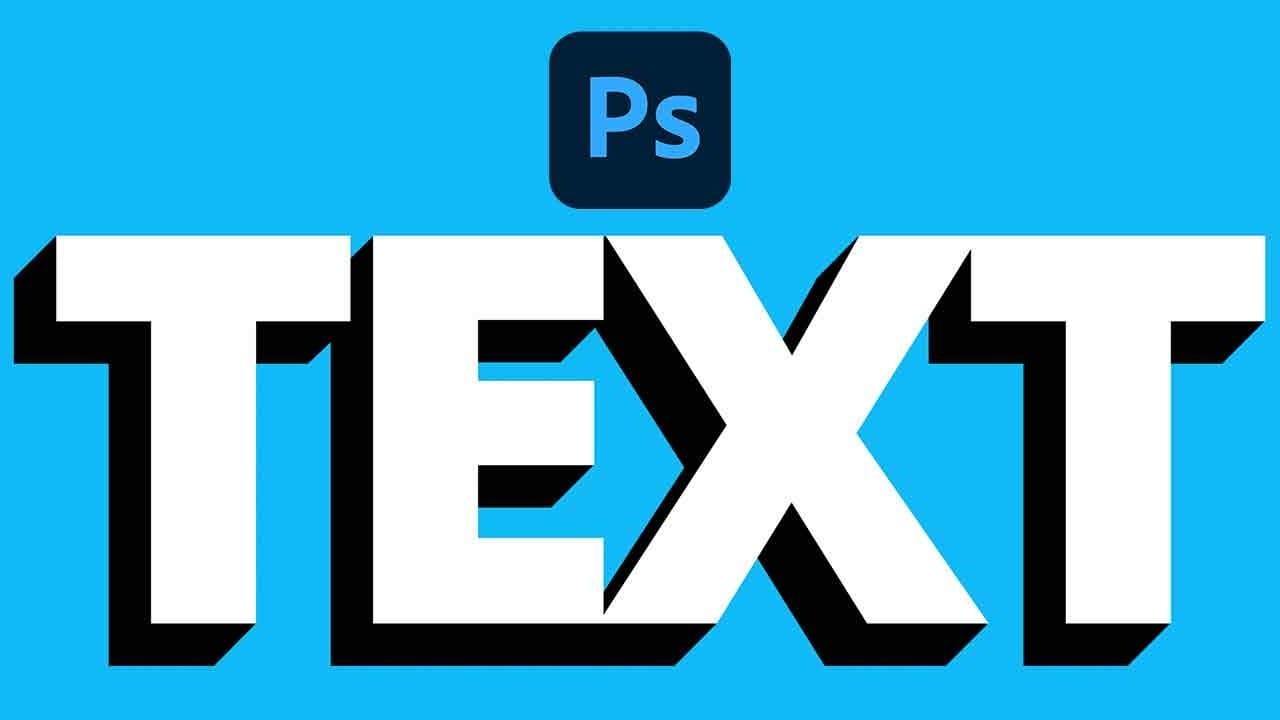
  • Create the 3D depth by duplicating your text layer numerous times (e.g., 50 copies) and shifting each copy incrementally (e.g., one pixel up and one pixel left) to build a smooth extrusion.
  • Apply distinct Layer Styles to the deeper layers (e.g., Color Overlay, Bevel & Emboss) and the top layer (e.g., Gradient Overlay, Inner Shadow, Pattern Overlay) to define the text's body and surface appearance.
  • Efficiently apply layer styles to multiple depth layers by copying the style from one layer and pasting it to a selection of other layers.
  • Construct the surrounding stroke and shadow as separate elements, converting them into Smart Objects to allow for independent adjustments like blur filters for the shadow.

Discover more techniques for crafting various 3D text effects and retro-inspired designs in Photoshop.

How to Create a 3D Retro Text Effect in Adobe Photoshop
In this Adobe Photoshop tutorial by Spoon Graphics, you'll learn how to create a great-looking retro text effect. Using a mix of layer styles and clever Photoshop techniques, this tutorial guides you through the process step-by-step. The best part is that it utilizes Smart Objects, allowing you to non-destructively create the effect, meaning the original type element can still be updated to change the wording. This approach ensures flexibility and ease of editing while achieving a stylish retr
How to Make a Cartoon 3D Text in Photoshop
In this Photoshop tutorial by Learning Screen, you will learn how to create colorful, funny cartoon-style 3D text. The tutorial guides you through the process of using various Photoshop tools and techniques to achieve a vibrant, playful text effect that stands out. The resulting text is bold and eye-catching, perfect for playful and energetic designs. This tutorial is ideal for projects like posters, children's book covers, or any other creative work that benefits from a fun and dynamic headlin
Create an Outrun-style retro text effect in Photoshop
In this Photoshop tutorial by Nathaniel Dodson from TutVid, you'll learn how to create an Outrun-style video game text effect. By using gradients, textures, colors, and text, the tutorial guides you through the process of creating various "Outrun" style works of art. This comprehensive tutorial covers everything you need to know to achieve the vibrant and retro aesthetic characteristic of the Outrun genre. Watch tutorial
Easily Create 3D Text in Photoshop
This Photoshop tutorial guides you through the process of creating striking 3D text effects with ease. You will learn step by step how to achieve a bold, three-dimensional look starting from text duplication. Using essential shortcuts like Command + Option + Shift + T on Mac or Control + Alt + Shift + T on Windows, you can efficiently position layers to form the 3D effect. The tutorial emphasizes the importance of grouping layers, which will streamline your workflow significantly. Additionally

Get tutorials & freebies delivered to you.

Subscribe to the Photoshop Roadmap newsletter, a weekly roundup of new tutorials, insights and quality downloads, trusted by 6500+ readers.

You might also like

Complete Photoshop Editing Workflow: 5 Steps from Raw to Polished

Photoshop offers endless possibilities for photo enhancement, but many photographers never move beyond basic adjustments because the software feels overwhelming. This comprehensive workflow breaks down photo editing into five manageable stages that work consistently across different photography styles. The systematic approach covers everything from initial raw processing to advanced lighting...

Photoshop Workspace Basics: Navigation, Zooming, and Essential Interface Elements

Photoshop's interface can feel overwhelming when you first open the program. Dozens of panels, tools, and menus compete for attention, making simple tasks feel complicated. This tutorial breaks down the essential workspace elements and teaches fundamental navigation skills that form the foundation of efficient Photoshop work. Watch the...

How to Restore Old Damaged Photos Using Nano Banana in Photoshop

Old family photos with scratches, tears, and missing sections can seem beyond repair. Google's Nano Banana AI model, now integrated into Photoshop, makes full restoration possible in minutes rather than hours. This powerful tool excels at maintaining facial characteristics while automatically filling in damaged areas and adding realistic...

How to Get Higher Quality Results from Photoshop's Generative Fill Tool

Photoshop's Generative Fill creates impressive AI extensions, but the results often look blurry and pixelated when viewed at full size. This quality limitation makes many AI-generated areas unusable for printing or large displays. This technique shows how to work around the 1024x1024 pixel quality limit to create much...

How to Use Photoshop's Liquify Tool for Non-Destructive Portrait Retouching

Clothing wrinkles, hair that lacks volume, and awkward fabric bunching can distract from an otherwise great portrait. Photoshop's Liquify tool offers a powerful solution for smoothing out these issues while preserving the natural look of your subject. This tutorial demonstrates how to use the Liquify tool non-destructively with...

You’ve successfully subscribed to Photoshop Roadmap
Welcome back! You’ve successfully signed in.
Great! You’ve successfully signed up.
Success! Your email is updated.
Your link has expired
Success! Check your email for magic link to sign-in.