Making text appear to wrap around a person or object adds genuine depth to a composition — the kind that's hard to fake with a simple drop shadow. This technique uses two warped text layers, a subject cutout, and a soft shadow to simulate the illusion of cylindrical text orbiting your subject, all without any 3D software or AI tools.
Watch the Video
Video by PHLEARN. Any links or downloads mentioned by the creator are available only on YouTube
Practical Tips
These key steps will help you get clean, consistent results when building this effect:
- Create two separate text layers — one for the front arc and one for the back — so you can warp each independently and layer your subject between them.
- Use the Cylinder warp preset under Free Transform to curve the text convincingly; drag the control point up for the front layer and down for the back layer.
- Link both text layers using the chain icon in the Layers panel so they always move together without having to select both manually each time.
- Convert the shadow layer to a Smart Object before applying Gaussian Blur so the blur amount stays editable at any point without reapplying the filter.
- Use a clipping mask to restrict the shadow layer to the text beneath it — Alt/Option-click between the layers — so the shadow only appears where the text is visible.
Related Articles and Tutorials
Explore more tutorials covering a range of dimensional text techniques and styles.
100+ Brilliant Photoshop Text Effects: The Ultimate 2026 Roundup
You won’t admit this: You spend hours making text look like liquid gold. Not for clients. Not for your portfolio. Just because. Here’s the thing: Text effects are your guilty pleasure. You tell yourself you’re “practicing.” You say you’re “building skills.” But really? You just love
 Enrique Flouret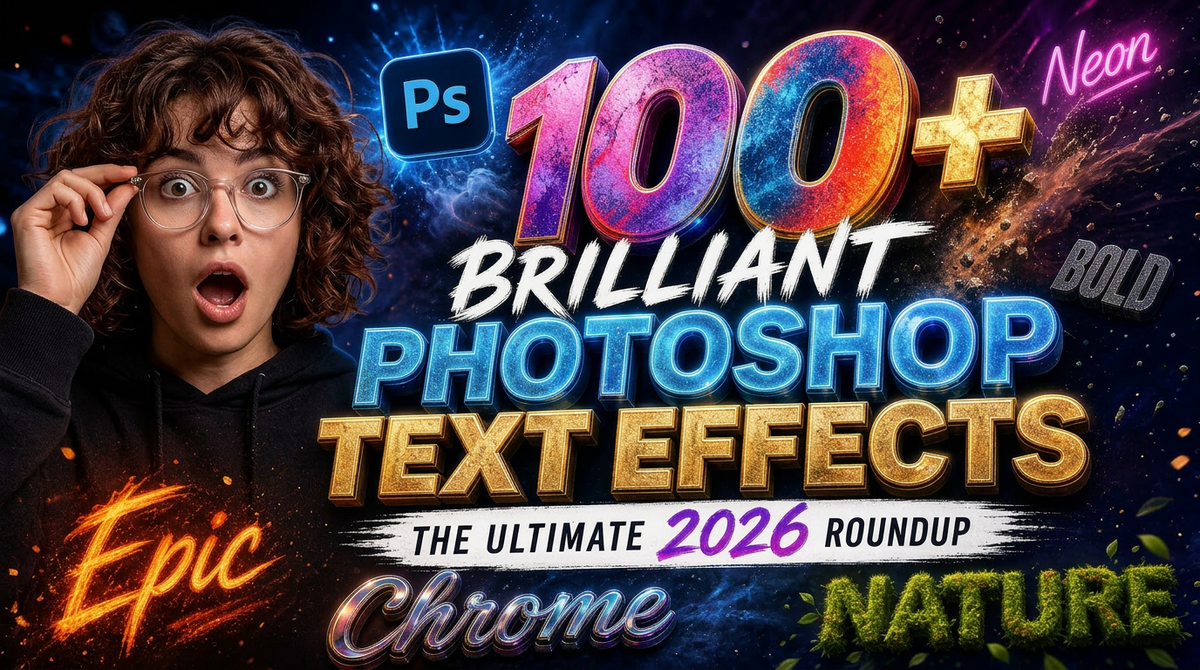
How to Use Dynamic Text Shapes in Photoshop 2026
Photoshop 2026’s Dynamic Text tool transforms text formatting with new shape options that go beyond traditional block layouts. The updated tool includes circular, arch, and bow configurations that automatically format text while maintaining professional typography standards. This feature eliminates the complex manual work previously required for curved text designs,
 Phlearn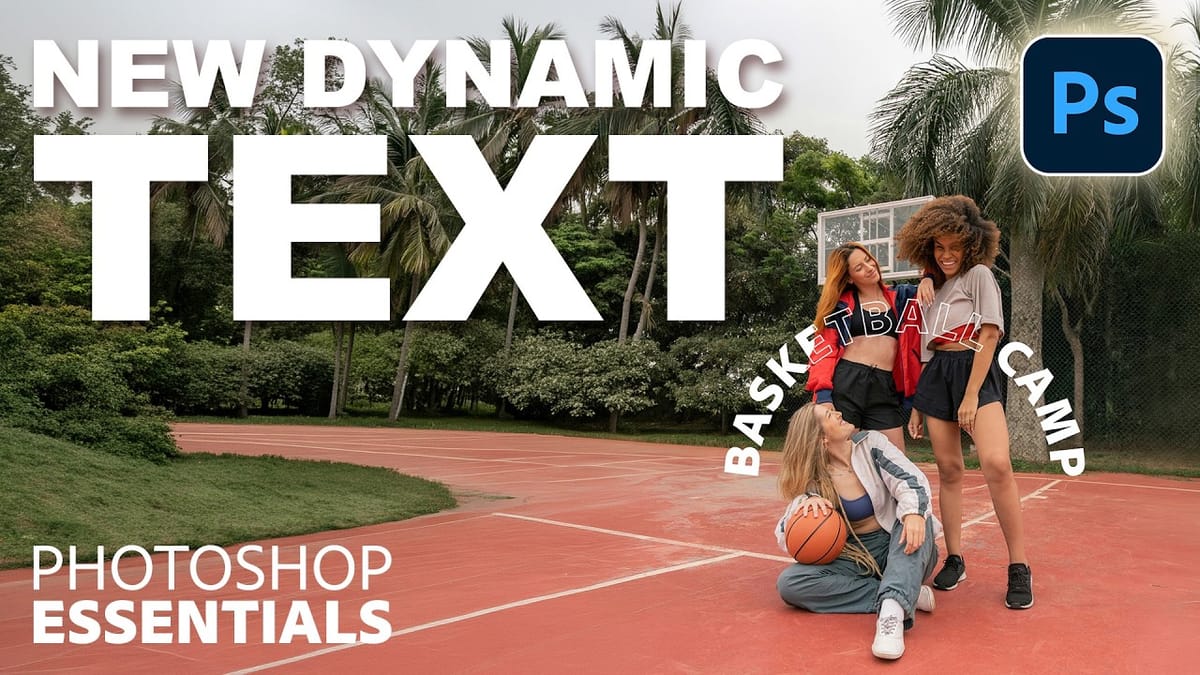
How to Type Text on a Path in Photoshop
Creating text that curves along shapes opens up creative possibilities for logos, circular designs, and decorative typography. This technique transforms ordinary text placement by making letters follow the contours of any path you create. The process works with any shape tool in Photoshop, giving you complete control over how your
 Dansky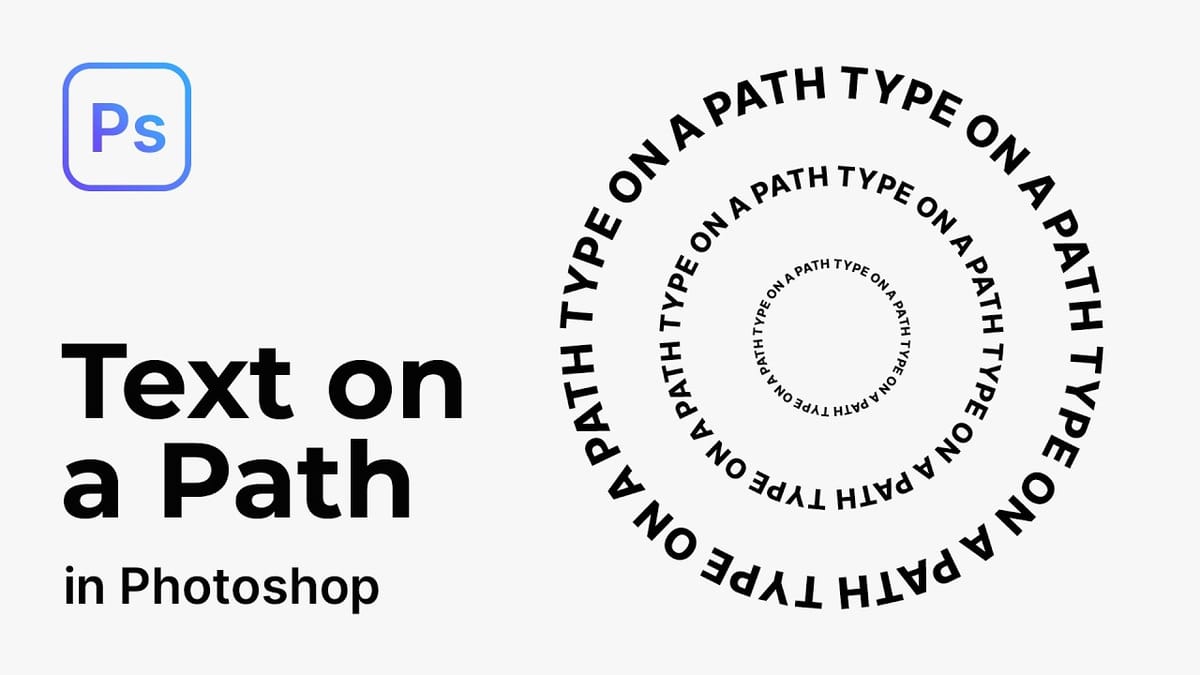
How to Create Curved Text in Photoshop Using the New Dynamic Text Tool
Creating curved text in Photoshop has traditionally required complex workarounds that often distorted the letters. The new Dynamic Text tool in Photoshop Beta changes this completely, allowing you to place text on arches, circles, and custom curves while maintaining perfect letter shapes. This tool offers three main options: arch, circle,
 Photoshop Cafe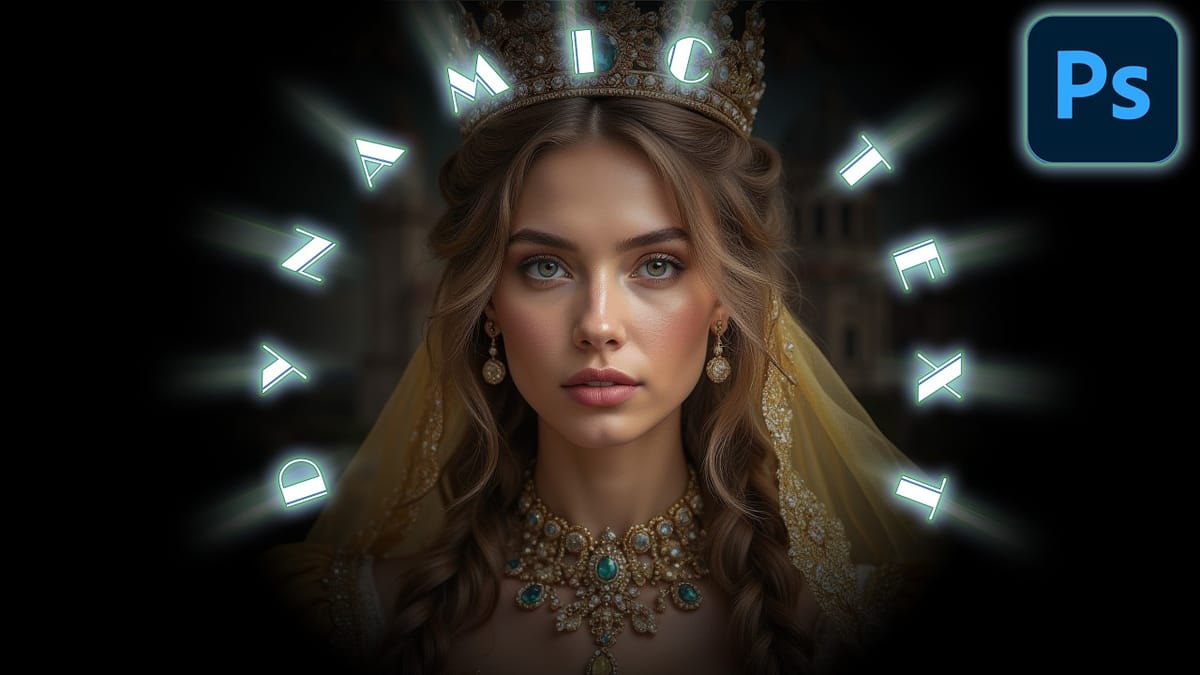
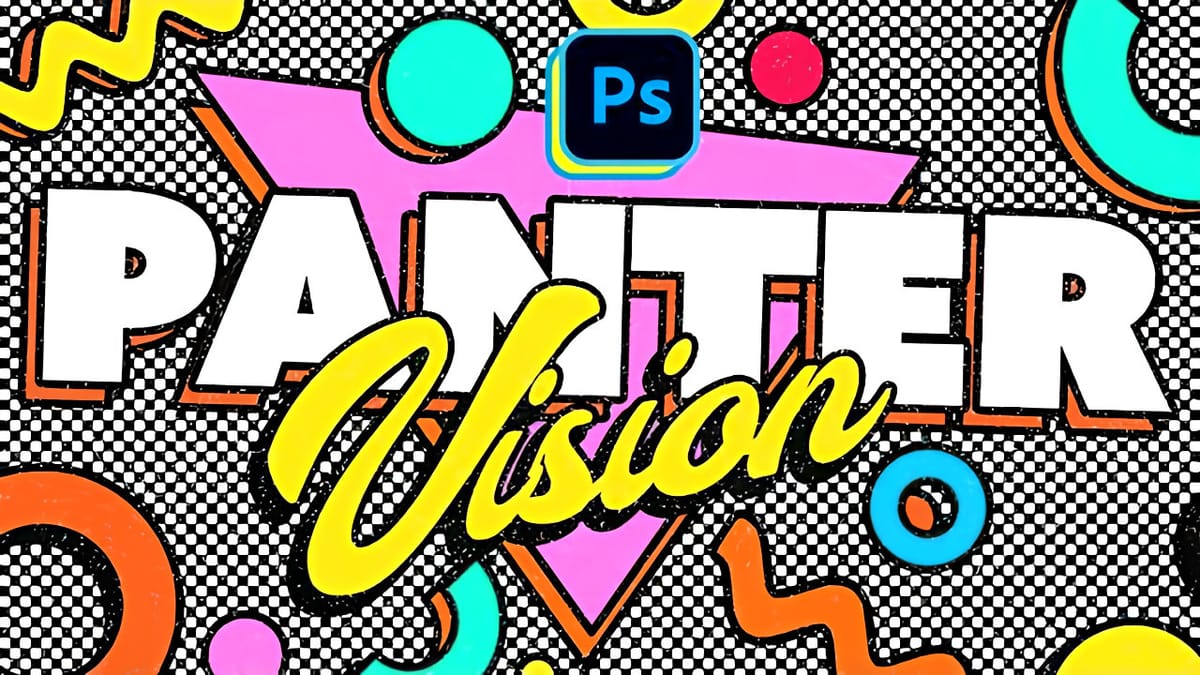
Create Colorful Retro Text Compositions in Photoshop
Retro design trends continue to captivate audiences with their bold colors and geometric shapes. This tutorial demonstrates how to build a complete vintage-inspired composition using text, geometric elements, and vibrant color schemes that capture the essence of classic graphic design. You’ll learn to combine typography with custom shapes,
 Panter