Retro design trends continue to captivate audiences with their bold colors and geometric shapes. This tutorial demonstrates how to build a complete vintage-inspired composition using text, geometric elements, and vibrant color schemes that capture the essence of classic graphic design.
You'll learn to combine typography with custom shapes, apply decorative strokes, and create layered drop shadows that give your design depth and visual interest.
Watch the Video
Video by P A N T E R. Any links or downloads mentioned by the creator are available only on YouTube
Practical Tips
Here are key techniques to achieve professional results with your retro text compositions:
- Convert shape layers to smart objects before applying distortion filters to maintain editability and stroke options
- Use the Alt+drag method to quickly duplicate elements and create consistent spacing between design components
- Enable auto-select in the toolbar to directly click and modify shapes without searching through layer panels
- Create colorful drop shadows by duplicating text layers and positioning them behind the original with different colors
- Apply the Wave filter to rectangles with minimal generation settings to create subtle geometric wave patterns
Related Articles and Tutorials
Explore more retro and vintage text effect techniques to expand your design toolkit:
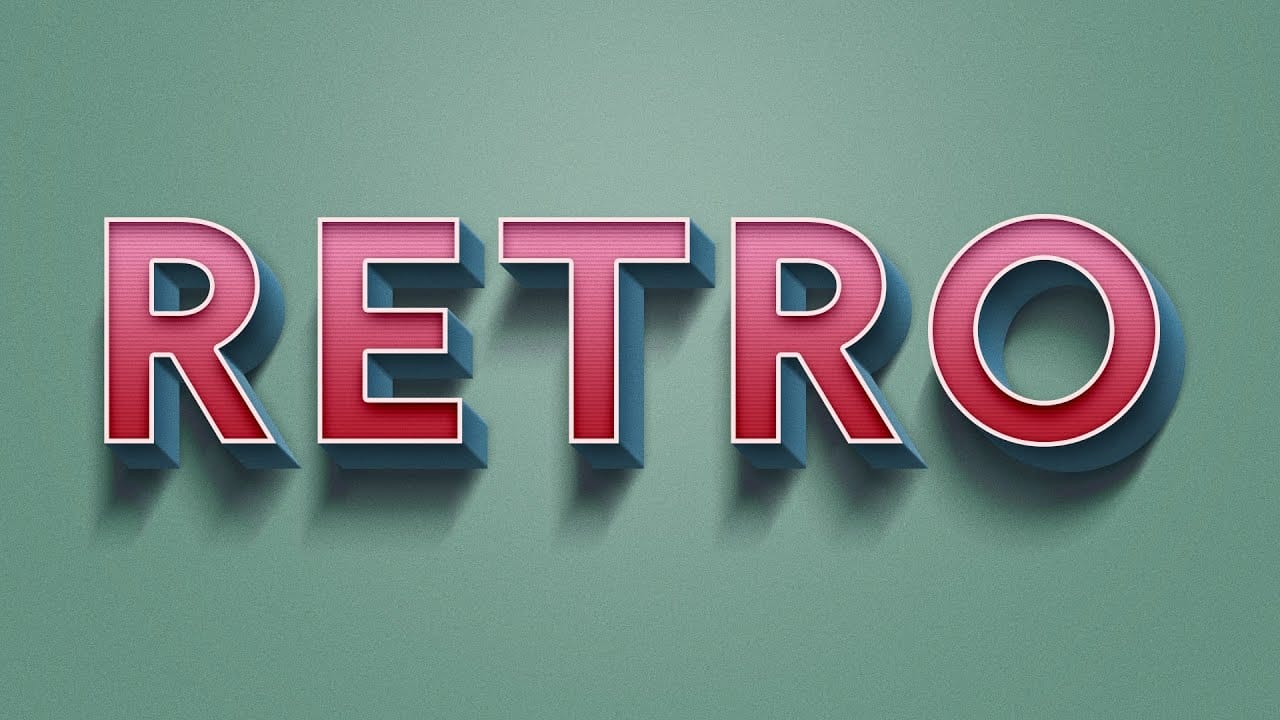
How to Create a 3D Retro Text Effect in Adobe Photoshop
Transform your designs with a classic retro text effect in Adobe Photoshop. This tutorial guides you through creating popular vintage styles, featuring 3D appearances and decorative elements like inset faces.
Learn how to achieve these striking visuals using a combination of powerful Photoshop techniques, ensuring your text remains fully editable and dynamic.
Watch the Video
Leveraging Smart Objects and Advanced Layer Styles for Retro Aesthetics
Achieving a complex retro text effect in Pho
100+ Brilliant Photoshop Text Effects: The Ultimate 2025 Roundup
You won’t admit this: You spend hours making text look like liquid gold. Not for clients. Not for your portfolio. Just because. Here’s the thing: Text effects are your guilty pleasure. You tell yourself you’re “practicing.” You say you’re “building skills.” But really? You just love watching letters transform into
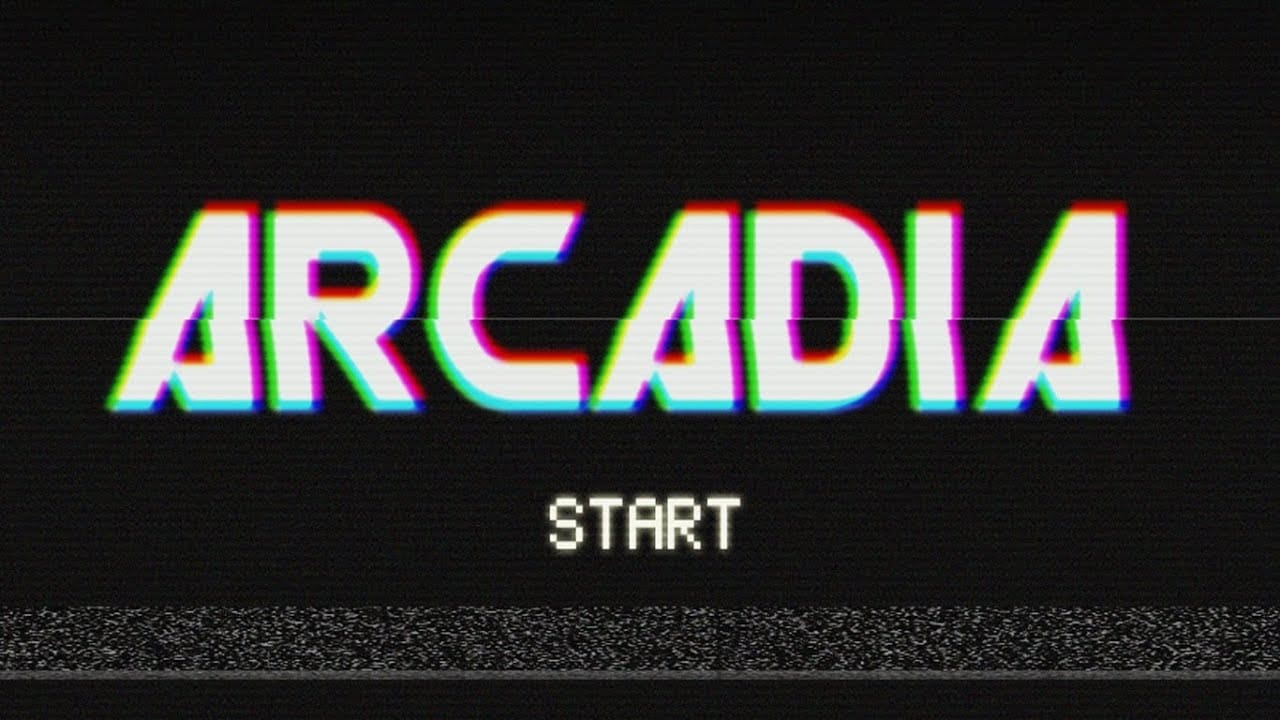
Retro 80's VHS style text effect
Naman Tuts shows you how to recreate the iconic 80s VHS text effect using Photoshop. This tutorial will guide you to achieve that vintage look reminiscent of old VHS movies we used to watch repeatedly.
You'll discover how to set up your text with the perfect font and color scheme, apply various Photoshop layer effects to add a glow, and create the characteristic blurry edges seen in VHS titles. Learn techniques to distort the text, giving it that authentic VHS tape feel, and incorporate static
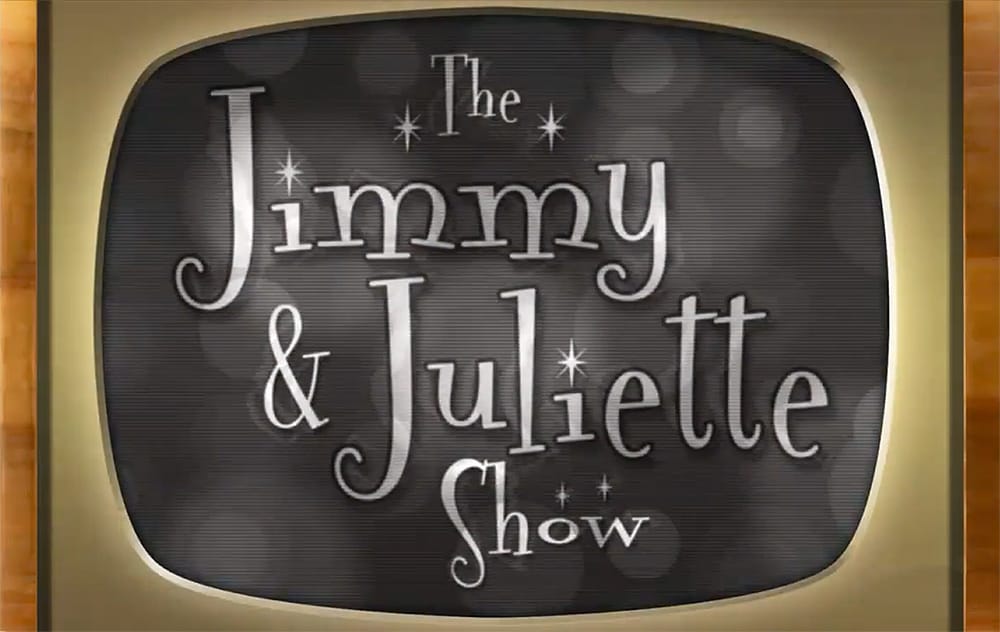
Create a 50s Retro TV Show Text Effect in Photoshop
In this Photoshop tutorial by Marty Geller from Blue Lightning TV, you will learn how to create a striking black and white 50s retro TV show text effect. This guide is designed for users at any skill level, making it accessible and easy to follow.
You'll start by adding vintage-style text, setting the stage for a nostalgic look. The tutorial walks you through incorporating scan lines and signal interference, elements that will enhance the retro feel. Each step is demonstrated clearly, ensuring