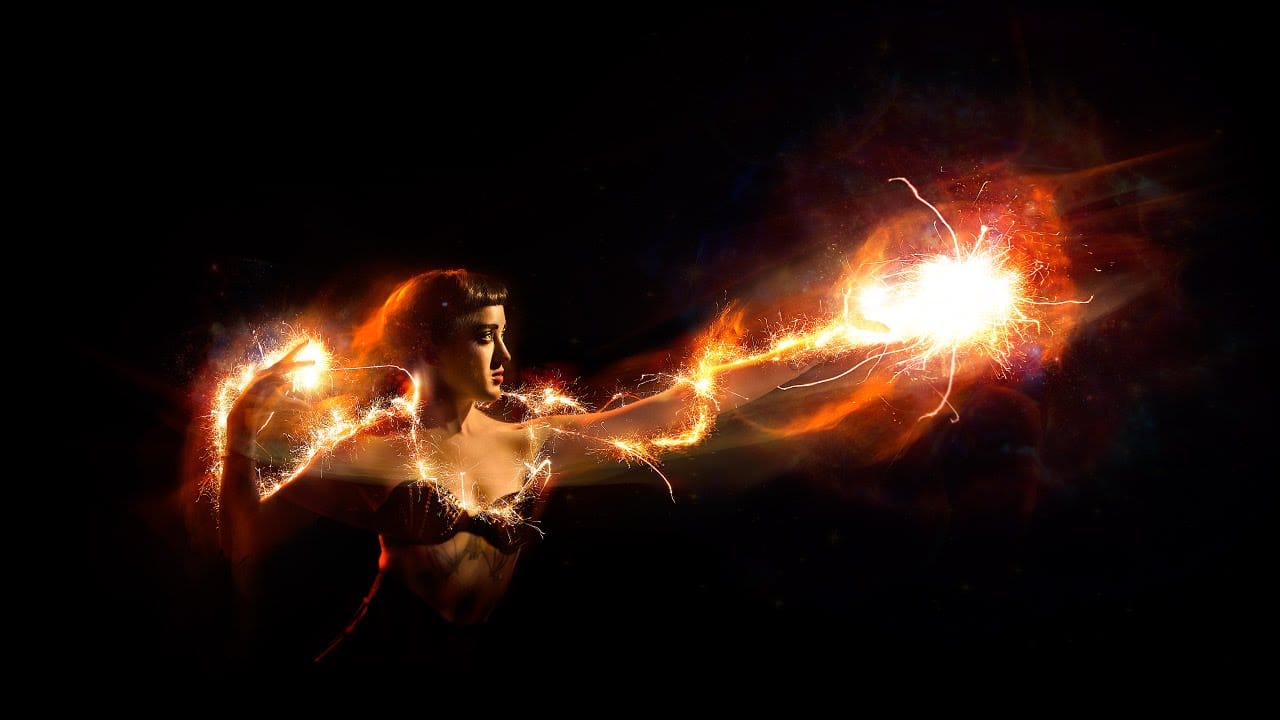
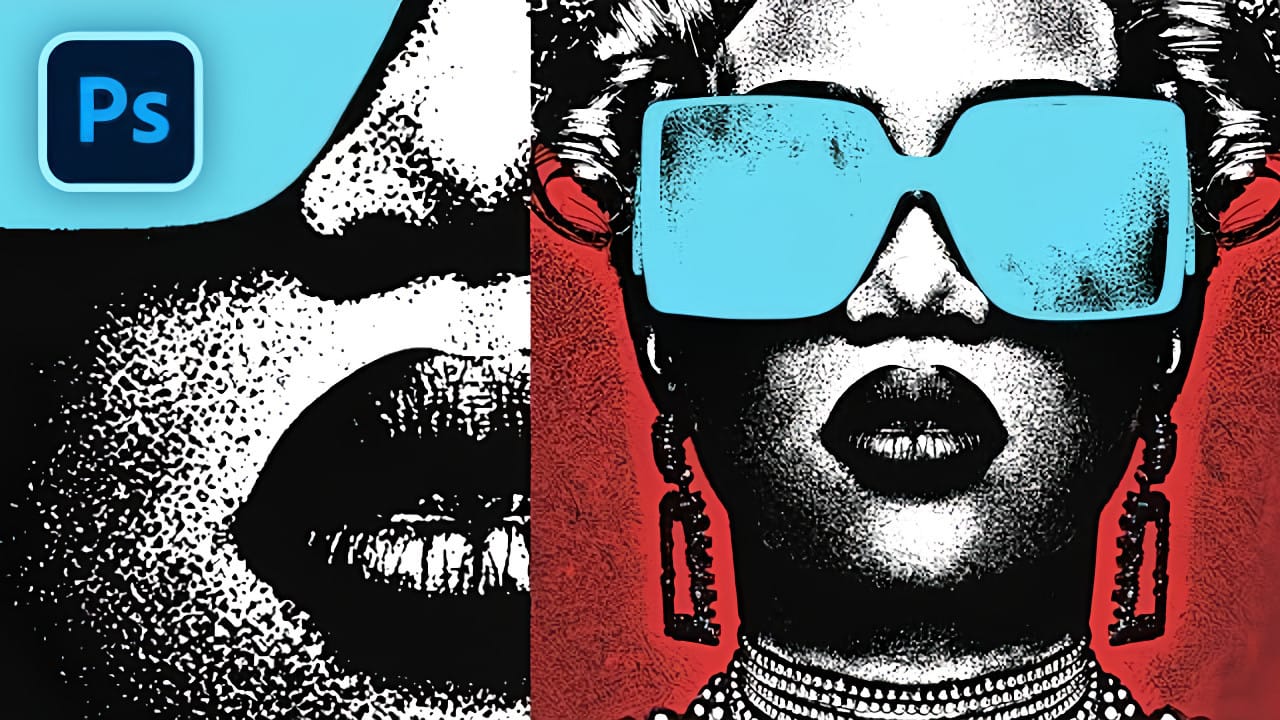
The distinctive look of vintage photocopying machines creates a unique aesthetic that blends sharp contrasts with colorful accents. This retro effect transforms ordinary photographs into stylized artwork reminiscent of 1980s design and underground art movements.
This tutorial demonstrates how to recreate that classic xerox appearance using Photoshop's adjustment layers, filters, and blending techniques to achieve authentic-looking photocopy distortion and selective colorization.
Watch the Tutorial
Video by P A N T E R. Any links or downloads mentioned by the creator are available only on YouTube
Understanding the Xerox Aesthetic
The photocopy effect emerged from the limitations and characteristics of early copying machines. These devices produced images with high contrast, textural grain, and occasional color shifts that gave photographs an unmistakably mechanical quality. Artists and designers began embracing these "flaws" as creative elements.
The key visual elements include extreme shadow and highlight adjustments that flatten the tonal range, creating stark black and white areas. The reticulation filter adds the characteristic dotted texture that mimics the halftone patterns of reproduction processes. This combination produces the signature look of documents that have been photocopied multiple times.
Modern recreations focus on three main components: aggressive tonal adjustments, textural overlays, and selective color application. The threshold adjustment plays a crucial role by eliminating midtones and creating the binary contrast typical of photocopying technology.
Essential Tips for Xerox Effects
- Convert your image to a
Smart Objectbefore applying filters to maintain editing flexibility and image quality - Use Shadows/Highlights adjustments with high shadow values (around 100) to flatten the tonal range and create the characteristic photocopy contrast
- Apply the
Mediannoise filter at low settings (1-2 pixels) to reduce fine detail and simulate copy degradation - Set the Reticulation filter with high density (20-22) and zero foreground/background levels to create authentic halftone patterns
- Use
Thresholdadjustments combined with reduced layer opacity to control the balance between stark contrast and image detail
More Tutorials About Photoshop Effects
Explore additional techniques for creating distinctive visual effects and color treatments in Photoshop.


