How to Apply Graphics and Change Colors in Photoshop

How to Apply Graphics and Change Colors in Photoshop

Integrating graphics and adjusting colors are fundamental skills in Photoshop, enabling designers and artists to transform disparate elements into cohesive visual narratives. From compositing a logo onto a product image to blending text into a scene, mastering these techniques is crucial for achieving professional results.

This video demonstrates practical methods for seamlessly applying graphics from one image to another, extracting specific elements like text, and efficiently changing their colors. Viewers will learn how to refine composites and enhance visual realism through precise adjustments and clever layer techniques.
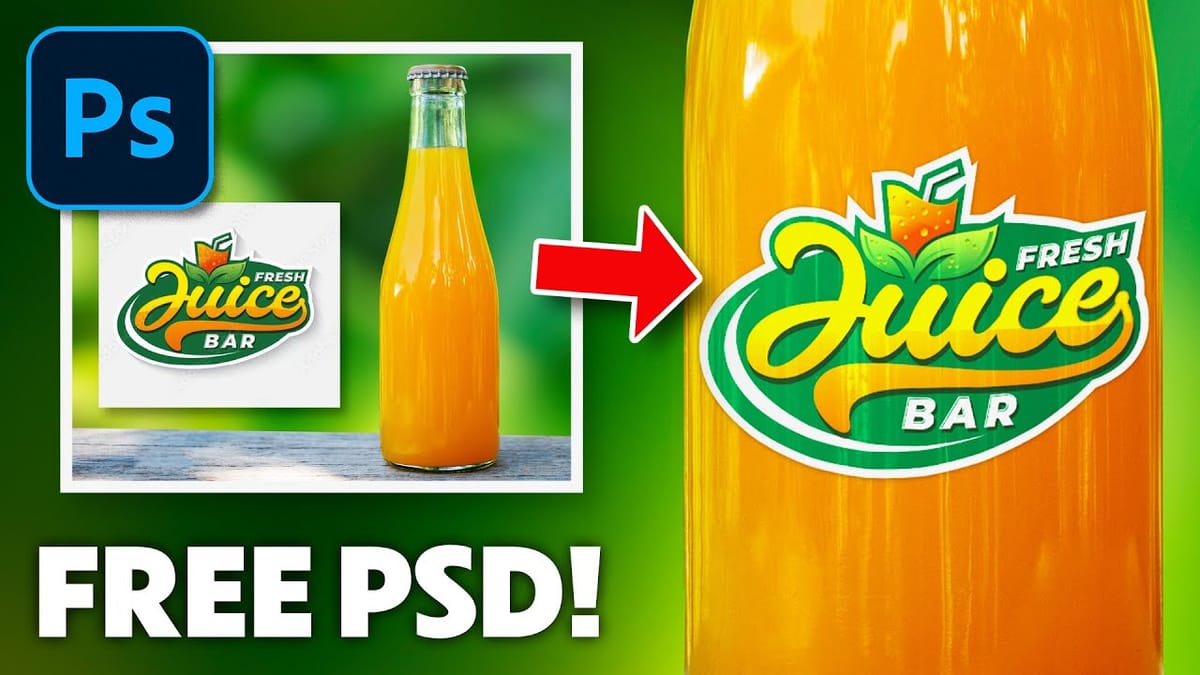
Watch the Video

Any links or downloads mentioned by the creator are available only on YouTube

Understanding Graphic Integration and Color Manipulation in Digital Compositing

Seamless graphic integration is a cornerstone of effective digital design, ensuring that added elements appear as natural components of the original image rather than disjointed additions. This process often involves meticulous background removal, precise placement, and thoughtful color adjustments to match the ambient lighting and overall aesthetic of the composite. Challenges can arise from varying lighting conditions, color casts, or complex edges, necessitating advanced selection and blending techniques.

Color manipulation extends beyond mere aesthetic preference; it serves critical functional roles in visual communication. It can be used to align elements with brand guidelines, evoke specific moods, or correct inconsistencies in source imagery. Techniques such as blend modes, adjustment layers, and targeted color overlays provide powerful control, allowing artists to subtly shift hues or dramatically re-envision an object's appearance while maintaining visual integrity.

Modern Photoshop workflows are increasingly streamlined by intelligent tools, including AI-powered selection brushes and generative fill capabilities. These innovations significantly simplify tasks that were once time-consuming, such as isolating intricate objects or removing unwanted elements from a background. Such advancements empower creators to focus more on the artistic vision and less on the technical complexities of compositing.

Practical Tips for Applying Graphics and Changing Colors

  • Utilize the Multiply blend mode to effortlessly remove white backgrounds from graphics, allowing the underlying image to show through.
  • Refine subtle background edges by applying Levels (Ctrl/Cmd + L) and using the white eyedropper tool to achieve pure white, ensuring complete transparency.
  • Extract specific text or dark elements from a background using Select > Color Range, then paint the selection onto a new layer for independent manipulation.
  • Change the color of any graphic on a transparent background by applying a Color Overlay layer style, offering quick and flexible color adjustments.
  • Enhance composite realism by creating a layer mask from extracted text or graphics, which hides parts of the main graphic to reveal the background, simulating depth and integration.

More Tutorials about Graphics and Color in Photoshop

Explore additional resources to deepen your understanding of graphic application and color manipulation techniques in Photoshop.

Place a logo onto a bottle in Photoshop [FREE PSD]
Learn to easily place any logo onto a bottle in Photoshop. This short tutorial is packed with information. You will learn about Smart Objects, Clipping Masks, Color Modes, and more. Download the free tutorial psd here… More
How to replace a sign for mockups in Photoshop
Today we show you how to add your own text and logos to a sign in Photoshop! Learn how to remove existing graphics from a photographed sign, place your own graphics in proper perspective, and work using multiple Photoshop documents that update in real time as you make changes. Download the Sample Images & PSD […] More
Easily create realistic mockups and templates in Photoshop
In this photoshop tutorial, I will show you how to easily create realistic mockups and templates. Great for product showcase such as books, signs, t-shirts and many other types of merchandising. Download tutorial image here… More
How to add a logo or pattern to a shirt in Photoshop
How to add a logo, graphic, pattern or texture onto clothing in Photoshop. In this Photoshop tutorial, Colin Smith shows how to add a pattern or graphic to a shirt in a way that you can change it out in seconds. More

Get tutorials & freebies delivered to you.

Subscribe to the Photoshop Roadmap newsletter, a weekly roundup of new tutorials, insights and quality downloads, trusted by 6500+ readers.

You might also like

Professional Portrait Retouching with the B.S.T. Method in Photoshop

Professional portrait retouching requires artistic choices that automated tools can't make. The B.S.T. method breaks retouching into three focused steps: removing blemishes with precision, smoothing skin while preserving natural texture, and equalizing skin tones throughout the image. This systematic approach gives you complete control over every...

Create Motion Blur Light Effects in Photoshop

Transform ordinary portraits into dynamic, cinematic images by combining path blur effects with creative background textures. This technique creates the illusion of camera movement while maintaining focus on key elements like the subject's eyes, resulting in professional-looking motion blur effects that add energy and visual interest to static...

How to Paint Realistic Jewelry on Portraits in Photoshop

Adding painted jewelry to portraits transforms ordinary photos into fantasy portraits with ornate accessories that never existed. This digital painting technique uses careful layering, proper lighting, and realistic shadows to create convincing rings, earrings, and decorative headpieces. The method combines basic brush work with advanced blending techniques to build up...

How to Sharpen Images Using the High Pass Filter in Photoshop

The High Pass filter method remains one of the most versatile sharpening techniques in Photoshop, offering precise control over which image areas receive enhancement. This non-destructive approach works by identifying edge details and allowing you to selectively apply sharpening exactly where it's needed most. Unlike automated sharpening tools,...

How to Find Missing Actions in the New Photoshop Actions Panel

The redesigned Actions panel in Photoshop can catch users off guard when their custom actions seem to disappear. With the new tabbed interface, your previously created actions are still there—they're just located in a different tab than before. Understanding the new layout will help you quickly access...

Fast Portrait Retouching: Remove Stray Hairs, Clothing Wrinkles, and Fix Backgrounds

Every portrait photographer knows the feeling: you've captured a beautiful shot, but stray hairs, wrinkled clothing, and messy backgrounds turn editing into hours of tedious work. These common retouching challenges can drain your time and energy, especially when dealing with high-volume projects or tight deadlines. This tutorial demonstrates...

You’ve successfully subscribed to Photoshop Roadmap
Welcome back! You’ve successfully signed in.
Great! You’ve successfully signed up.
Success! Your email is updated.
Your link has expired
Success! Check your email for magic link to sign-in.