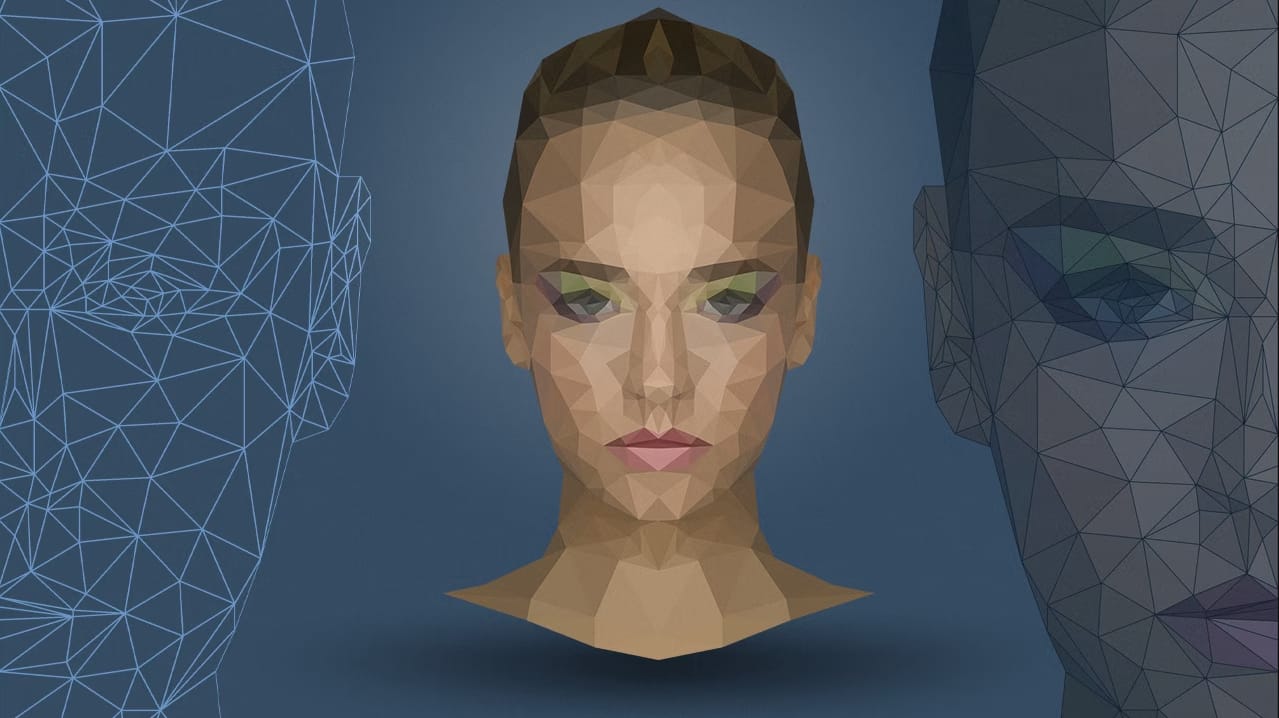
Low polygon art transforms ordinary portraits into striking geometric masterpieces using triangular shapes and bold color blocks. This technique creates a modern, digital aesthetic that works beautifully for logos, artistic portraits, and creative design projects.
The process involves breaking down an image into triangular sections, each filled with an average color to create a faceted, three-dimensional appearance.
Watch the Tutorial
Essential Tips for Low Polygon Portraits
Master the low polygon technique with these practical strategies that will speed up your workflow and improve your results.
- Create an action to automate the triangle-filling process - record the steps of applying blur average, duplicating to a new layer, and returning to the background
- Use Photoshop's grid with snap enabled to create precise triangular connections and maintain clean geometry
- Work on half the face and mirror it for symmetrical subjects to cut your work time in half
- Vary triangle sizes based on detail areas - use smaller triangles around eyes and nose, larger ones for simple background areas
- Follow natural shadow lines and color boundaries when placing triangle edges to maintain realistic form
More Tutorials About Low Polygon Effects
Explore additional techniques for creating stunning geometric artwork and portrait effects.
Low Poly Portrait Effect in Photoshop
In this tutorial FX-Ray will teach you, how to create a portrait, that looks like a low poly 3D model. You will be using the Polygonal Lasso Tool to paint triangles, the average blur filter to calculate an average color of a selection and create your own action, so you'll have less work. Photoshop's grid will help you to connect the triangles.
In the end, we will apply different layer style effects to the polygons.
Watch tutorial
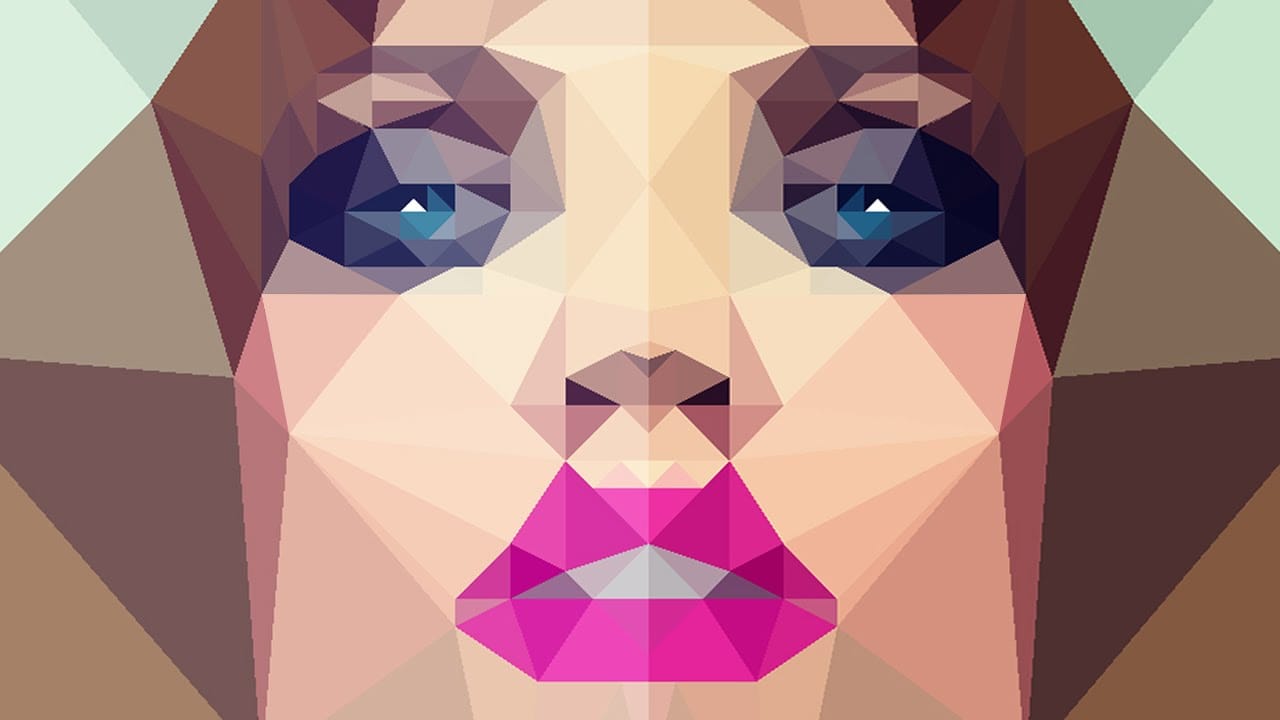
How to Create Low Polygon Images from Photos in Photoshop
In this Photoshop tutorial, you will learn how to transform your photos into stunning low-polygon images. The process is straightforward and can be applied to various types of images, allowing you to create captivating low-poly portraits or abstract artwork.
The tutorial, presented by Marty Geller from Blue Lightning TV, guides you through the essential steps to achieve this visually striking effect. You'll discover how to use Photoshop's powerful tools and techniques to seamlessly convert your
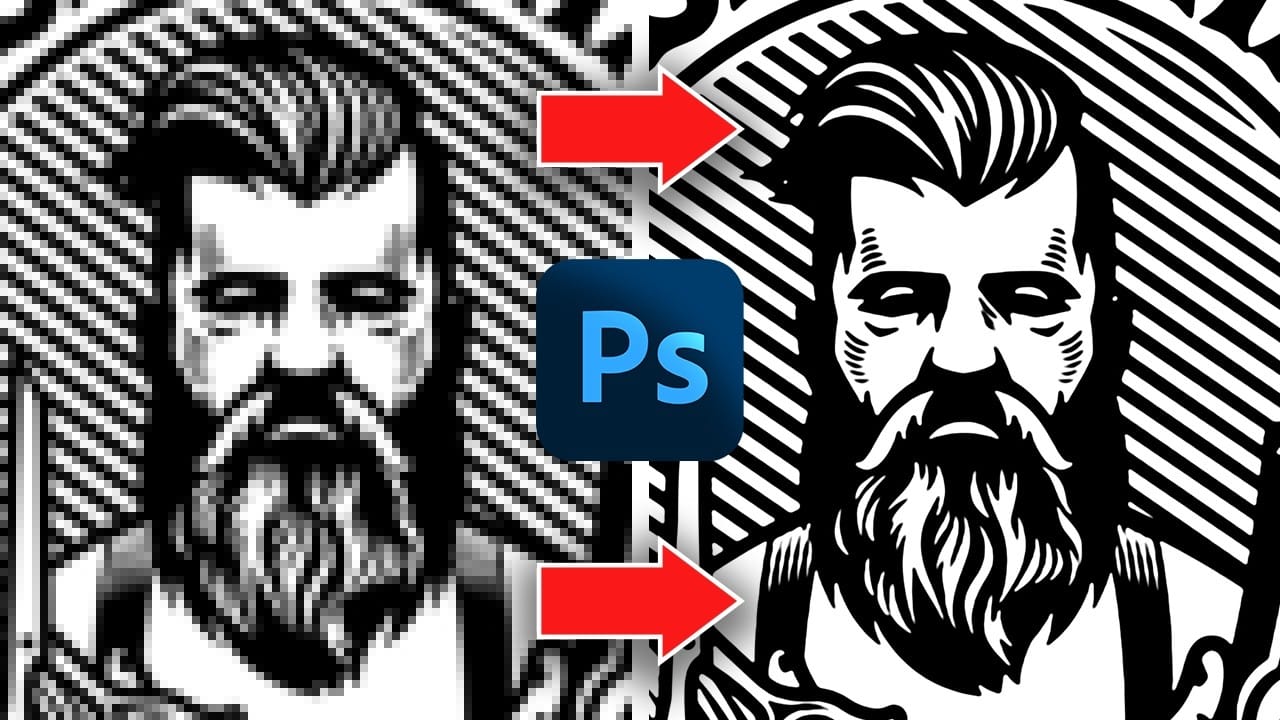
Convert Low-Resolution Graphics to High Resolution in Photoshop
Low-resolution graphics often limit design projects, especially when you need to scale logos, icons, or simple illustrations for print or large-format displays. While vector formats offer infinite scalability, many graphics exist only as pixelated bitmap files that become unusable when enlarged.
This tutorial demonstrates two effective methods for converting low-resolution graphics into crisp, high-resolution versions using Photoshop's built-in tools. You'll learn techniques that work specifica
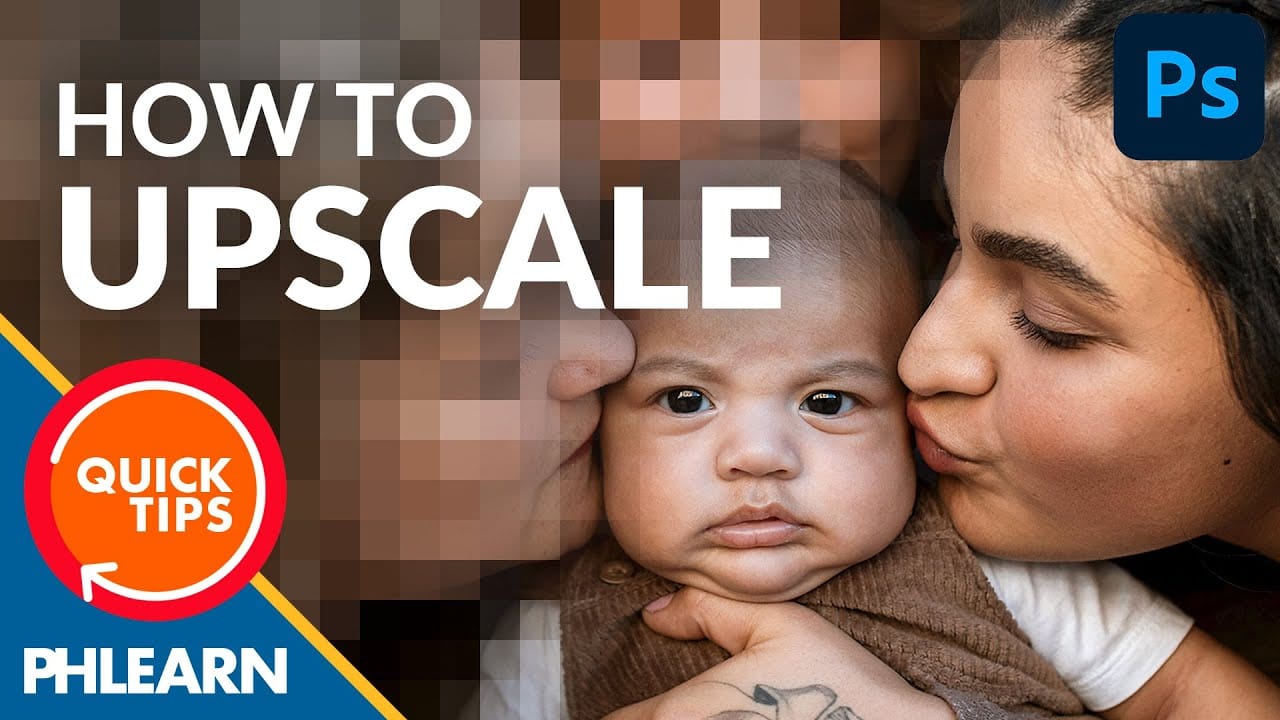
How to convert a low-resolution image to high-resolution in Photoshop
In this tutorial, Aaron Nace demonstrates how to enhance low-resolution images using Photoshop's Super Resolution feature. This tool, available in Adobe Camera RAW, allows you to increase image resolution significantly by doubling the width and height of your photos, resulting in a fourfold increase in pixel count.
Aaron walks you through the process of applying Super Resolution, explaining how it uses advanced algorithms to improve image detail and clarity. The tutorial covers preparation tips